10 Colorful Painted Tin Can Planters For A Fun, Cheery Yard
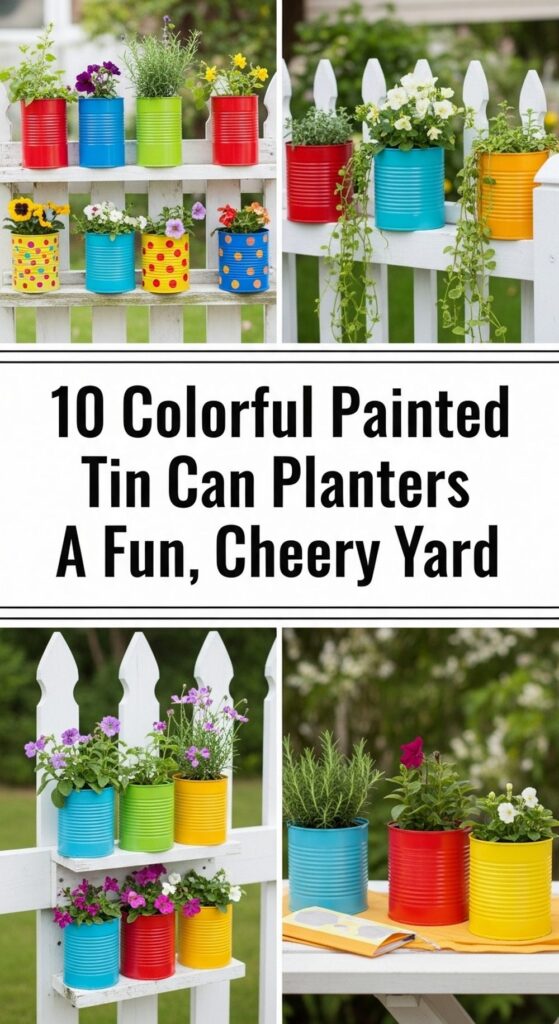
If you love color but don’t love spending a fortune on garden decor, painted tin can planters are a perfect little project. They’re easy to make, wonderfully cheerful, and give old cans a new life instead of sending them straight to the recycling bin.
Whether you have a big backyard, a tiny patio, or just a sunny step by the back door, these ideas will help you turn simple tins into bright, happy planters. You’ll find playful designs, budget-friendly styling tips, and ways to add personality to fences, tables, and windowsills. Pick a few that match your style, grab some paint, and get ready to transform your yard into a fun, colorful retreat.
Quick List
- Rainbow Tin Can Fence Planters
- Polka-Dot Herb Tin Can Trio
- Ombre Tin Can Hanging Cluster
- Striped Tin Can Staircase Planters
- Tin Can Faces Kids’ Garden
- Pastel Tin Can Window Ledge Line
- Boho Patterned Tin Can Shelf Display
- Metallic Tin Can Table Centerpieces
- Chalkboard Label Tin Can Veggie Pots
- Tin Can Flower Tower Totem
1. Rainbow Tin Can Fence Planters
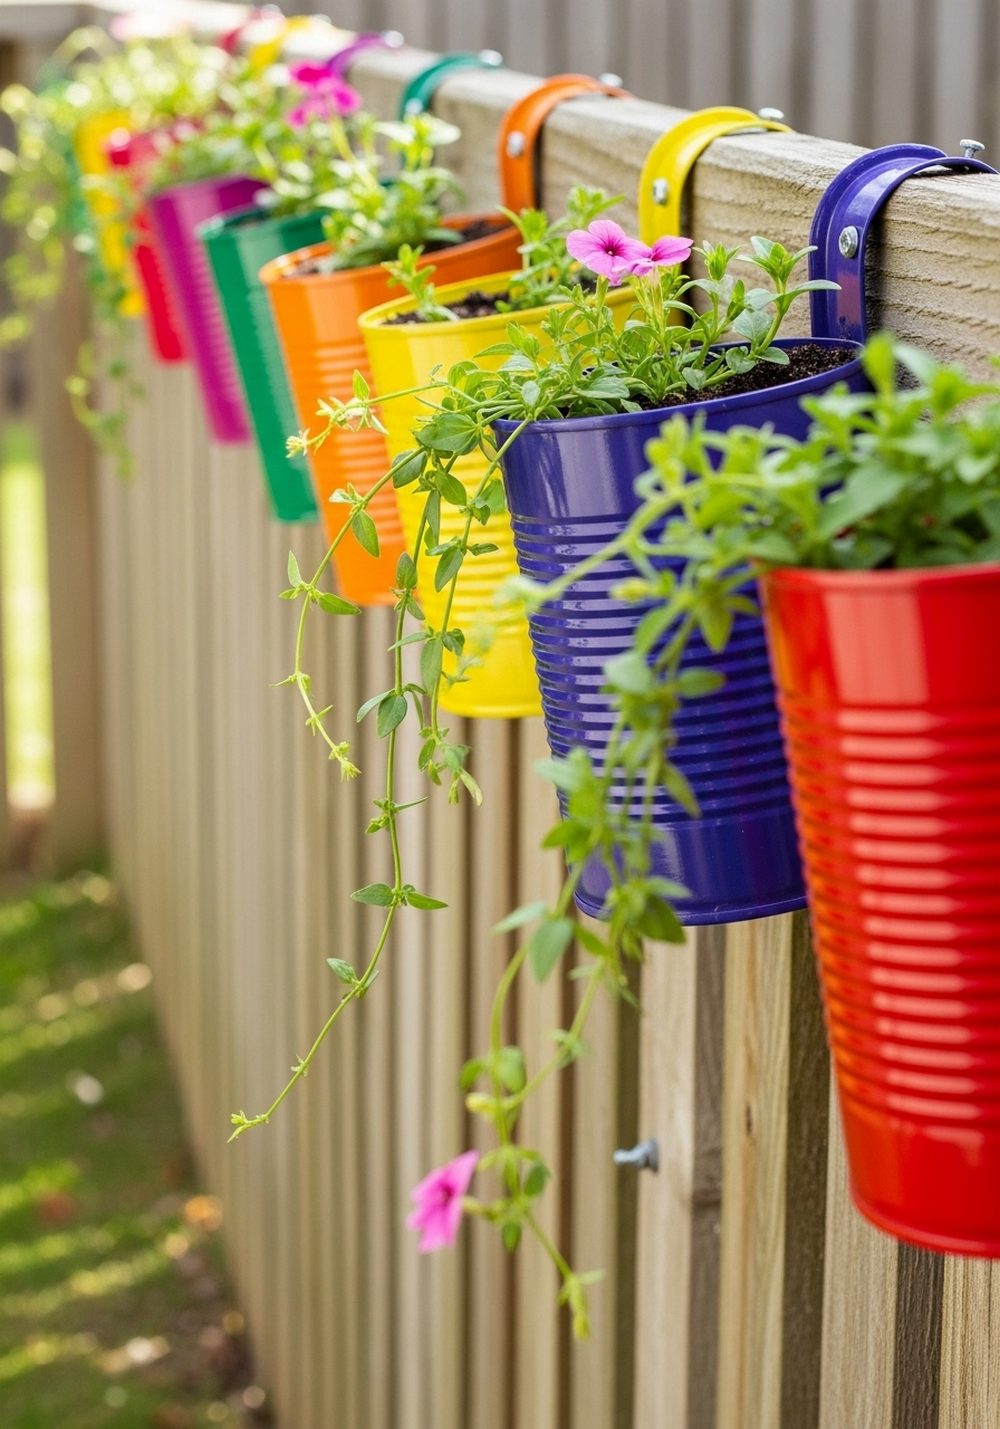
Line a dull fence with a row of rainbow-painted tin cans to create an instant happy backdrop for your yard. Paint each can a solid, bold color—red, orange, yellow, green, blue, and purple—then punch drainage holes in the bottom and attach them to the fence with sturdy screws or hooks. Fill them with trailing plants, bright annuals, or herbs. The blocks of color look especially striking against neutral fencing and make even a small yard feel playful and full of life.
- Best For: Long fences or walls that need a bright focal point.
- Budget Tip: Collect cans over time and use leftover paint from other projects.
- Styling Idea: Keep the fence itself a simple neutral so the rainbow really pops.
- Practical Note: Use a drill for drainage holes and to secure cans firmly to avoid wobbling in the wind.
2. Polka-Dot Herb Tin Can Trio
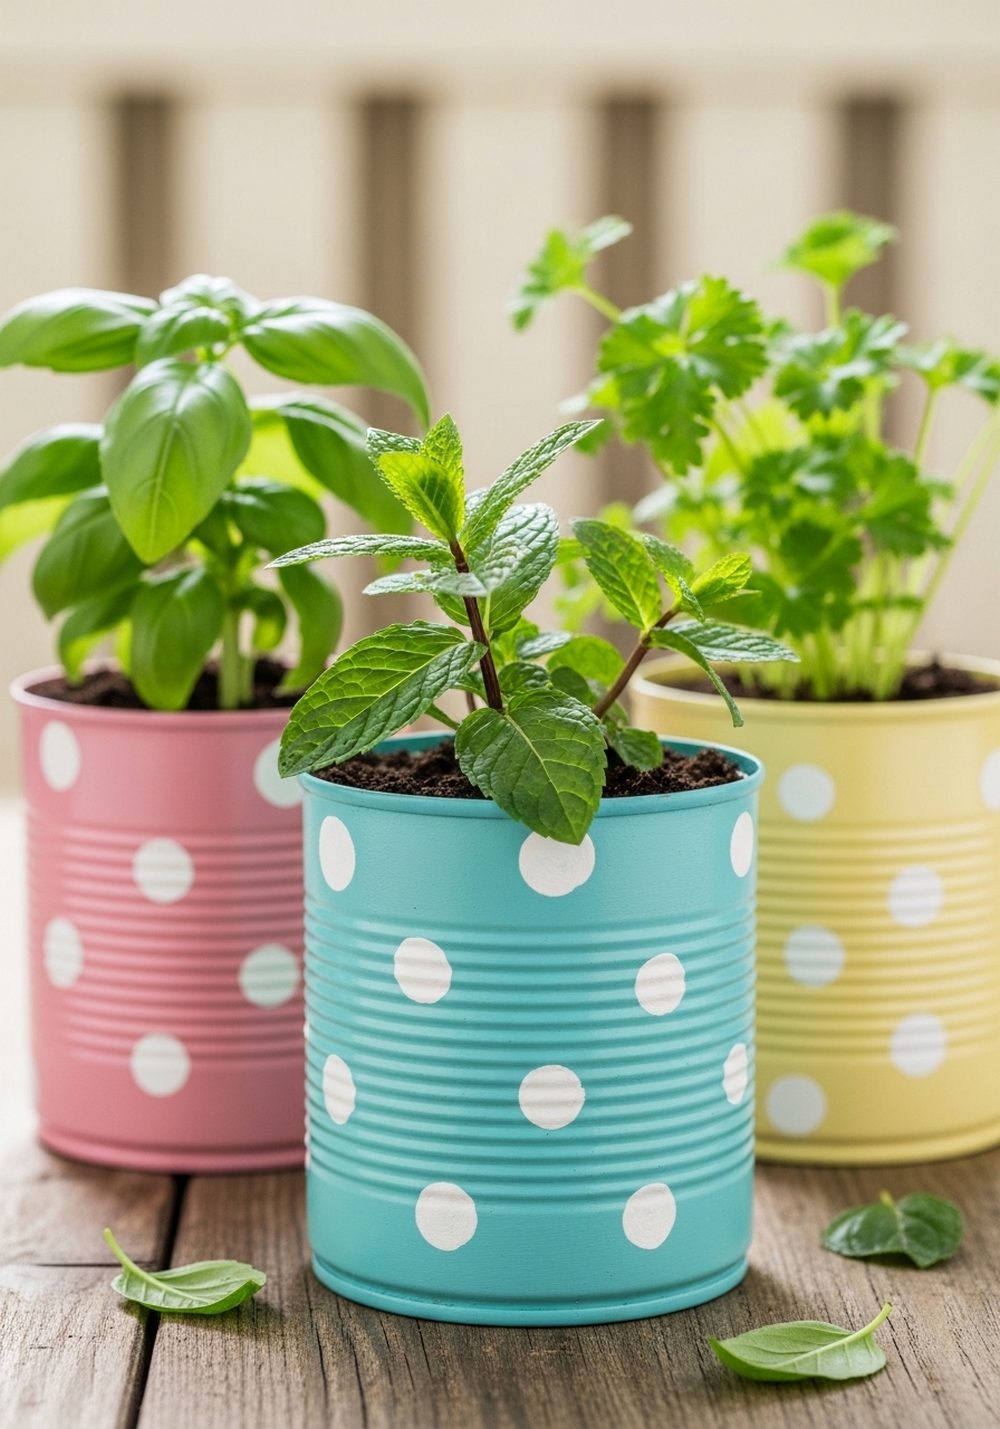
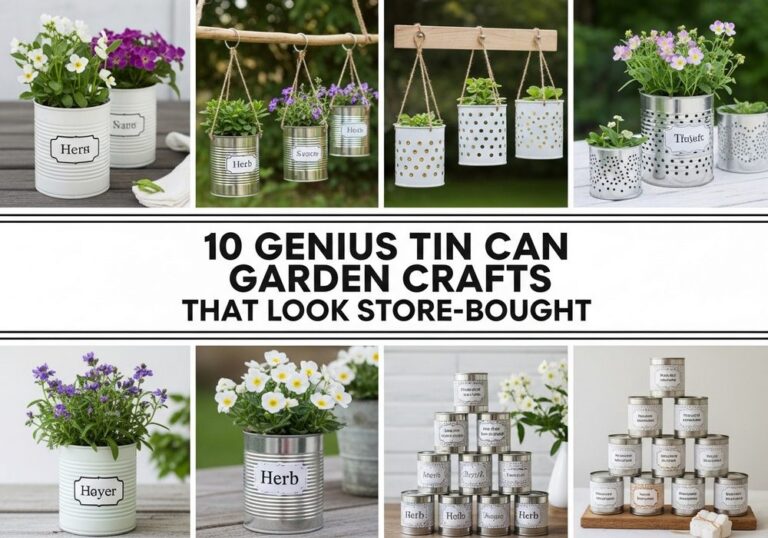
Create a cheery herb corner with three tin cans painted in soft pastel shades and finished with crisp white polka dots. Once the base color is dry, use the end of a sponge or a round brush to dab on dots. Plant a different herb in each can—maybe basil, mint, and parsley—and group them together on a small tray or wooden board. The polka dots add a light-hearted touch, while the herbs bring fragrance and fresh flavor to your outdoor dining or cooking area.
- Best For: Patio tables, outdoor kitchens, or sunny steps near the back door.
- Budget Tip: Use tester pots of paint and inexpensive herbs from the grocery store.
- Styling Idea: Stick to three coordinating pastel colors for a soft, cohesive look.
- Care & Maintenance: Snip herbs regularly to keep them compact and encourage new growth.
3. Ombre Tin Can Hanging Cluster
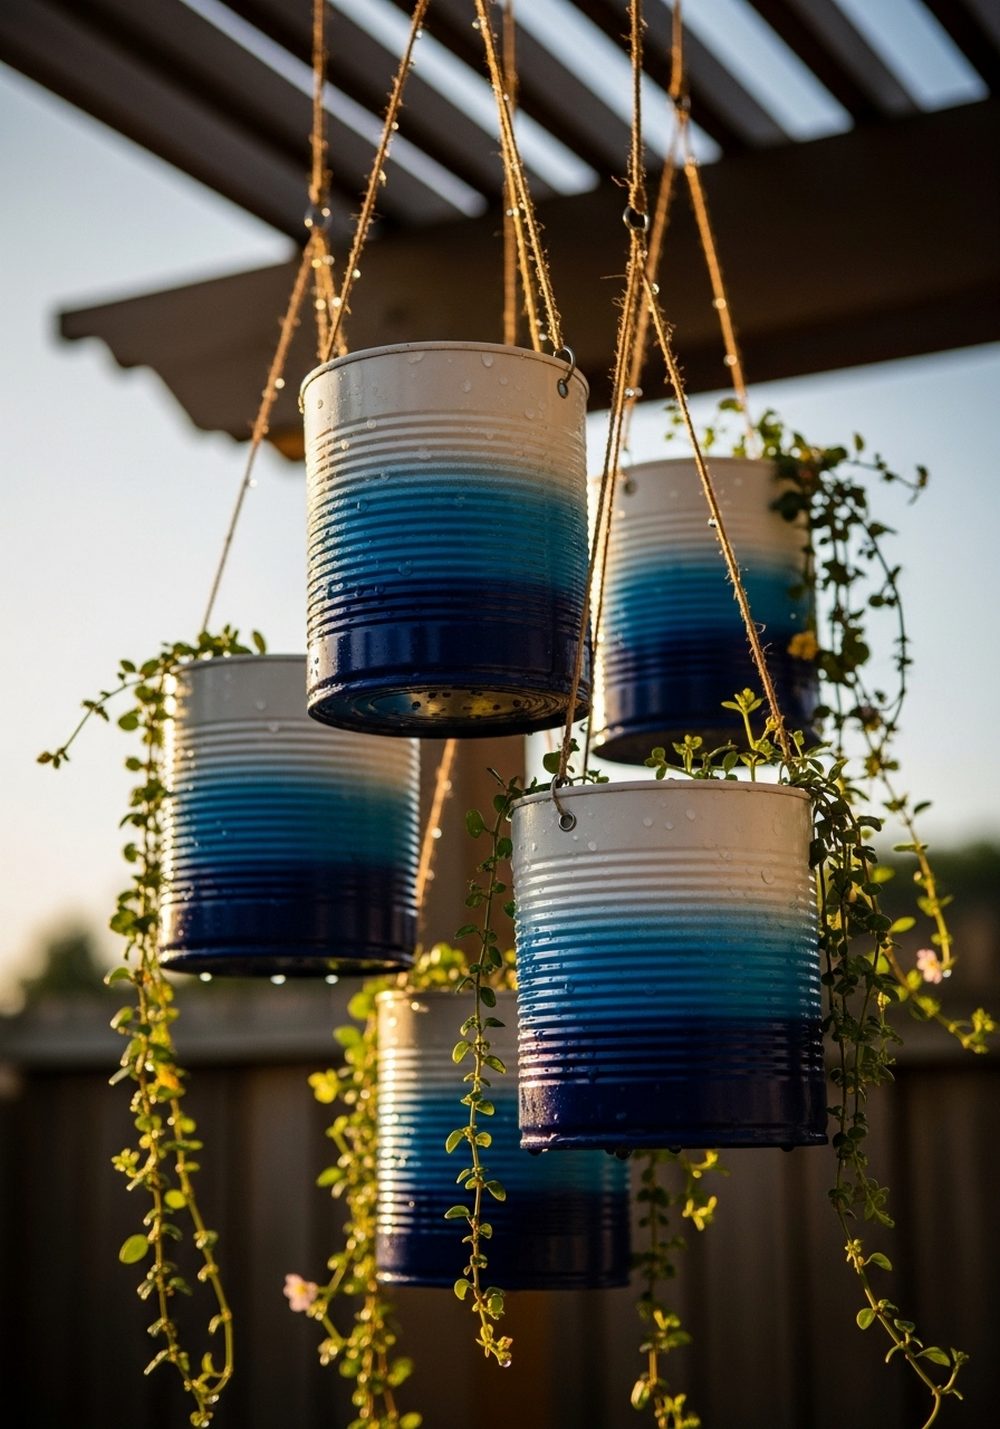
Turn a plain pergola or porch beam into a dreamy feature by hanging a cluster of ombre-painted tin cans at different heights. Choose one color family—like blues, pinks, or greens—and blend from pale at the top of each can to deeper shades at the bottom. Thread twine, rope, or chain through holes near the rim and hang them together in a small group. Add airy plants or trailing flowers so they spill down and move gently in the breeze.
- Best For: Over seating areas, pergolas, or covered porches.
- Budget Tip: Mix white paint into a single color to create your own ombre shades.
- Styling Idea: Keep all hangers the same material (all rope or all chain) for a tidy finish.
- Practical Note: Keep hanging height clear of heads and doorways for safe movement underneath.
4. Striped Tin Can Staircase Planters
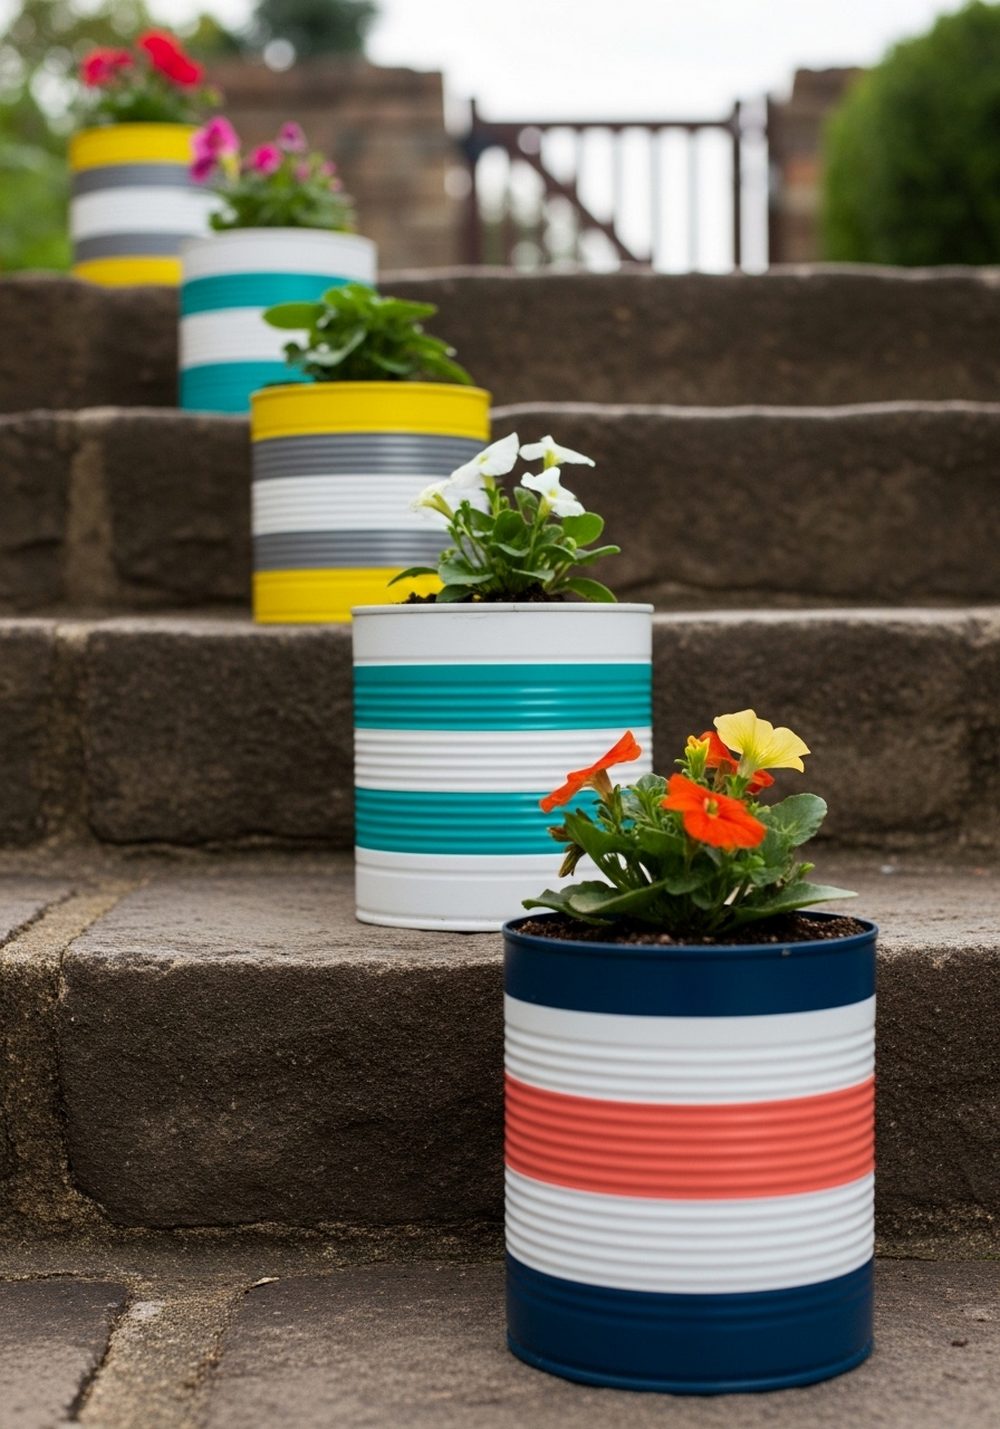
If your yard has steps, turn them into a mini garden display with striped tin can planters marching up the staircase. Paint each can a base color, then add neat horizontal or vertical stripes using masking tape as a guide. Position one or two cans on each step, alternating stripe patterns and colors. Fill them with compact flowers or small grasses, and you’ll create a fun rhythm of color that draws the eye up the stairs and makes every trip outside feel a bit more special.
- Best For: Front or back steps that feel bare or boring.
- Budget Tip: Reuse one or two paint colors throughout; let the stripes create variety.
- Styling Idea: Choose colors that echo your front door or outdoor cushions for a pulled-together look.
- Practical Note: Place cans to the sides of steps so they don’t become a tripping hazard.
5. Tin Can Faces Kids’ Garden
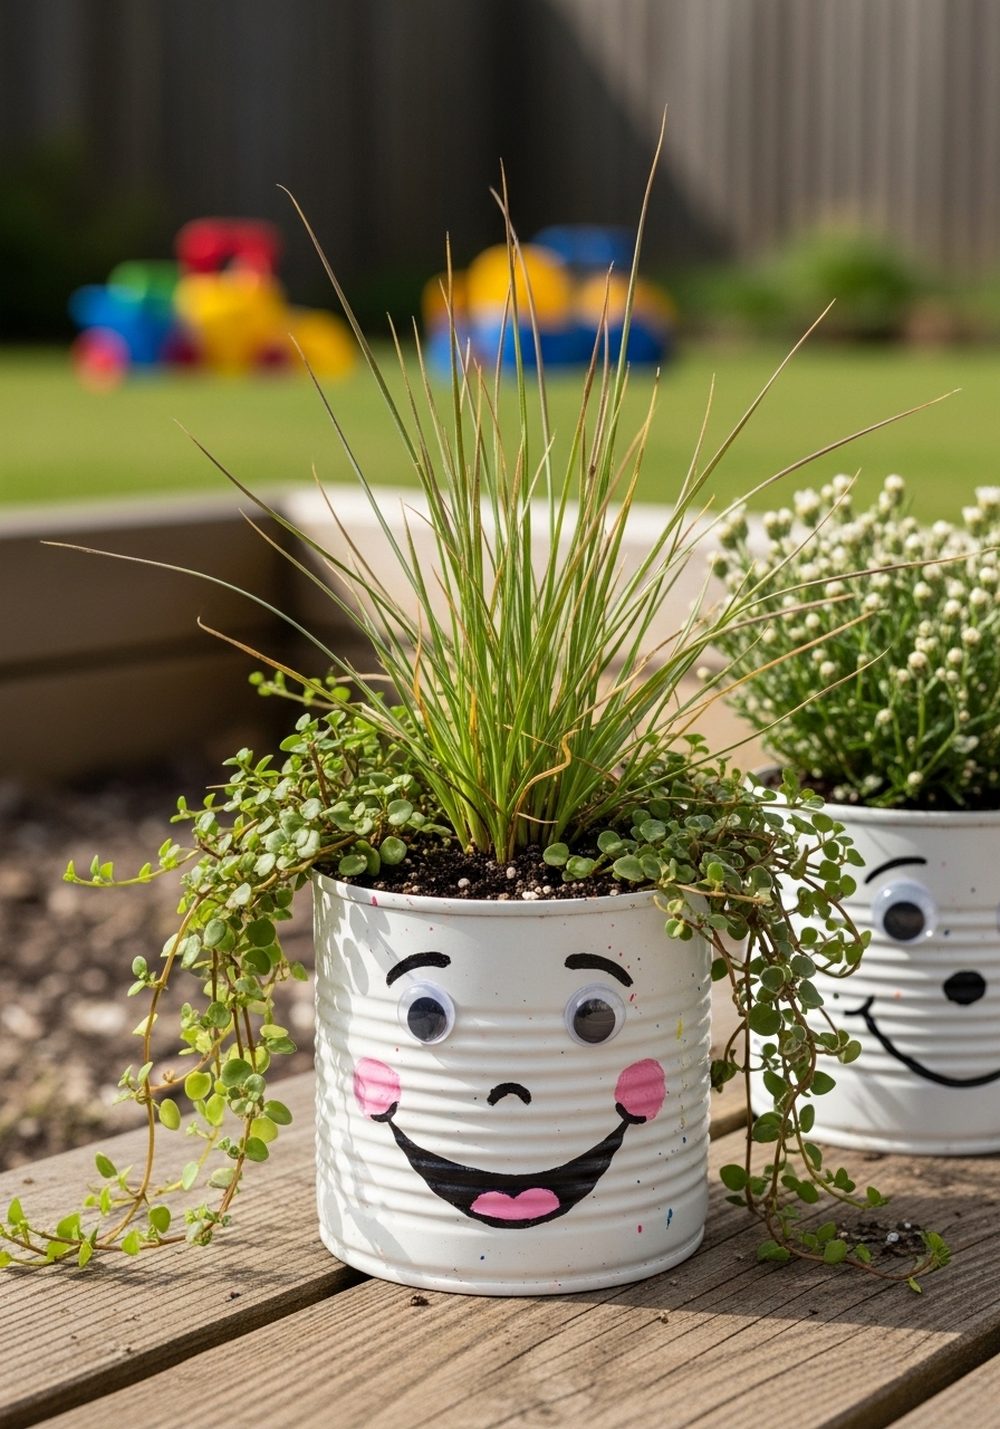
Invite children into the fun by turning tin cans into friendly “faces” with plants as their hair. Paint each can a skin-tone or bright color, then add simple eyes, noses, and mouths with a brush or paint pen. Plant spiky grasses, curly parsley, or tumbling lobelia so they look like wild hairstyles. Cluster the characters on a low wall, crate, or bench at kid height. It becomes a playful mini garden that children will be excited to water and care for.
- Best For: Family gardens, play areas, or schoolyard spaces.
- Budget Tip: Use basic craft paints and let kids decorate the cans themselves.
- Styling Idea: Mix different expressions—sleepy, surprised, smiling—for a fun little “crowd.”
- Practical Note: Supervise drilling holes and attaching any extra features so everything stays safe and secure.
6. Pastel Tin Can Window Ledge Line
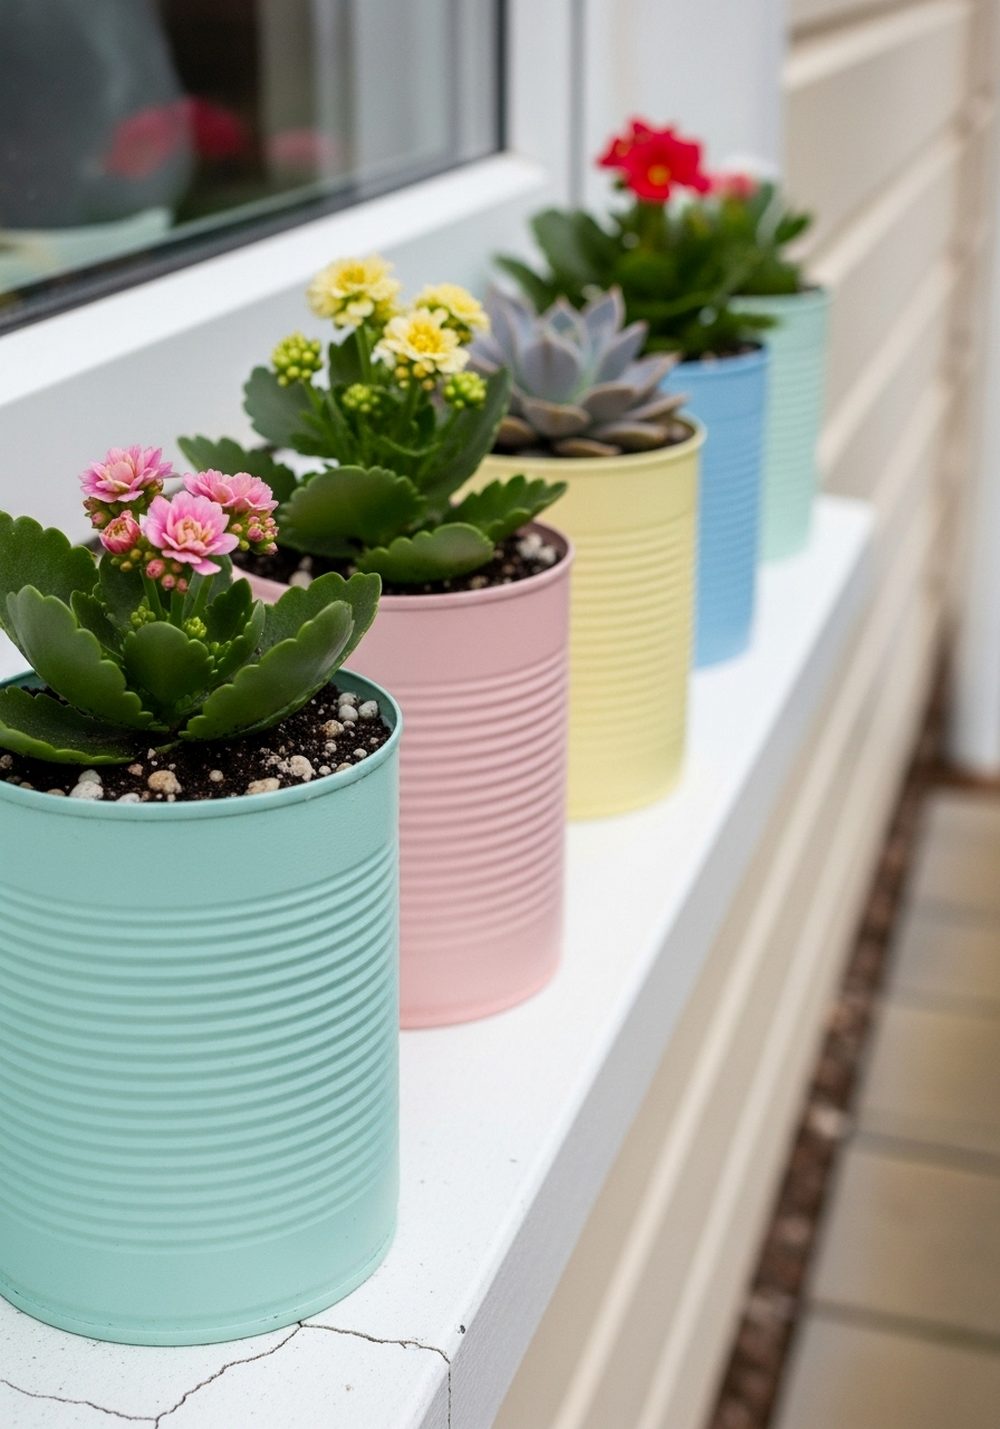
Dress up a plain window ledge with a row of pastel-painted tin can planters. Choose a soft palette—think mint, blush pink, pale lemon, and powder blue—and paint each can a solid shade. Once dry, add a simple white rim or leave them plain for a clean look. Plant low-growing flowers or small succulents so they won’t block the view. The gentle colors frame your window beautifully from both inside and outside, creating a calm, cheerful touch every time you look out.
- Best For: Windows facing the yard, patio, or street.
- Budget Tip: Use inexpensive annuals or small cuttings from existing plants.
- Styling Idea: Keep the pastel tones similar in softness so the line feels serene, not busy.
- Practical Note: Make sure cans have saucers or liners if the ledge could be damaged by water.
7. Boho Patterned Tin Can Shelf Display
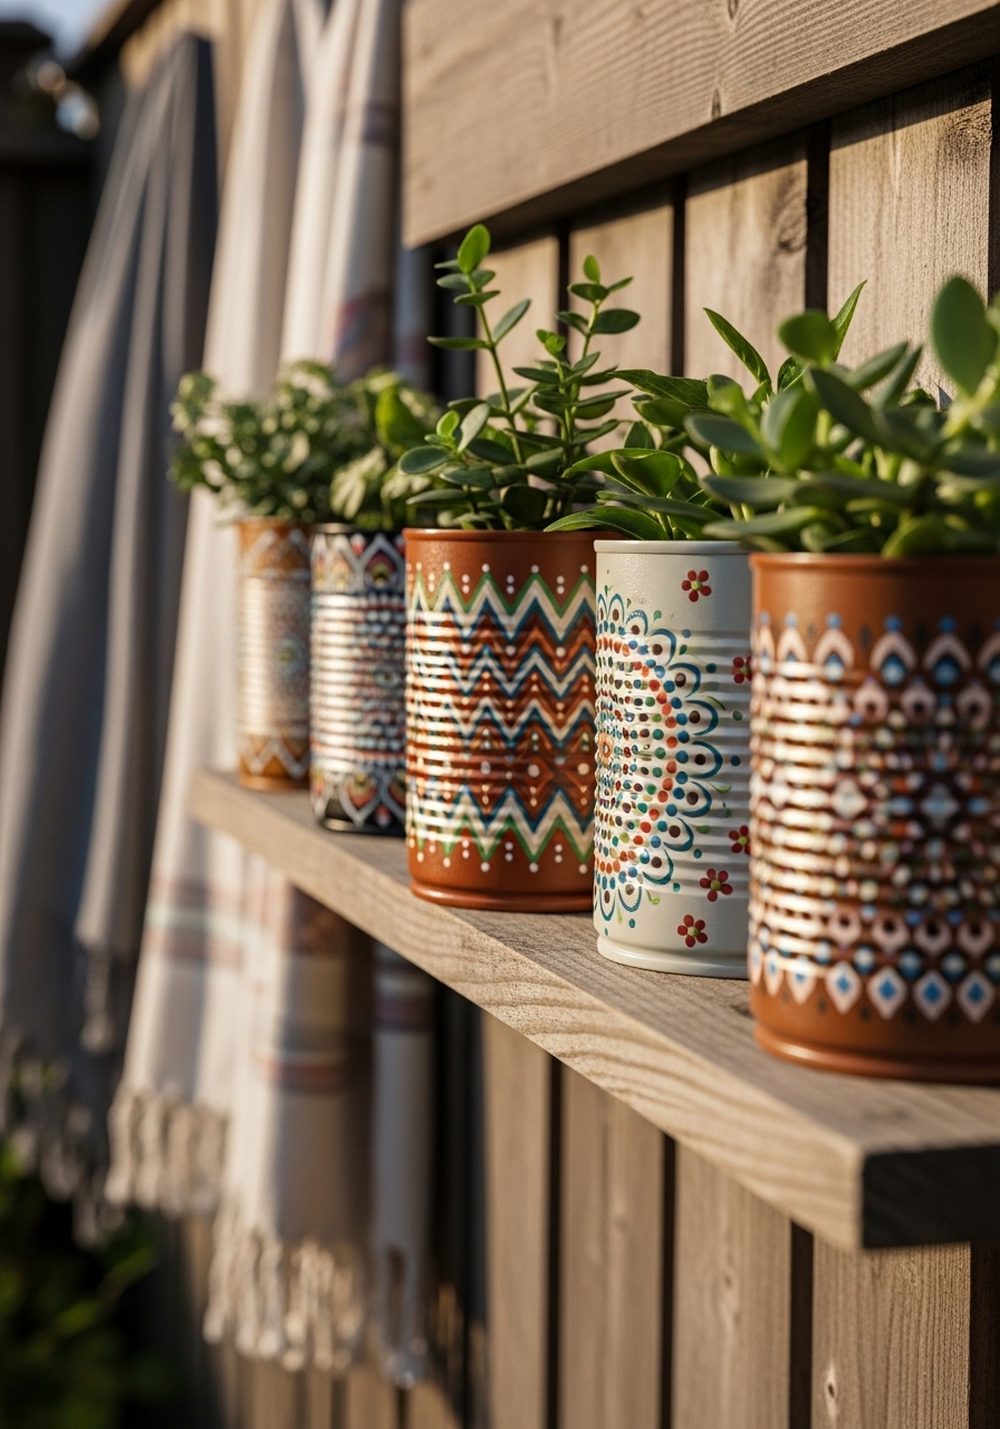
Add a boho twist to your garden with tin cans painted in eclectic patterns and arranged on an outdoor wall shelf. Use warm earthy tones with pops of teal or mustard, and paint simple mandalas, zigzags, dots, or tiny leaf motifs. Place the cans at varying heights on the shelf, mixing upright plants with trailing varieties for layered texture. The combination of pattern, color, and leaf shapes gives your yard a relaxed, collected-over-time feel, like a tiny art gallery made of plants.
- Best For: Empty walls, fences, or side-of-shed spaces that need character.
- Budget Tip: Start with just a few cans and add more patterns over time as you collect them.
- Styling Idea: Repeat one or two pattern motifs across different cans to tie the look together.
- Care & Maintenance: Check the shelf is level and sturdy, and secure it well to handle plant weight.
8. Metallic Tin Can Table Centerpieces
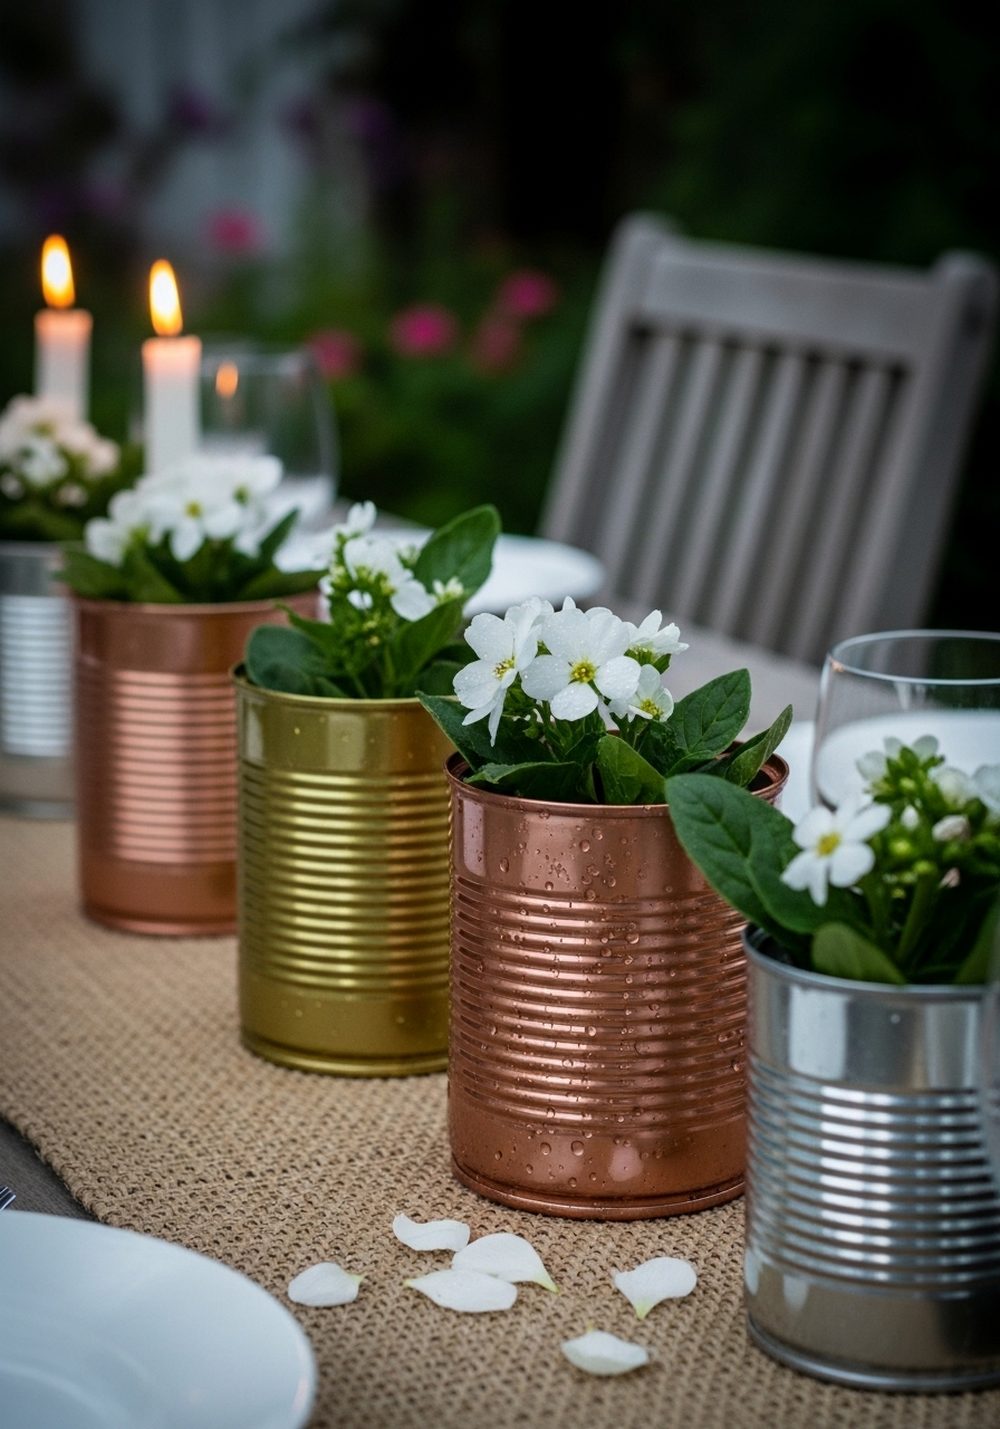
For casual outdoor dinners, turn tin cans into stylish metallic centerpieces. Spray or brush them in shades of gold, copper, or pewter, then plant them with simple white flowers, grasses, or even just cut greenery in water-filled jars slipped inside. Line several down the center of the table or cluster three together. The metallic finish catches candlelight and evening sun, adding a bit of sparkle while still feeling relaxed and homemade.
- Best For: Garden dining tables, side tables, or party buffets.
- Budget Tip: Use a single can of metallic spray paint and basic greenery from your own garden.
- Styling Idea: Keep plants simple and mostly green so the metallic shine stays the star.
- Practical Note: If using cut stems in water, tuck a glass or plastic cup inside the can for easy cleaning.
9. Chalkboard Label Tin Can Veggie Pots
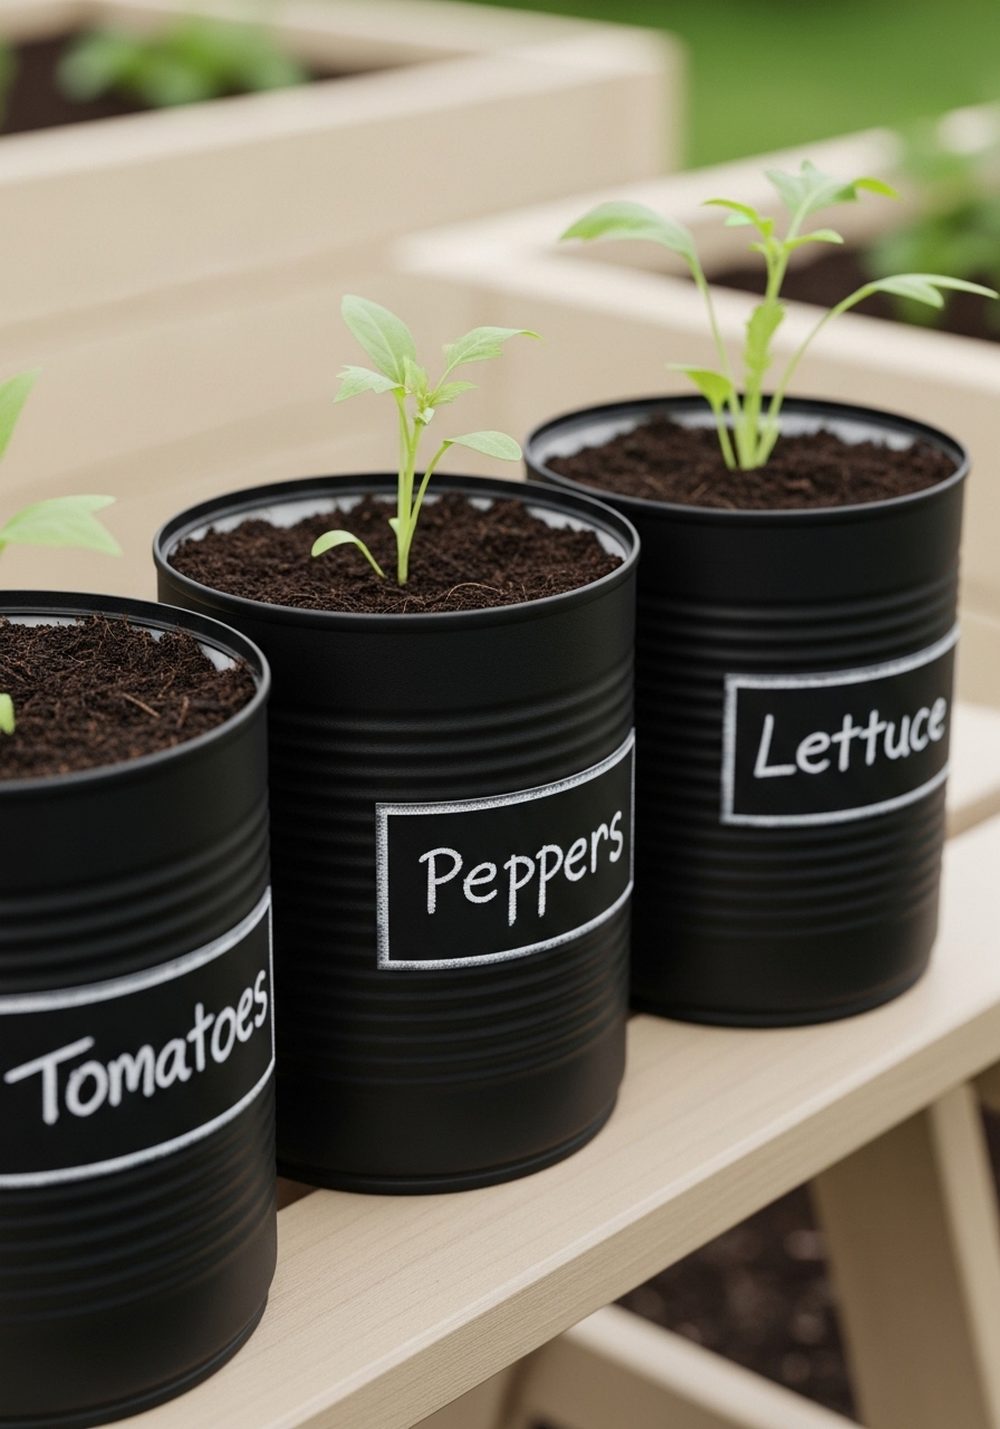
Combine style and practicality by painting tin cans with chalkboard paint and using them as labeled veggie pots. Once the paint is dry, draw a simple frame and write the plant name in chalk or a chalk marker. Line them on a bench, step, or low wall in a sunny area. You get a modern, slightly rustic look, and it’s easy to see what’s growing at a glance—especially handy if you’re new to vegetable gardening or gardening with children.
- Best For: Small kitchen gardens, balconies, or raised bed edges.
- Budget Tip: One tin of chalkboard paint goes a very long way across many cans.
- Styling Idea: Keep the writing neat and simple for a clean, modern potting-shed look.
- Care & Maintenance: Re-label as you replant each season, and wipe the chalk panels clean with a damp cloth.
10. Tin Can Flower Tower Totem
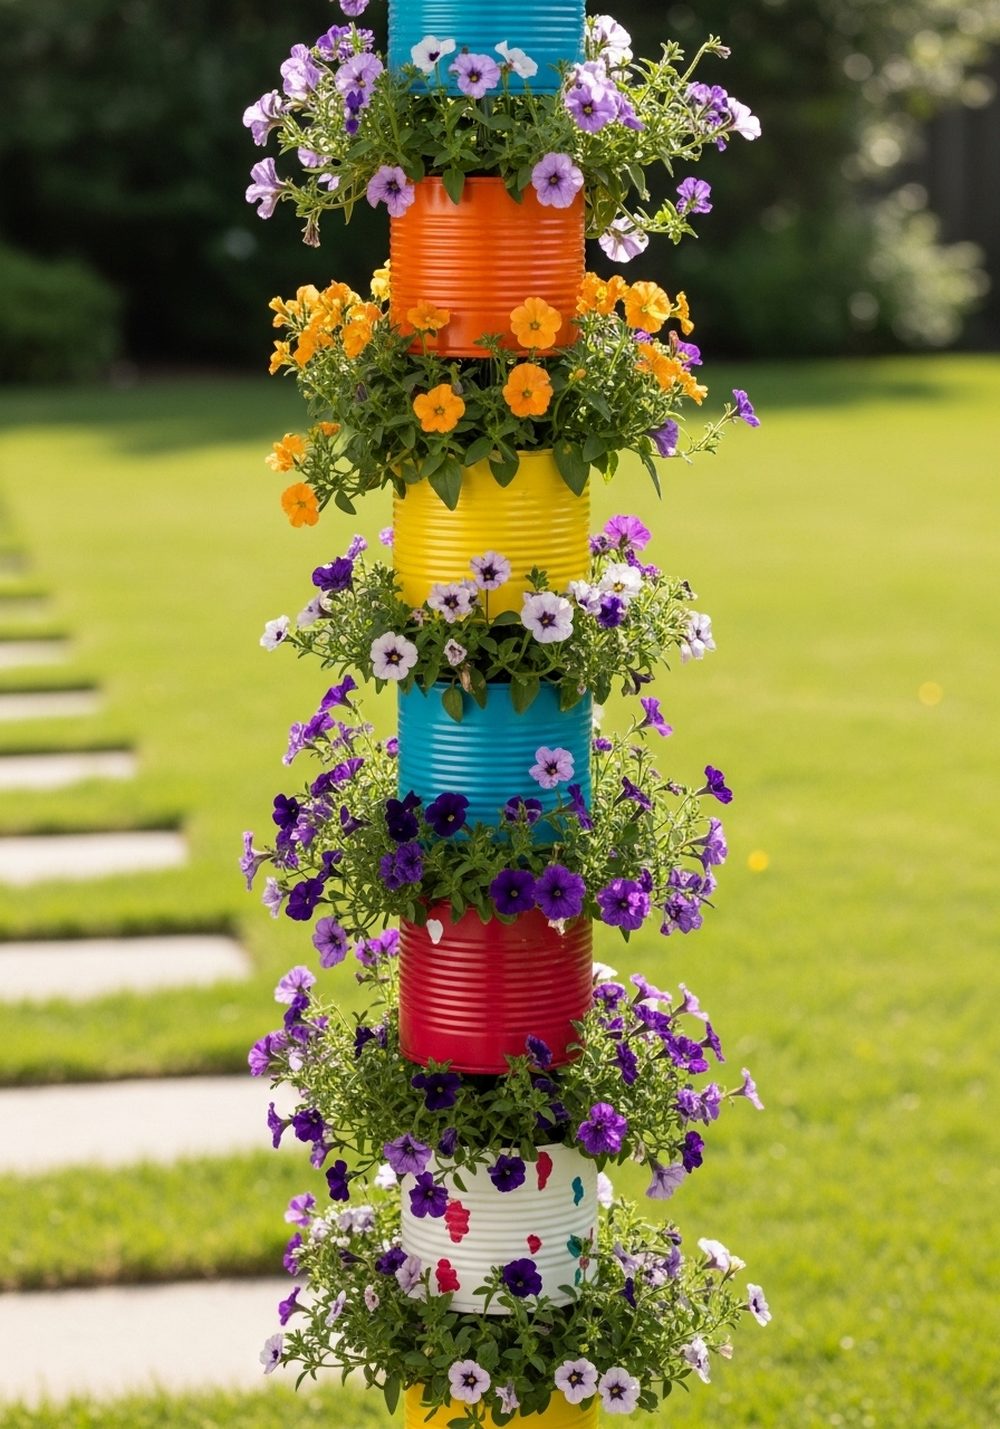
Make a bold statement with a vertical flower tower built from stacked tin cans. Thread a sturdy metal rod through the center of each can, spacing them slightly so they tilt at playful angles or sit neatly in a straight column. Paint each can a different bright color or pattern, then fill with trailing flowers and foliage. The tower becomes a colorful focal point that draws the eye upward and adds height where you might not have room for larger structures.
- Best For: Small yards that need a striking focal point or corners that feel flat.
- Budget Tip: Use a mix of inexpensive bedding plants and cuttings to fill the cans.
- Styling Idea: Choose a color scheme—sunny brights, seaside blues, or jewel tones—and stick to it for a strong look.
- Practical Note: Anchor the base firmly into the ground or a heavy pot so the tower stays stable in wind.
Conclusion
Painted tin can planters prove that you don’t need fancy materials to create a fun, welcoming yard. With a few saved cans, some paint, and a little imagination, you can brighten fences, steps, tables, and windows in a weekend. Start with one simple idea, see how much joy a pop of color brings, and then build from there. Before long, your outdoor space will feel more personal, playful, and full of cheerful little details.
FAQs
1. How can I make painted tin can planters on a very small budget?
Save cans from everyday groceries, wash them well, and remove labels. Use leftover wall paint, craft paint, or tester pots instead of buying full tins. Start with simple designs like solid colors or stripes, and add plants from cuttings, swaps with friends, or inexpensive seedlings.
2. Are tin can planters safe for renters who can’t make permanent changes?
Yes, they’re perfect. Most of these ideas can sit on steps, shelves, or window ledges without any drilling. If you want to hang them, use over-the-rail hooks, removable wall hooks suitable for outdoor use, or free-standing frames instead of screwing into walls or fences you don’t own.
3. How do I stop tin can planters from rusting or falling apart outdoors?
Always punch drainage holes so water doesn’t pool in the bottom. After painting, seal the outside with a clear outdoor varnish or sealant if possible. If a can eventually starts to rust, treat it as part of its rustic charm or simply replace the can while reusing the soil and plants.
4. What kind of plants work best in tin can planters?
Choose compact plants with shallow roots: herbs, small annual flowers, trailing plants, succulents, and some salad greens all do well. Avoid very large or deep-rooted plants that will quickly outgrow the limited soil, and make sure each can has enough drainage and gets the right amount of sun for the plant you choose.
5. Can I use these ideas on a balcony or tiny patio?
Absolutely. Many of these designs—like hanging clusters, window ledge lines, and small trios—are ideal for balconies. Use railings, walls, and vertical displays to save floor space, and keep cans light by using good quality potting mix rather than heavy garden soil.