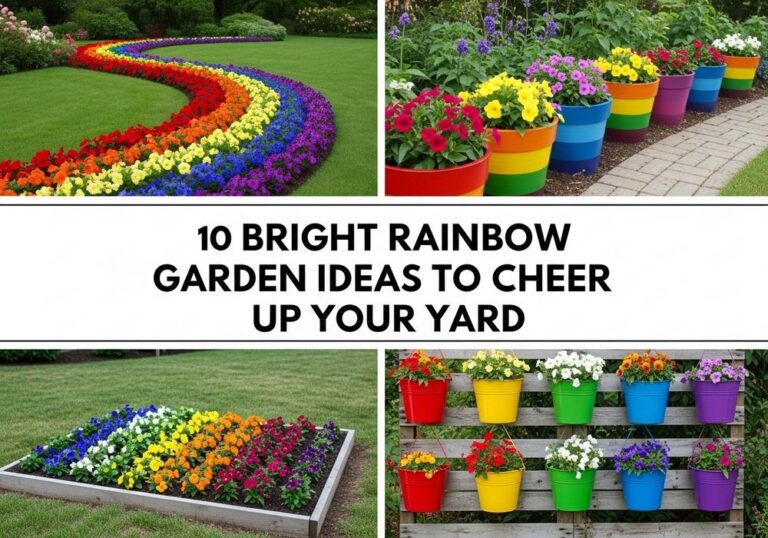
10 Genius Pallet Recycled Garden Ideas That Look Expensive

If you’ve been eyeing designer garden furniture and statement planters but not the price tags, wooden pallets might just be your new best friend. With a bit of sanding, staining, and clever layout, those humble shipping crates can turn into outdoor pieces that look boutique, not budget.
This guide is for home gardeners, renters, and small-space owners who want a polished, custom feel without spending a fortune. You’ll find pallet projects that add height, storage, seating, and serious style to patios, balconies, and back gardens. Most can be built in a weekend with basic tools, and all of them are designed to look high-end, not homemade.
Quick List
- Luxe Vertical Pallet Herb Wall
- Pallet-Slat Garden Lounge Sofa
- Painted Pallet Deck Tiles
- Pallet-Framed Mirror Feature Wall
- Tiered Pallet Planter Staircase
- Pallet Bar Cart & Serving Station
- Pallet Pergola With Climbing Vines
- Floating Pallet Shelf Wall
- Pallet Headboard-Style Flower Wall
- Pallet Coffee Table With Planter Center
1. Luxe Vertical Pallet Herb Wall

Turn a basic pallet into a “designer” herb wall by sanding it smooth, painting it a deep charcoal or soft sage, and lining each cavity with landscape fabric. Fill with compost and tuck in herbs like basil, thyme, and parsley so they spill through the slats. Mount the pallet securely to a fence or wall, then add small metal plant labels or handwritten names for a custom look that feels like a high-end restaurant terrace.
- Best For: Small patios, balconies, or narrow side yards where floor space is limited.
- Budget Tip: Use leftover paint samples and recycled compost bags as liners.
- Styling Idea: Keep herbs in a restrained palette—only green foliage—for a clean, modern feel.
- Practical Note: Make sure the wall or fence behind it can take the weight when watered.
- Care & Maintenance: Water slowly from the top so it trickles through all pockets.
2. Pallet-Slat Garden Lounge Sofa
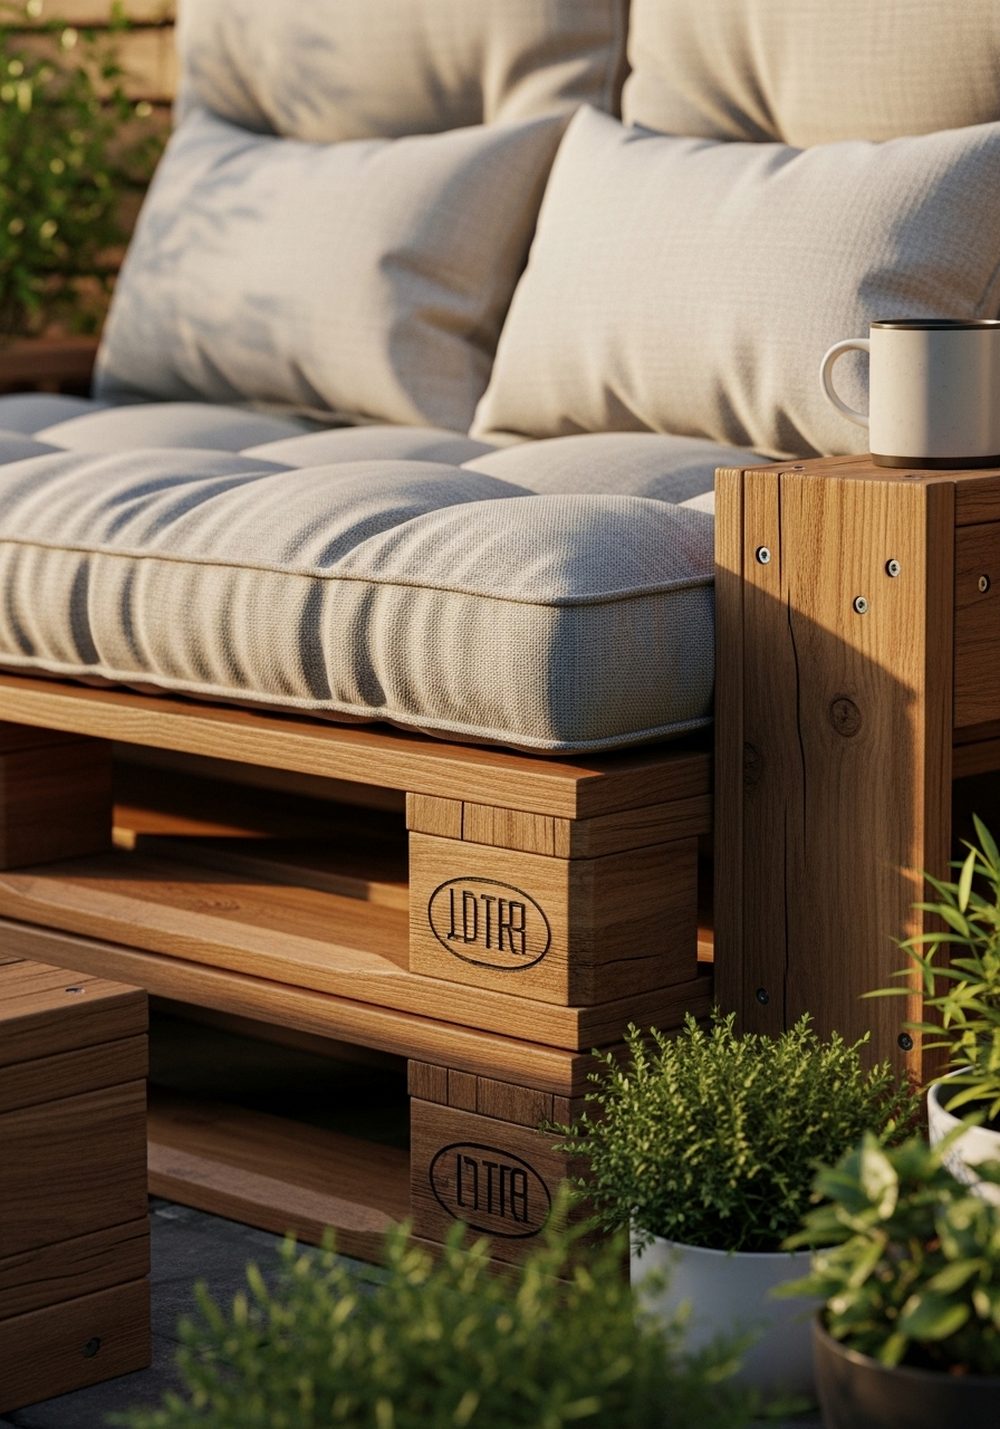
Stack pallets two or three high to form a sturdy base, then add a backrest by standing another pallet on its side and bolting it securely. Sand every edge and stain the wood a rich walnut or soft driftwood colour. Top with thick cushions or a foam mattress cut to size and covered in outdoor fabric. The finished sofa looks like custom lounge seating, especially when styled with a throw and a few coordinating cushions.
- Best For: Covered patios or decks where you want a chill-out zone.
- Budget Tip: Use second-hand cushions or an old mattress wrapped in waterproof fabric.
- Styling Idea: Choose one accent colour for cushions so the sofa looks intentional, not random.
- Practical Note: Add felt pads or rubber feet under the pallets to protect decking surfaces.
- Care & Maintenance: Re-oil or re-stain each spring to keep the wood looking expensive.
3. Painted Pallet Deck Tiles

Dismantle pallets and cut the boards into equal lengths, then screw them onto simple square frames to create chunky “tiles.” Stain them in two or three complementary shades—think warm oak, soft grey, and light beige—and lay them in a herringbone or checkerboard pattern on a compact patio. The layered tones and pattern feel custom-built, giving you the look of a designer deck without the cost of full timber flooring.
- Best For: Dated concrete slabs or small courtyards that need a major style lift.
- Budget Tip: Keep offcuts to fill awkward gaps along edges instead of buying extra lumber.
- Styling Idea: Pair with sleek black pots and minimal planting for a modern, boutique vibe.
- Practical Note: Ensure tiles sit on a level, well-drained base so water doesn’t pool.
- Care & Maintenance: Seal with exterior varnish to resist weather and foot traffic.
4. Pallet-Framed Mirror Feature Wall

Create a dramatic focal point by framing a simple outdoor-safe mirror with pallet wood. Cut boards to size, sand them smooth, and arrange in a wide frame around the mirror, mixing slightly different tones for a reclaimed, designer feel. Mount it on a blank fence or wall where it reflects greenery or the sky. The mirror bounces light around the space and instantly makes even a tiny courtyard feel bigger and more luxurious.
- Best For: Shady corners or enclosed patios that need more light and depth.
- Budget Tip: Use a basic frameless mirror and upgrade it with your pallet surround.
- Styling Idea: Plant a small bed of ferns or hostas directly under the mirror for a lush reflection.
- Practical Note: Use proper exterior fixings and make sure the mirror is securely anchored.
- Care & Maintenance: Wipe glass and brush off cobwebs regularly to keep it bright.
5. Tiered Pallet Planter Staircase

Stack cut pallet sections to form a stepped, stair-like structure, screwing each layer into the one below. Line the cavities with fabric and fill with compost, planting a mix of trailing plants at the front and taller flowers or edibles at the back. The tiers give the effect of a pricey multi-level planter, adding height and drama to your garden while still being built from rescued wood.
- Best For: Against walls, fences, or as a focal point at the end of a path.
- Budget Tip: Start with three tiers and add more as you collect spare pallets.
- Styling Idea: Choose a single colour theme—like white flowers with silver foliage—for a designer look.
- Practical Note: Make sure the base is stable and level so the staircase doesn’t lean.
- Care & Maintenance: Water from the top tier and let moisture naturally work its way down.
6. Pallet Bar Cart & Serving Station

Stand a pallet upright and attach a deep shelf across the front for bottles and glasses, then fix smaller shelves or hooks above for tumblers and tools. Add locking casters to the base so you can wheel it into position when guests arrive. Once stained and styled with glassware, a small ice bucket, and potted herbs, it looks far more expensive than it really is—perfect for summer evenings in the garden.
- Best For: Entertainers who love weekend barbecues and outdoor drinks.
- Budget Tip: Salvage old castors from a discarded piece of furniture or buy budget wheels.
- Styling Idea: Keep glasses clear and accessories simple so the wooden bar feels upscale.
- Practical Note: Store it under cover or wheel it inside when bad weather is forecast.
- Care & Maintenance: Wipe spills quickly and reseal the top regularly to protect the wood.
7. Pallet Pergola With Climbing Vines

Use sturdy pallet beams as posts and crossbeams to create a slim pergola over a bench or path. Sand and treat the wood, then position planters at the base of each post, planting climbers like jasmine, clematis, or climbing roses. As the vines grow, they soften the structure and create a delicate, leafy roof that looks like something from a boutique hotel garden but is rooted in simple recycled materials.
- Best For: Defining a seating area or framing a doorway into the garden.
- Budget Tip: Combine pallet beams with a couple of new, pressure-treated posts for strength.
- Styling Idea: Add soft string lights woven through the beams for evening sparkle.
- Practical Note: Set posts in concrete or metal spikes so the pergola stays safe and secure.
- Care & Maintenance: Prune climbers yearly to keep growth manageable and the structure visible.
8. Floating Pallet Shelf Wall

Cut pallet planks into matching lengths and fix them with hidden brackets as floating shelves along a bare wall or fence. Group them at varying heights and lengths to create a curated gallery for small pots, candles, and decor pieces. The slim lines of the shelves make the whole wall look thoughtfully designed, like a high-end outdoor living room, especially when styled with repeated shapes and colours.
- Best For: Blank walls beside seating areas or narrow balconies.
- Budget Tip: Use offcuts from other pallet projects for the smaller shelves.
- Styling Idea: Stick to one pot colour—terracotta, black, or white—for a cohesive, designer mood.
- Practical Note: Don’t overload shelves; keep heavier pots on lower levels for safety.
- Care & Maintenance: Choose hardy, drought-tolerant plants to reduce watering fuss.
9. Pallet Headboard-Style Flower Wall

Build a wide, tall panel from pallet planks and mount it behind existing planters or along the back of a border. Stain it in a soft, even tone and run fairy lights, small hanging pots, or narrow trellises across it. The panel acts like a stylish headboard for your plants, framing them and instantly giving the area a boutique, “designed” finish that looks far more expensive than a plain fence.
- Best For: The back of raised beds, container groupings, or a seating nook.
- Budget Tip: Mix a few new boards with pallet timber if you need extra height but lack pallets.
- Styling Idea: Use warm white string lights and simple black metal hooks for a chic, minimal look.
- Practical Note: Leave a small gap between panel and fence so air can circulate and wood dries out.
- Care & Maintenance: Refresh the stain every couple of years to prevent weathering from looking scruffy.
10. Pallet Coffee Table With Planter Center

Stack and screw pallets into a low rectangle, then cut out a central section and line it to create a built-in planter. Fill with pebbles, succulents, or scented herbs and finish the outer surface with a smooth sand and stain. The mix of table and greenery feels like bespoke outdoor furniture, especially when paired with a pallet sofa or existing seating and styled with a tray, lantern, or magazines.
- Best For: Outdoor living rooms where you relax with drinks or a book.
- Budget Tip: Use free offcuts or stones from elsewhere in the garden for the planter core.
- Styling Idea: Choose all-white or all-grey pots around it so the table becomes the star.
- Practical Note: Add locking wheels so it’s easy to move yet stays put when in use.
- Care & Maintenance: Check drainage in the planter section so excess water doesn’t sit in the wood.
Conclusion
With a few well-chosen pallets, some sanding time, and a couple of tins of stain or paint, you can give your outdoor space the polished feel of a designer garden without the designer budget. Start with one simple project—a vertical herb wall, a coffee table, or a set of shelves—and see how it transforms the mood of your patio or balcony. Once you catch the bug, you can keep building, layering textures, heights, and cosy corners until your garden looks quietly expensive all year round.
FAQs
1. How can I make pallet garden projects look genuinely high-end?
Focus on preparation and finishes. Sand the wood thoroughly, fill any major gaps, and choose a cohesive stain or paint colour that suits your home. Then style each piece with matching cushions, simple pots, and limited colours so everything feels intentional, not improvised.
2. Are these pallet ideas suitable for renters?
Yes, many of them are. Freestanding pieces like sofas, coffee tables, bar carts, and staircase planters can move with you. For vertical projects, consider leaning a pallet against a wall instead of fixing it, or use removable brackets so you can take everything down without leaving damage.
3. How do I protect pallet furniture from the weather?
Use pallets marked as heat-treated, not chemically treated, and always seal the wood with an exterior-grade stain or varnish. Elevate pieces slightly off the ground, and if possible, place them under some cover. Soft furnishings should be stored indoors or in a waterproof box when not in use.
4. What are the best pallet ideas for a very small balcony?
Go vertical: a slim herb wall, floating pallet shelves, or a headboard-style flower panel take almost no floor space. Pair one compact seating piece, like a narrow pallet bench, with a tiny pallet coffee table or even just a top that sits over a storage box.
5. Is it safe to grow food in pallet planters?
It can be, as long as you choose pallets that are clearly stamped as heat-treated and look clean and undamaged. Line the planter sections with food-safe plastic or fabric so the soil doesn’t sit directly on the wood. When in doubt, keep edibles in separate pots nestled inside your pallet structures.
6. I’m a beginner—what’s the easiest pallet project to start with?
A vertical herb wall or a simple floating shelf is a great first step. Both need basic cuts and screws, and you’ll see a big visual change in a short time. Once you’re confident with sanding and sealing, you can move on to larger builds like a sofa or coffee table.