
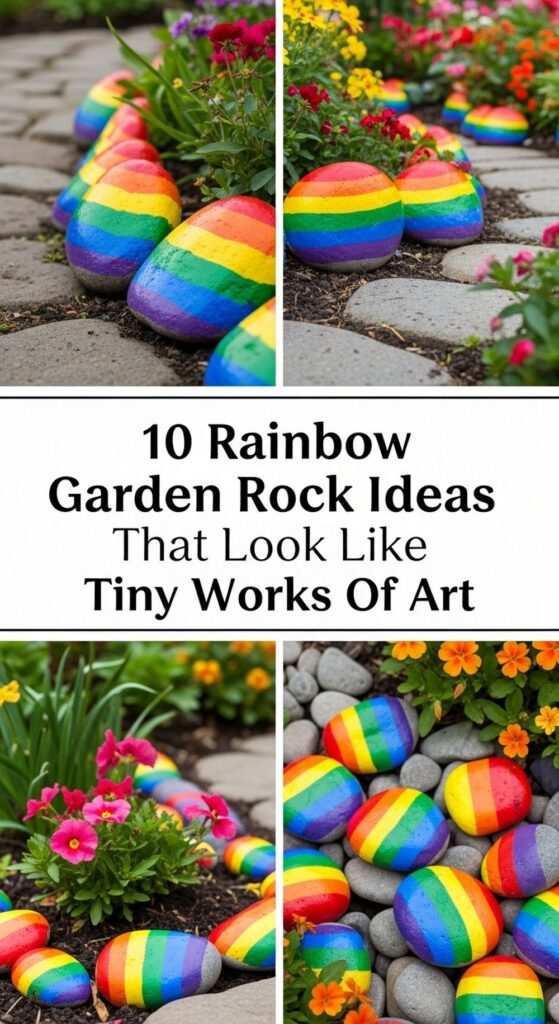
10 Rainbow Garden Rock Ideas That Look Like Tiny Works Of Art
If you love color but don’t have a huge budget for garden decor, rainbow rocks might become your new obsession. With just a handful of smooth stones and a few paint pots, you can turn the smallest patch of soil, a balcony pot, or a front step into a cheerful little gallery.
In this post, you’ll find ten easy ways to use painted rainbow rocks to decorate your outdoor space. Each idea is simple enough for beginners, kid-friendly, and completely customizable to your style. Whether you rent, own, or just have a single planter, these tiny works of art will add charm, personality, and instant joy to your garden.
Quick List
- Rainbow Pathway Pebbles
- Mini Rainbow Rock Garden Borders
- Rainbow Mandala Feature Stone
- Stacked Rainbow Rock Cairns
- Rainbow Story Stones In A Tray
- Rainbow Rock River Through Mulch
- Rainbow Galaxy Garden Rocks
- Rainbow Bug & Critter Rocks
- Rainbow Message Stones In A Bowl
- Rainbow Rock Steps Between Plants
1. Rainbow Pathway Pebbles

Line the edge of a small path or stepping stones with rainbow-painted pebbles for an instant mood lift. Choose smooth, palm-sized stones and paint each one a different bright color before sealing them for outdoor use. Tuck them into the soil or gravel so they feel slightly embedded, like tiny jewels framing your walkway. The contrast between vibrant colors and natural greens makes every stroll through the garden feel special, even if it’s just to the compost bin.
- Best For: Short paths, side alleys, and around stepping stones.
- Budget Tip: Collect stones from your own yard or buy a single bag of landscaping rocks to paint over time.
- Styling Idea: Arrange in color gradients from warm reds to cool blues for a smooth, satisfying rainbow effect.
- Practical Note: Avoid placing them where lawnmowers or trimmers might fling the rocks.
2. Mini Rainbow Rock Garden Borders

Instead of traditional bricks, build a playful border around small beds using chunky rainbow rocks. Paint each stone in stripes, polka dots, or color-blocked bands, then sink them halfway into the soil so they stand upright like tiny sculptures. This creates a clear line between lawn and bed while adding a bright, whimsical edge. It’s an easy way to define herb patches, flower beds, or even a kid’s “own” garden space.
- Best For: Herb beds, children’s gardens, and small raised beds.
- Budget Tip: Start with just the front edge or a single corner and add more rocks as you have time and paint.
- Styling Idea: Repeat a few patterns (dots, stripes, ombré) so the border looks fun but not chaotic.
- Care & Maintenance: Reseal or touch up the tops every year or two if your climate is very sunny or wet.
3. Rainbow Mandala Feature Stone

Turn one large rock into a focal point by painting a rainbow mandala of tiny dots and circles across its surface. Place this “hero stone” where your eye naturally lands: at the base of a tree, in a pot, or at the center of a small bed. The repeating pattern looks intricate but is surprisingly meditative to create, and the mix of colors draws attention without needing any additional decor.
- Best For: Focal points in small gardens, courtyards, and container displays.
- Budget Tip: Use a single chunky rock you already have and just a few paint colors, mixing shades as you go.
- Styling Idea: Echo mandala colors in nearby flowers or cushions to tie the whole area together.
- Practical Note: Seal thoroughly and place where it won’t be kicked or stepped on.
4. Stacked Rainbow Rock Cairns
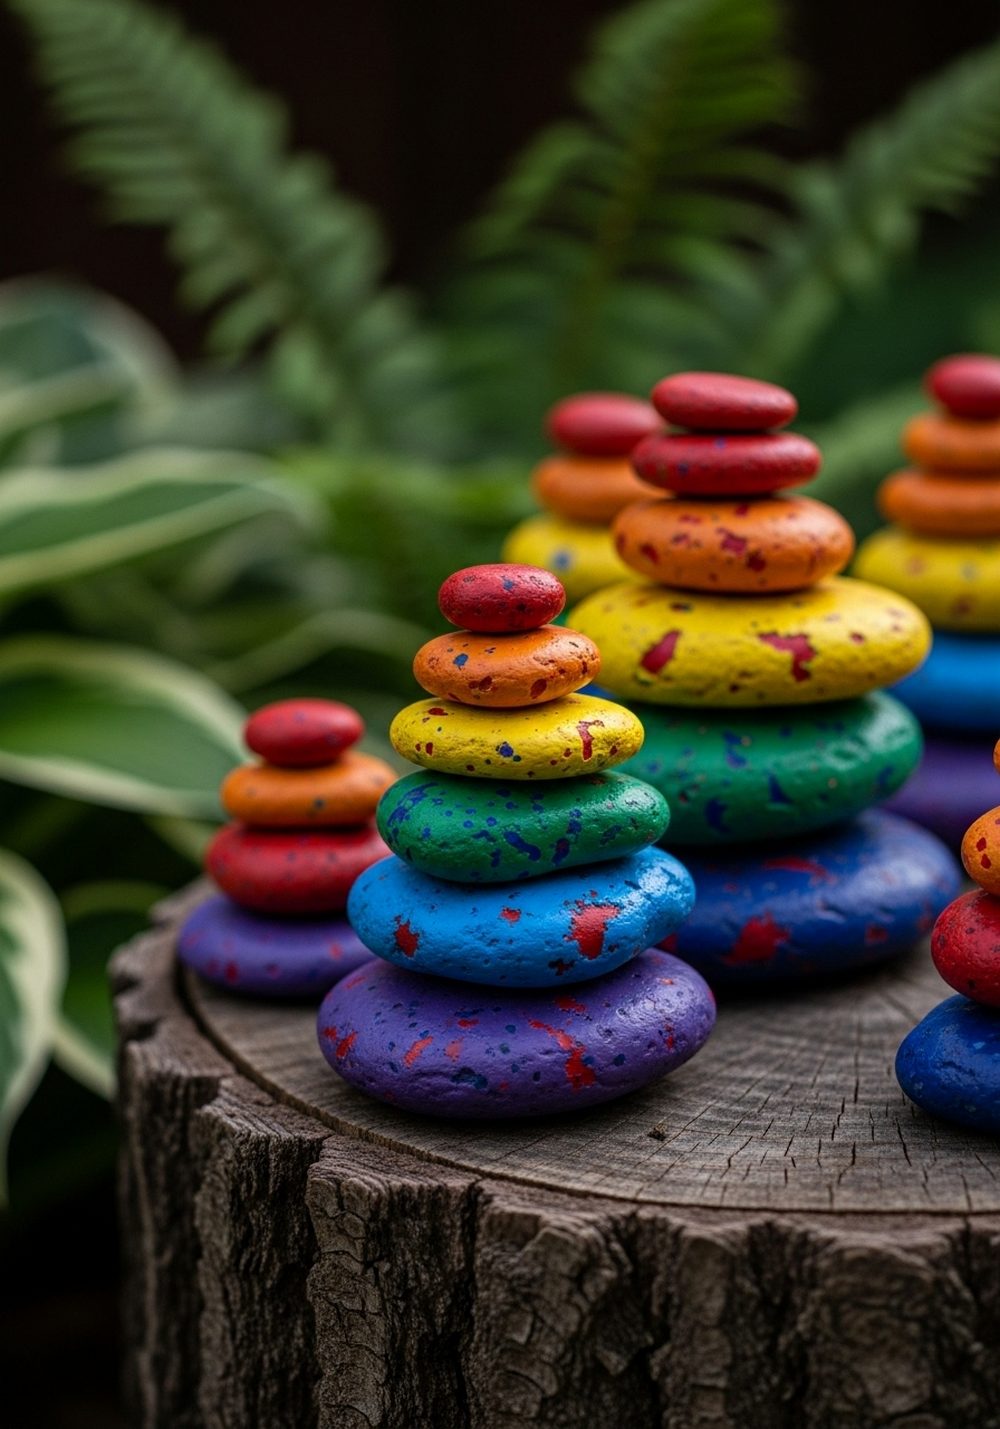
Stack flat, painted stones into rainbow towers for a sculptural, Zen-meets-playful look. Paint each rock a different color, then experiment with balancing them on a stump, a large rock, or a low wall. These little cairns add height and interest at eye level and can be rearranged whenever you like. They’re especially charming in shady corners where flowers struggle, bringing color where blooms can’t.
- Best For: Shady spots, near seating areas, and on top of logs or stumps.
- Budget Tip: Use offcuts or imperfect stones; uneven shapes actually make the stacks more characterful.
- Styling Idea: Make several short stacks in various heights to create a mini rainbow “village” of towers.
- Care & Maintenance: Disassemble in storms or high winds and rebuild easily later.
5. Rainbow Story Stones In A Tray

Fill a low tray or shallow planter with sand or fine gravel, then scatter rainbow-painted “story stones” on top. Each rock can have a simple white icon—heart, cloud, flower, star—so kids (and adults) can rearrange them to create stories. Set the tray on a table or step where it’s easy to reach. It feels like a tiny, interactive art installation that doubles as a gentle tactile activity.
- Best For: Families, patios, and balcony tables.
- Budget Tip: Upcycle an old baking tray or wooden box as the base and use leftover paint for the stones.
- Styling Idea: Keep the icons simple and minimal so the overall look stays calm, not cluttered.
- Practical Note: Bring the tray under cover in heavy rain to keep the sand and rocks tidy.
6. Rainbow Rock River Through Mulch

Create a “river” of color by arranging painted stones in a winding line through bark mulch or gravel. Start with wider clusters at one end and let the line taper like a stream. The rainbow stones pop beautifully against dark backgrounds and help guide the eye through your planting. It’s a fantastic way to add movement and flow in a bed that’s mostly green.
- Best For: Mulched beds, under shrubs, and along fence lines.
- Budget Tip: Paint only the top and sides of stones that are partially buried to save time and paint.
- Styling Idea: Let warm colors “pool” in some sections and cool colors in others for visual rhythm.
- Care & Maintenance: Remove leaves and debris gently with your hands rather than rakes to avoid chipping.
7. Rainbow Galaxy Garden Rocks

Paint a handful of smooth stones with blended, swirling colors and speckles of white to resemble tiny rainbow galaxies. Nestle them around the base of potted plants, cluster them near a lantern, or tuck them into a fairy garden. The mix of deep tones and bright bursts gives a magical, night-sky feel, especially pretty at dusk when the colors soften but still glow.
- Best For: Pots near seating areas and small “feature corners.”
- Budget Tip: Use dark paint you already own as the base and add subtle rainbow swirls on top.
- Styling Idea: Pair with string lights or a small solar lantern to enhance the celestial vibe in the evening.
- Practical Note: A satin or gloss sealer will make the galaxy effect look richer outdoors.
8. Rainbow Bug & Critter Rocks

Turn small stones into cute rainbow insects—ladybugs in different colors, striped bees, or dotted caterpillars—and perch them along planters or on the soil surface. Simple eyes and wings are enough to make them come alive. They add a playful, storybook touch to your beds and are especially delightful for children to discover while watering or weeding.
- Best For: Family gardens, raised beds, and kids’ vegetable patches.
- Budget Tip: Reuse chipped or odd-shaped stones; quirky shapes make great caterpillars and beetles.
- Styling Idea: Limit yourself to a small “family” of bug types so the display feels charming, not overcrowded.
- Care & Maintenance: Touch up faces and details once a year if sun fading is strong.
9. Rainbow Message Stones In A Bowl

Choose several smooth stones, paint them in rich rainbow colors, and add short, uplifting words like “grow,” “calm,” or “joy.” Pile them in a simple bowl, wide planter, or birdbath base near your door or seating area. Guests can pick up and read the stones, and you can swap messages with the seasons. It’s like a tiny, colorful gratitude corner in your garden.
- Best For: Front steps, porch tables, and near favorite chairs.
- Budget Tip: Start with just three or four meaningful words and add more stones as you go.
- Styling Idea: Keep the bowl or container neutral (stone, terracotta, or wood) so the colors really shine.
- Practical Note: Use waterproof paint pens for lettering to keep words crisp outdoors.
10. Rainbow Rock Steps Between Plants

Use flat, painted stones as miniature stepping “pads” between low plants or as a tiny path through a groundcover patch. Even if they’re purely decorative, they suggest movement and make the bed feel more intentional. The rainbow colors break up big areas of green and help draw attention to smaller flowers that might otherwise get lost.
- Best For: Groundcover areas, between low perennials, and in fairy gardens.
- Budget Tip: Paint only the upper surfaces; leave the undersides natural since they won’t be seen.
- Styling Idea: Alternate bright and pastel tones for a playful yet soft look that doesn’t overpower delicate plants.
- Practical Note: Set the stones level with the soil so they don’t become trip hazards.
Conclusion
Rainbow garden rocks prove that you don’t need a big budget or huge space to create something beautiful outdoors. With a few stones and a splash of paint, you can turn ordinary corners into joyful, colorful scenes that feel personal and welcoming. Pick one idea that fits your garden—a border, a bowl of message stones, or a simple rock river—and start there. Over time, you’ll build your own tiny open-air art gallery, one painted pebble at a time.
FAQs
1. Do I need special paint for rainbow garden rocks?
Outdoor acrylic paint works well for most climates, especially when sealed with a clear outdoor varnish or sealant. If your garden gets a lot of direct sun or heavy rain, sealing is essential to prevent fading and peeling. Always let each paint layer dry fully before sealing so the finish lasts longer.
2. How can I decorate with rainbow rocks if I’m renting?
Keep your painted stones in movable containers like bowls, trays, or pots instead of setting them permanently into soil or pathways. That way, you can take your colorful collection with you when you move. Use them on balconies, steps, or railings so nothing is fixed or attached to the property.
3. What’s the cheapest way to make rainbow garden rocks?
The thriftiest approach is to start with rocks you already have or collect from your own yard (where allowed), plus a few basic paint colors you can mix into new shades. Begin with a small project—like a bowl of message stones—before tackling big borders. You can always add more rocks over time as you find or buy them.
4. Are painted rocks safe for plants and soil?
When you use water-based outdoor acrylic paint and a non-toxic sealer, painted rocks are generally safe to sit on top of soil. Avoid coating whole beds with them; instead, place them in small clusters, borders, or decorative corners so roots still have plenty of open ground. Don’t block drainage holes in pots with large stones.
5. How do I stop rainbow rocks from fading in the sun?
A good UV-resistant clear sealer is your best friend. Apply several thin coats instead of one thick one, letting each dry properly. Position your most detailed or pastel designs in areas with partial shade, like under shrubs or beside a porch rail, so they stay bright longer. Reapply sealer every year or two if you notice dulling.
6. What’s the easiest rainbow rock idea for beginners?
Rainbow pathway pebbles or simple border stones are ideal starting projects. You only need basic blocks of color—no detailed drawings or lettering—so the pressure is low, and the results still look stunning. Once you’re comfortable with brushes and sealant, you can move on to mandalas, galaxy designs, or tiny rainbow bugs.


