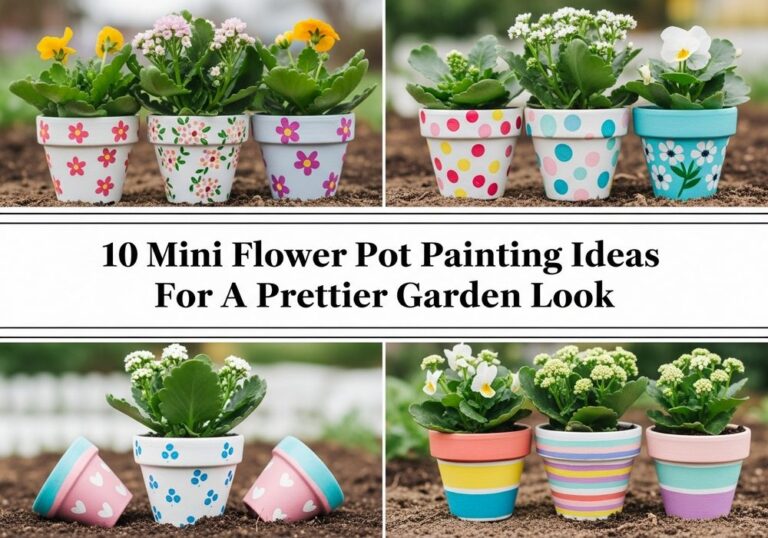
10 Painted Flower Pot Ideas To Unleash Your Creativity

If you’ve got plain pots and an itch to get creative, painted flower pots are the perfect weekend project. They’re small, manageable, and instantly change the mood of your balcony, patio, or windowsill without any big renovations.
Whether you’re a home gardener, renter, or total beginner with a few leftover paints, these ideas will help you turn simple terracotta or plastic pots into little works of art. You’ll find easy designs, playful patterns, and cozy styles that add personality to any plant corner—no fancy tools required, just a few brushes, some paint, and a willingness to experiment.
Quick List
- Boho Rainbow Striped Flower Pots
- Minimalist Color-Dipped Pots
- Herb Silhouette Painted Pots
- Galaxy Night Sky Pots
- Ombre Sunset Terracotta Pots
- Black-And-White Botanical Line Art Pots
- Mosaic-Style Geometric Pattern Pots
- Seasonal Pattern Painted Pots
- Kids’ Handprint And Fingerprint Pots
- Weathered Vintage Floral Pots
1. Boho Rainbow Striped Flower Pots
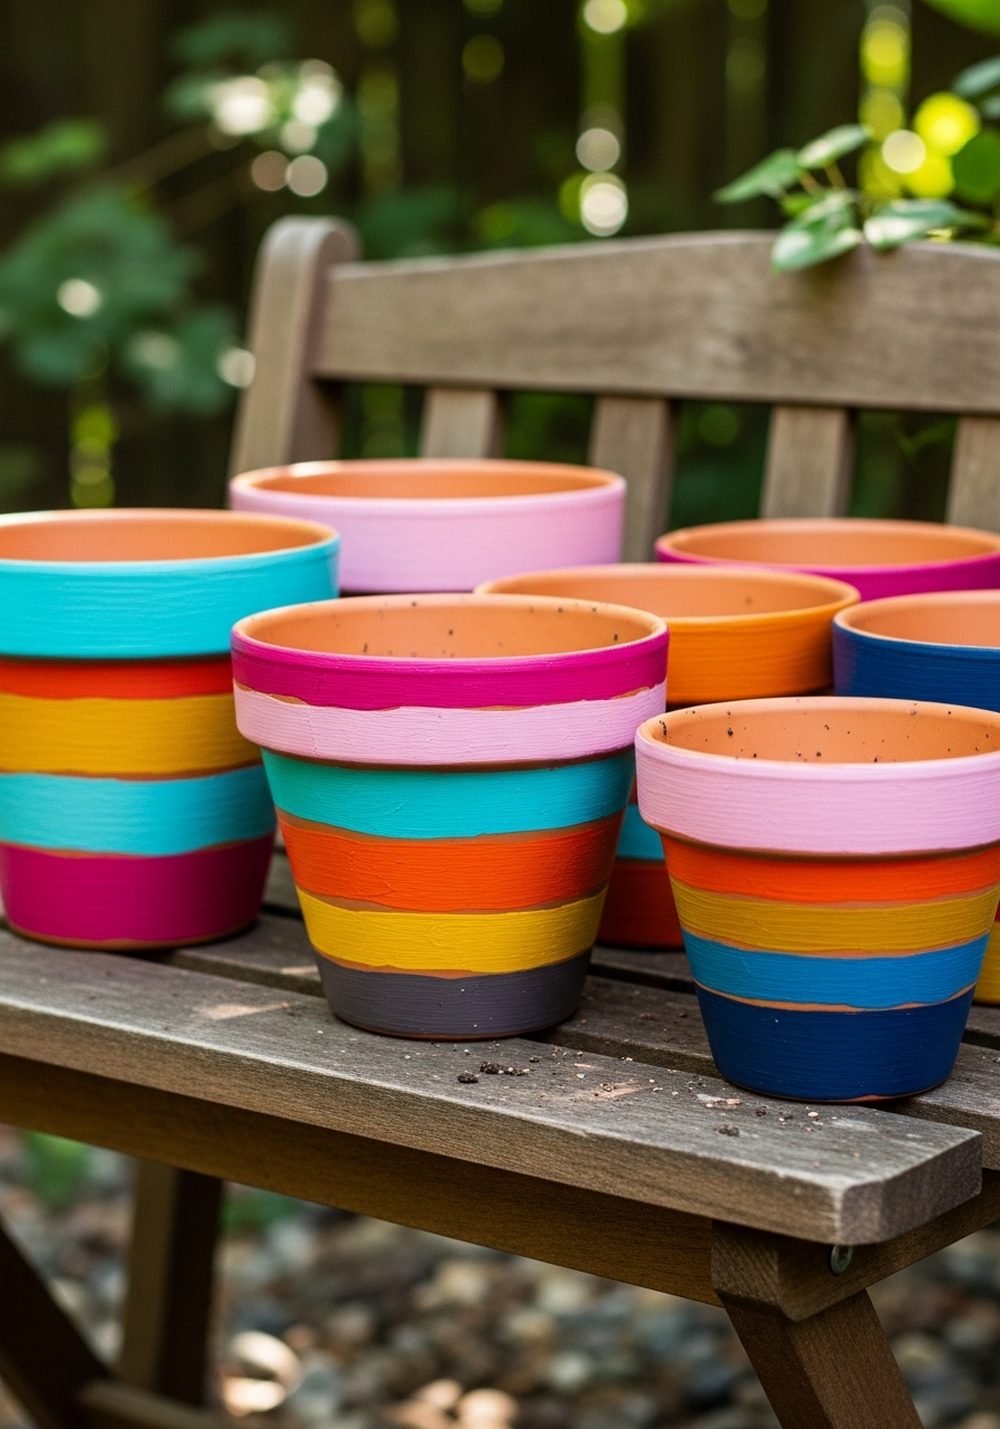
Paint loose, colorful stripes around your pots for a carefree boho look. Start with a base coat if your terracotta is very absorbent, then layer stripes in warm, happy colors—coral, mustard, teal, and deep blue all work beautifully. Let each color dry before adding the next so they don’t muddy together. Don’t stress about perfect lines; slightly wobbly stripes and visible brush strokes add charm. Group three or five pots together to create a bold, joyful focal point for a shelf or step.
- Best For: Brightening dull corners on patios, balconies, and steps.
- Budget Tip: Use leftover wall or craft paint and cheap foam brushes.
- Styling Idea: Pair these pots with woven baskets, lanterns, and patterned cushions for a full boho vibe.
- Practical Note: Seal with an outdoor-grade clear sealer if the pots will sit in the rain.
2. Minimalist Color-Dipped Pots
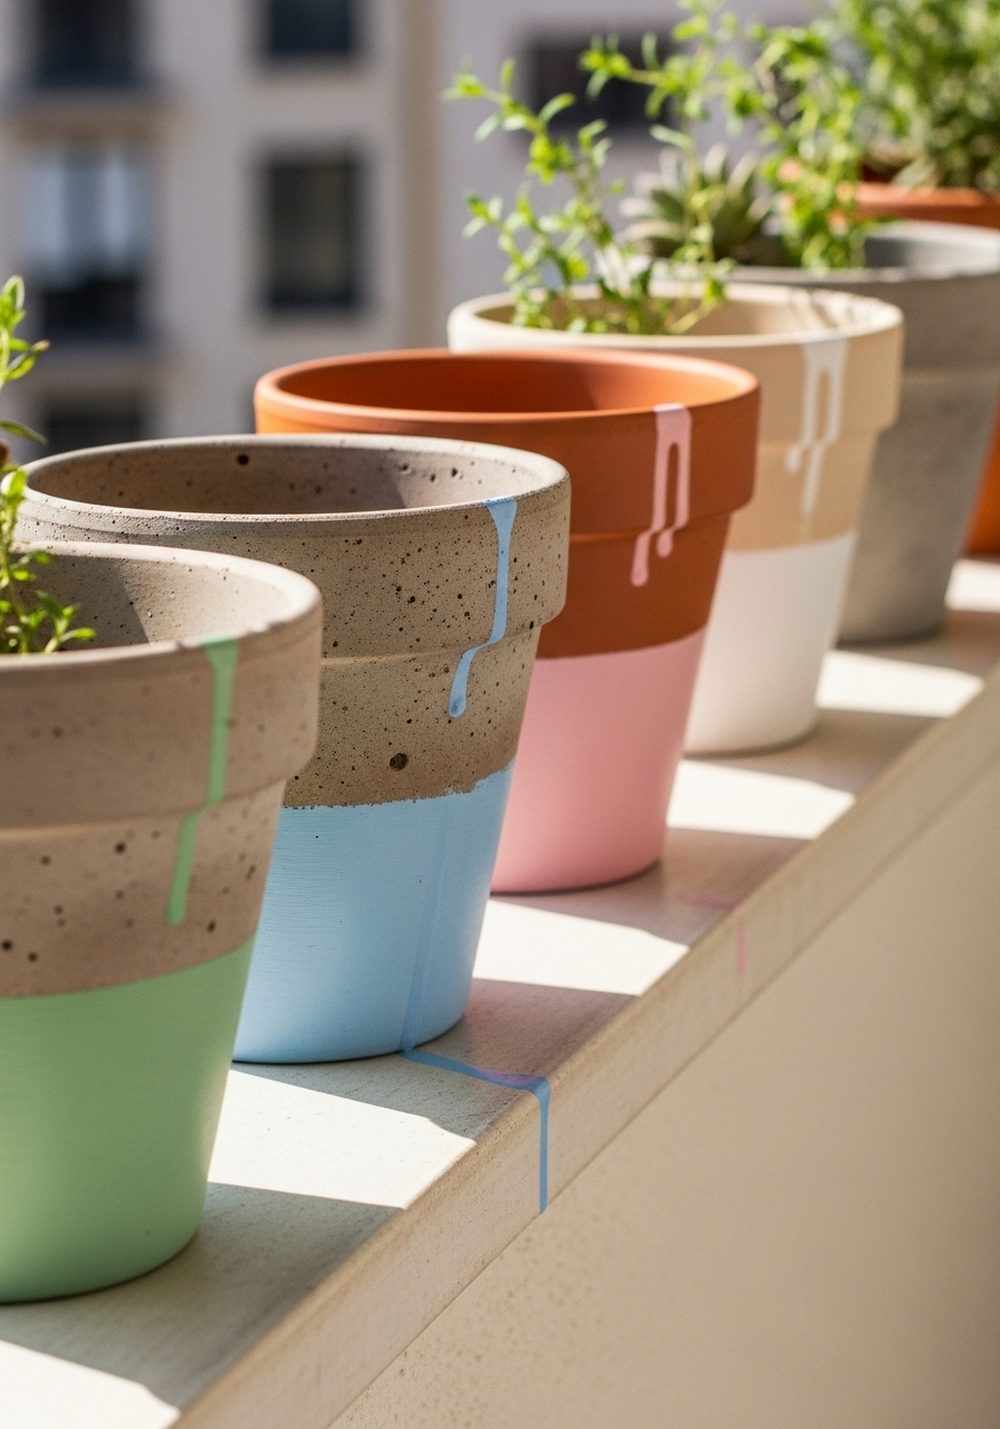
Color-dipped pots look chic and modern with very little effort. Paint the lower half (or third) of each pot in a solid color, leaving the top in natural terracotta or concrete. Use painter’s tape to get a crisp line, or freehand it for a softer edge. Choose a palette of soft neutrals and calm pastels for a minimalist look that lets your plants stand out. These pots look especially good in a straight row along a windowsill or balcony ledge.
- Best For: Small spaces, rentals, and people who love simple decor.
- Budget Tip: Stick to one or two paint colors and use them on several pots for a matching set.
- Styling Idea: Combine matte white, sandy beige, and sage green for a Scandinavian-inspired feel.
- Practical Note: Use lightweight plastic pots if you’ll be moving them around often.
3. Herb Silhouette Painted Pots

Instead of writing herb names, paint simple silhouettes of the plants on your pots. Start with a solid background color, then add leafy shapes in a contrasting shade—basil with rounded leaves, rosemary with thin spiky stems, mint with serrated leaves. Keep the shapes graphic and bold rather than overly detailed. Arrange your herb pots together on a tray or shelf so the silhouettes create a pretty, cohesive collection that’s also easy to recognize at a glance.
- Best For: Kitchen windowsills, balconies, and compact herb gardens.
- Budget Tip: One small pot of dark paint can create silhouettes on many light-colored pots.
- Styling Idea: Use muted greens and greys for a calm, rustic feel that suits wooden shelves and crates.
- Care & Maintenance: Wipe pots occasionally to keep silhouettes crisp and visible.
4. Galaxy Night Sky Pots

Turn your pots into tiny night skies with sponged gradients and splattered “stars.” Start with dark blues and purples, blending them with a sponge for a soft cosmic effect. Once dry, dip an old toothbrush in thinned white paint and flick tiny specks across the surface. Add a few larger “nebula” patches in pink or teal for drama. These galaxy pots look magical at night when paired with fairy lights or placed near solar lanterns.
- Best For: Evening patios, teen bedrooms with plants, and cozy night corners.
- Budget Tip: Mix black and blue paints you already own instead of buying lots of shades.
- Styling Idea: Pair galaxy pots with silver or glass decor and warm string lights for a dreamy mood.
- Practical Note: Use a gloss sealer for an extra “starry sky” shine.
5. Ombre Sunset Terracotta Pots

Ombre pots gently shift from one color to another, like a painted sunset. Choose three or four warm colors—yellow, peach, coral, and soft plum—and blend them around the pot using a sponge or wide brush. Work in small sections so the edges stay wet and blend nicely. The result is soft, glowing color that makes green foliage really pop. Group several ombre pots together for a stunning display on stairs or along a garden wall.
- Best For: Highlighting entrances, steps, and statement corners.
- Budget Tip: Buy one small pot of white paint to lighten colors and stretch them further.
- Styling Idea: Combine with natural wood, jute rugs, and neutral cushions for a warm, sunset-inspired zone.
- Care & Maintenance: Avoid scrubbing the outside; rinse gently if dusty.
6. Black-And-White Botanical Line Art Pots

If you love a minimalist, artsy look, try black line drawings on white pots. Paint your pots white, let them dry, then use a fine brush or paint pen to sketch simple leaves, stems, and flowers winding around the surface. Think of it like doodling plants in a notebook—no need to be perfect. The bold black-and-white contrast looks gorgeous with lush green plants and fits into almost any decor style, from modern to cottage-style.
- Best For: Indoor shelves, desks, and side tables.
- Budget Tip: One white base coat and a single black paint pen can transform a whole collection of small pots.
- Styling Idea: Group three line-art pots together next to framed black-and-white prints for a gallery feel.
- Practical Note: Use a waterproof paint pen so the lines don’t smudge over time.
7. Mosaic-Style Geometric Pattern Pots
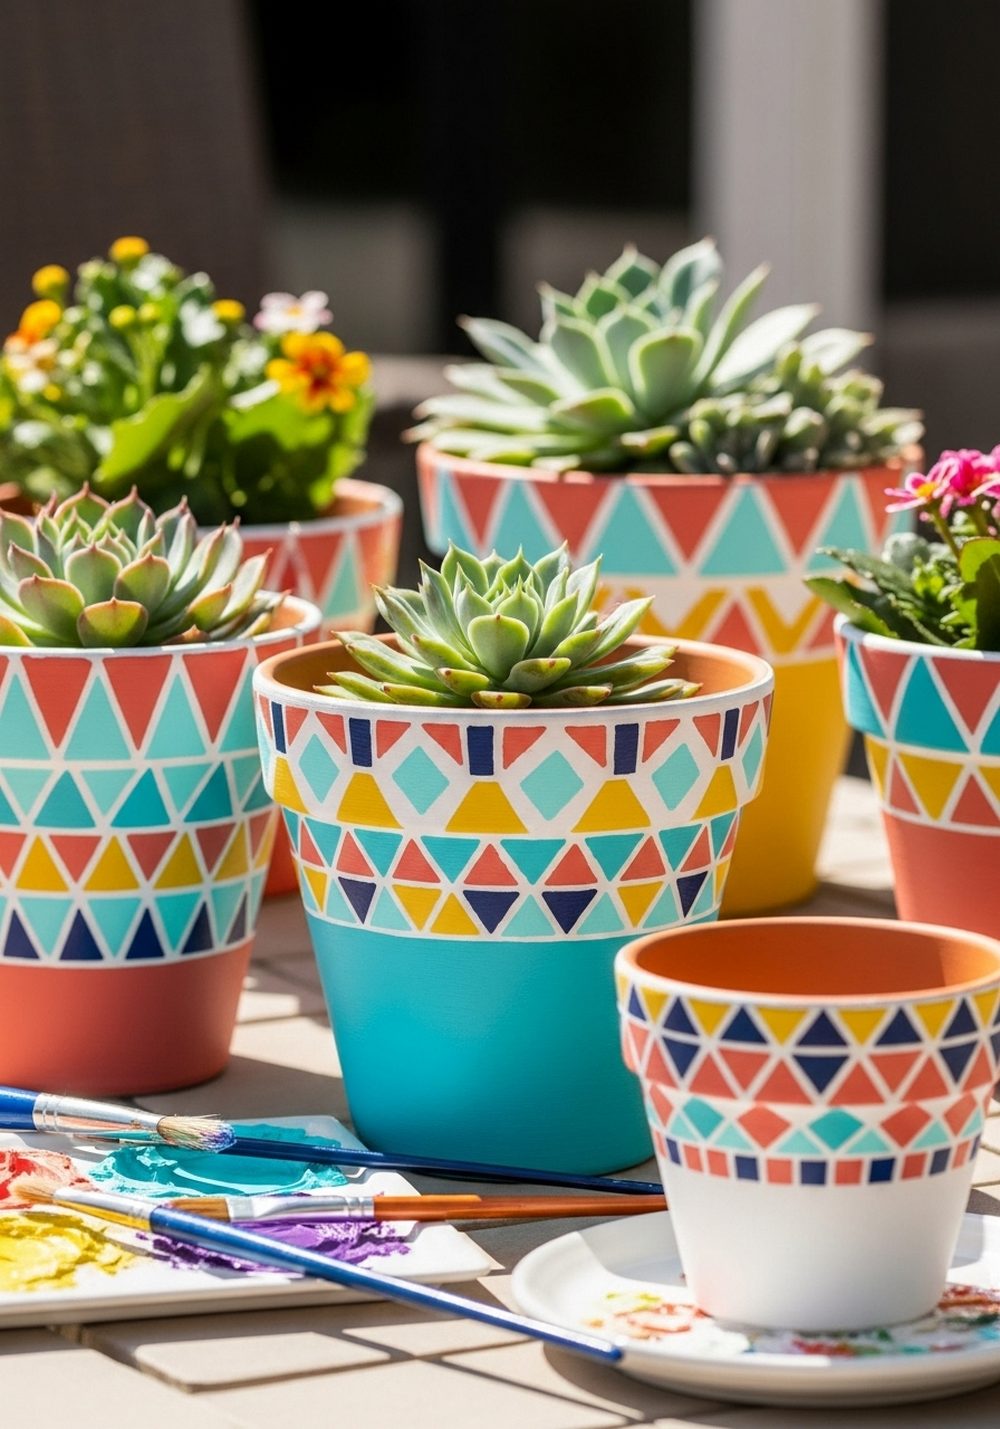
Create a mosaic feel with paint instead of tiles. Sketch simple bands of triangles, diamonds, or tiny squares around your pots, then fill them in with bright, contrasting colors. A thin black or dark line between shapes mimics grout and makes the pattern pop. These pots bring energy and playfulness to any space and work especially well with succulents and cacti. They look fantastic on outdoor tables, where the sunlight can show off the colors.
- Best For: Lively patios, small courtyards, and balcony tables.
- Budget Tip: Use a limited palette of 3–4 colors so you don’t need many paint pots.
- Styling Idea: Mix bold shades like turquoise, mustard, and coral for a Mediterranean-inspired look.
- Practical Note: Let each color dry before painting the next to keep edges sharp.
8. Seasonal Pattern Painted Pots
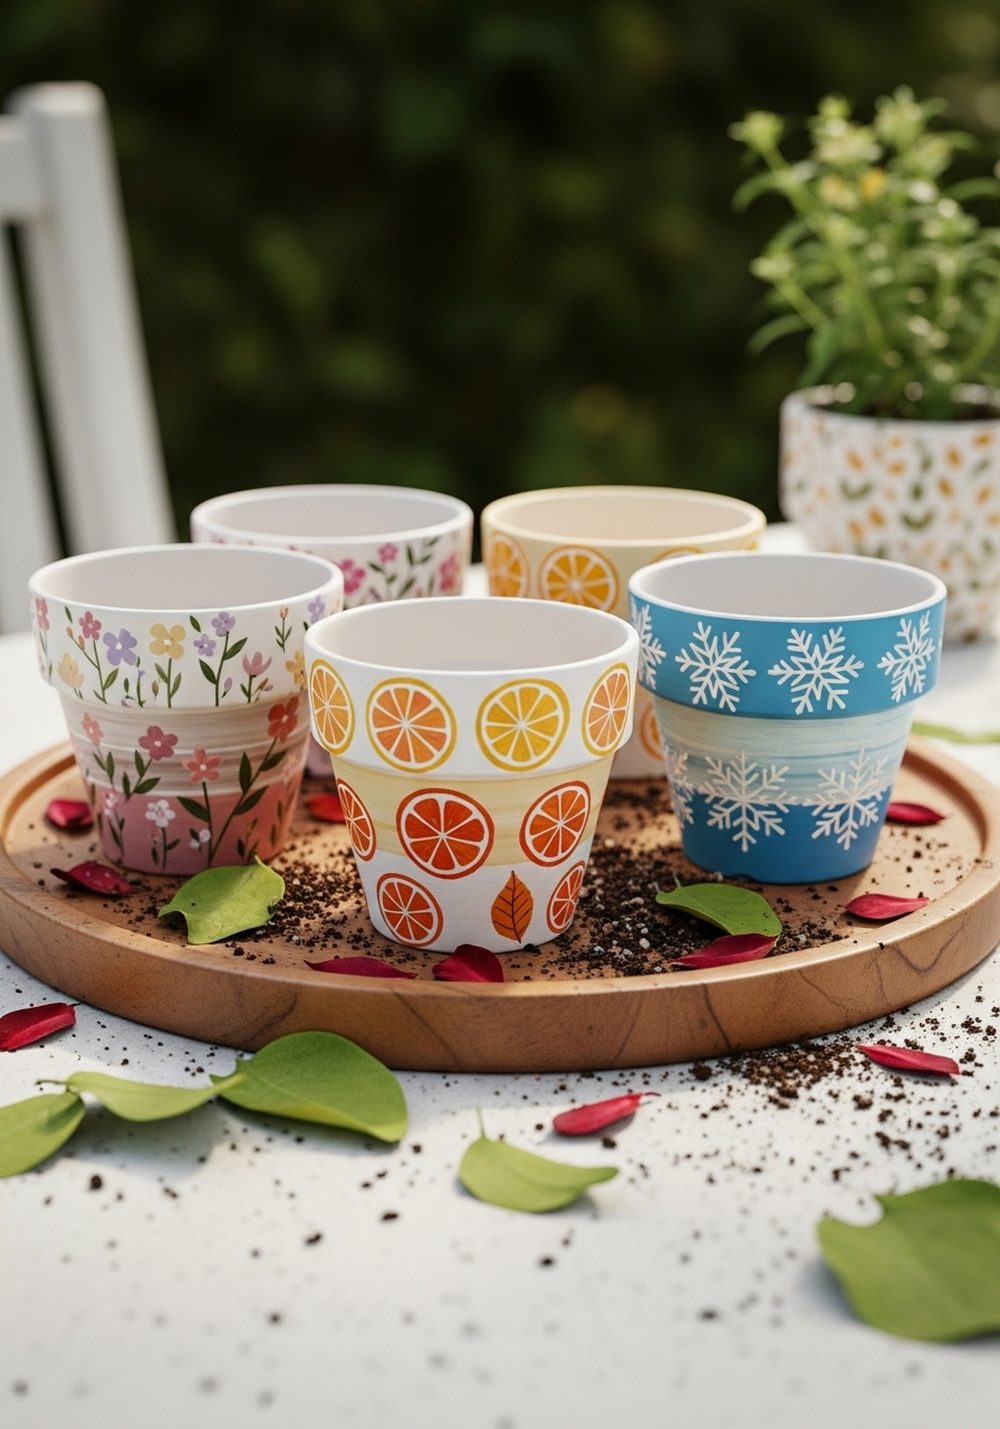
Paint different pots to match the seasons and swap them around the garden through the year. Think soft blossoms for spring, juicy fruit or waves for summer, leaves and pumpkins for autumn, and snowflakes or simple shapes for winter. Keep the patterns fairly simple so they’re quick to paint and easy to touch up. Display them together on a tray or shelf for a sweet, seasonal vignette that makes your plant corner feel fresh and intentional.
- Best For: People who like to refresh decor throughout the year.
- Budget Tip: Repaint older pots each season instead of buying new decor.
- Styling Idea: Match your pot colors to wreaths, cushions, or table linens for a cohesive look.
- Care & Maintenance: Store off-season pots indoors or under cover to keep paint looking bright.
9. Kids’ Handprint And Fingerprint Pots

Turn painting pots into a family activity by using kids’ hands and fingers as “stamps.” Paint the pot in a bright base color, then let children press painted hands or fingertips onto the surface to create flowers, dots, bugs, or confetti patterns. The results are delightfully imperfect and full of personality. These pots make lovely keepsakes and gifts for grandparents, teachers, or neighbors and add a heartwarming touch to any garden.
- Best For: Families, schools, and anyone wanting meaningful, sentimental decor.
- Budget Tip: Use inexpensive washable paints and a simple terracotta or plastic pot.
- Styling Idea: Group all the family pots together in one “memory corner” of the garden.
- Practical Note: Add a clear sealer over the paint to protect tiny handprints from weather.
10. Weathered Vintage Floral Pots

If you like a romantic, old-world feel, paint vintage-style florals and then gently distress the surface. Start with soft background colors—faded teal, cream, pale pink—then add simple roses, daisies, or climbing vines. Once dry, lightly sand edges and raised areas to reveal a little terracotta underneath. The result looks like a pot that has been loved for years. These pieces pair beautifully with classic garden furniture, roses, and lavender.
- Best For: Cottage-style gardens, cozy porches, and reading corners.
- Budget Tip: Hunt for secondhand pots or mismatched containers to paint and age.
- Styling Idea: Combine with lacey tablecloths, vintage trays, and old books for full romantic charm.
- Care & Maintenance: Keep heavily distressed pots under cover to prevent flaking paint.
Conclusion
Painted flower pots are one of the easiest ways to inject personality, color, and warmth into your garden or balcony. With a few brushes and some paint, you can turn plain containers into tiny art pieces that tell your story and frame your plants beautifully. Start with one small idea—a stripe, a silhouette, a handprint—and build from there. Over time, you’ll grow a collection of pots that’s just as expressive as the plants they hold.
FAQs
Q1. How can I paint flower pots on a small budget?
You don’t need special supplies to begin. Use inexpensive terracotta or recycled plastic pots, leftover wall or craft paint, and a couple of basic brushes or sponges. Start with simple designs like color-dipped or solid-color pots. As long as you seal them for outdoor use, even a few budget-friendly paint colors can transform a whole collection of containers.
Q2. What kind of paint should I use on garden pots?
Acrylic or water-based craft paint works well on terracotta and plastic. For outdoor pots, choose paints labeled for exterior use, or finish with a clear outdoor sealer to protect from rain and sun. Avoid very thick layers; several thin coats stick better and are less likely to peel or crack over time.
Q3. Are painted pots okay for the plants?
Yes, as long as you keep paint on the outside of the pot and don’t coat the inside where roots touch. If you’re worried about breathability, leave the bottom and inner sides unpainted so water can still evaporate. Make sure drainage holes stay open and avoid blocking them with paint.
Q4. What are the easiest designs for beginners?
Color-dipped pots, solid-color pots, and simple stripes are the most forgiving. You can use tape to help create clean lines or just freehand loose, relaxed patterns. Once you’re comfortable, try adding dots, simple leaves, or silhouettes. Remember, plants soften everything, so small imperfections won’t be noticeable once they’re filled.
Q5. How do I protect painted pots from weather damage?
Let the paint dry completely, then apply a clear outdoor sealer over the design, paying special attention to rims and edges that get handled often. If your climate has harsh winters, move painted pots under cover during the coldest, wettest months. A quick touch-up every year or two will keep your designs looking fresh.
Q6. Can I repaint or update old painted pots?
Absolutely. Lightly sand any flaking areas, wipe off dust, and then prime or go straight over with a fresh base coat. You can completely change the style—turn a faded design into an ombre, add new patterns, or repaint in a solid color. Reusing old pots this way saves money and reduces waste while giving you a brand-new look.