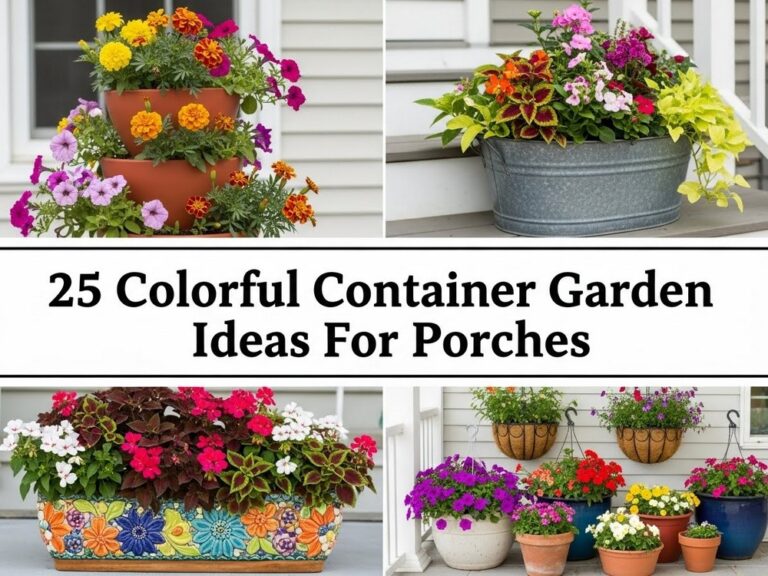
10 Mini Flower Pot Painting Ideas For A Prettier Garden Look

Mini flower pots are the perfect little canvases for giving your garden some personality without spending a fortune or needing big DIY skills. Whether you have a balcony ledge, a small patio, or a full-sized garden, a few painted pots can instantly make everything feel more styled and intentional.
In this guide, you’ll find simple, beginner-friendly mini pot painting ideas that add color, texture, and charm to your outdoor space. From soft pastels to bold color blocks and cute character faces, these ideas are easy to adapt to your own style and budget. Pick a few, grab some paint, and turn your plain pots into tiny decor stars.
Quick List
- Pastel Ombre Mini Pots
- Tiny Garden-Inspired Doodles
- Bold Color Block Stripes
- Chalkboard Label Pots
- Terracotta White Botanical Silhouettes
- Rustic Speckled “Stone” Effect
- Rainbow Rim Accent Pots
- Boho Patterned Mini Pots
- Metallic Dip-Dyed Edges
- Cute Face & Character Pots
1. Pastel Ombre Mini Pots

Soft pastel ombre mini pots bring a dreamy, calming look to any garden shelf or windowsill. Simply choose two or three pastel acrylics and blend them while still wet, working from light to darker tones down the pot. The gentle fade of color looks gorgeous against fresh green foliage and bright flowers, and it’s surprisingly forgiving if your blending isn’t perfect. Group a few ombre pots together for a delicate, cohesive color story that instantly pretty-fies your space.
- Best For: Windowsills, balcony ledges, or small herb clusters that need a soft, romantic touch.
- Budget Tip: Use cheap craft paints and mix white into brighter colors to create your own pastels.
- Styling Idea: Pair pastel pots with white flowers and light wood or wicker accessories for a fresh, airy look.
- Care & Maintenance: Seal with a clear outdoor sealant to keep the colors from fading in sun and rain.
2. Tiny Garden-Inspired Doodles

Mini pots covered in tiny doodles feel playful and personal, like sketching inside a notebook. Start with a solid base coat in white, cream, or any pale shade, then use a fine paint pen or small brush to add little leaves, flowers, bees, raindrops, or watering cans. The repeated small motifs look charming from up close and add delicate pattern from a distance. These pots are ideal where guests will see them at eye level and notice the details.
- Best For: Tabletop displays, outdoor dining areas, or giftable herb pots.
- Budget Tip: One light base color plus a single dark paint pen can decorate a whole batch of pots.
- Styling Idea: Stick to just one or two doodle motifs to keep the look cohesive and not too busy.
- Practical Note: Let the base coat cure fully before doodling so the pen or brush glides smoothly.
3. Bold Color Block Stripes

Color block mini pots are perfect if you love strong, modern color. Tape off bands around your pots, then paint each section a different hue—think mustard and navy, teal and coral, or monochrome shades of the same color. The result is clean, graphic lines that stand out against green plants and neutral surfaces. Lined up together, these pots look like a curated little design display rather than random containers.
- Best For: Contemporary patios, minimalist balconies, or renters wanting a fresh, modern vibe.
- Budget Tip: Buy a basic set of primary acrylics and mix your own trendy shades instead of buying many separate colors.
- Styling Idea: Repeat the same two or three colors across all pots to create a strong, unified palette.
- Practical Note: Press painter’s tape down firmly to avoid paint bleed and remove while the paint is still slightly tacky.
4. Chalkboard Label Pots

Chalkboard-style pots are both decorative and practical, especially for herbs and small vegetables. Paint a panel or band of chalkboard paint on each mini pot, leaving the rest in terracotta or a soft neutral color. Once dry, write the plant names with a chalk marker for a neat, hand-lettered look. These labels add character and help you remember what’s planted where, and you can wipe and rewrite as often as you like.
- Best For: Herb gardens in kitchens, balconies, or near the barbecue for easy, labeled picking.
- Budget Tip: A small pot of chalkboard paint goes a long way when used only in panels, not all over.
- Styling Idea: Pair black panels with white or light gray pots for a chic, café-style vibe.
- Care & Maintenance: Use chalk markers instead of regular chalk if your pots will get splashy weather.
5. Terracotta White Botanical Silhouettes

Keeping the natural terracotta showing but adding white botanical silhouettes is a lovely mix of rustic and refined. Paint simple leaf and stem shapes using white acrylic, following the curve of each pot. The crisp contrast of white against warm clay highlights the plants above without overwhelming them. This style works especially well with simple green foliage or small white blooms, creating a calm, classic look that suits almost any garden.
- Best For: Traditional gardens, cottage-style spaces, or anyone who loves warm, earthy tones.
- Budget Tip: You only need one pot of white paint and a steady hand to transform multiple terracotta pots.
- Styling Idea: Repeat the same leaf motif on all pots for a uniform look, or vary them slightly within a set.
- Care & Maintenance: Avoid thick paint layers that can peel; thinner coats bond better to terracotta.
6. Rustic Speckled “Stone” Effect

A speckled “stone” paint effect makes mini pots look more expensive and substantial than they really are. Start with a neutral base coat—greige, soft gray, or taupe—then use a stiff brush or toothbrush to flick tiny darker speckles across the surface. This creates a natural stone-like look that pairs beautifully with succulents and cacti. When grouped together, these pots feel cohesive and subtly textured, giving your shelf or step a calm, grounded feel.
- Best For: Succulent collections, stair-step displays, or neutral-toned gardens.
- Budget Tip: Use leftover neutral paints and mix small amounts to create slightly varied stone shades in each pot.
- Styling Idea: Place them on wooden crates or gravel for a coordinated, natural look.
- Practical Note: Practice the speckling on cardboard first so you can control the flick and density of spots.
7. Rainbow Rim Accent Pots

If you love color but still want things to look tidy, rainbow rim accents are perfect. Paint the body of each pot a simple white or soft gray, then add a thick band of bright color just around the rim—each pot in a different shade. When displayed as a group, the colors form a cheerful rainbow line that draws the eye. The pop of color at the top frames your plants like a little halo.
- Best For: Kids’ gardens, fun balcony displays, or anyone who wants a playful touch without overwhelming color.
- Budget Tip: Use small tester pots of bright paint or mix your own rainbow using just primary colors and white.
- Styling Idea: Arrange the pots in color order for a satisfying spectrum effect.
- Practical Note: Turn pots upside down to paint the rims easily without dripping onto the inside.
8. Boho Patterned Mini Pots
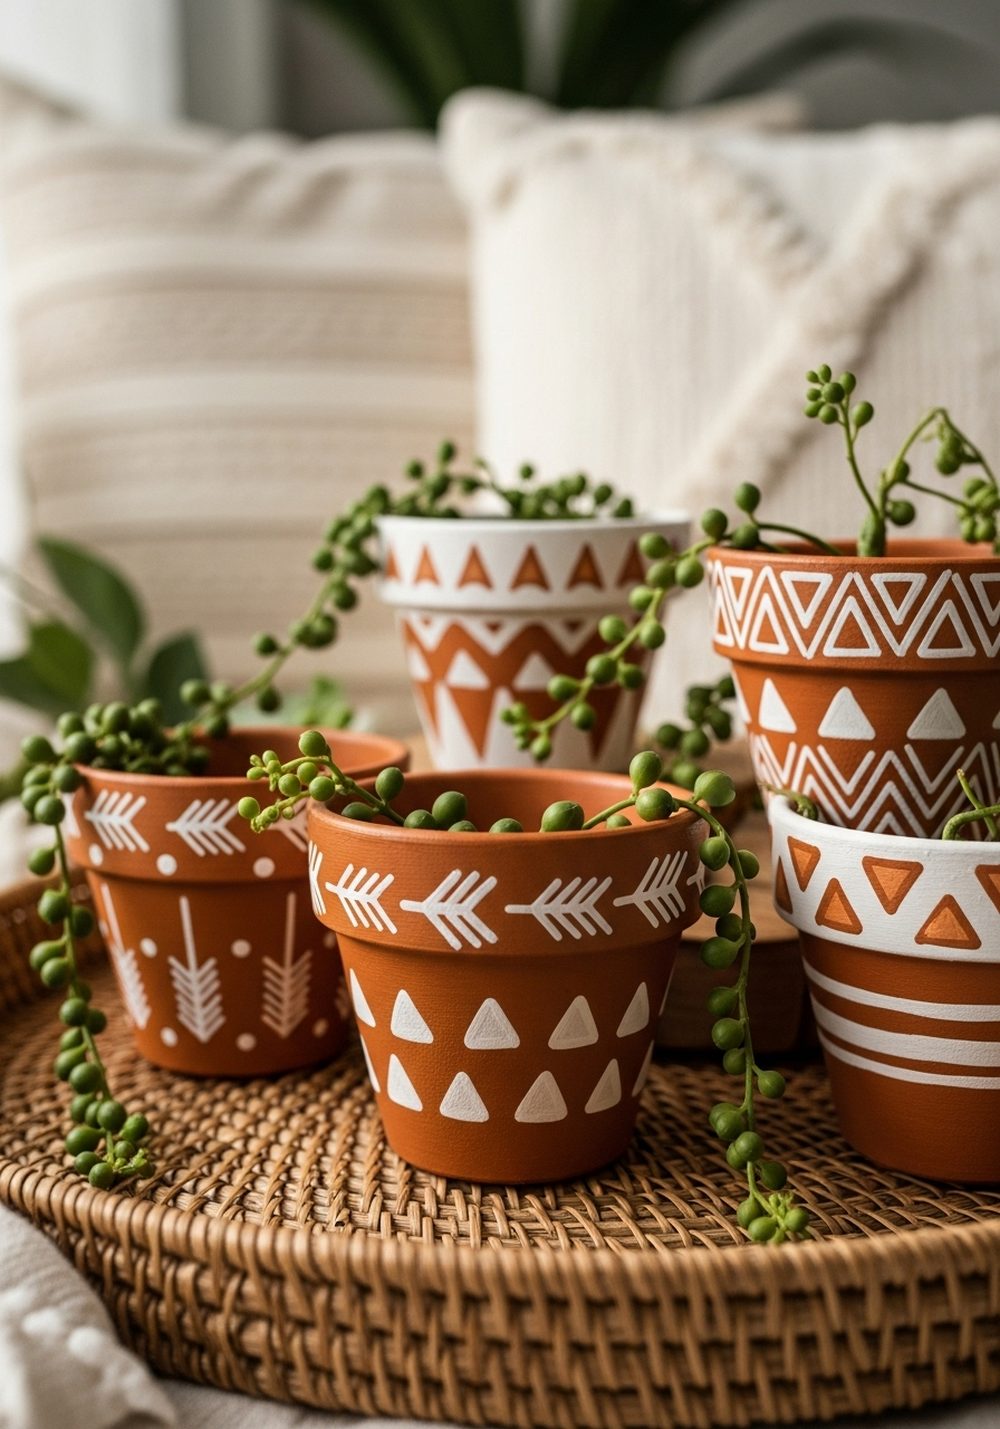
Boho patterned mini pots bring that relaxed, layered look you see in styled outdoor lounges. Choose warm base colors like terracotta, sand, or clay pink, then add simple patterns—dots, arrows, triangles, and bands—in white or contrasting tones. The trick is to keep the designs simple and repeat them so they feel intentional, not messy. When you group several together with trailing plants and textured textiles, the whole corner feels cozy and collected.
- Best For: Outdoor seating areas, lounge corners, or pergolas with cushions and throws.
- Budget Tip: Limit yourself to two main colors plus white to avoid buying lots of different paints.
- Styling Idea: Mix different pot sizes but repeat the same patterns to tie everything together.
- Care & Maintenance: A matte clear sealer will help preserve the boho look without adding too much shine.
9. Metallic Dip-Dyed Edges

A metallic dip-dyed effect adds a hint of glamour without going overboard. Paint your mini pots in a matte neutral shade, then “dip” the base or top edge in metallic paint—gold, copper, or silver—by painting a band and letting some uneven drips form. The light catches on the metallic section, making even simple plants feel a bit more special. It’s a chic way to dress up plain pots for outdoor dinners or special corners.
- Best For: Patio dining tables, outdoor bar carts, or more polished garden spaces.
- Budget Tip: One small pot of metallic paint can add accents to a large number of mini pots.
- Styling Idea: Keep the rest of your decor simple so the metallic detail stands out as the main highlight.
- Practical Note: Avoid painting the very bottom if pots will sit on delicate surfaces that might scratch.
10. Cute Face & Character Pots

Painting faces and characters on mini pots turns them into tiny garden friends. Start with a soft base color for the “skin,” then add eyes, noses, and simple mouths using a fine brush or pen. You can even use trailing plants or spiky herbs as “hair” to match each face’s personality. These pots instantly add charm and are wonderful conversation starters, especially in family gardens or kids’ play areas.
- Best For: Family gardens, kids’ balconies, or whimsical corners that need some fun.
- Budget Tip: Use a limited palette—black, white, and one blush or cheek color—to keep costs low and designs cohesive.
- Styling Idea: Arrange several face pots together, varying heights and plant “hairstyles” for a playful display.
- Care & Maintenance: Add an extra coat of clear sealer over the facial details to keep them from wearing off.
Conclusion
Mini flower pot painting is one of the easiest ways to refresh your garden and show off your personality without needing a huge budget or space. By playing with color, pattern, and texture, even the smallest pots can become charming decor pieces that frame your plants beautifully. Start with one or two of these ideas, experiment with leftover paints, and gradually build a collection of mini pots that make every corner of your garden feel more intentional, cheerful, and uniquely yours.
FAQs
1. How can I paint mini pots on a very small budget?
Use basic terracotta pots, a few primary colors of acrylic paint, and white to mix your own shades. Start with simple designs like stripes, dots, or a single-color rim. You can also upcycle old pots or containers by cleaning them and adding a fresh coat of paint and sealer instead of buying new ones.
2. Are painted flower pots suitable for renters who can’t make permanent changes?
Yes, painted mini pots are completely portable and non-permanent. You can arrange them on trays, shelves, or rail planters without altering walls or floors. When you move, simply pack them up and take your little painted garden with you, leaving no marks behind.
3. What kind of paint should I use so the designs last outdoors?
Use acrylic craft paint or outdoor-specific paint, which adheres well to terracotta and many other surfaces. Once your design is dry, finish with a clear outdoor sealer to protect against sun and moisture. Avoid indoor-only paints for pots that will sit in full sun or heavy rain.
4. Do I need to seal painted pots, and how often?
Sealing is highly recommended, especially for outdoor pots. A clear spray or brush-on sealer helps prevent fading, chipping, and water damage. Check your pots once or twice a year; if the colors start to dull or feel rough, add another light coat of sealer to refresh the protection.
5. What are the easiest painting ideas for beginners?
Start with simple styles like rainbow rims, single-color pots with a different color lip, or basic dots and stripes. These designs don’t require perfect lines or detailed drawing skills. As you gain confidence, you can move on to ombre blends, boho patterns, or tiny doodles.
6. How can I mix plant choices with painted pots without making the garden look too busy?
If your pots are colorful and patterned, keep plant choices simple—lots of green foliage with small, repeating blooms works well. Use one main color palette for your pots and repeat it across the area. This way, even with different patterns and plants, everything feels coordinated instead of chaotic.