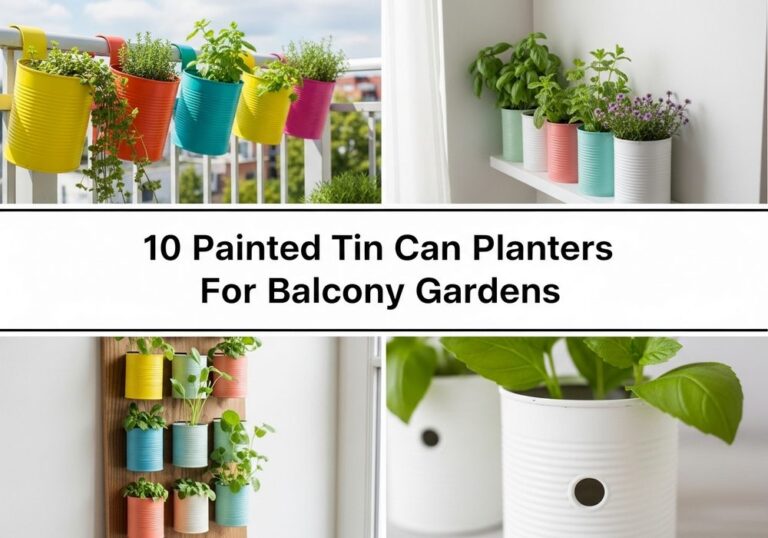
10 Painted Tin Can Planters Using Old Cans
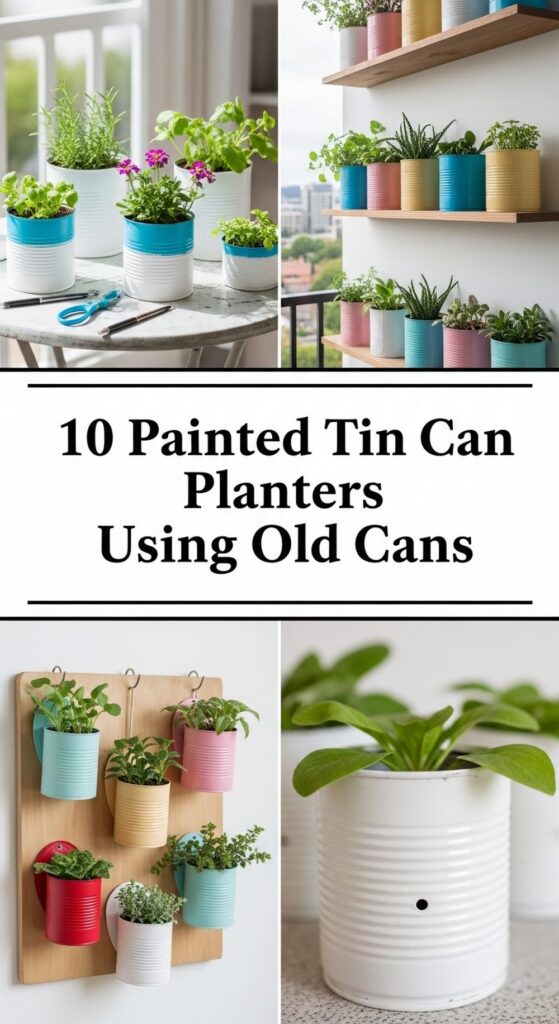
If your recycling bin is full of old cans, you’re sitting on a pile of free planters. With a few coats of paint and some simple styling, tin cans can turn into some of the most charming little pieces in your whole garden.
This post is for home gardeners, renters, balcony owners, and anyone who loves a low-cost, creative project. You’ll find ten easy painted tin can ideas that work for fences, windowsills, steps, tables, and more. Each one is beginner-friendly, budget-conscious, and flexible so you can match your own colors and plants. By the end, you’ll be seeing every old can as the start of a new tiny garden.
Quick List
- Rainbow Fence Tin Can Planters
- Chalkboard Herb Tin Can Lineup
- Pastel Ombre Windowsill Cans
- Boho Patterned Hanging Tin Cans
- Minimalist Enamel-Style Tin Can Planters
- Kids’ Handprint Art Tin Cans
- Vintage Floral Tin Can Planters
- Numbered Stair-Step Tin Can Planters
- Metallic Dip-Dyed Party Tin Cans
- Seasonal-Themed Tin Can Planter Set
1. Rainbow Fence Tin Can Planters
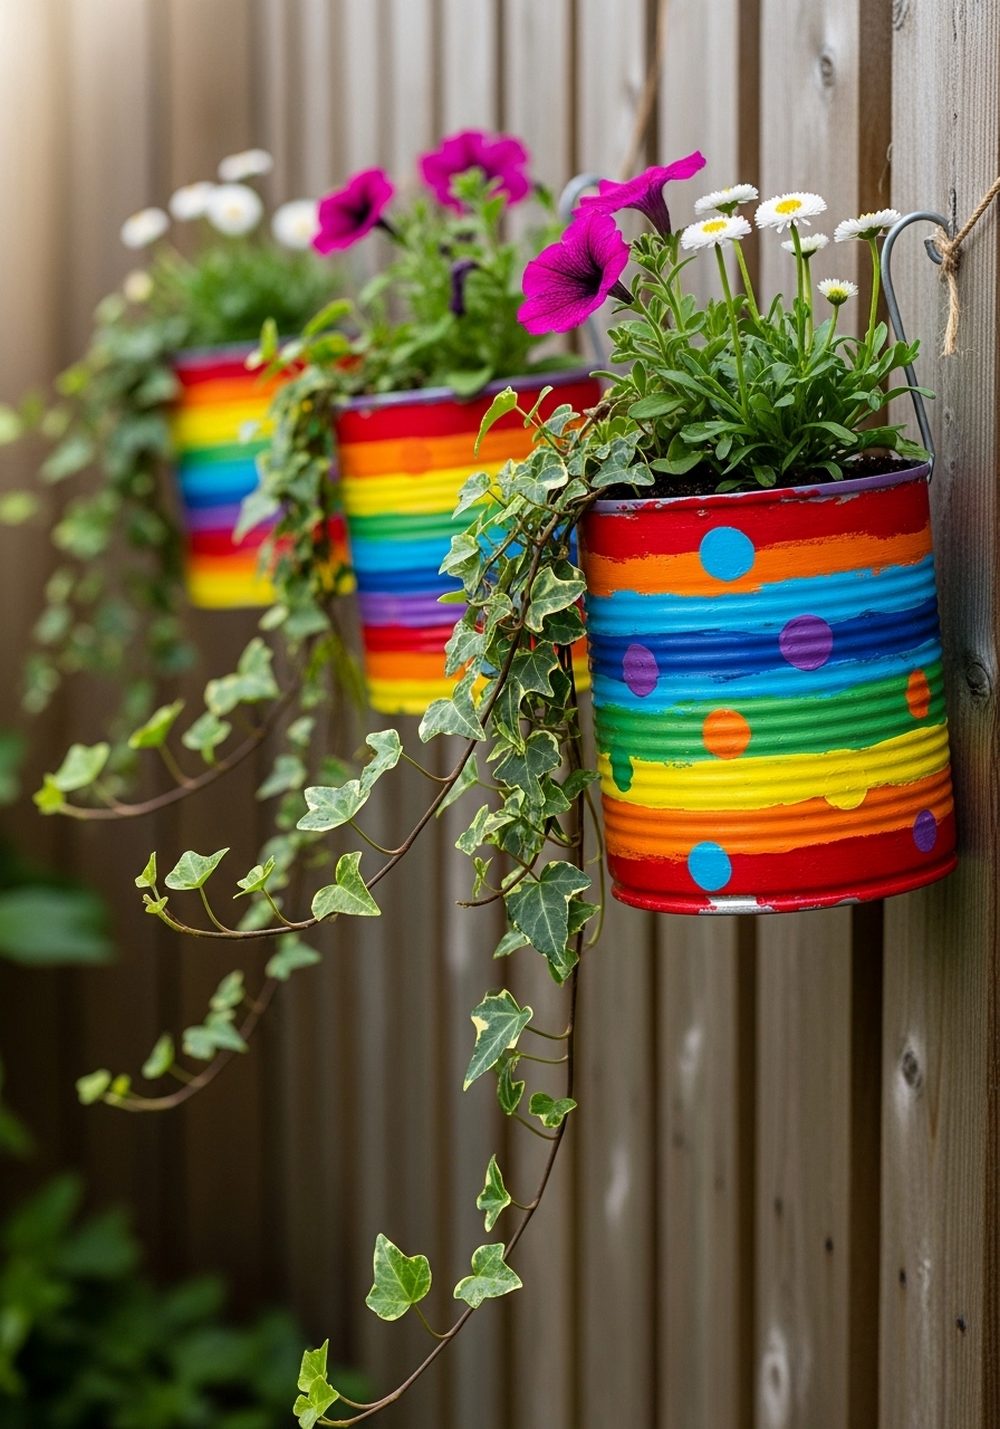
Turn a plain fence into a cheerful vertical garden with rainbow-painted tin cans. Clean and dry your cans, punch drainage holes in the base, and paint each one a different bright color or stripe pattern. Once dry, attach them to the fence with screws, brackets, or sturdy wire, and fill with trailing flowers, herbs, or small ferns. The bright cans pop against wood, and the plants soften the look into something playful and inviting.
- Best For: Bare fences, side alleys, rental-friendly vertical color.
- Budget Tip: Use leftover paints or tester pots and free cans from your own recycling.
- Styling Idea: Keep plants mostly green and white so the colorful cans stay the star.
- Practical Note: Drill drainage holes and avoid very heavy plants if your fence is light.
2. Chalkboard Herb Tin Can Lineup
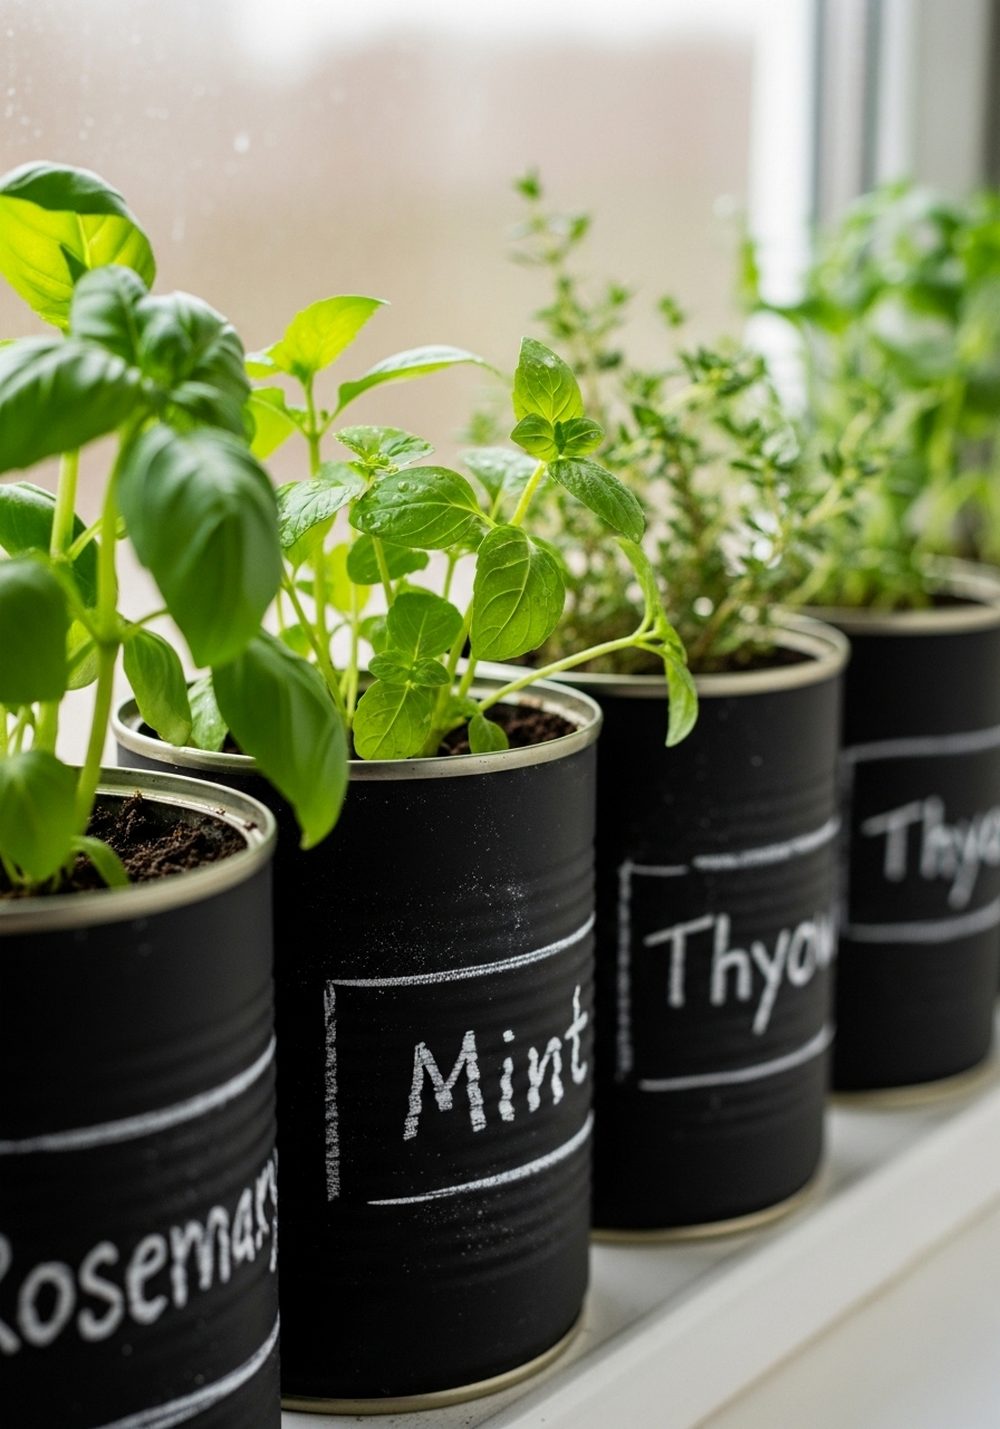
Chalkboard tin cans are perfect for herbs that you snip often. Paint clean cans with chalkboard or matte black paint, then use chalk or a white paint pen to label each one with the herb’s name. Line them on a sunny windowsill, shelf, or balcony rail and enjoy the crisp black-and-green contrast. If you switch plants later, simply wipe off the chalk and relabel. It’s a neat, modern way to keep herbs close to the kitchen.
- Best For: Kitchen windows, balcony rails, small-space cooks.
- Budget Tip: A small pot of chalkboard paint goes a long way across many cans.
- Styling Idea: Keep labels in simple block letters to match a clean, modern look.
- Practical Note: Choose herbs that enjoy the light where you place them.
- Care & Maintenance: Refresh the chalk labels if they fade with watering splashes.
3. Pastel Ombre Windowsill Cans
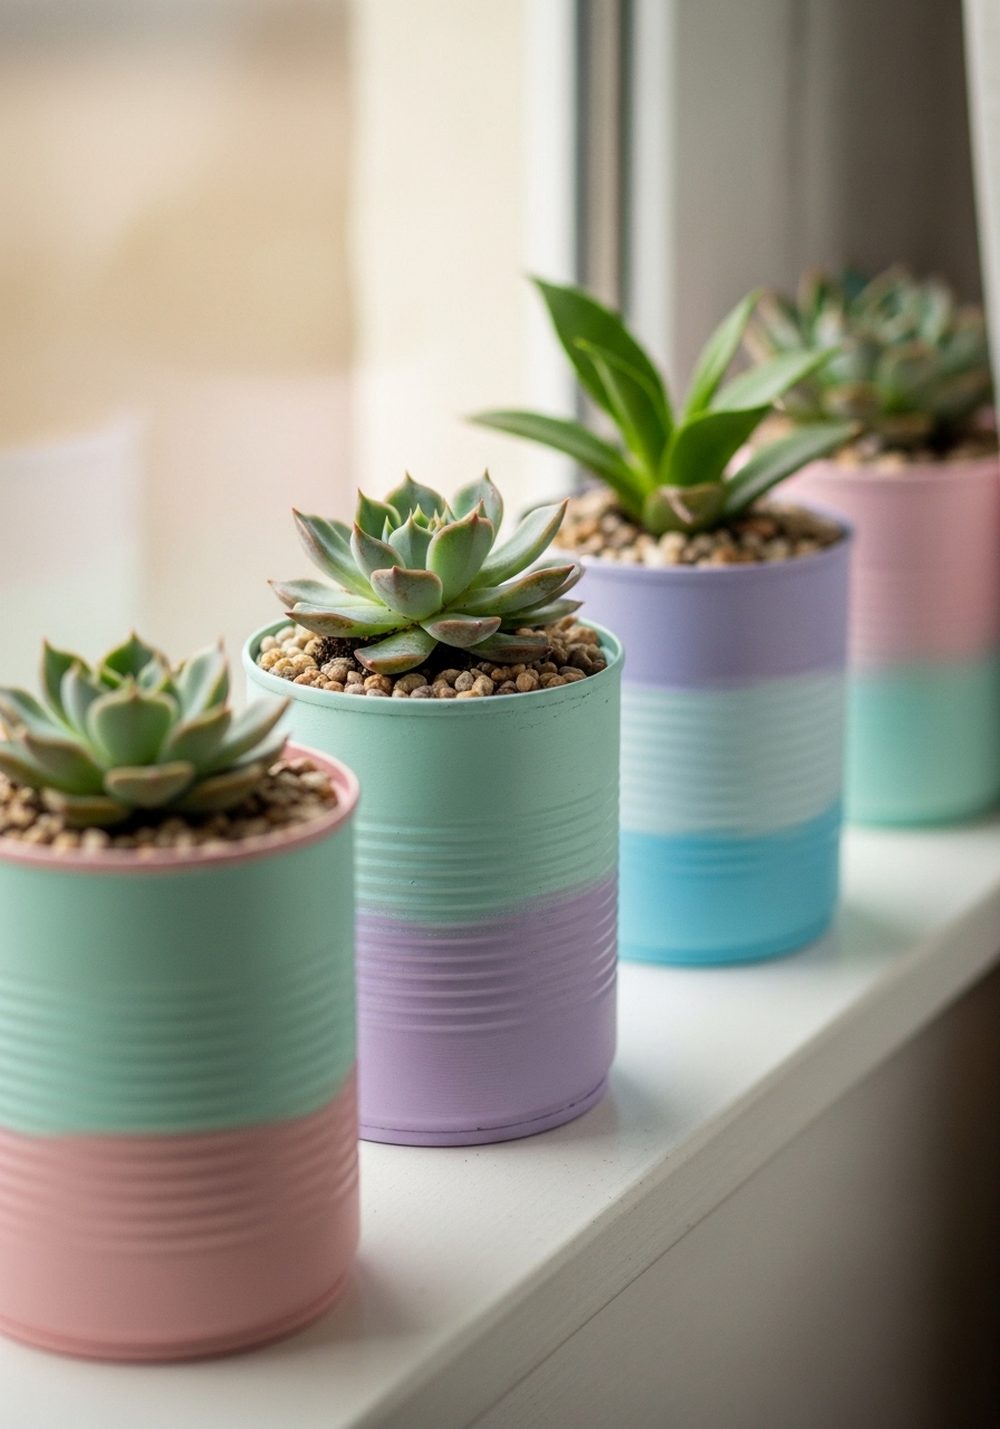
Soft pastel ombre cans give a gentle, calming look to any windowsill. Use three related shades of paint for each can, blending from light to darker toward the base. Once dry, plant small succulents, baby spider plants, or mini pothos inside. The smooth color gradients look especially lovely on a white ledge or shelf, and the muted tones suit both modern and cottage-style spaces. It’s a delicate way to add color without overwhelming a small area.
- Best For: Bright windowsills, desks, bedroom shelves.
- Budget Tip: Mix white paint with small amounts of colored paint to create your own pastels.
- Styling Idea: Stick to one color family (all blues, all pinks, or all greens) for a calm feel.
- Practical Note: Succulents need good drainage, so don’t skip holes in the bottom.
4. Boho Patterned Hanging Tin Cans
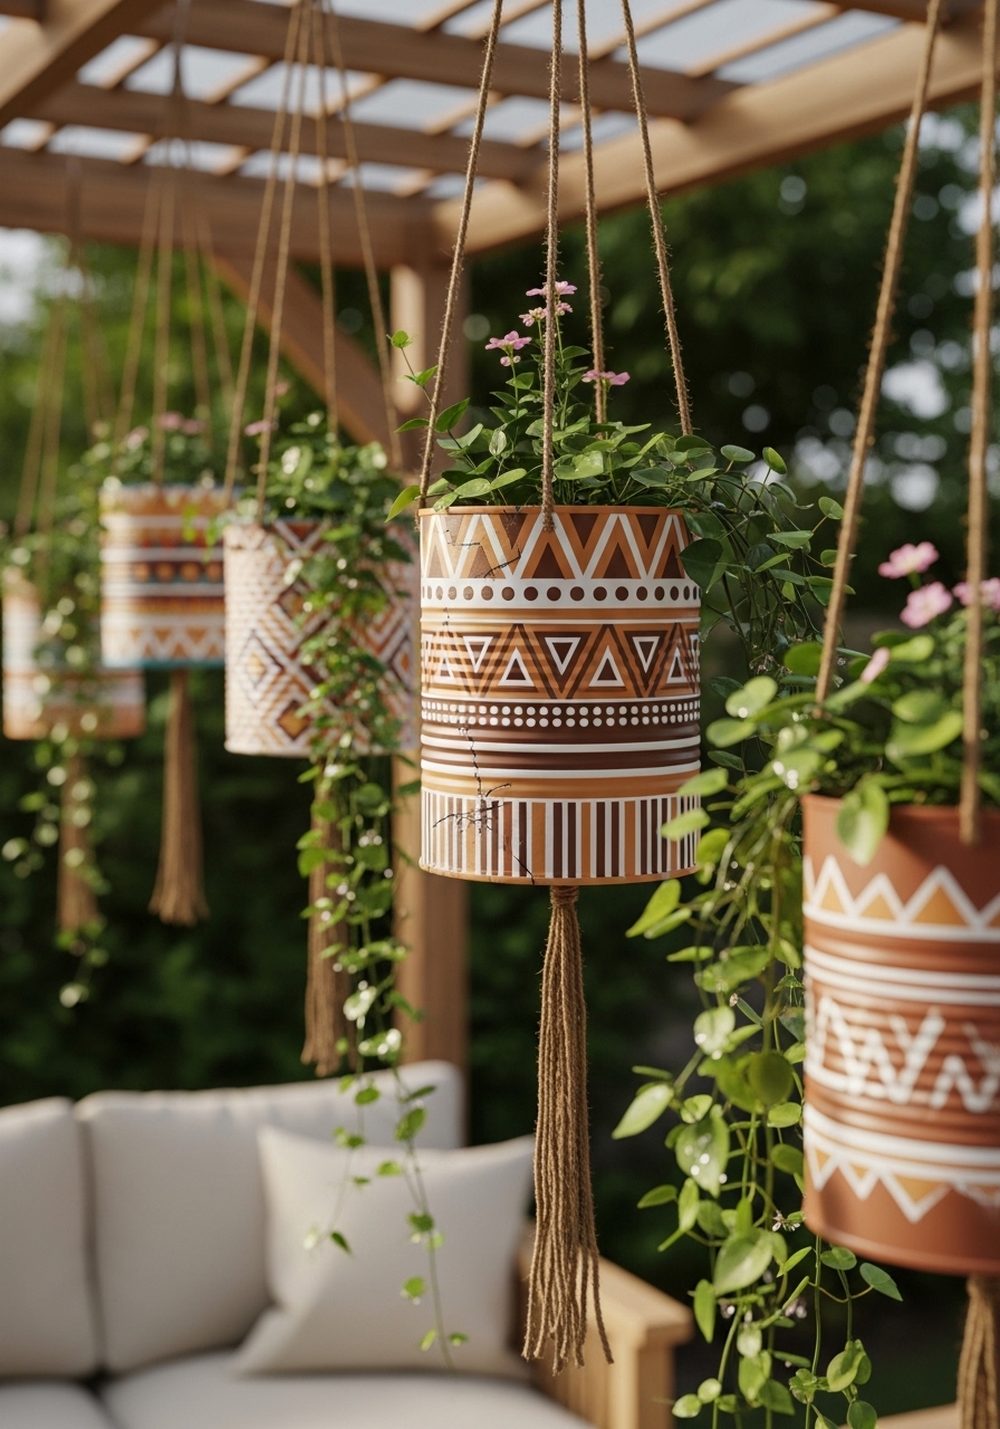
Create a boho-style hanging garden by painting old cans in earthy tones and adding bold patterns. Think dots, zigzags, sunbursts, and tiny arrows in white or gold over terracotta, mustard, and teal bases. Attach string, rope, or simple macramé hangers to each can and hang them at different heights from a pergola, balcony railing, or sturdy hook. Fill with trailing plants like ivy, string-of-pearls, or simple ferns to complete the relaxed, bohemian vibe.
- Best For: Covered patios, balconies, and pergolas.
- Budget Tip: Use basic twine instead of fancy hangers, and reuse old wall paint.
- Styling Idea: Repeat a few simple motifs across cans so the mix looks intentional, not messy.
- Practical Note: Make sure fixings and knots are strong enough to hold wet soil weight.
- Care & Maintenance: Take cans down occasionally to check for rust and repaint if needed.
5. Minimalist Enamel-Style Tin Can Planters
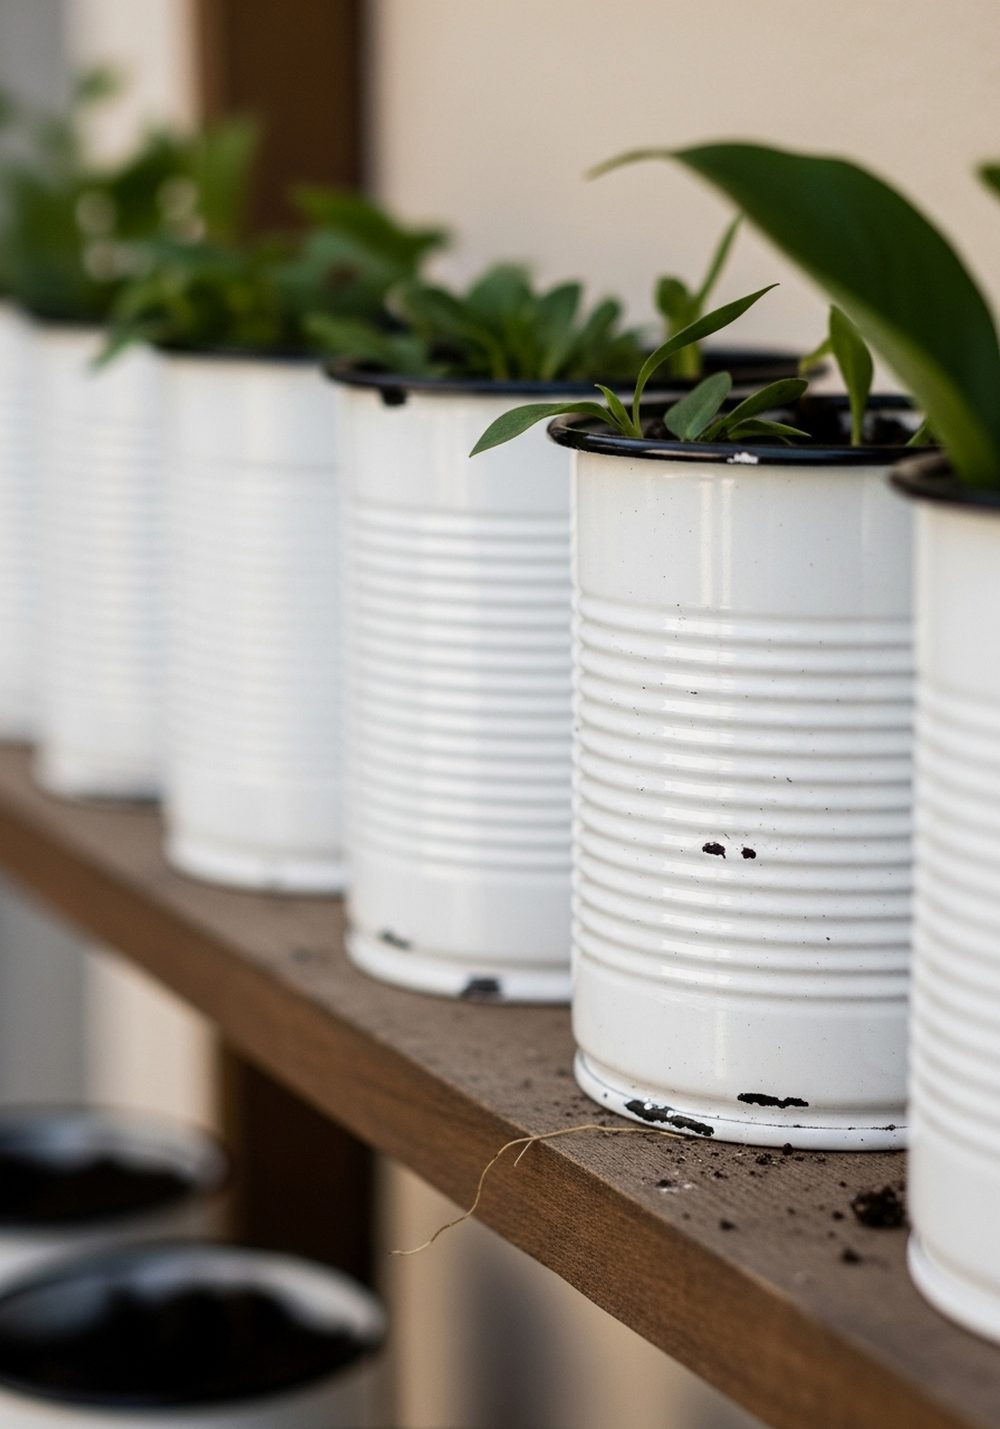
If you prefer a clean, simple look, try enamel-style tin cans. Paint them white or cream, then add a thin black rim at the top and maybe a delicate black line near the bottom. Group them on a wooden bench or shelf and plant them with lush green foliage, like peace lilies, ferns, or plain ivy. The contrast between the crisp “enamel” cans and rich green plants creates a very calm, modern display that suits almost any outdoor space.
- Best For: Modern patios, Scandinavian-style spaces, tidy porches.
- Budget Tip: One pot of white and a small pot of black paint will cover many cans.
- Styling Idea: Use only green plants—no flowers—for a minimalist, gallery-like effect.
- Practical Note: Sand shiny cans lightly so the paint adheres well and lasts longer.
6. Kids’ Handprint Art Tin Cans
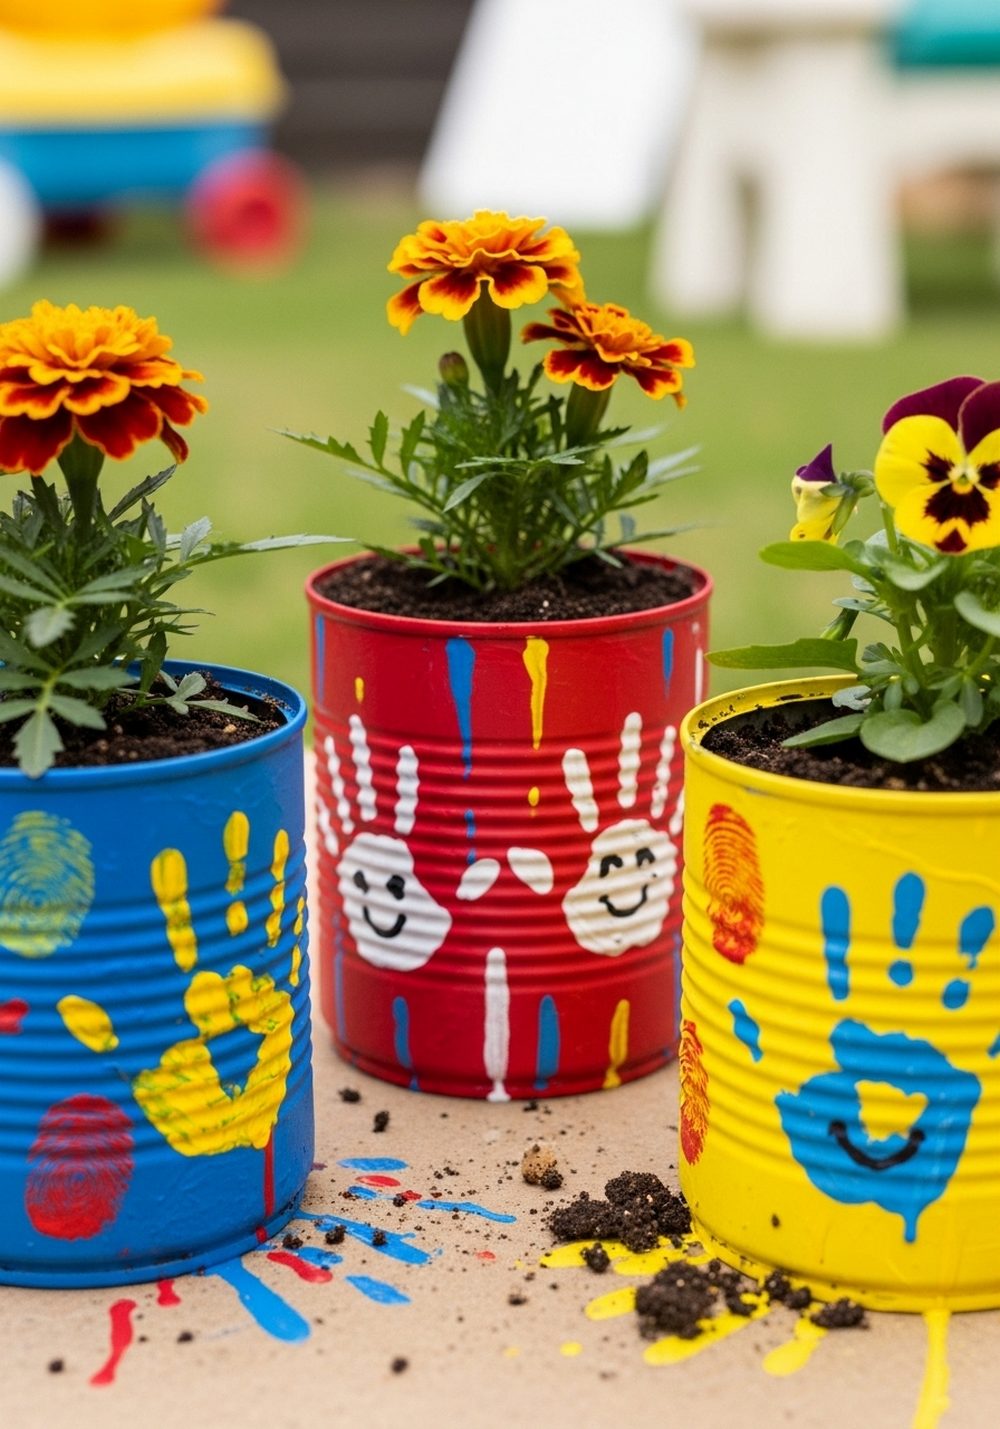
Let children help decorate the garden by turning tin cans into handprint planters. Paint the cans in bright base colors, then have kids dip their hands or fingers into contrasting paints and press prints around the sides. When dry, plant cheerful blooms like marigolds, pansies, or nasturtiums. Display the cans on steps, a low wall, or a kid-height table so they can see their creations easily. It’s a lovely way to combine a family craft with practical planting.
- Best For: Family gardens, school projects, community spaces.
- Budget Tip: Use cheap craft paints and any cans you already have.
- Styling Idea: Group cans by child (all of one color) or mix them randomly for a playful cluster.
- Practical Note: Use non-toxic paints and supervise kids around sharp can edges.
- Extra Idea: Write the child’s name and year on the base as a sweet keepsake.
7. Vintage Floral Tin Can Planters
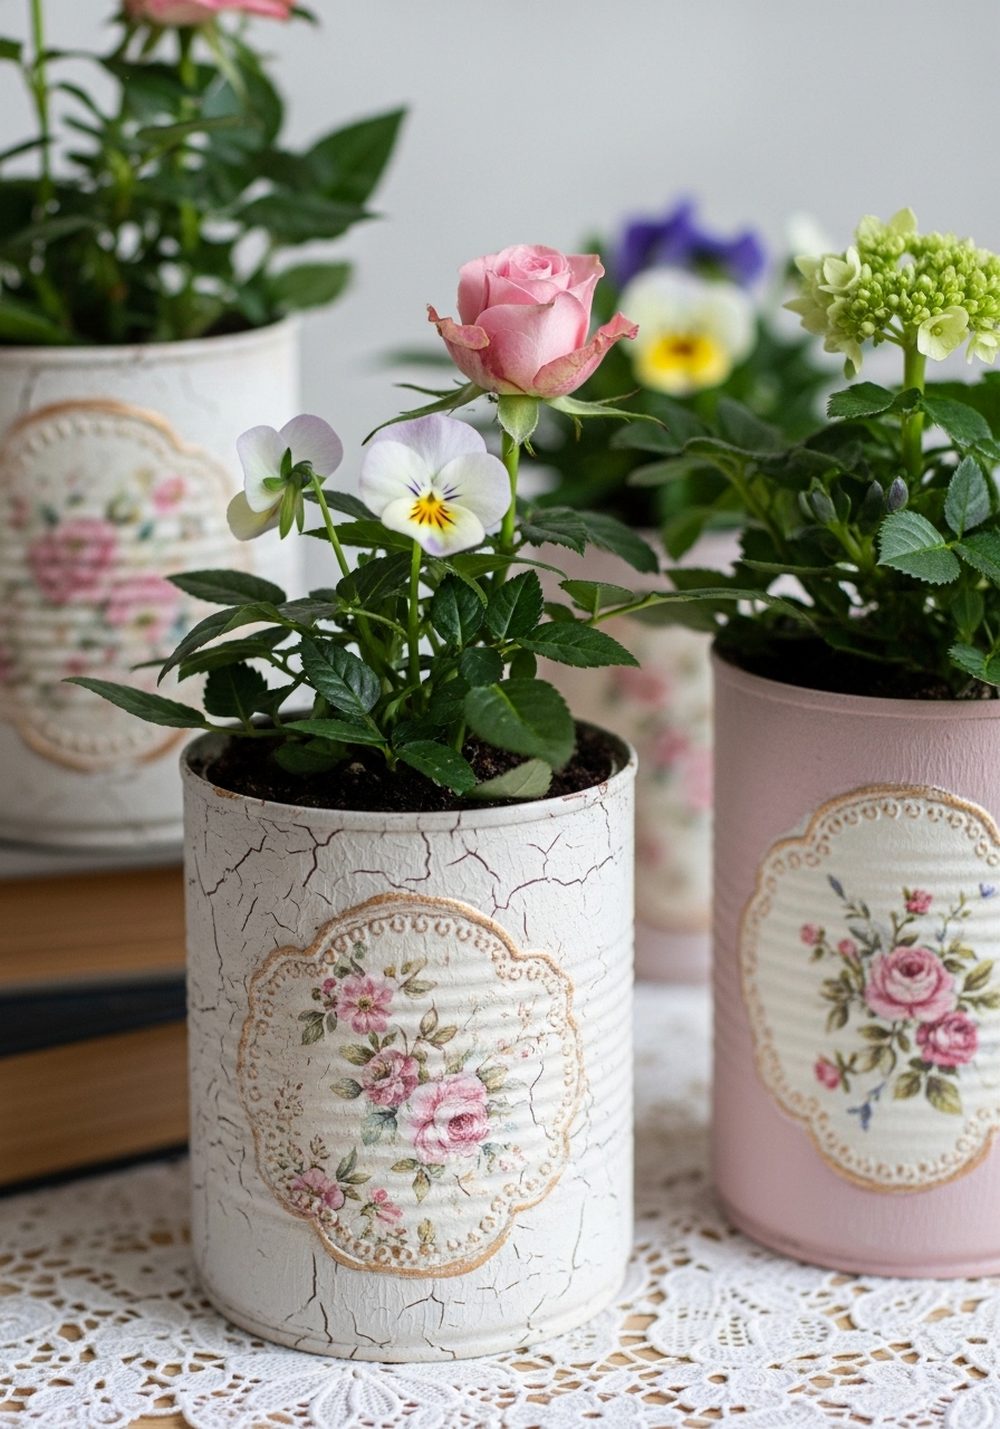
Bring a romantic, vintage touch to your garden with floral tin cans. Paint cans in soft, muted shades like cream, blush, or sage, then add delicate flowers using stencils, decals, or decoupage napkins. Lightly sand the edges once dry for a gently worn look. Plant them with roses, violas, or soft-colored annuals and arrange on a lace-covered table or old crate. The result feels like something from a country tea garden, perfect for a quiet corner.
- Best For: Cottage gardens, patios styled for tea or brunch.
- Budget Tip: Use floral napkins or wrapping paper offcuts for inexpensive decoupage.
- Styling Idea: Stick to two or three main colors so the display doesn’t feel busy.
- Practical Note: Seal the finished design with a clear outdoor sealer to protect from rain.
8. Numbered Stair-Step Tin Can Planters
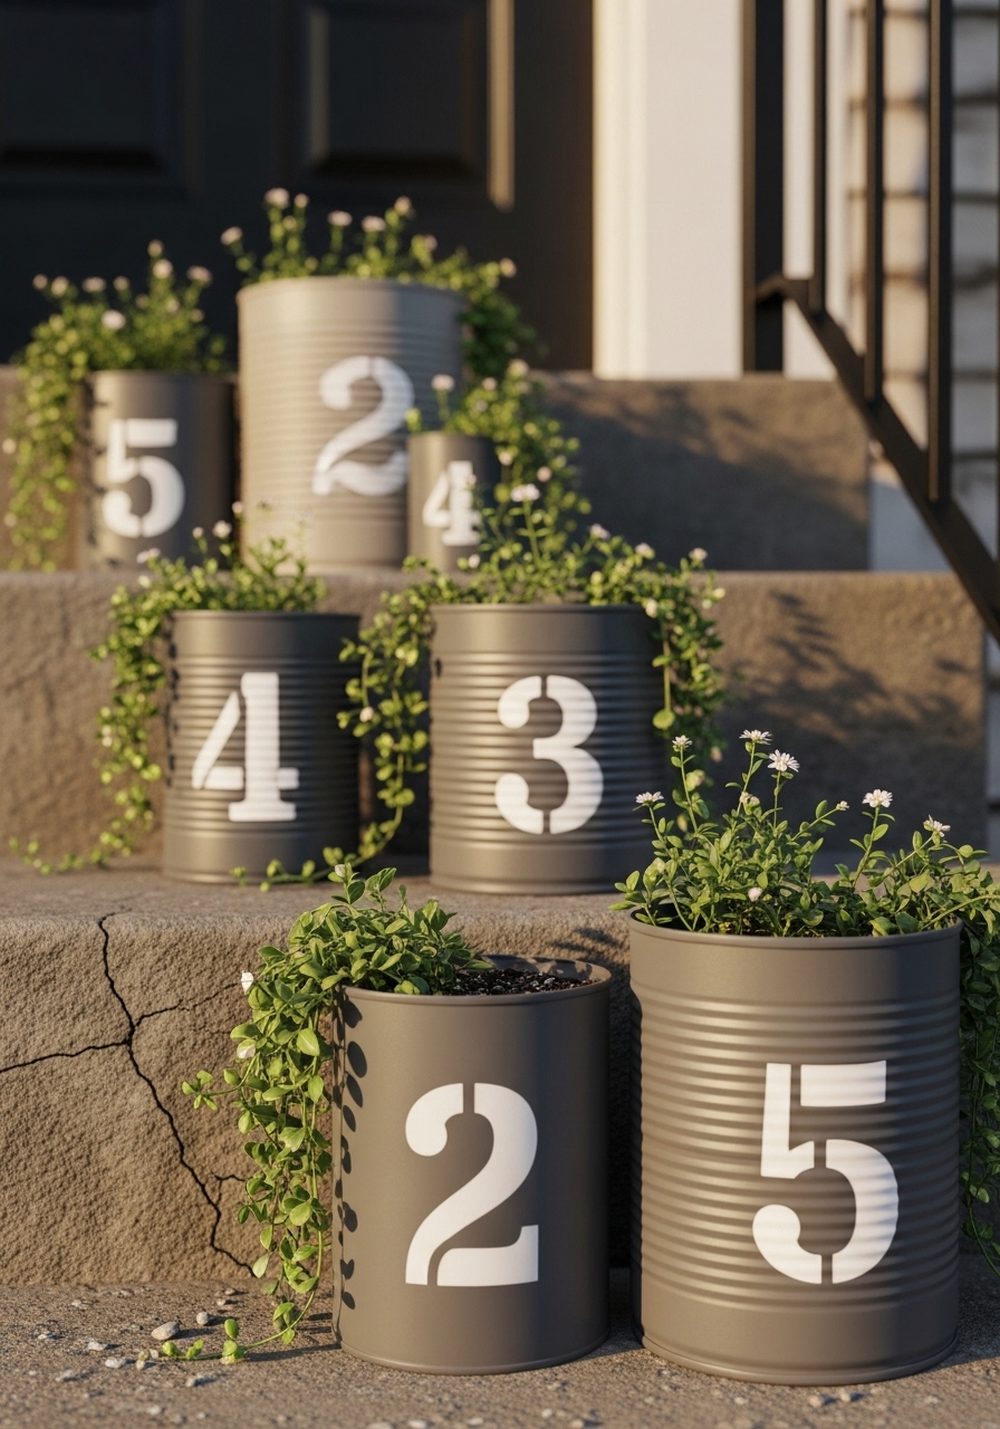
Make your garden steps or porch stairs more interesting with numbered tin cans. Paint each can in a solid neutral color—charcoal, grey, or navy—then stencil on large white numbers. Line the cans on each step, graduating plant height as they go up: low groundcovers at the bottom, medium plants in the middle, and taller plants at the top. The numbers give a crisp, organized look and help guide the eye up the stairs, making the space feel designed.
- Best For: Front steps, porch stairs, terraced gardens.
- Budget Tip: Cut stencils from cardboard instead of buying ready-made ones.
- Styling Idea: Keep cans and numbers simple, and vary plant textures for interest.
- Practical Note: Place heavier cans on wider steps for safety and stability.
- Care & Maintenance: Rotate cans occasionally so all plants receive enough light.
9. Metallic Dip-Dyed Party Tin Cans
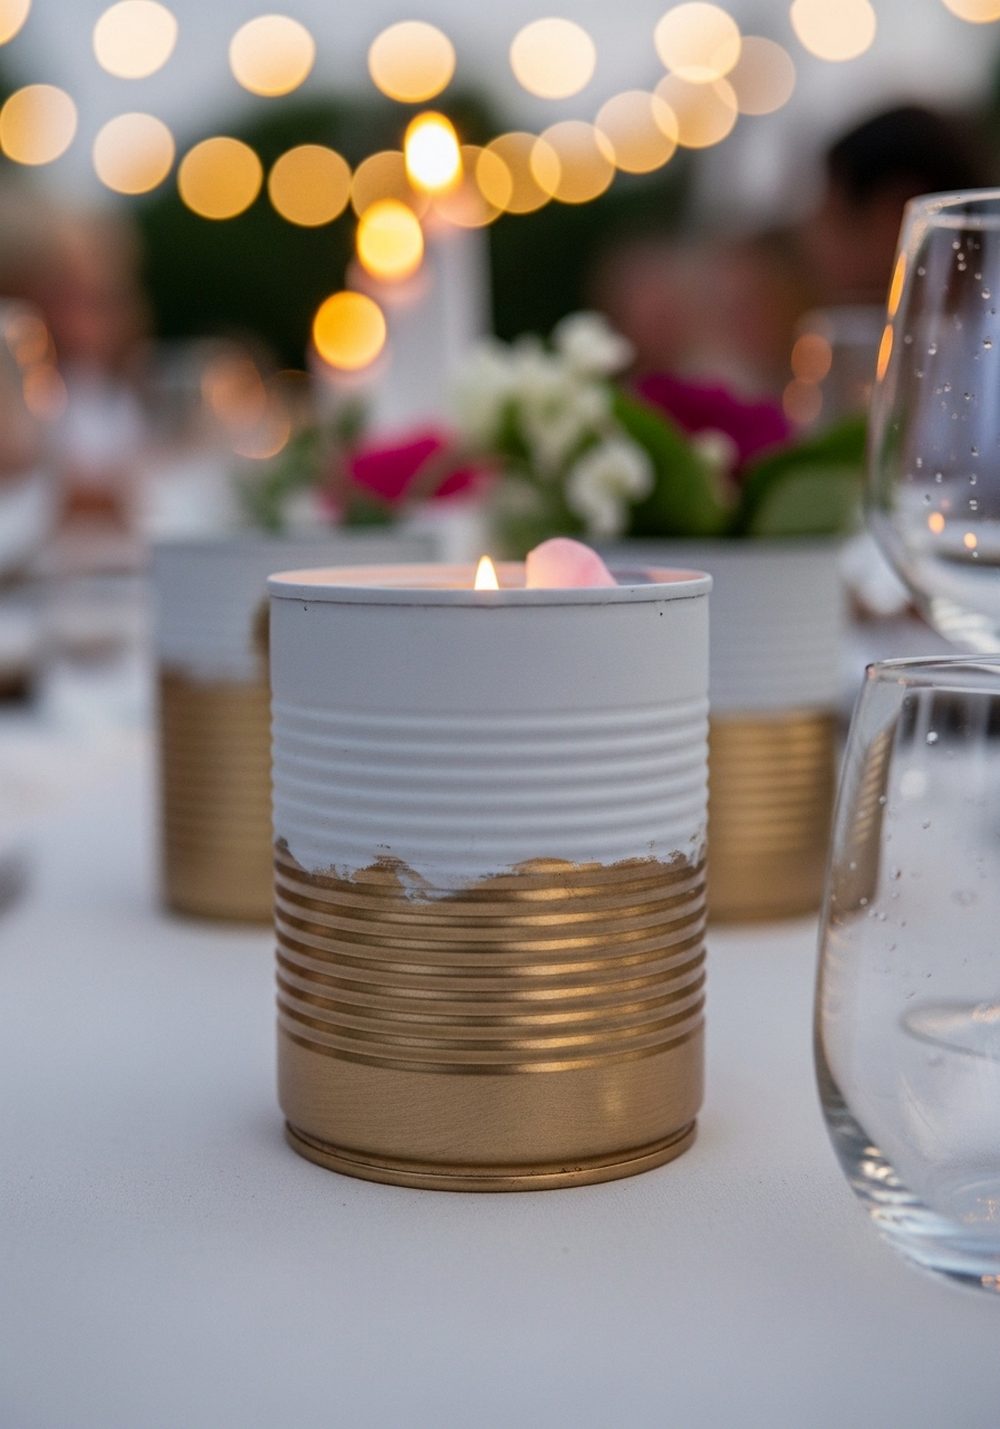
For special occasions, upgrade plain tins with a metallic dip-dye effect. Paint the whole can in a matte color, then brush or sponge metallic paint onto the lower third so it looks like it’s been dipped. Use them as table centerpieces filled with flowers, foliage, or even tealights (with glass holders inside for safety). The metallic sheen catches evening light beautifully, making these perfect for outdoor dinners, birthdays, or casual garden parties.
- Best For: Parties, BBQs, outdoor dining areas.
- Budget Tip: You only need a small amount of metallic paint for a big impact.
- Styling Idea: Choose one metallic shade (gold, copper, or silver) to keep things cohesive.
- Practical Note: Line cans with plastic pots or glass jars if using candles or delicate linens nearby.
- Extra Idea: Tie simple name tags to the cans and let guests take them home as favors.
10. Seasonal-Themed Tin Can Planter Set
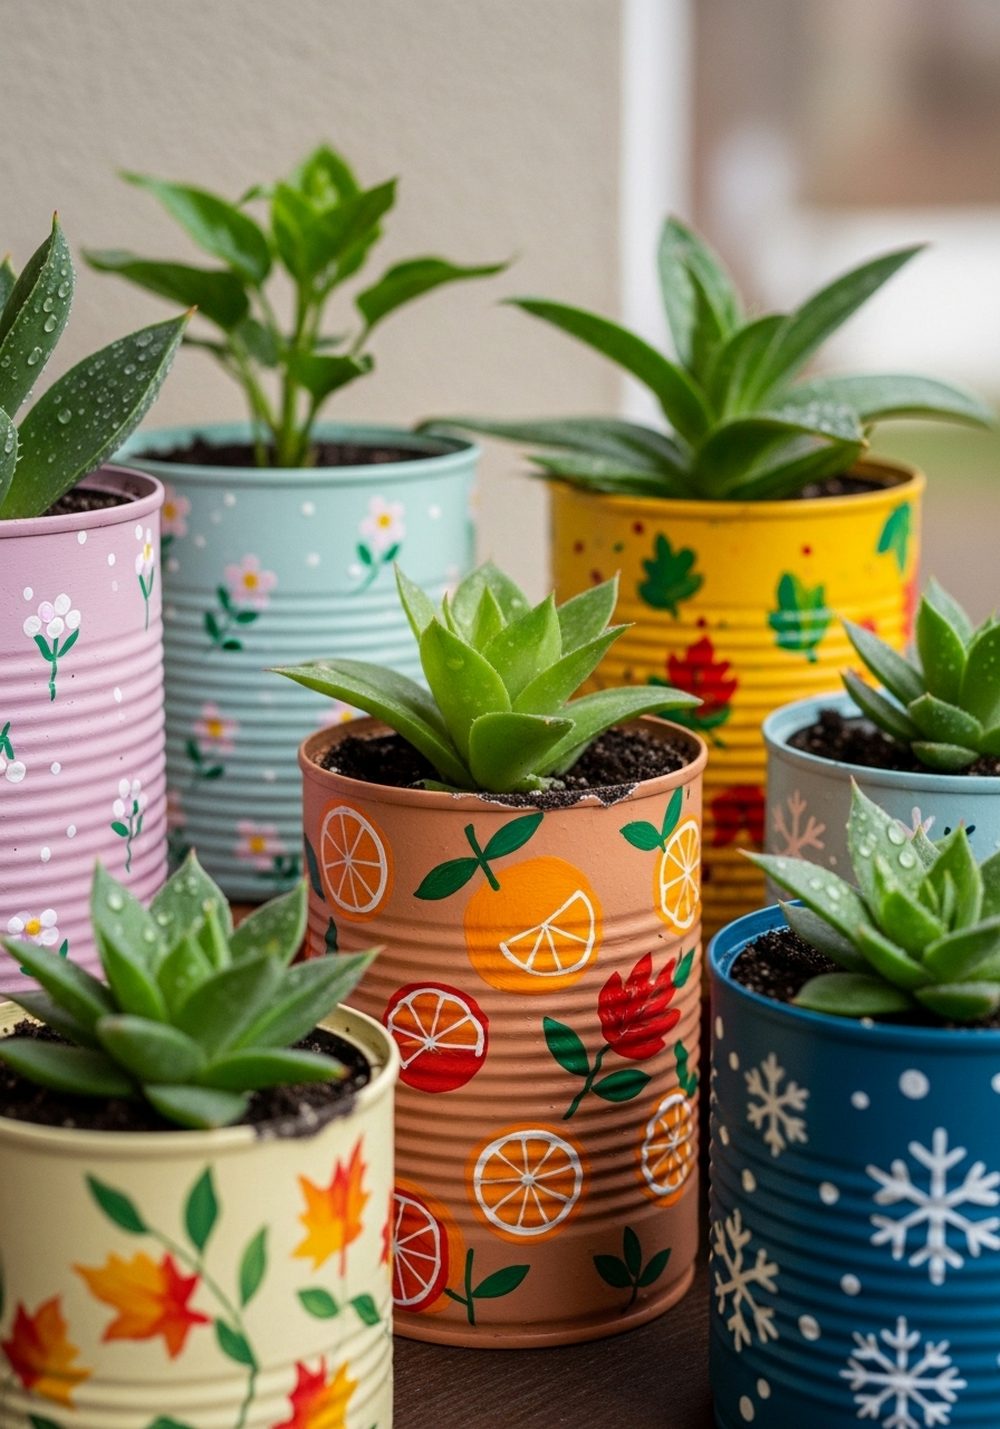
Create a set of tin cans that you can rotate through the year with seasonal themes. Paint some in spring pastels with tiny flowers, others in sunny citrus patterns for summer, warm leaf motifs for autumn, and snowflakes or stars for winter. Store off-season cans and bring them out as the months change, swapping in plants that match each theme. It’s a fun way to refresh your space regularly without buying new containers every time.
- Best For: Porch displays, window ledges, small patios.
- Budget Tip: Build your set gradually, painting a few cans each season.
- Styling Idea: Add small matching touches—like a seasonal wreath or doormat—nearby.
- Practical Note: Use removable inner pots so you can replant easily without damaging paint.
- Care & Maintenance: Check stored cans for rust and touch up paint before their season.
Conclusion
Painted tin can planters prove that you don’t need expensive pots to create a beautiful, personal garden. With some cleaning, a few coats of paint, and simple plants, old cans can become fence decor, stair accents, party centerpieces, and more. Choose one or two ideas to start with, use what you already have, and let your style grow as you go. Before long, your recycled cans will be some of your favorite features outdoors.
FAQs
1. How do I prepare old tin cans before painting them?
Wash cans thoroughly with warm soapy water, remove labels and glue, and dry completely. If the surface is very shiny, lightly sand it to help paint stick better. Always check for sharp edges and file them down or cover them with a bead of hot glue before you start painting and planting.
2. What kind of paint works best on tin cans outdoors?
Acrylic craft paint or outdoor metal paint both work well. For cans that will stay outside in sun and rain, choose paint labeled for exterior use and finish with a clear sealer for extra protection. If your cans will live under cover, standard acrylic paint is usually enough.
3. How can I stop tin can planters from rusting quickly?
Rust is part of the charm for some people, but you can slow it down. Make sure cans are completely dry before painting, use a primer if you have it, and always drill drainage holes so water doesn’t pool at the bottom. A clear waterproof sealer on the outside also helps protect the paint and metal.
4. Are tin can planters suitable for renters who can’t make permanent changes?
Yes, they’re perfect for renters. You can place them on shelves, steps, tables, or rail-hung racks that don’t require drilling into walls. Hanging options that clamp or hook over railings are easy to remove when you move out, and the cans themselves are light and portable.
5. What plants grow best in small tin can planters?
Herbs, succulents, small annual flowers, and trailing plants work best. Look for compact varieties that don’t need deep roots. Whatever you choose, make sure there are drainage holes and use a good-quality potting mix so the plants don’t sit in soggy soil.
6. How can I keep the decor looking tidy instead of cluttered?
Pick a simple color palette and repeat it across your cans, rather than using every color at once. Group cans in odd numbers (3 or 5 together) and vary their heights slightly. Leave a little empty space around each cluster so the eye has room to rest and the display feels intentional, not messy.