10 Tin Can Garden DIYs For Kids – Planters, Wind Chimes And Signs

If your kids love getting messy and creative, tin cans might just become your new favorite craft supply. With a few leftovers from the kitchen, some paint, and a bit of imagination, you can turn simple cans into colourful planters, tinkling wind chimes, and playful garden signs that bring your outdoor space to life.
This post is for families, home gardeners, and renters who want budget-friendly ways to decorate outdoors while keeping kids involved. You’ll find easy, safe DIY projects that use mostly recycled materials, teach simple garden skills, and add lots of character to your balcony, patio, or backyard.
Quick List
- Painted Tin Can Rainbow Herb Pots
- Tin Can Monster Planters With Googly Eyes
- Hanging Tin Can Wind Chimes With Beads
- Nature Stamp Tin Can Flower Pots
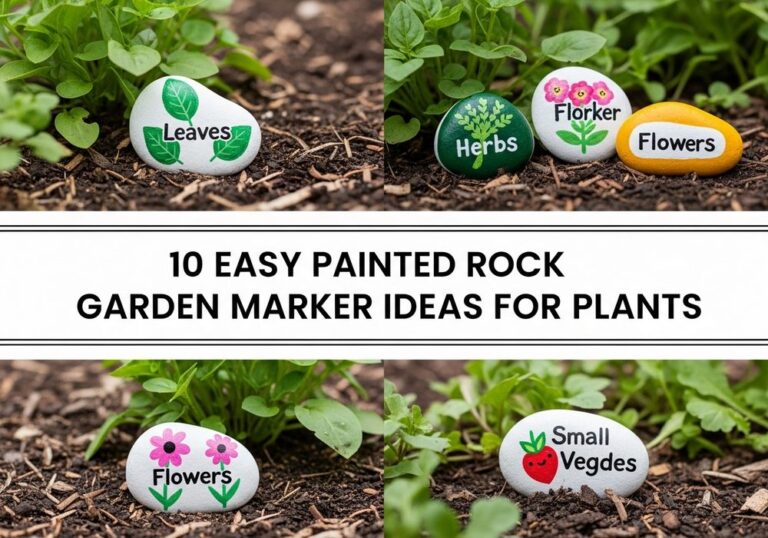
- Chalkboard Tin Can Garden Labels
- Tin Can Bug Hotel Tower
- Drip-Painted Tin Can Succulent Planters
- Tin Can Bird Feeders On A Pole
- Tin Can Directional Garden Signpost
- Tin Can Lanterns With Punched Star Patterns
1. Painted Tin Can Rainbow Herb Pots

Turn a row of old tins into a cheerful rainbow herb garden that kids can proudly water and snip from. Clean and dry the cans, then let children paint each one a different bright color using outdoor or acrylic paint. Once dry, punch a few drainage holes in the bottom, add a layer of pebbles and potting mix, and tuck in easy herbs like mint, chives, or parsley. Line them along a windowsill, step, or balcony shelf for an instant burst of color.
- Best For: Windowsills, balcony rails, and small patios where space is limited.
- Budget Tip: Use leftover paint samples and herb cuttings from friends instead of buying new plants.
- Styling Idea: Arrange the cans in rainbow order or alternate solid colors with simple stripes and dots.
- Practical Note: Add saucers or trays underneath to catch drips and protect surfaces.
- Care & Maintenance: Let kids be in charge of watering and snipping, showing them how herbs regrow.
2. Tin Can Monster Planters With Googly Eyes

These monster planters are a fun way to get nervous kids excited about dirt and plants. After cleaning the cans and gently sanding any sharp edges, help kids paint each one in a bold monster color like lime, purple, or orange. Once dry, use paint pens to add teeth, mouths, and eyebrows, then glue on large googly eyes. Fill the cans with soil and plant “monster hair” like grass seed, trailing ivy, or messy ferns for a goofy look.
- Best For: Children’s play corners, school gardens, or themed birthday garden parties.
- Budget Tip: Reuse craft scraps such as leftover googly eyes, stickers, and paint from other projects.
- Styling Idea: Group several monsters together at different heights to create a little “monster family.”
- Practical Note: Smooth or tape any sharp can rims before kids handle them.
- Extra Idea: Let kids name each monster and write the name on the back or bottom.
3. Hanging Tin Can Wind Chimes With Beads

Wind chimes made from tin cans are a beautiful way to teach kids about sound, weather, and recycling at once. Start by painting a few cans in soft pastel or ocean-inspired shades. Carefully punch holes around the rim or bottom, then help children thread strings with beads, shells, washers, or old keys. Tie all the strings to a sturdy stick or metal ring and hang the chime from a tree branch, pergola, or balcony hook where it can catch the breeze.
- Best For: Near seating areas where you’ll enjoy the gentle tinkling sound.
- Budget Tip: Use mismatched beads, buttons, and small metal bits from your junk drawer instead of buying new.
- Styling Idea: Choose one color family (like blues and whites) for a calm look, or go multicolored for a playful kids’ style.
- Practical Note: Make sure the chime hangs high enough so kids can’t bump into it or get tangled.
- Care & Maintenance: Check strings every few months and replace any that weather or fray.
4. Nature Stamp Tin Can Flower Pots

This project combines art, nature, and gardening into one gentle afternoon activity. Cut simple shapes from foam or potatoes to make stamps, then take a short walk with kids to collect leaves and flowers for inspiration. Paint the clean cans a light base color first. Once dry, kids can dip their stamps into paint and press leaf, petal, or geometric shapes around the cans. When the designs are finished, seal with clear varnish, add soil, and plant flowers or herbs.
- Best For: Calm kids who enjoy slower, more detailed crafts.
- Budget Tip: Make your own stamps from cut-up kitchen sponges or foam instead of buying special tools.
- Styling Idea: Stick to two or three colors for a coordinated set of pots instead of lots of random shades.
- Practical Note: Spread newspaper or a plastic sheet under the stamping area to catch spills.
- Care & Maintenance: Keep the painted cans out of constant heavy rain to help designs last longer.
5. Chalkboard Tin Can Garden Labels

Chalkboard tin cans make flexible, fun garden labels that kids can rewrite whenever you plant something new. Paint the outside of each clean can with several coats of chalkboard paint, letting it dry in between. Slip the cans over wooden stakes or bamboo canes pushed into the soil, then write plant names or doodle veggie pictures with chalk. Kids can help move the cans as crops rotate or as herbs get rearranged, turning labeling into a game.
- Best For: Veggie patches, raised beds, and herb gardens that change often.
- Budget Tip: Use leftover scrap wood or old broom handles cut down as stakes.
- Styling Idea: Keep labels simple and bold with white chalk, or colour-code by plant type for a more playful look.
- Practical Note: Store the chalk in a small waterproof tin or jar near the garden so it’s always handy.
- Care & Maintenance: Wipe off and rewrite labels as the names fade or you plant new varieties.
6. Tin Can Bug Hotel Tower

A tin can bug hotel encourages wildlife and gives kids a front-row seat to nature. Collect several large cans, remove any sharp edges, and leave them unpainted or give them a neutral, earthy coat. Fill each can tightly with hollow sticks, bamboo, pine cones, bark, and rolled corrugated cardboard. Stack them into a tower against a fence or inside a crate, securing with strong wire or twine. Place the bug hotel in a quiet corner with nearby flowers to attract helpful insects.
- Best For: Back corners of the garden where you’re happy to welcome bugs.
- Budget Tip: Use only found natural materials and leftover cans, spending nothing on filler.
- Styling Idea: Frame the bug hotel with a border of flowers or painted stones made by the kids.
- Practical Note: Make sure the tower is stable and won’t topple if bumped or in strong wind.
- Care & Maintenance: Refresh the natural materials once a year if they rot or break down.
7. Drip-Painted Tin Can Succulent Planters

Drip painting is wonderfully satisfying and almost foolproof for children. Turn clean cans upside down on a protected surface and let kids slowly pour or drip watered-down acrylic paint from the base (now the top), watching colors flow and blend as they run down. Once dry, flip the cans, punch drainage holes, and add a gritty potting mix. Plant hardy succulents that don’t need lots of attention, then group the cans together in a sunny spot for a modern, arty display.
- Best For: Busy families who want low-maintenance plants and bold color.
- Budget Tip: Use small succulent cuttings instead of buying full plants; they will fill out over time.
- Styling Idea: Choose two or three coordinating paint colors per can for a marbled, stylish effect.
- Practical Note: Protect the area well, as drip painting can get messy and paint may run far.
- Care & Maintenance: Remind kids that succulents need very little water and plenty of light.
8. Tin Can Bird Feeders On A Pole
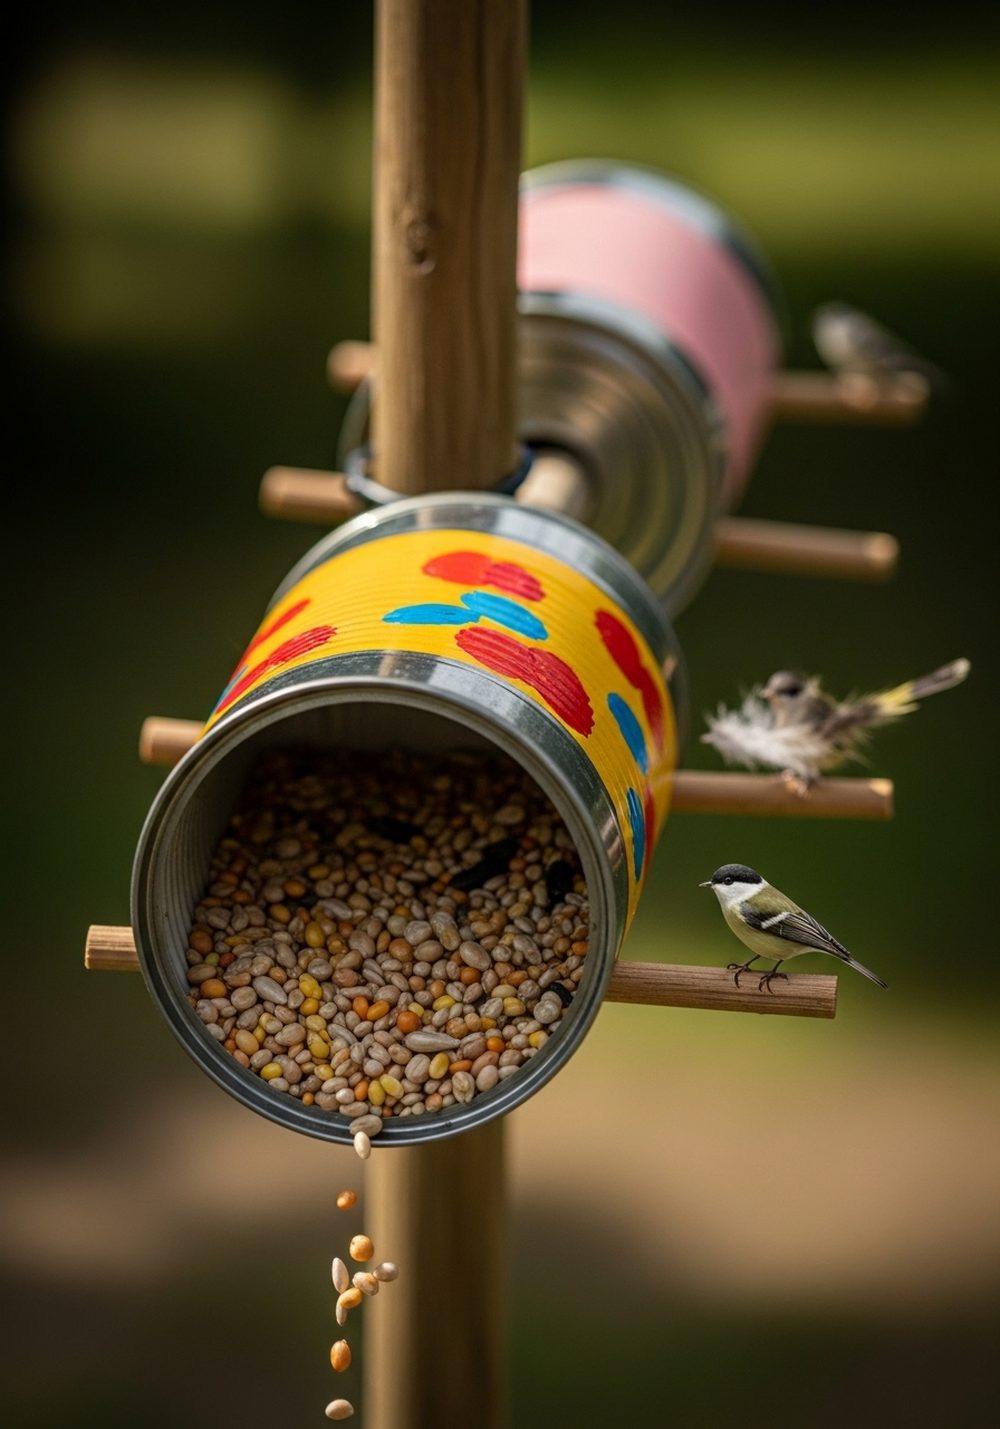
Invite feathered friends into your garden with bright bird feeders kids can refill themselves. Lay clean cans on their side, paint the outsides in sunny colors, and let them dry. Glue or screw a small stick or wooden spoon across the open side to form a perch. Then fix the cans along a tall pole or fence post at different heights and fill with seed. Children will love watching which birds visit and learning to keep the feeders topped up.
- Best For: Gardens or balconies where you can see the feeders from a window or seating area.
- Budget Tip: Use homemade seed mixes with grains and seeds you already have instead of special blends.
- Styling Idea: Paint simple bird silhouettes or patterns on the cans to hint at the visitors you’re hoping for.
- Practical Note: Place feeders away from low shrubs where cats could hide and pounce.
- Care & Maintenance: Clean the cans regularly and replace old seed to keep visiting birds healthy.
9. Tin Can Directional Garden Signpost

A tin can signpost turns your garden into a mini adventure park for kids. Paint several cans in different colors, then add arrows, simple pictures, or big letters to show directions to “Herb Patch,” “Bug Hotel,” or “Reading Corner.” Attach each can to a central wooden pole at different angles, so they point in various directions. Plant the pole firmly in the ground or a large pot filled with stones, and let kids decide what each “destination” should be.
- Best For: Family gardens with multiple little zones or play areas.
- Budget Tip: Reuse the same pole year after year, just repainting or replacing cans as needed.
- Styling Idea: Keep the lettering bold and simple so it’s easy to read from a distance.
- Practical Note: Make sure the pole is firmly anchored so kids can’t easily tip it over.
- Extra Idea: Add a simple compass arrow on top so kids can learn about directions.
10. Tin Can Lanterns With Punched Star Patterns

Tin can lanterns are magical for summer evenings and surprisingly kid-friendly with supervision. Fill clean cans with water and freeze them to create a solid base. Then, using a hammer and nail (adult job), punch simple star or heart patterns into the sides. Once the ice melts and cans are dry, children can paint the outside or leave them as shiny metal. Place battery tea lights inside and line the lanterns along paths, steps, or a table for a soft, twinkling glow.
- Best For: Family barbecues, garden parties, or quiet story time outside at dusk.
- Budget Tip: Use inexpensive battery candles so you’re not constantly replacing real ones.
- Styling Idea: Keep all lanterns one color for a calm look, or mix metallics and soft pastels.
- Practical Note: Always use battery lights rather than real flames around children.
- Care & Maintenance: Store lanterns indoors between uses to avoid rusting too quickly.
Conclusion
With just a stack of tin cans, some paint, and a bit of guidance, your kids can help turn the garden into a colourful, personal playground. These simple DIYs add sound, light, texture, and character while gently teaching about plants and wildlife. Start with one easy project, like rainbow herb pots or monster planters, and build a little collection over time. Before long, every corner of your outdoor space will hold a story your family created together.
FAQs
1. How can I make these tin can projects safe for kids?
Start by carefully checking cans for sharp edges and gently sanding or covering them with tape before children touch them. Adults should handle any hole-punching with nails or drills. Use non-toxic, water-based paints and supervise closely when using tools or hanging items. Once that’s done, most of the decorating, planting, and arranging is very kid-friendly.
2. What if I’m renting and can’t change much in the garden?
Most of these tin can DIYs are completely portable and non-permanent. Use pots, shelves, or freestanding poles instead of drilling into walls or fences. You can cluster planters and signs in large tubs or crates that move with you when you leave. Hanging wind chimes and lanterns from removable hooks is another renter-safe option.
3. Are these ideas expensive to make?
They don’t need to be. The main material is recycled tin cans, and you can use leftover paint, old beads, scrap wood, and found natural materials to keep costs low. Plants can come from cuttings, seeds, or swaps with friends. If you add a few small purchases, space them out over several weekends rather than buying everything at once.
4. Do these tin can decorations survive bad weather?
Tin cans can handle some rain and sun, but painted designs will last longer if they’re under a small overhang or brought in during storms. Using outdoor or acrylic paints and adding a clear sealer helps. Items like bug hotels and bird feeders are naturally more rustic, so a bit of weathering often adds to their charm.
5. What are the easiest projects for very young kids?
Simple painting projects like rainbow herb pots or drip-painted succulent cans are ideal for small children. They can also help fill cans with soil, pour birdseed, or choose which stickers or colors to use. Save more detailed tasks—like punching patterns in lanterns or assembling bug hotels—for older kids or adult hands.