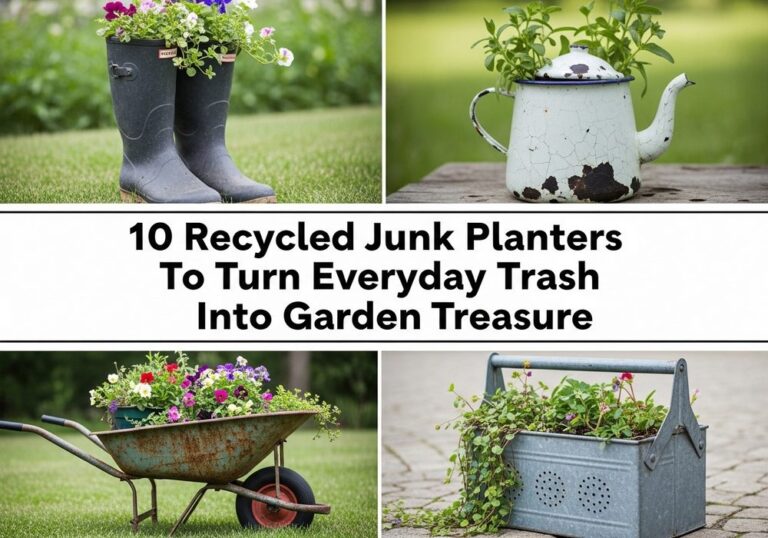
10 Tin Can Garden Projects For Kids (Planters, Bugs, And More)
If you have a few empty cans in the recycling bin and kids who love to get messy, you’re already halfway to a fun afternoon in the garden. Tin cans are the perfect starting point for easy, low-cost projects that turn ordinary corners into bright, playful spaces.
In this post, you’ll find ten kid-friendly tin can ideas, from simple painted planters to bug hotels, bird feeders, and glowing lanterns. Every project is designed to be doable with basic supplies, a bit of supervision, and plenty of imagination. By the end, your garden will feel more colourful, personal, and full of little details your kids can proudly say, “We made that!”
Quick List
- Rainbow Painted Tin Can Planters
- Tin Can Caterpillar Planter Train
- Hanging Tin Can Herb Garden For Kids
- Tin Can Bug Hotel Tower
- Ladybug & Bee Tin Can Mini Pots
- Tin Can Wind Chime Garden Mobile
- Silly Face Tin Can Planter Characters
- Tin Can Bird Feeder Station
- Tin Can Nature Treasure Tool Caddy
- Glow-In-The-Dark Tin Can Lantern Planters
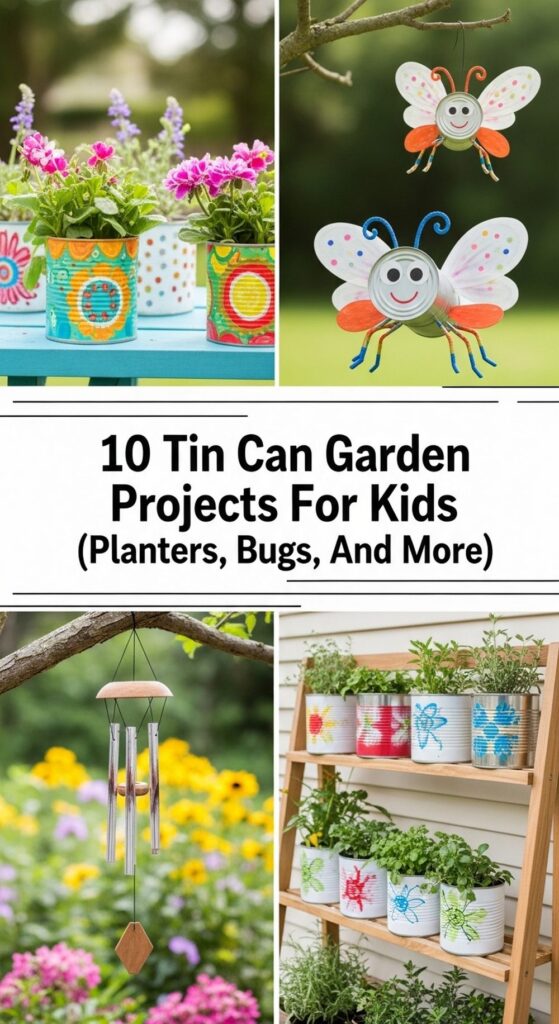
1. Rainbow Painted Tin Can Planters
Let kids turn plain tins into cheerful little pots with nothing more than paint, soil, and a few easy plants. Clean and dry the cans, then have an adult punch drainage holes in the bottom. Kids can paint stripes, dots, rainbows, or simple patterns and leave them to dry. Add a bit of gravel, then soil, and tuck in hardy flowers or herbs. Lined up on a step or wall, the bright cans instantly make the garden feel friendlier and more fun.
- Best For: Window sills, steps, balcony rails, or along a small path.
- Budget Tip: Use leftover wall paint or cheap craft paint and free cuttings from friends.
- Styling Idea: Stick to a simple rainbow palette so the cans look coordinated even with different patterns.
- Practical Note: Sand any sharp edges, and supervise drilling or nail holes.
- Care & Maintenance: Show kids how to check soil moisture with a finger and water gently.
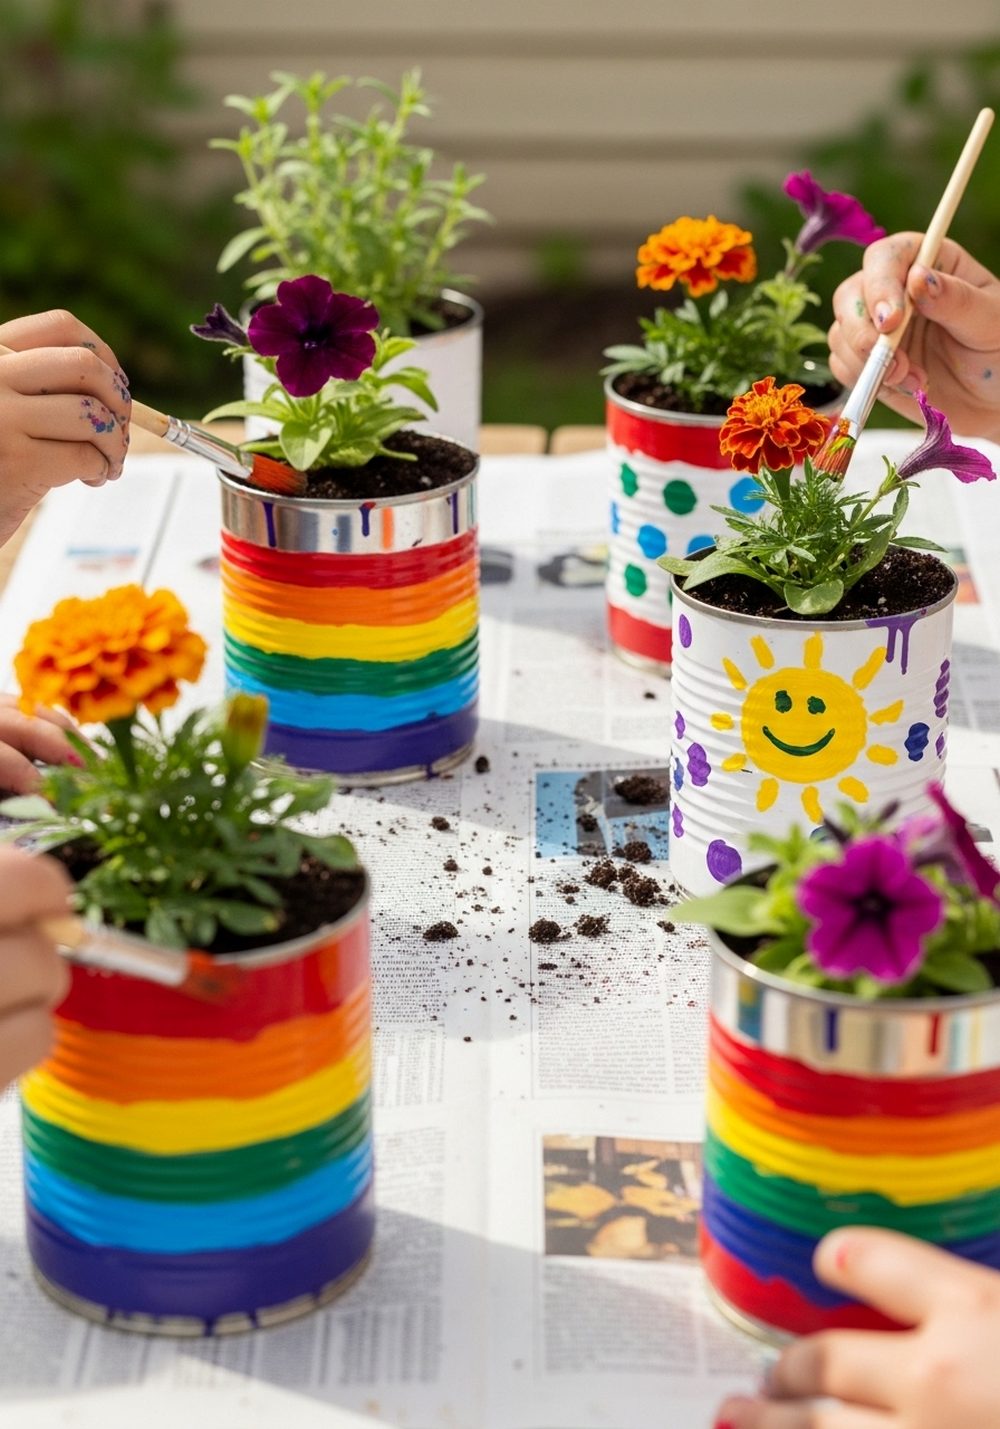
2. Tin Can Caterpillar Planter Train
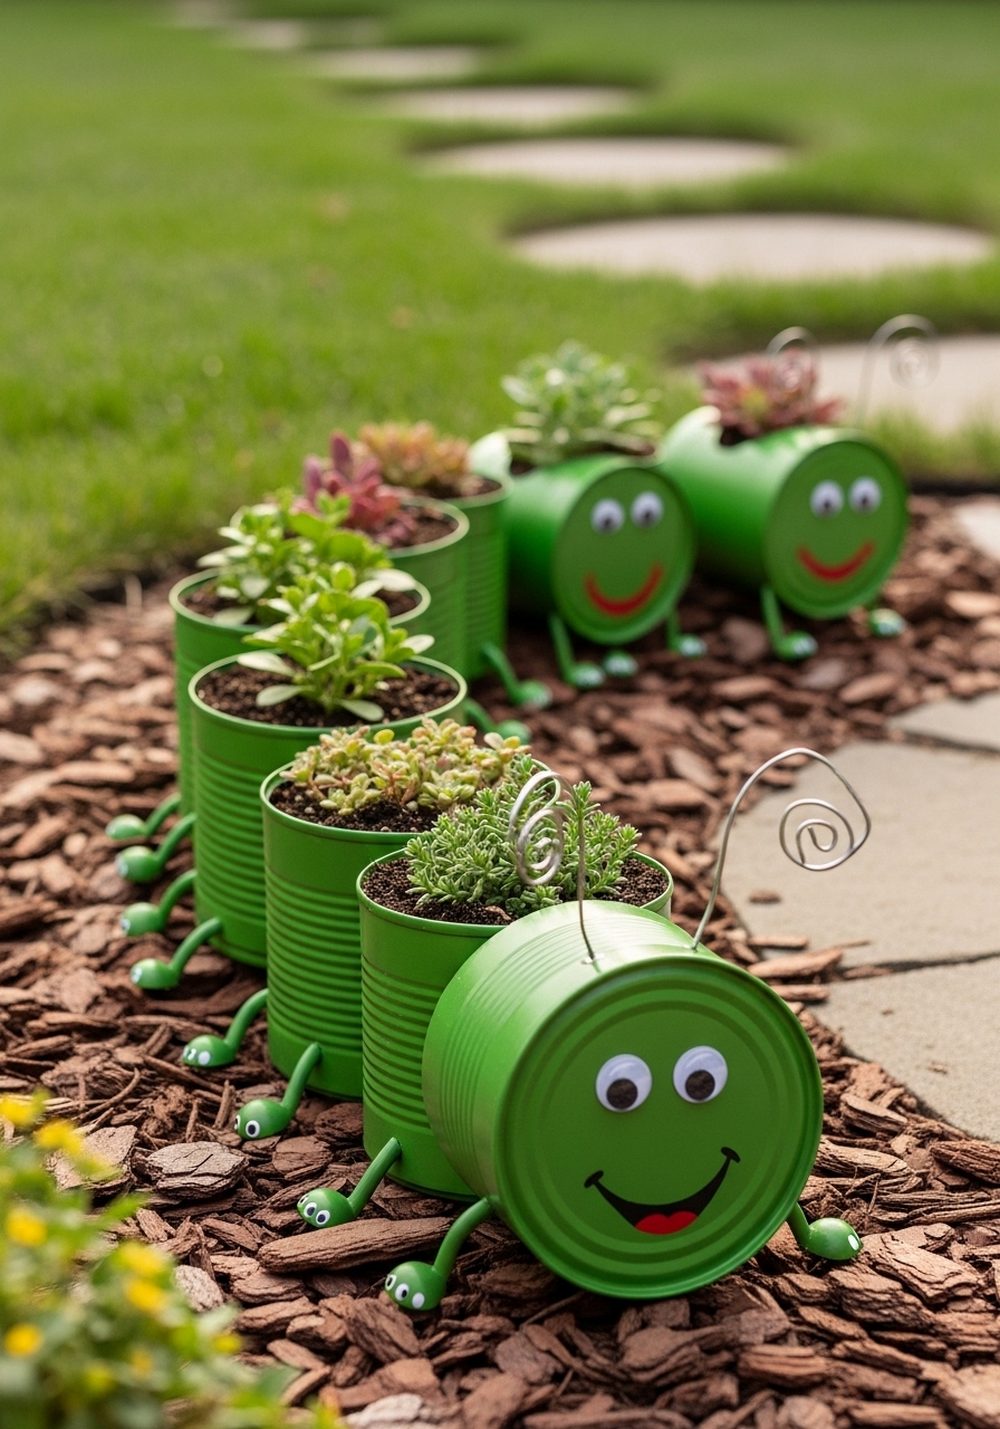
This project combines planting with a playful garden “pet.” Paint several cans in one colour, like green, then add different faces to each—sleepy, surprised, silly—using paint pens or markers. An adult makes drainage holes, and the kids fill each can with soil and plant low-growing flowers or succulents. Line the cans up in a curve along a border so they look like a caterpillar crawling through the garden. It’s charming, easy to spot from a distance, and great for imaginative play.
- Best For: Edges of flower beds, veggie patches, or narrow side yards.
- Budget Tip: Start with three cans and add more segments over time as you collect them.
- Styling Idea: Use one colour for the body and mix up the plant “textures” for fun hair and spikes.
- Practical Note: Place the “head” can slightly higher so the face is easy to see.
- Care & Maintenance: Choose drought-tolerant plants if you know watering may be irregular.
3. Hanging Tin Can Herb Garden For Kids
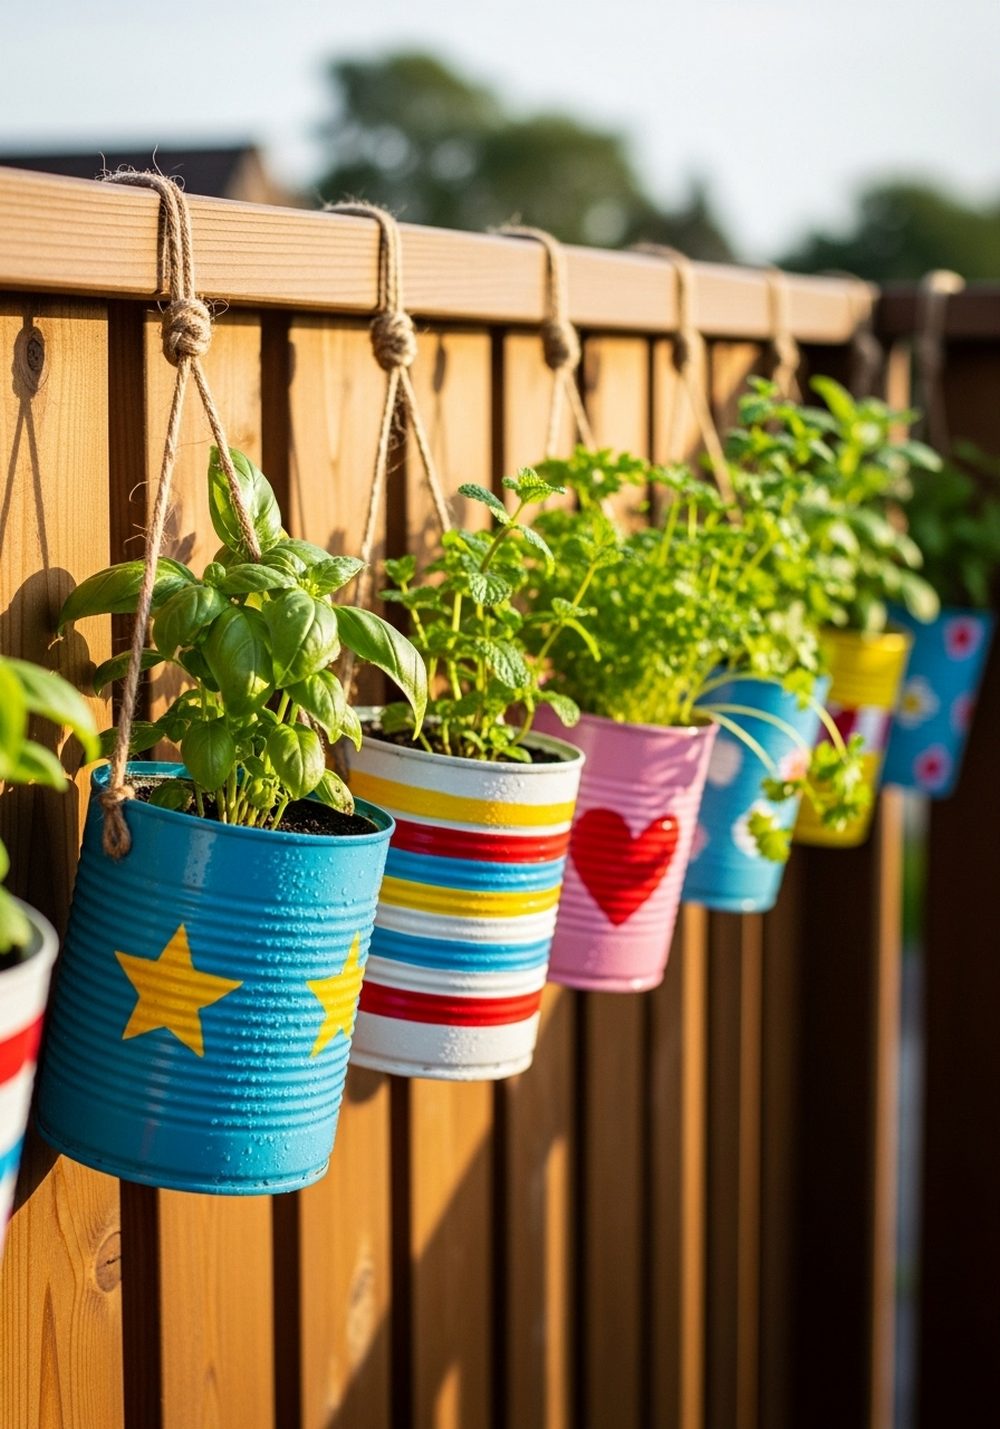
A hanging tin can herb garden lets kids pick leaves right at eye level. Paint cans in bold patterns, then attach twine or rope handles. An adult should drill a small hole on each side of the can for threading the rope. Fill with a light potting mix and plant easy herbs like mint, parsley, or chives. Hang the cans from a fence, rail, or sturdy hook. The dangling greenery looks lovely and invites kids to touch, sniff, and taste the plants they helped pot.
- Best For: Small patios, balconies, and fence lines that need a bit of life.
- Budget Tip: Limit yourself to two or three herb varieties you’ll actually use in the kitchen.
- Styling Idea: Pick one pattern theme—stripes, stars, or polka dots—to keep the display from looking too busy.
- Practical Note: Don’t hang cans so low that pets can knock them around.
- Care & Maintenance: Herbs in small cans dry out quickly, so show kids how to give them a quick drink on hot days.
4. Tin Can Bug Hotel Tower
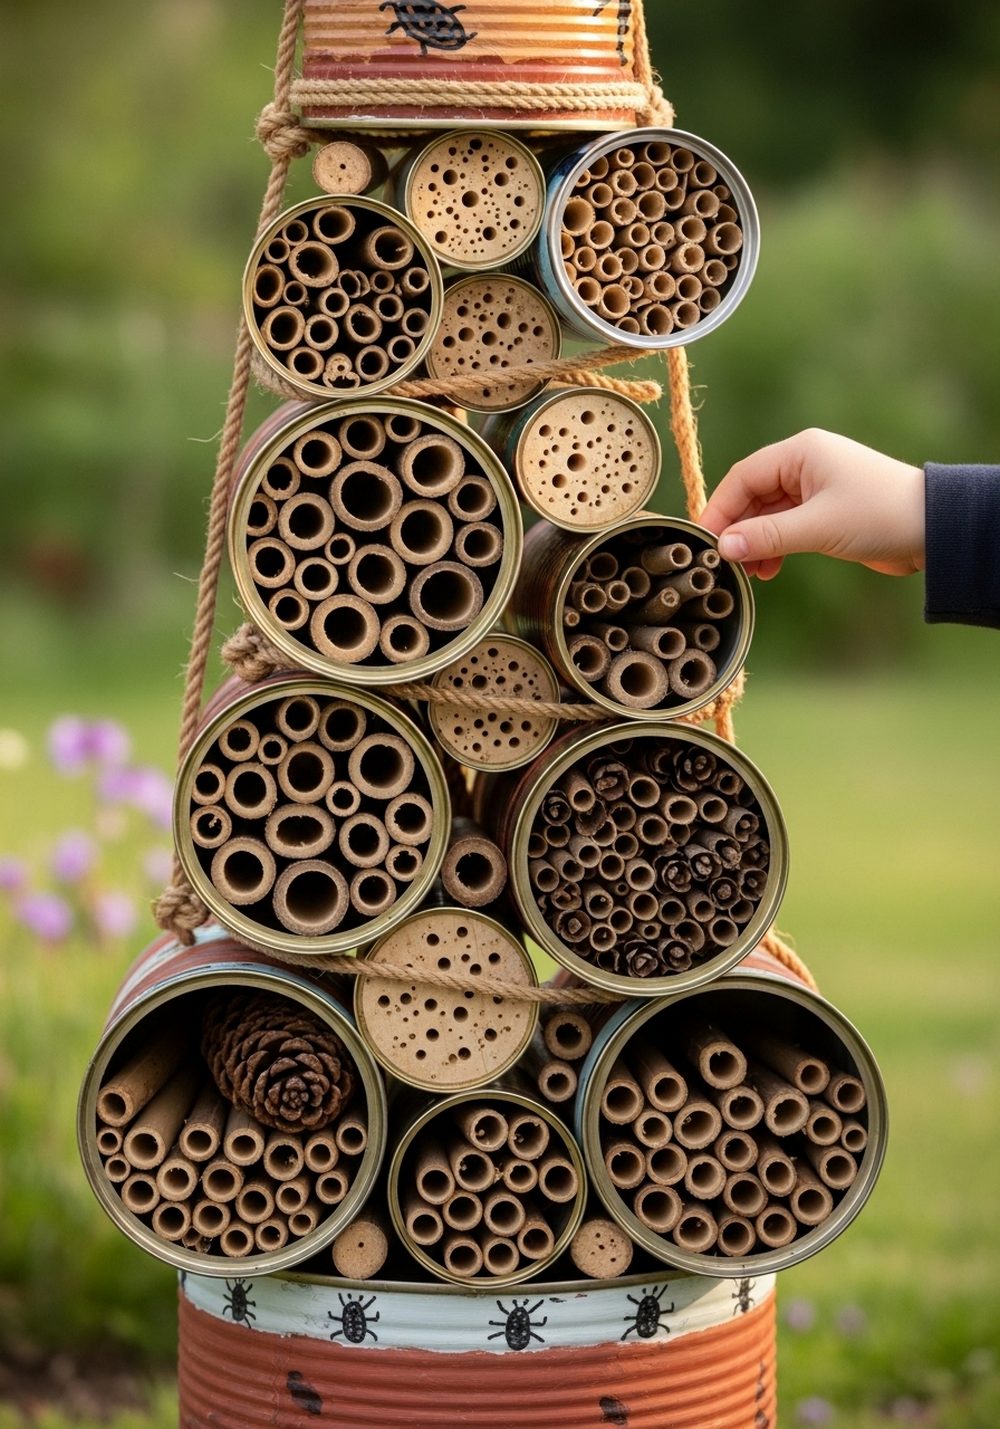
A bug hotel gives children a gentle way to learn about garden wildlife. Use larger cans, paint the outsides, then pack them with bamboo offcuts, drilled logs, pine cones, hollow stems, and dried leaves. Stack and tie the cans together with rope, or arrange them in a wooden crate. Place the tower in a sheltered spot near flowers or shrubs. Over time, beneficial insects like ladybirds and solitary bees may move in, and kids can quietly observe the comings and goings.
- Best For: Corners near shrubs, hedges, or wildflower patches.
- Budget Tip: Fill the cans with foraged materials collected on walks or from pruning.
- Styling Idea: Keep the paint colours earthy—greens, browns, and mustard—for a more natural look.
- Practical Note: Secure the tower well so it can’t tip if a child bumps it.
- Care & Maintenance: Mostly hands-off; just avoid moving it around once insects start using it.
5. Ladybug & Bee Tin Can Mini Pots
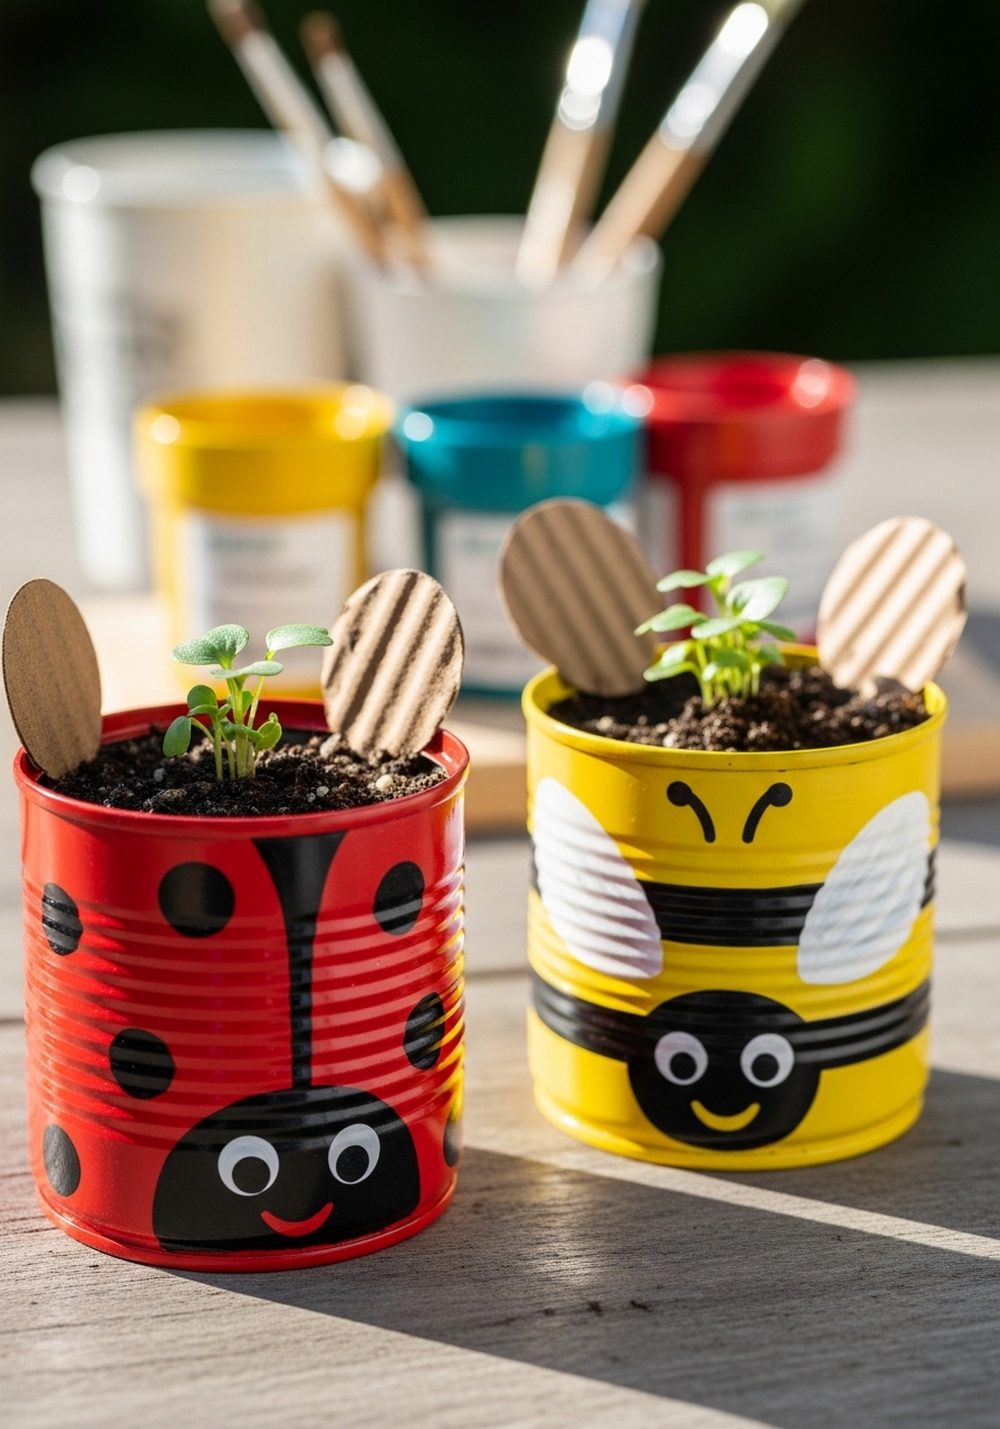
Cute ladybug and bee tins are perfect for tiny plants and big smiles. Paint small cans red with black dots for ladybugs and yellow with black stripes for bees. Add simple faces and, if you like, wings cut from card or craft foam. Fill with soil and plant small flowers or herbs. Cluster them on a table or tuck them into a larger planter as little “visitors.” Kids love spotting their mini bugs when they go out to water.
- Best For: Tabletop displays, steps, and tucked into flower beds.
- Budget Tip: Use one or two colours and simple shapes; kids’ drawings don’t need to be perfect.
- Styling Idea: Arrange ladybugs and bees together around flowering plants that attract real pollinators.
- Practical Note: If you add wings, keep them small and sturdy so wind doesn’t tear them off.
- Care & Maintenance: Choose compact plants that won’t outgrow the small cans too quickly.
6. Tin Can Wind Chime Garden Mobile
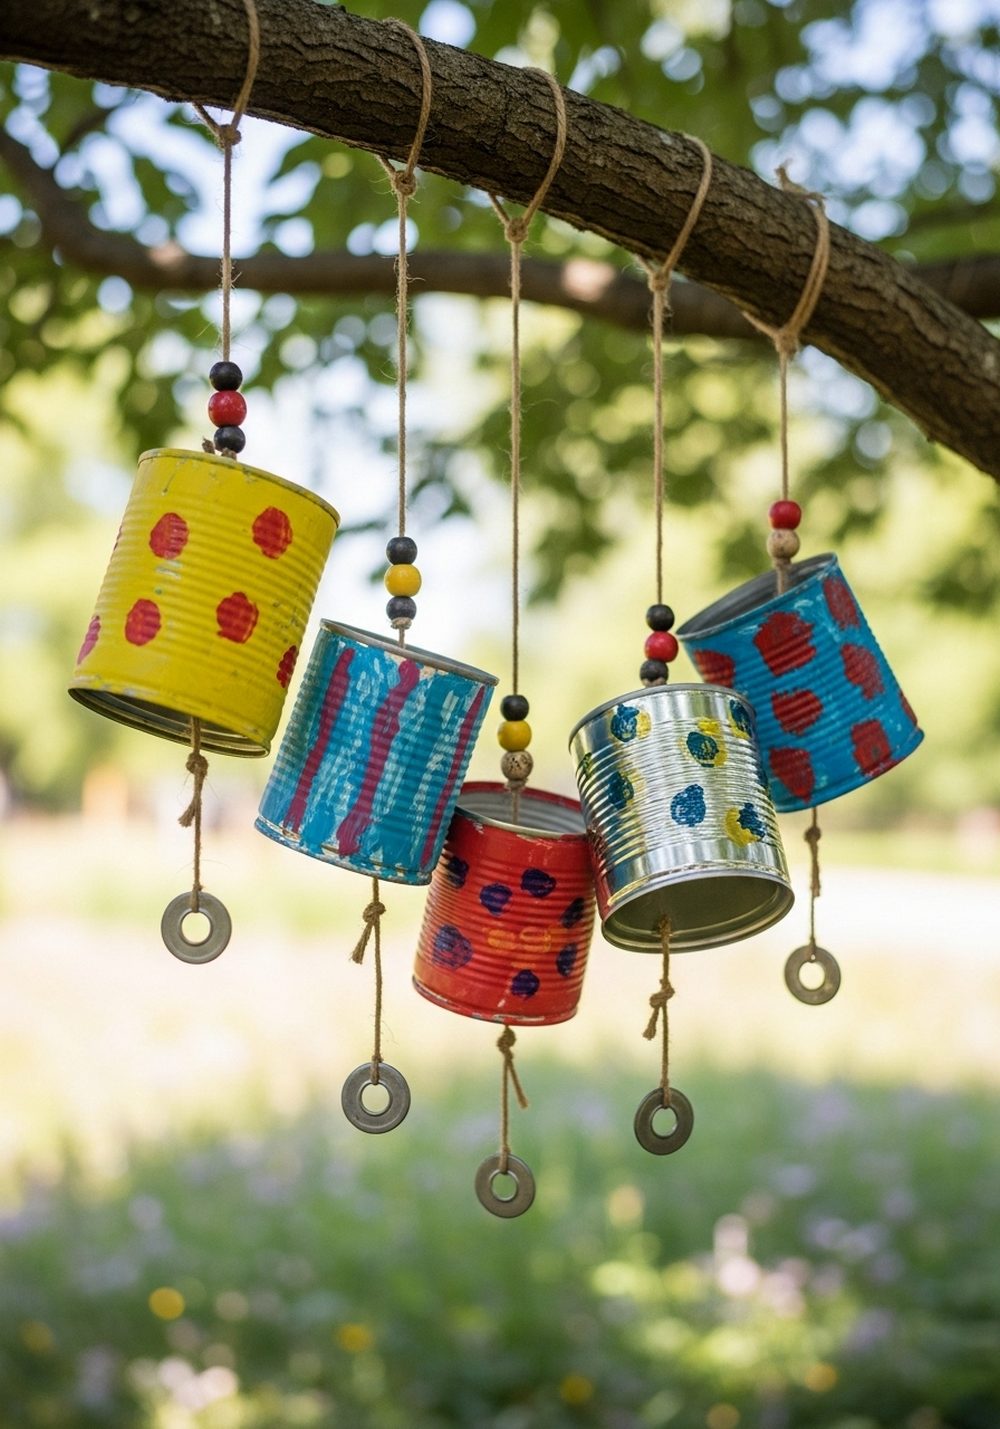
Turn rattly old cans into a soft-sounding garden wind chime. Let kids paint several cans in a mix of colours and patterns. An adult can punch a hole in the base of each can, thread twine through, and tie knots to hang them at different heights from a sturdy branch or wooden dowel. Add beads, shells, or metal washers for extra sparkle and sound. Every breeze will bring gentle clinks and pops of colour that kids can see and hear from indoors.
- Best For: Trees, pergolas, or porches where wind can gently move the chime.
- Budget Tip: Use found items like old keys or shells instead of buying bells.
- Styling Idea: Stick to two or three main colours for a more cohesive, calm look.
- Practical Note: Hang high enough that children can’t hit their heads or tangle themselves.
- Care & Maintenance: Check knots and strings every so often for wear and tear.
7. Silly Face Tin Can Planter Characters
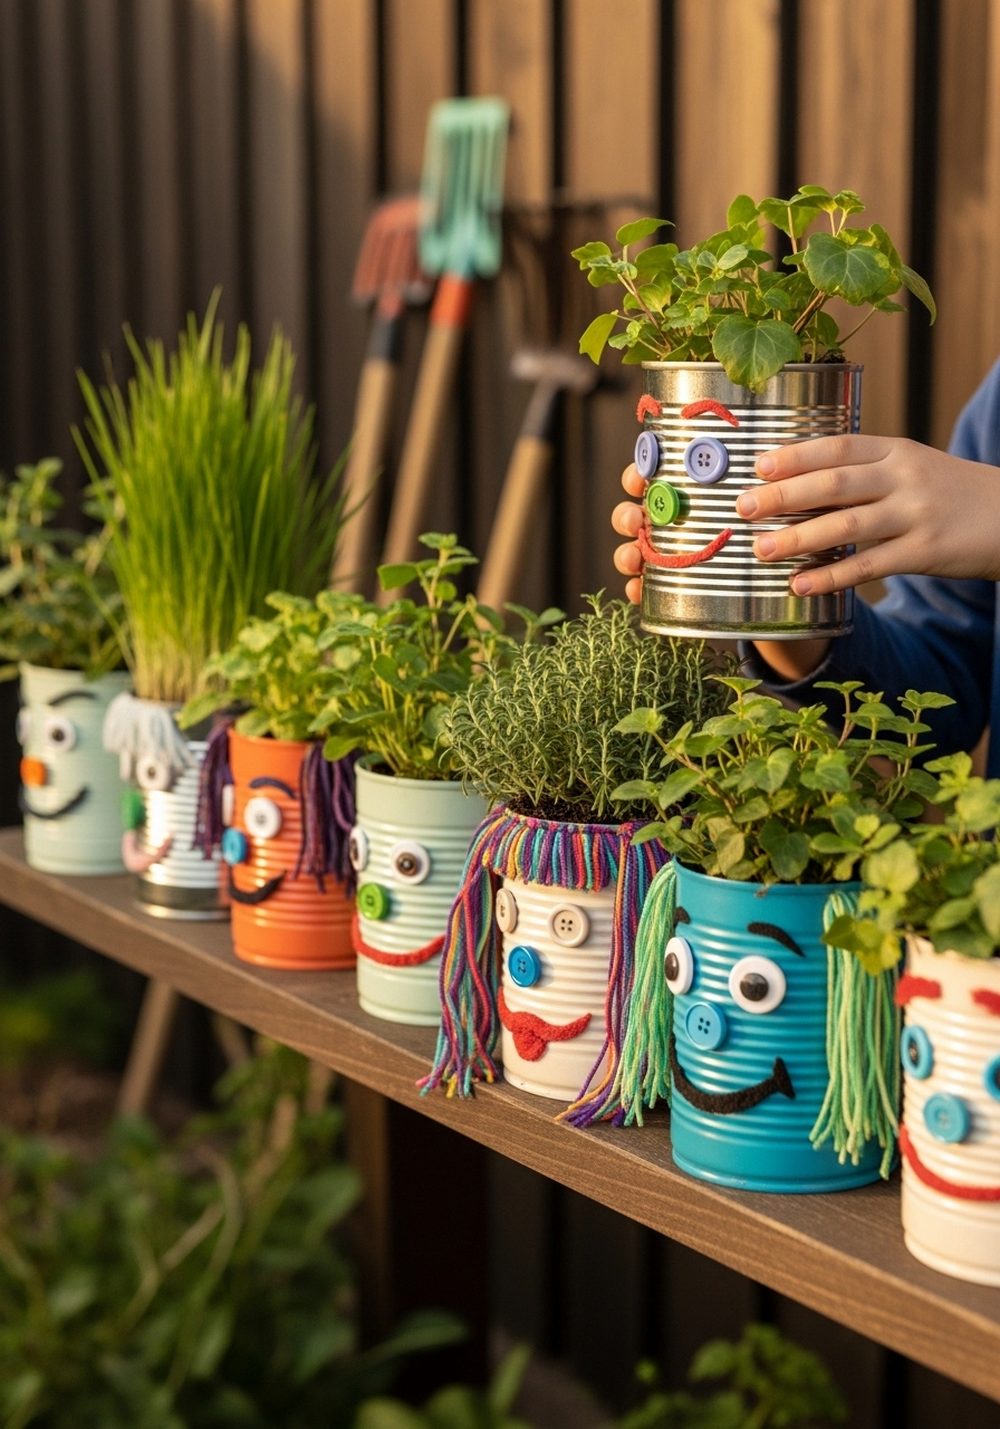
These goofy tin can characters are almost like garden pets. Kids paint each can a different base colour, then add faces with buttons, stickers, yarn, and markers. Plants become hair: spiky grass, wild thyme, tumbling ivy, or fluffy ornamental sedges. Line the cans on a low wall or table where kids can see them easily. Over time, the “hair” grows and changes, giving the characters new looks that are fun to trim and style.
- Best For: Kid-height shelves, tables, or low walls near play areas.
- Budget Tip: Use odd buttons, fabric scraps, or leftover craft supplies instead of buying new.
- Styling Idea: Give each character a theme—sleepy, surprised, cool, grumpy—to turn them into a little family.
- Practical Note: Use strong glue for features so they don’t fall off in sun and rain.
- Care & Maintenance: Let kids “give their character a haircut” when the plant gets leggy.
8. Tin Can Bird Feeder Station
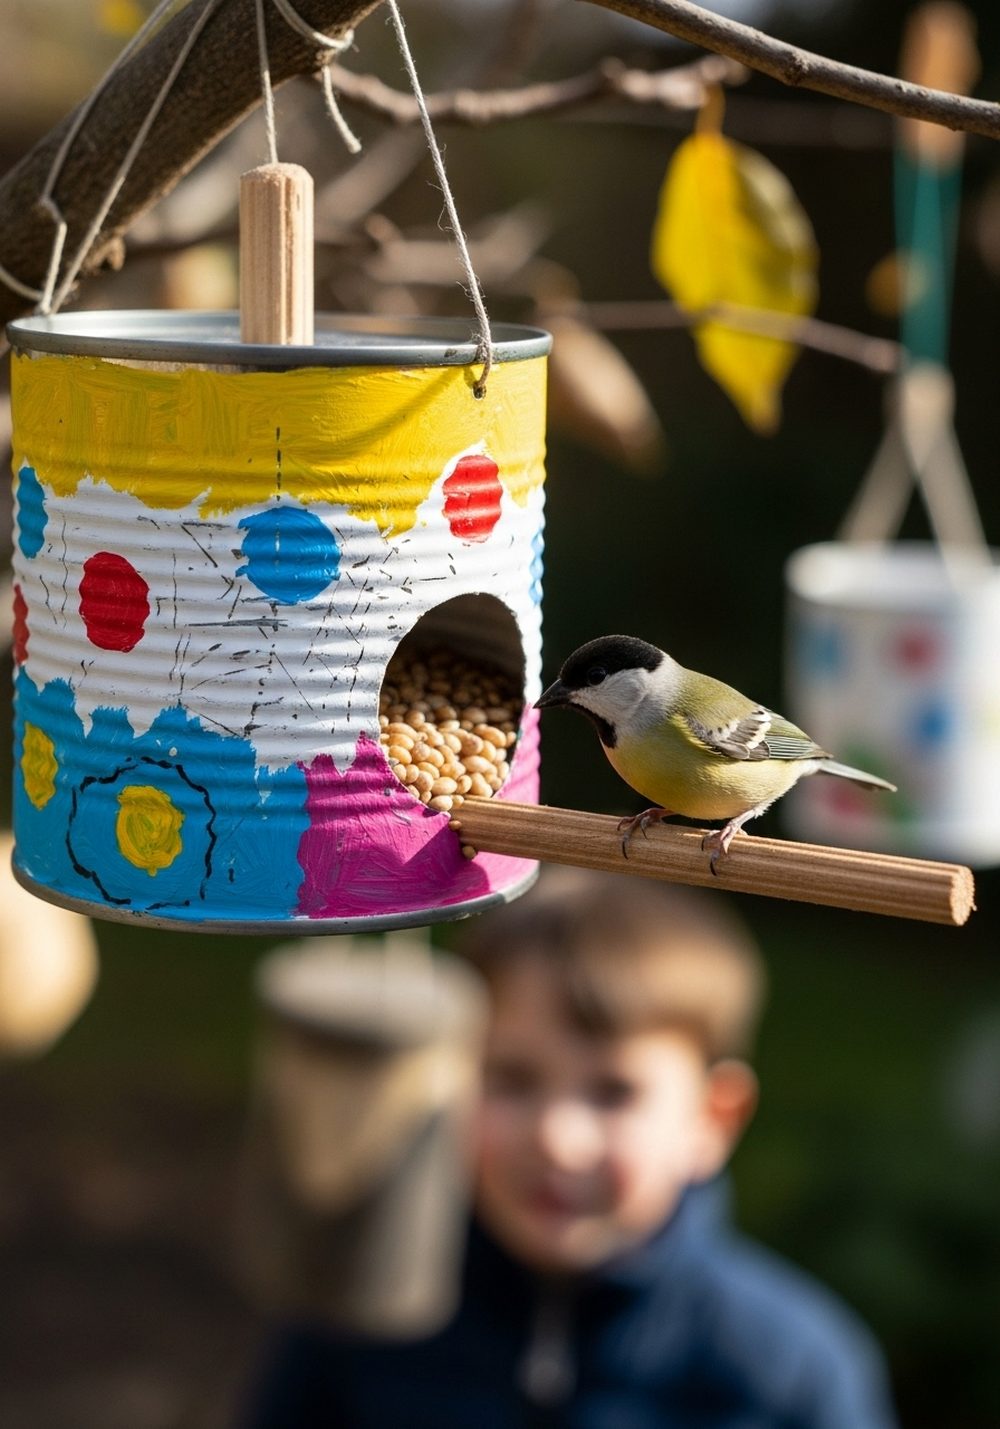
A simple tin can bird feeder invites more life into the garden and gives kids something to watch. Paint the outside of the can, then glue or tie a small perch stick through the opening. An adult threads string or wire through the top, and the kids fill it with birdseed. Hang the feeder from a branch or hook, away from cats and heavy foot traffic. Children can check it from inside and keep a simple list of the birds they see visiting.
- Best For: Trees or hooks visible from a window or patio chair.
- Budget Tip: Start with a single feeder and a small bag of seed to see which birds visit.
- Styling Idea: Match the colour of the feeder to nearby flowers or painted fences.
- Practical Note: Position over soil or mulch so spilled seed doesn’t become a slipping hazard.
- Care & Maintenance: Clean and refill regularly to keep the feeder safe and inviting.
9. Tin Can Nature Treasure Tool Caddy
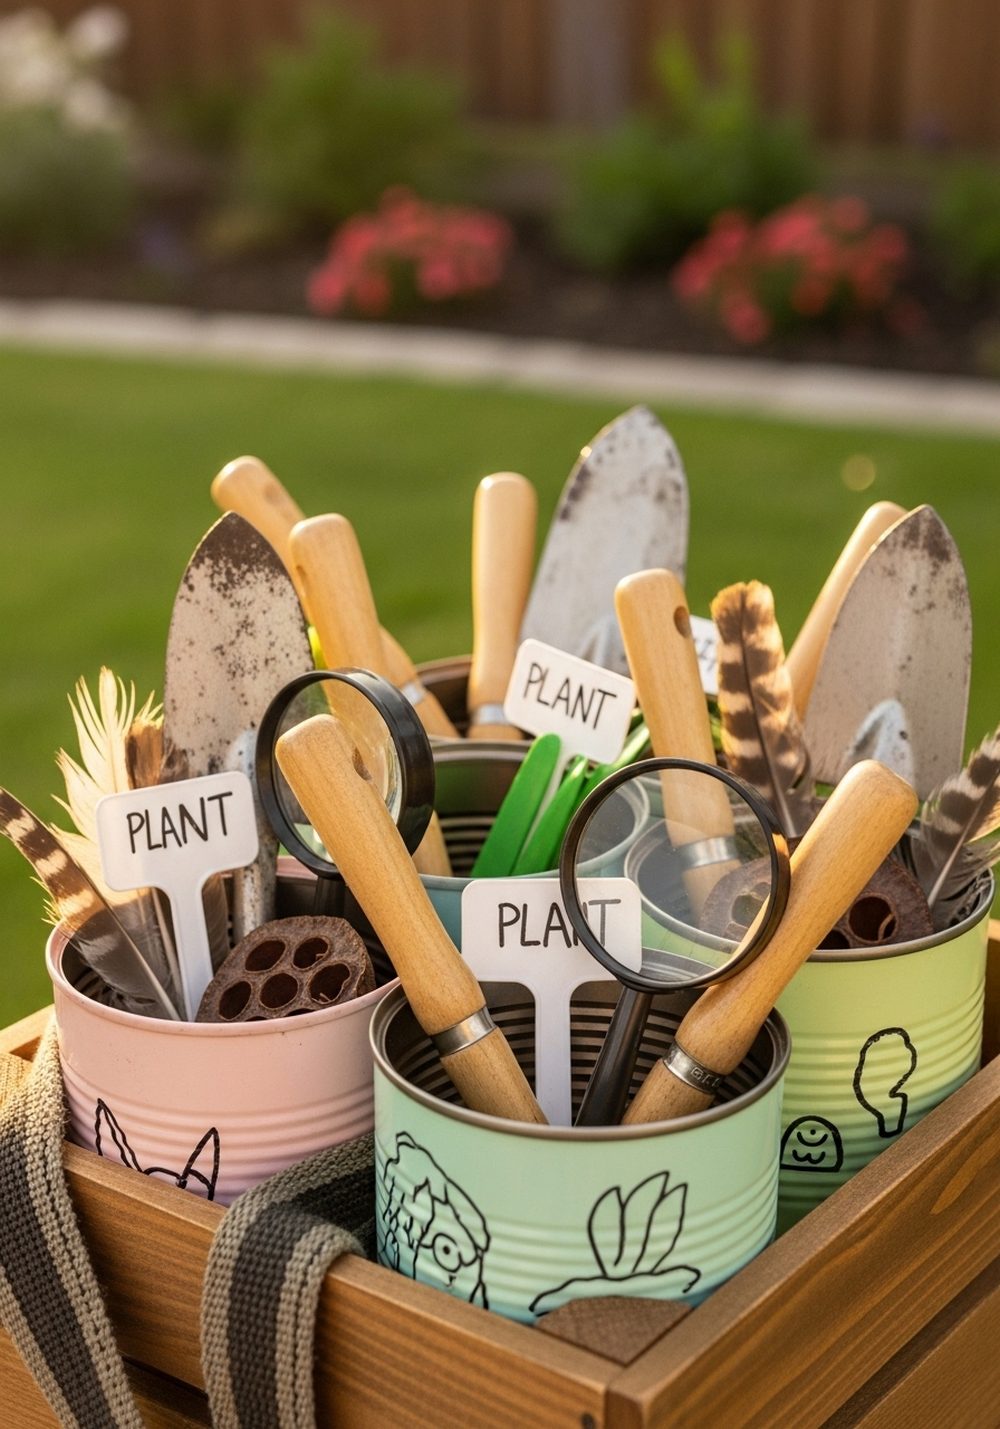
Turn a handful of cans into a tidy spot for kid-sized tools and nature treasures. Paint the cans, then group them inside a crate or strap them together with an old belt. Each can can hold something different: small trowels and forks, chalk or plant labels, seed packets, or collections of feathers, stones, and seed pods. Kids can grab the caddy when it’s time to garden or explore, and everything has a home when the job is done.
- Best For: Near the back door, potting bench, or a sheltered corner of the patio.
- Budget Tip: Use an old wooden box, shoe box lid, or even a sturdy tray instead of a new crate.
- Styling Idea: Label each can with simple pictures instead of words for younger children.
- Practical Note: Avoid overfilling so kids can carry it without straining.
- Care & Maintenance: Give the caddy a quick shake-out every so often to remove soil and debris.
10. Glow-In-The-Dark Tin Can Lantern Planters
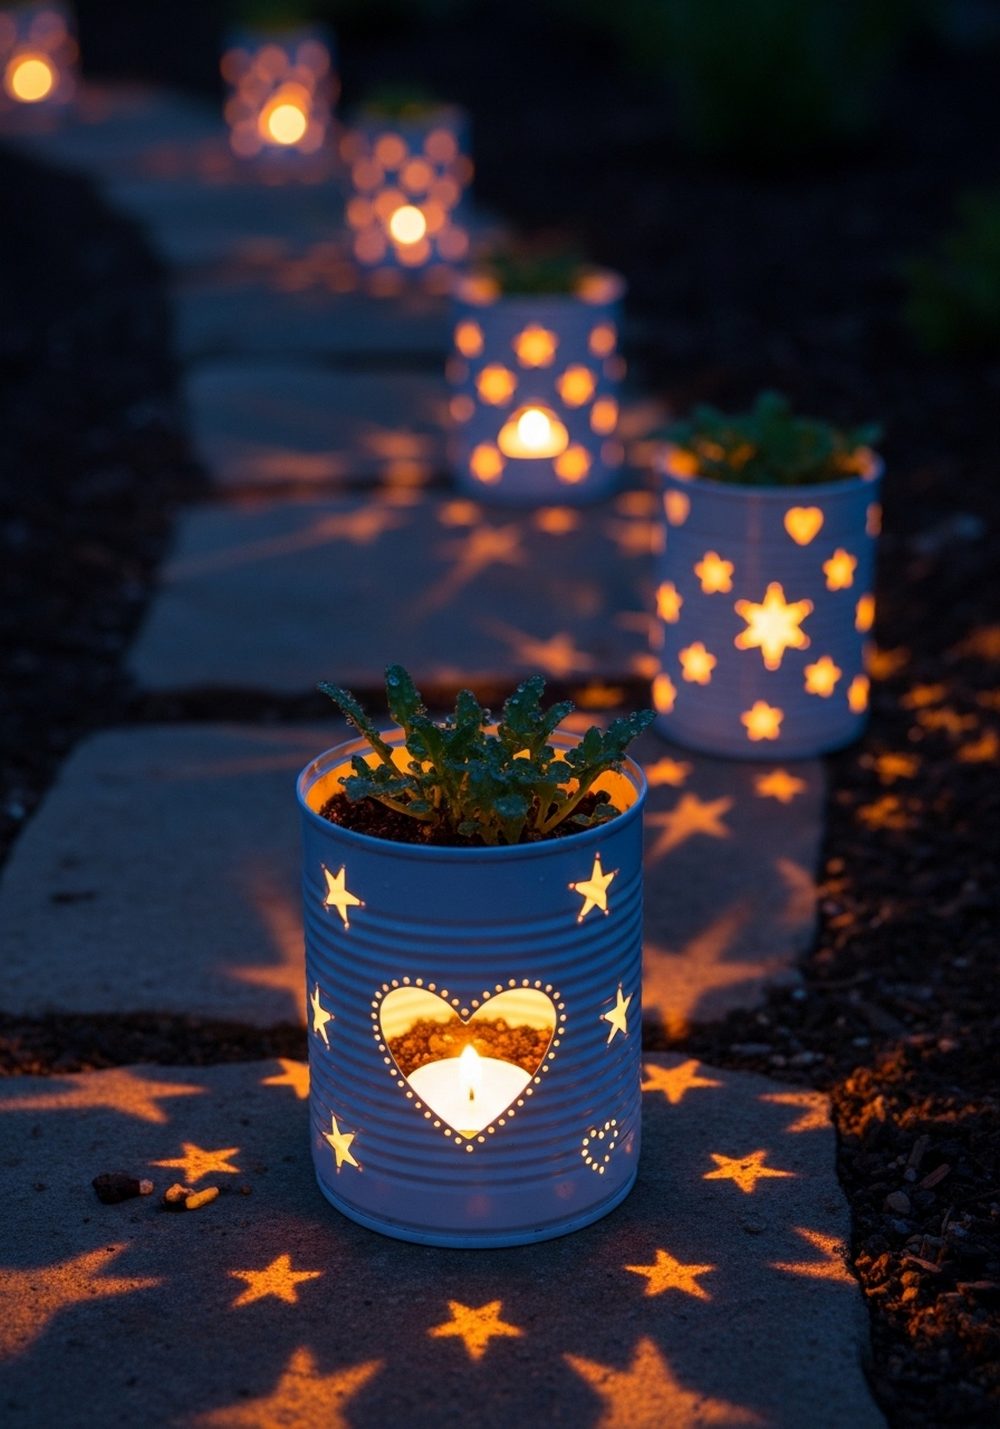
These magic-looking lantern planters really shine at dusk. Have kids paint tins with glow-in-the-dark or neon paint, then an adult can carefully punch small shapes or patterns into the sides. Place a little gravel, soil, and a compact plant inside. At night, add battery-powered tealights or small LED strings around the plants. Lined along a path or on steps, the glowing dots and stars create a cosy, storybook feel and make evening trips into the garden extra special.
- Best For: Garden paths, porch steps, or around a small seating area.
- Budget Tip: Use just a few lanterns in the most visible spots instead of lighting the whole garden.
- Styling Idea: Choose one simple pattern (stars, hearts, or dots) so the glow looks calm, not cluttered.
- Practical Note: Only use safe battery tealights, never real candles with kids and dry plants.
- Care & Maintenance: Bring in or cover cans during heavy rain to protect the lights and paint.
Conclusion
With nothing more than a stack of empty tins, some paint, and a little supervision, your garden can become a colourful playground of kid-made treasures. These tin can projects invite children to touch, create, and care for living things while also brightening every corner of your outdoor space. Start with one or two simple ideas, see what your kids love most, and slowly grow your collection. Over time, you’ll build a garden that tells your family’s story in every painted can.
FAQs
1. How can I make these tin can projects safe for kids?
Always smooth sharp edges with sandpaper and have an adult handle any drilling or nail holes. Use non-toxic paints and glues, and supervise younger children closely, especially when tools or small items like beads and buttons are involved. Set up a sturdy work surface and keep a rubbish bag nearby so you can tidy as you go.
2. Are these tin can ideas suitable for renters or small spaces?
Yes. Most of these projects are portable and non-permanent, so you can take them with you when you move. Hanging herb cans, mini ladybug pots, and silly face planters all work brilliantly on balconies, window sills, or small patios. Just avoid making holes in walls or fences you don’t own; use over-the-rail hooks or freestanding stands instead.
3. What’s the cheapest way to do tin can garden crafts with kids?
Save cans from everyday cooking, rinse them well, and keep a small stash. Use leftover house paint, inexpensive craft paint, or even permanent markers for decoration. For filling bug hotels or tool caddies, gather natural materials and reuse old belts, boxes, or trays. Start with just a couple of plants and slowly add more as your budget allows.
4. Which plants work best in tin can planters?
Look for compact, tough plants that don’t mind drying out a bit. Herbs like mint, thyme, and chives, small marigolds, pansies, and hardy succulents all do well. Check that each can has drainage holes and use a good potting mix. If a plant starts to outgrow its can, treat it as a chance to repot into something bigger with your child.
5. How can I keep the tin cans looking good outdoors?
If you want the paint to last longer, add a clear outdoor sealer once the designs are completely dry. Try to place cans where they’re sheltered from the very worst sun and rain. Even with some rust or fading, though, these projects still look charming—many families enjoy the weathered, well-loved look as part of the garden’s story.
6. What’s the easiest project to start with for very young kids?
Rainbow painted planters are usually the simplest. There’s no fiddly detail work, and kids can just enjoy brushing, dabbing, or even finger-painting colours on. An adult can handle the holes and planting, while children help water and watch their flowers or herbs grow. Once they’ve had success with that, move on to fun faces or mini bug pots.