10 Painted Tin Can Planters For Small Spaces
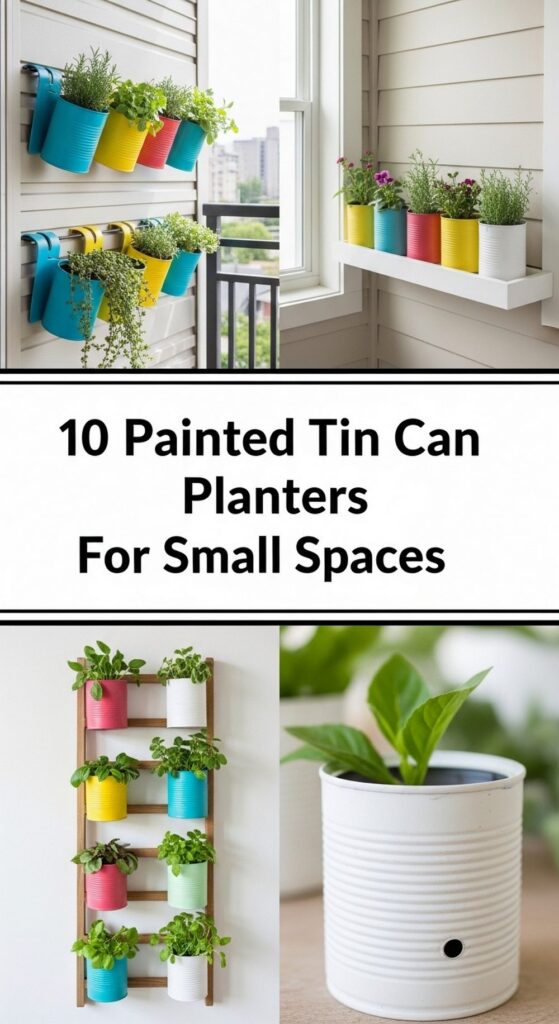
If you’re short on space but big on plant dreams, painted tin can planters are your new best friend. They’re tiny, tough, lightweight, and practically free if you already use canned food at home. With a little paint and a few simple tricks, those humble tins can become stylish mini planters that fit on windowsills, shelves, ladders, and railings.
In this post, you’ll find ten creative painted tin can planter ideas designed specifically for small spaces like balconies, rented kitchens, and studio apartments. Each idea is easy to adapt to your colours and budget, and most can be made in an afternoon. Get ready to add colour, texture, and personality to your home, no matter how compact it is.
Quick List
- Pastel Ombre Herb Tin Cans For Sunny Windowsills
- Chalkboard-Painted Tin Cans For Labelled Kitchen Herbs
- Rainbow Hanging Tin Can Planter Wall For Balconies
- Magnetic Mini Tin Can Planters For Tiny Apartments
- Black-And-White Striped Tin Cans For Modern Small Spaces
- Rustic Distressed Tin Can Planters In A Wooden Crate
- Stencilled Pattern Tin Can Trio For Side Tables
- Tiered Tin Can Planter Ladder For Narrow Corners
- Boho Dot-And-Mandala Tin Can Cluster For Cozy Nooks
- Seasonal Theme Painted Tin Cans You Can Swap Out
1. Pastel Ombre Herb Tin Cans For Sunny Windowsills
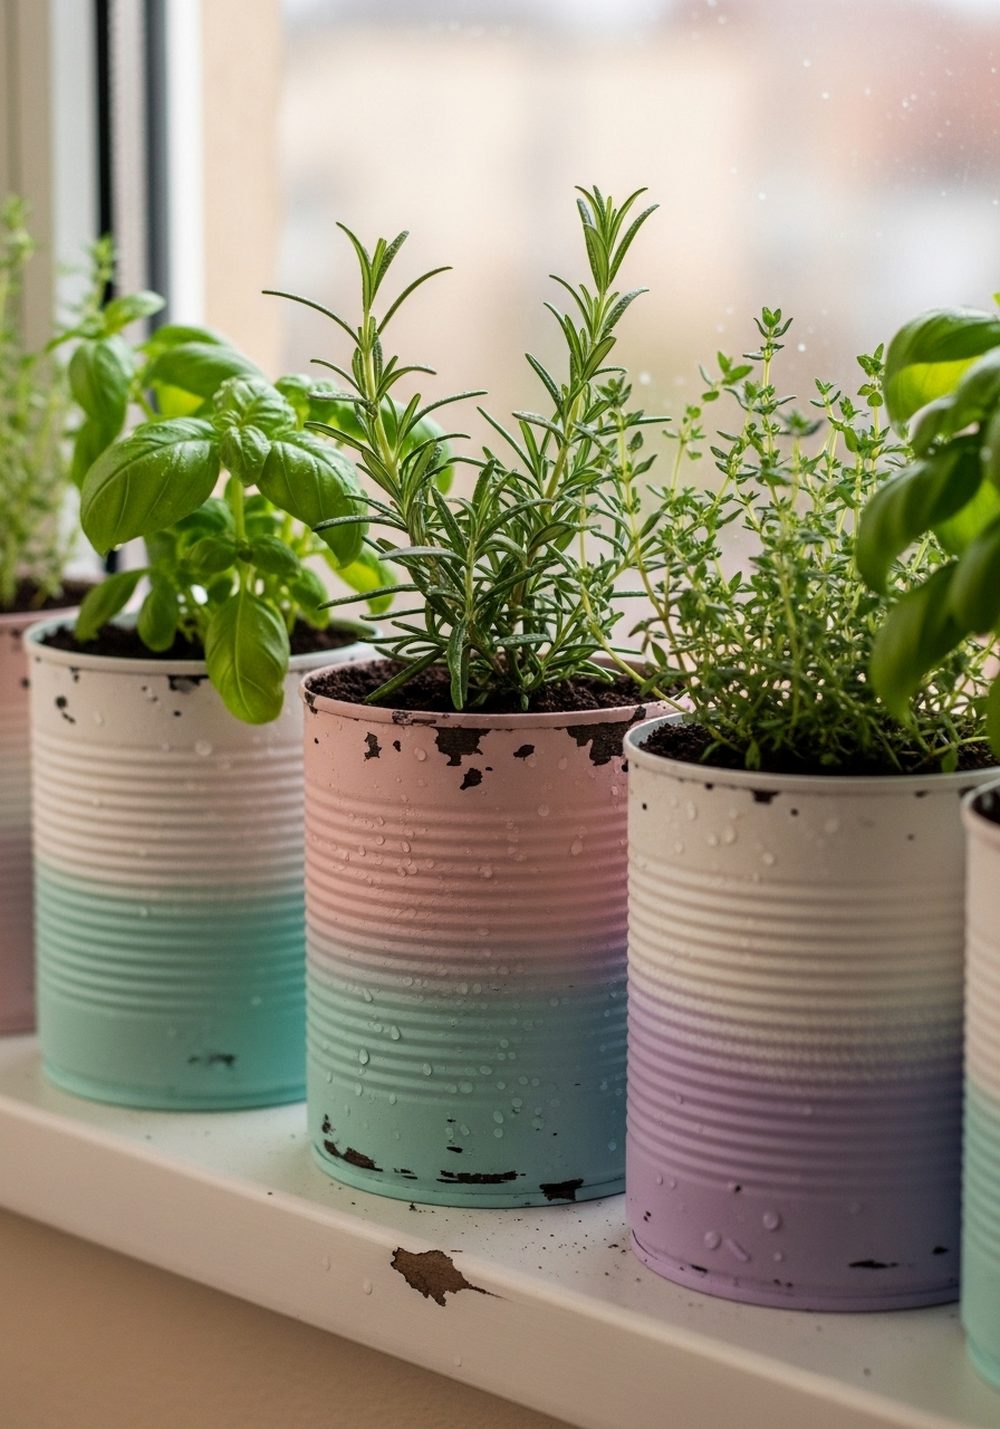
Give a narrow windowsill a soft, dreamy look with pastel ombre tin can planters filled with herbs. Paint each can in a gradient that fades from white at the rim to a gentle colour at the base—think blush pink, soft mint, or pale lilac. Once dry and sealed, add a few drainage holes, fill with potting mix, and tuck in herbs like basil, parsley, or chives. Lined up along a sunny window, the colours and fresh green leaves brighten the smallest kitchen or bedroom.
- Best For: Bright kitchen or bedroom windowsills with just a sliver of space.
- Budget Tip: Use leftover wall paint or tester pots instead of buying new craft paints.
- Styling Idea: Keep all the ombre blends very pale for a calm, airy, almost cloud-like look.
- Practical Note: Place the cans on a narrow tray to catch drips and protect your windowsill.
- Care & Maintenance: Pinch herbs regularly to keep them compact and bushy in their small containers.
2. Chalkboard-Painted Tin Cans For Labelled Kitchen Herbs
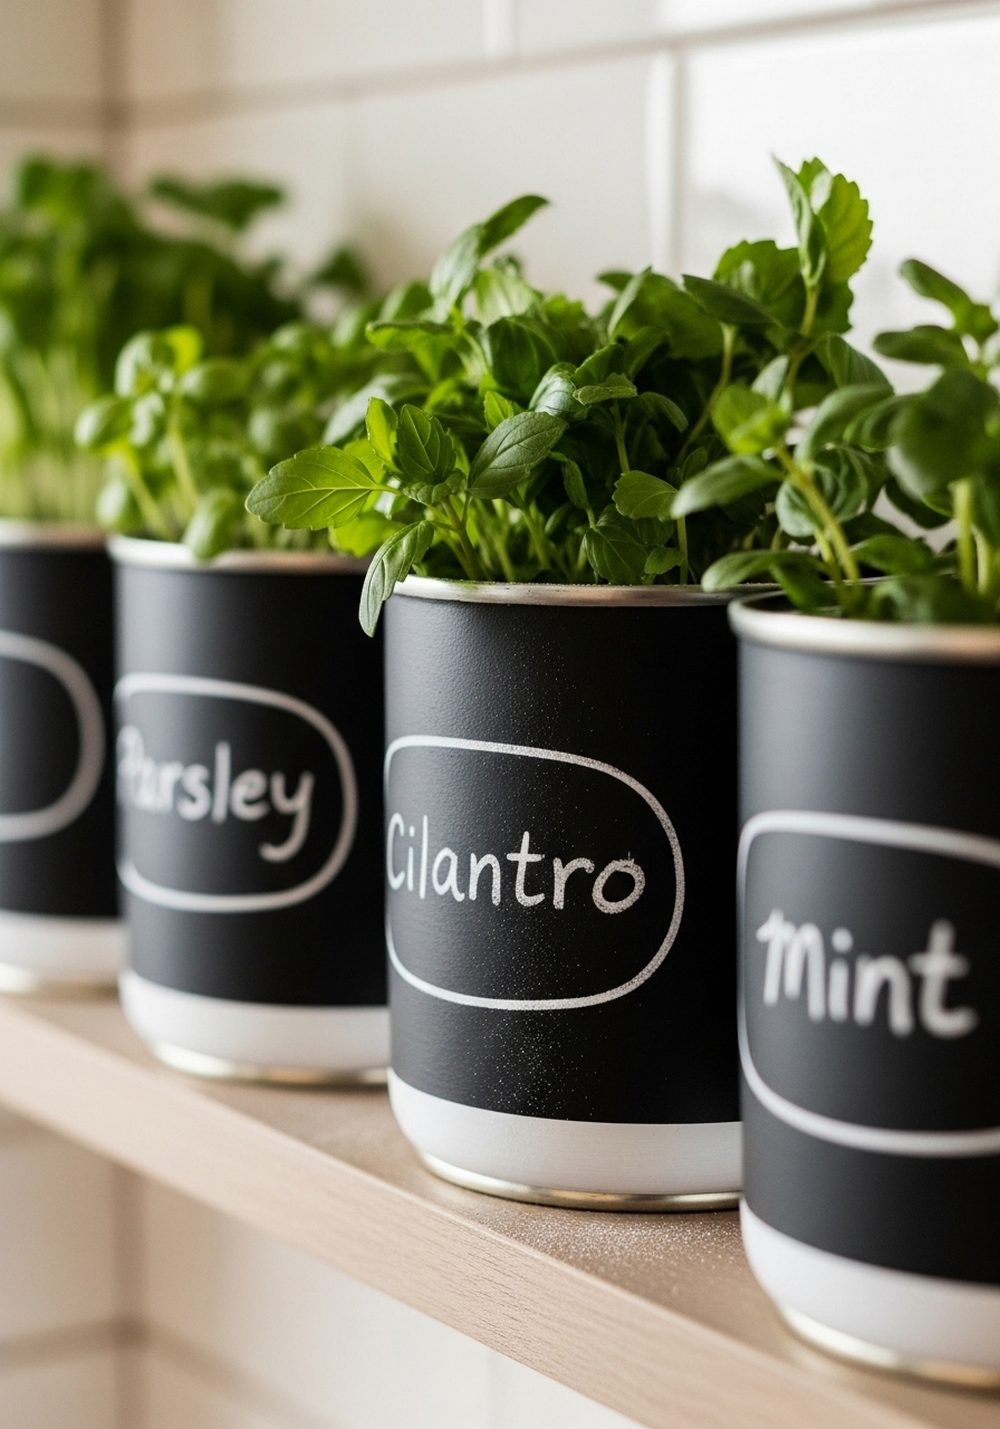
Chalkboard paint turns simple tin cans into clever, label-ready planters that are perfect for renters and small kitchens. Paint each can in matte black chalkboard paint, leaving the rim in a contrasting colour like white or metallic gold. Once dry, drill a few drainage holes, then plant herbs or small leafy plants and write their names right on the side with chalk. On a narrow shelf or countertop, these planters look clean and modern while making it easy to remember what’s what.
- Best For: Organised cooks who like everything labelled and tidy.
- Budget Tip: One small tin of chalkboard paint goes a long way and can be used on jars and labels too.
- Styling Idea: Pair black cans with white dishes and light wood boards for a minimalist look.
- Practical Note: Use a chalk marker for neater writing that won’t smudge as easily.
- Extra Idea: Draw tiny watering reminders or harvest dates on the cans to keep plants happy.
3. Rainbow Hanging Tin Can Planter Wall For Balconies

Turn a blank balcony wall into a cheerful vertical garden with a rainbow of painted tin cans. Give each can a bold solid colour—red, orange, yellow, green, blue, and violet—and seal them well for outdoor use. Add drainage holes, then thread sturdy twine or wire through attached hooks so you can hang the cans on a grid or along a simple rail. Filled with trailing plants, mini flowers, or herbs, the colours and greenery instantly brighten even the tiniest outdoor space.
- Best For: Small balconies where floor space is precious but walls are empty.
- Budget Tip: Recycle multiple tins from your kitchen and buy just one multipack of basic paints.
- Styling Idea: Stick to clear, bright rainbow colours for a playful, festival feel.
- Practical Note: Choose lightweight potting mix and plants to avoid overloading hooks.
- Care & Maintenance: Rotate the cans occasionally so all plants get equal light.
4. Magnetic Mini Tin Can Planters For Tiny Apartments
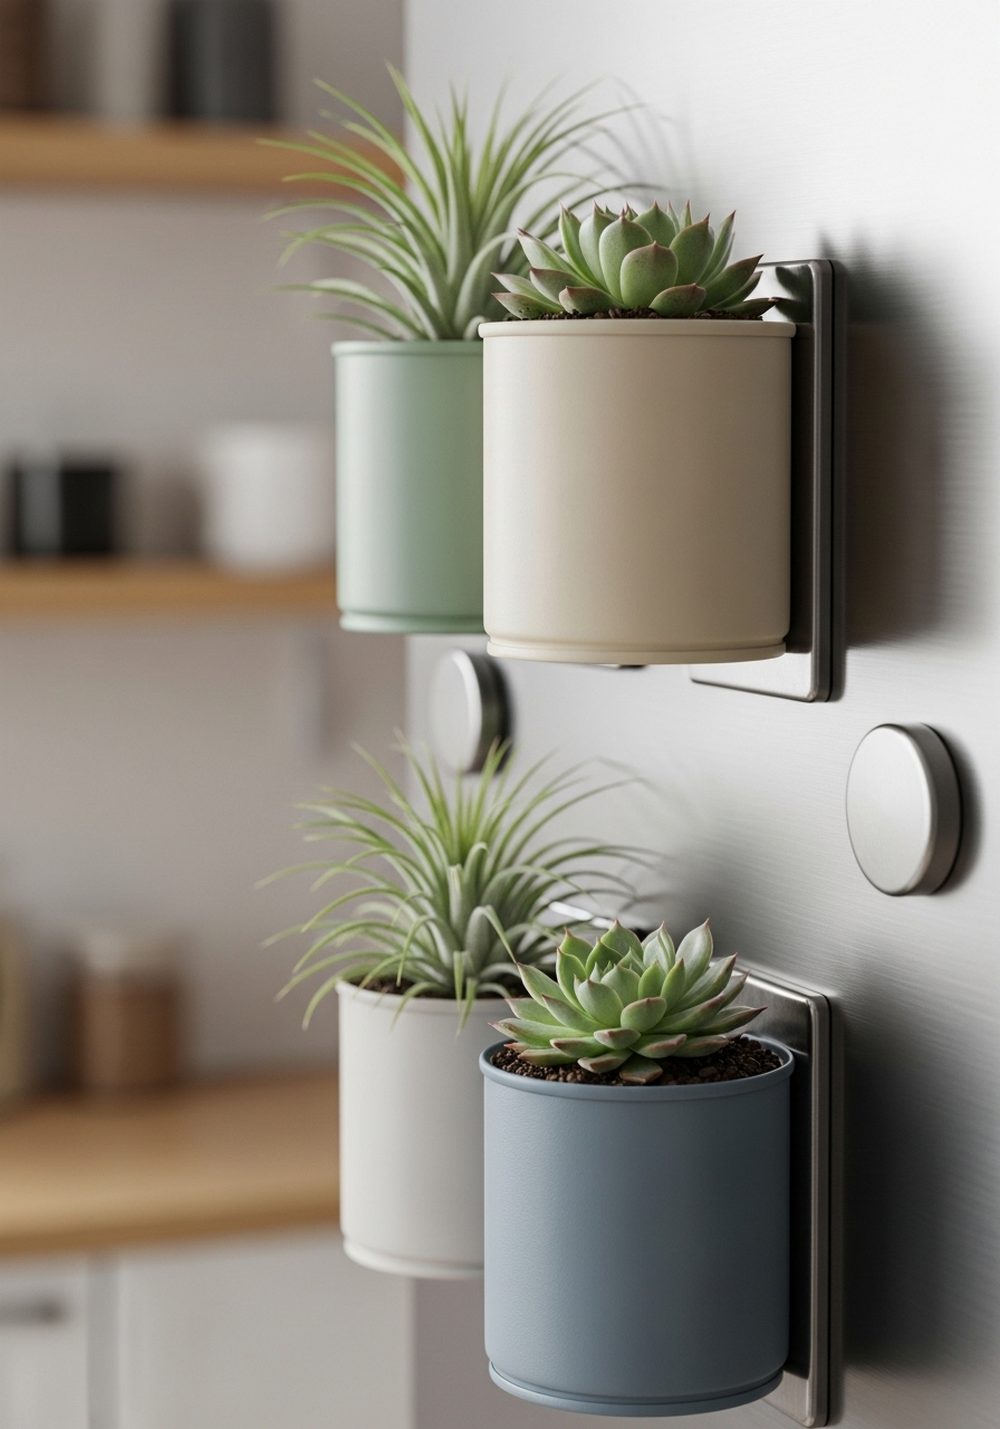
When countertop and shelf space are already crowded, go vertical with magnetic tin can planters. Use small tins, paint them in soft neutrals or muted colours, and glue strong magnets to the back. After adding drainage and a bit of gravel at the base, pot up succulents or air plants that don’t need heavy watering. Stick them to a fridge, metal notice board, or steel balcony panel to create an instant floating mini garden.
- Best For: Studio apartments and micro-kitchens with bare metal surfaces.
- Budget Tip: Start with just two or three cans and add more magnets and plants over time.
- Styling Idea: Use one colour family (like dusty blues and greys) for a calm, coordinated look.
- Practical Note: Keep watering light so excess moisture doesn’t drip down appliances.
- Extra Idea: Mix in a couple of empty cans as pen holders or clip containers for a multi-use board.
5. Black-And-White Striped Tin Cans For Modern Small Spaces
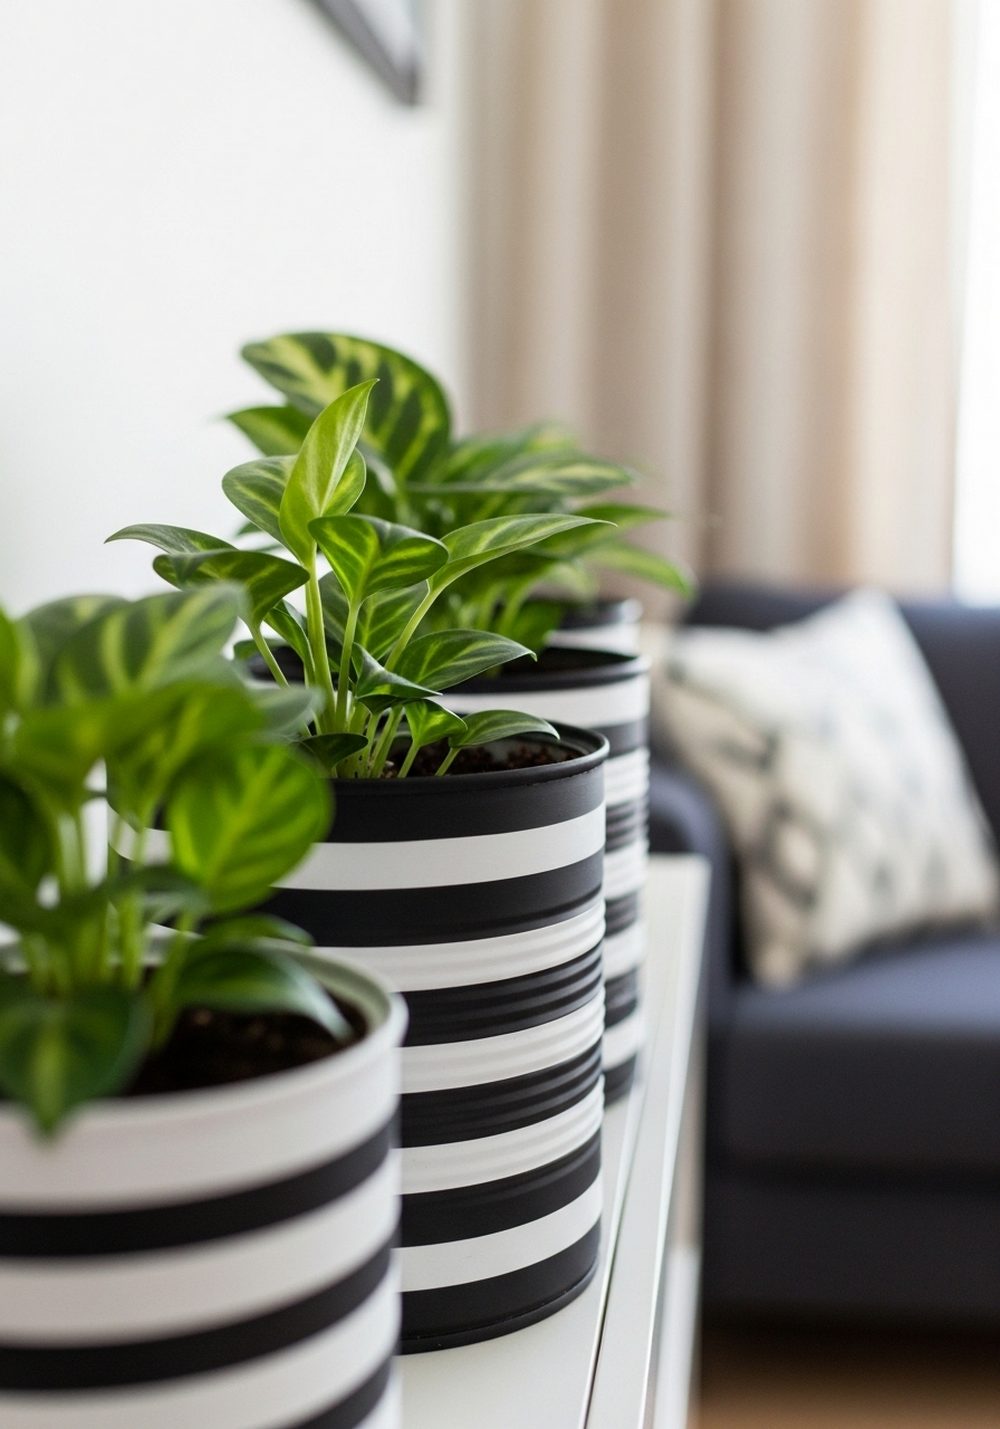
If your small space leans modern or monochrome, black-and-white striped tin cans make perfect statement planters. Use masking tape to create neat vertical or horizontal stripes, then paint alternate bands in black and white. Once finished and sealed, add drainage and plant glossy green foliage like pothos, spider plants, or small ferns. Grouped on a narrow shelf, console, or window ledge, the bold pattern makes the greenery pop and adds graphic interest without taking up much room.
- Best For: Contemporary flats, home offices, and minimal living rooms.
- Budget Tip: You only need black and white paint, plus a roll of masking tape.
- Styling Idea: Pair with simple black frames and white candles for a cohesive vignette.
- Practical Note: Use a level or ruler when taping to keep stripes straight on curved cans.
- Care & Maintenance: Wipe the cans occasionally to keep the white sections looking crisp.
6. Rustic Distressed Tin Can Planters In A Wooden Crate
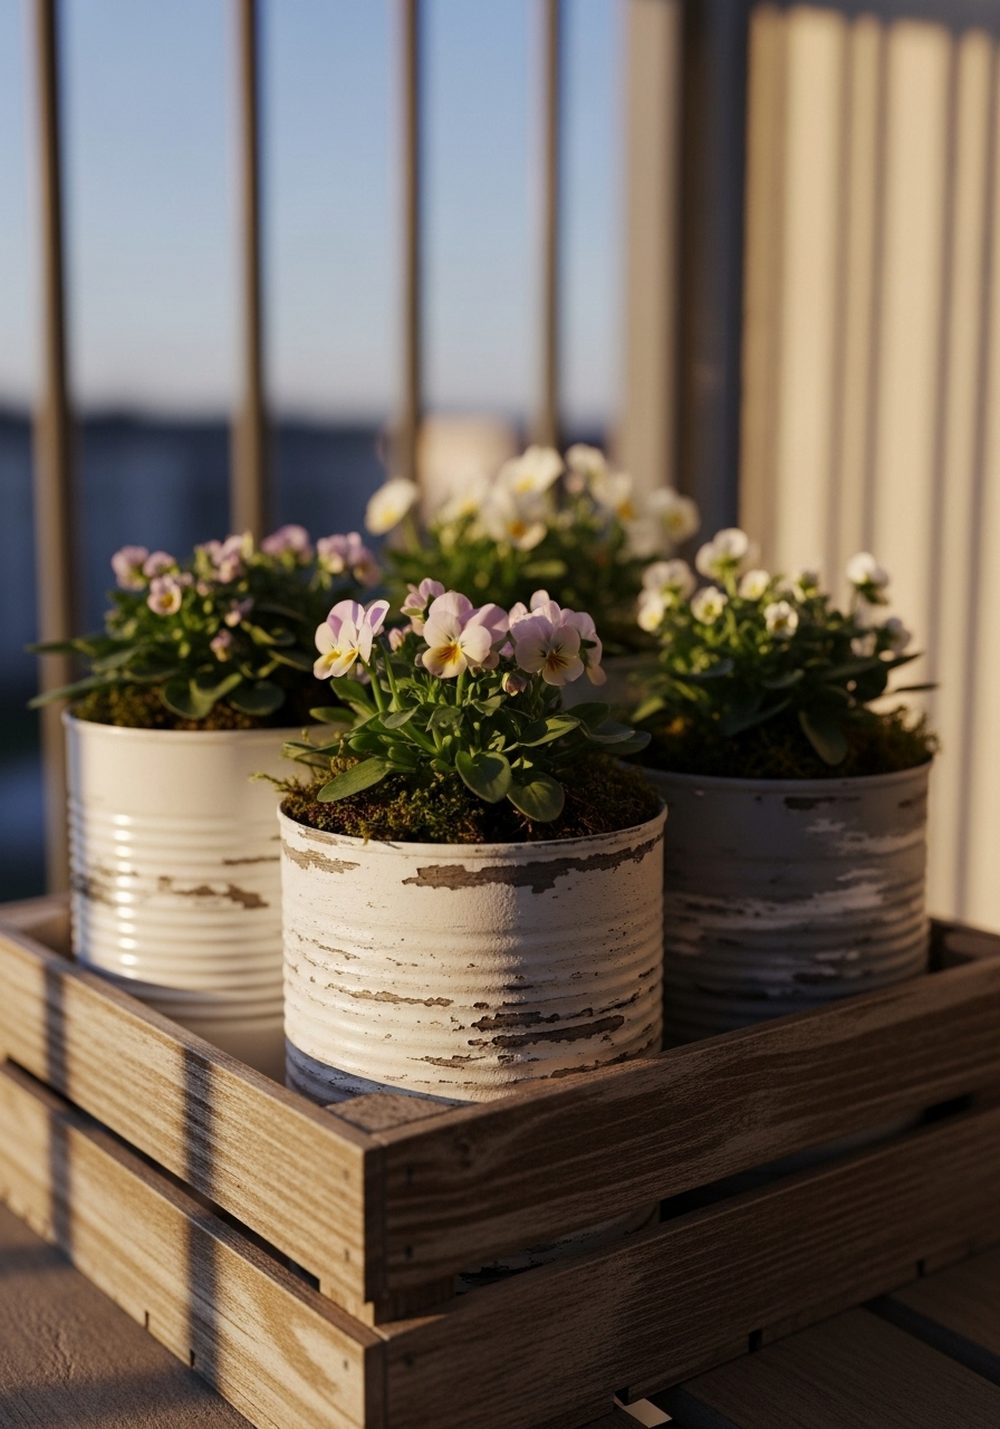
For a cottage or farmhouse feel, try rustic distressed tin cans tucked neatly into a wooden crate. Paint the cans in soft whites, greys, or pale blues, then lightly sand the edges and ridges to let the metal peek through. Arrange them side by side in a shallow crate or box that fits perfectly on a narrow balcony floor, stair, or windowsill. Plant them with small flowering plants or herbs; together they read as one long planter but can be moved individually when needed.
- Best For: Balconies, porches, or window ledges where you want a unified look.
- Budget Tip: Use an old fruit crate or DIY a simple box from scrap wood.
- Styling Idea: Add a bit of jute twine or lace around one or two cans for extra charm.
- Practical Note: Line the crate with a plastic tray to catch drips and protect surfaces.
- Care & Maintenance: Repaint and re-distress cans as the finish weathers for ongoing character.
7. Stencilled Pattern Tin Can Trio For Side Tables
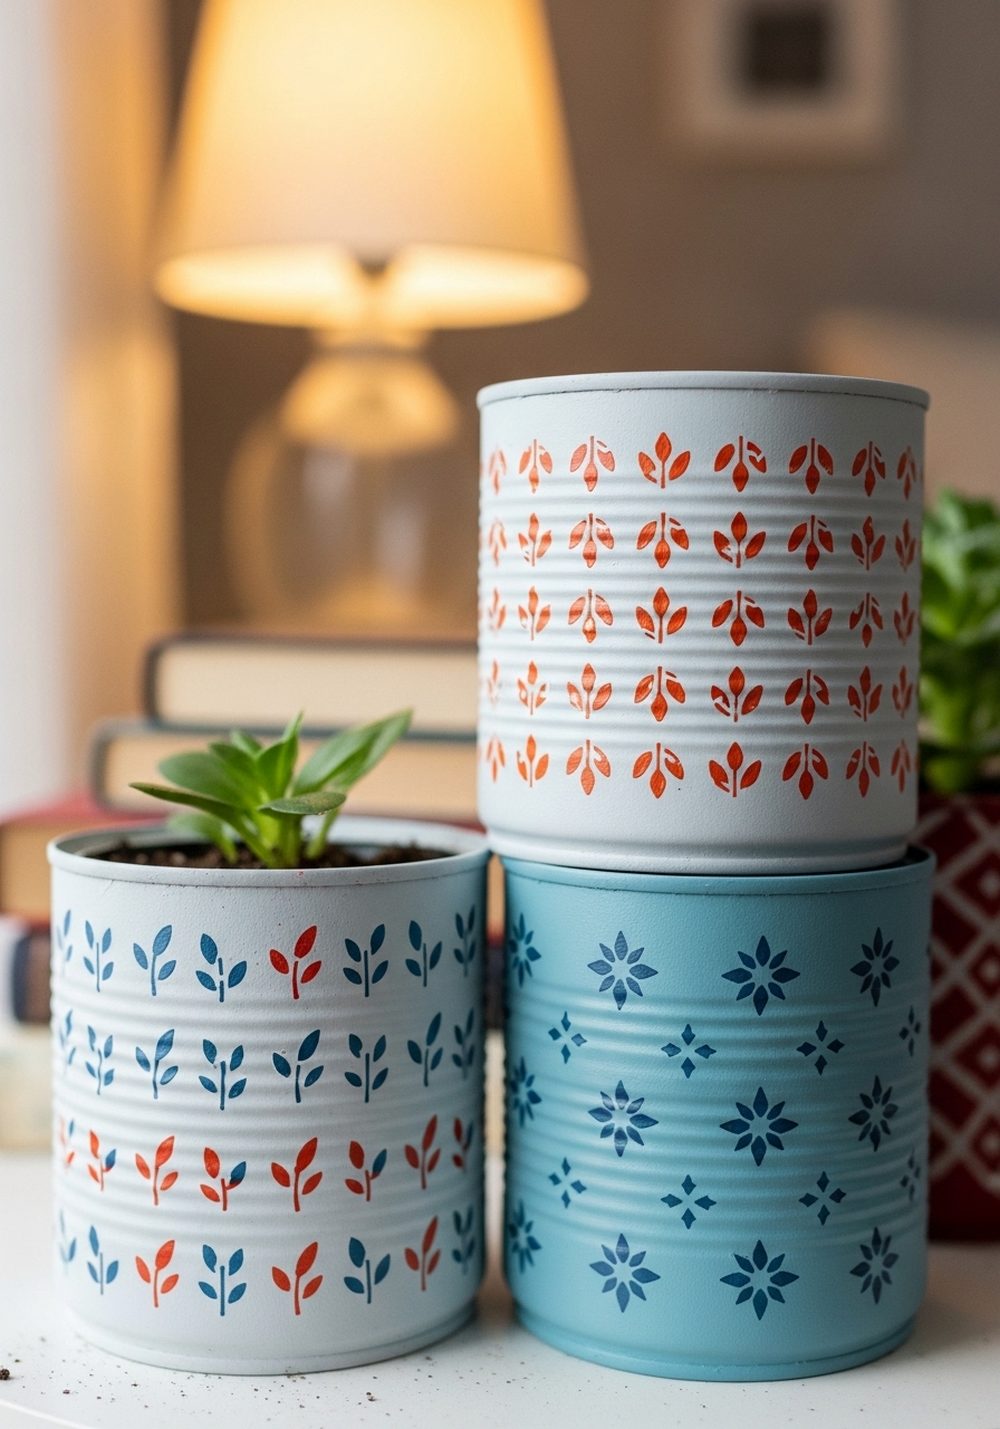
A trio of stencilled tin can planters can instantly dress up a tiny side table or bedside in a small room. Paint each can in a soft base colour, then use small stencils to add repeating leaf, star, or geometric patterns in a contrasting shade. Place three together in slightly different heights for a mini arrangement that looks thought-through but doesn’t crowd the surface. Fill with compact plants like small succulents, mini ferns, or flowering houseplants for just the right amount of greenery.
- Best For: Bedside tables, coffee tables, and small desks that need a pretty accent.
- Budget Tip: Use one stencil across all three cans, changing only the colours.
- Styling Idea: Choose patterns that match existing textiles, like your cushions or rug.
- Practical Note: Use a light hand with paint to avoid bleeding under the stencil.
- Extra Idea: Add felt pads under the cans to prevent scratches on delicate surfaces.
8. Tiered Tin Can Planter Ladder For Narrow Corners
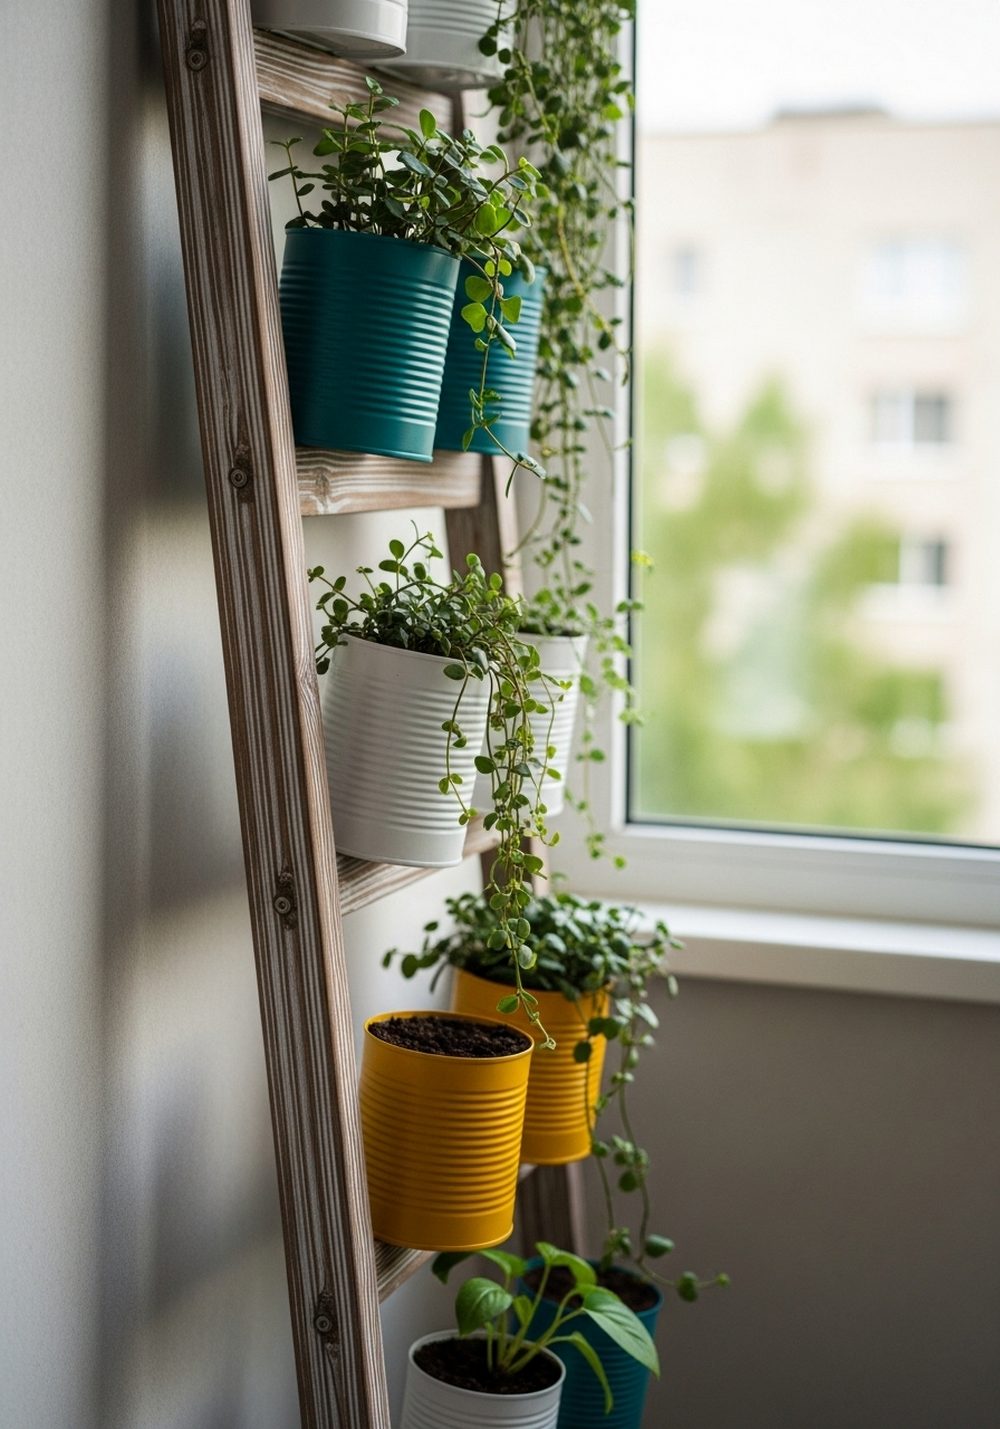
A slim ladder shelf combined with painted tin can planters is a brilliant way to green up a narrow corner. Paint several cans in a coordinated palette and place two or three per rung, mixing plant heights and textures. The ladder itself can be left natural or painted to match the cans, then leaned securely against a wall on a balcony or inside by a bright window. The tiered arrangement adds height, colour, and lush foliage without using much floor space.
- Best For: Narrow balconies, hallway corners, or unused spots beside doors.
- Budget Tip: Repurpose an old step ladder or build a simple one from inexpensive timber.
- Styling Idea: Use one accent colour (like teal) across all cans to tie the whole ladder together.
- Practical Note: Secure the ladder at the top if you have pets or children.
- Care & Maintenance: Rotate the cans between shelves so light-loving plants sit higher.
9. Boho Dot-And-Mandala Tin Can Cluster For Cozy Nooks
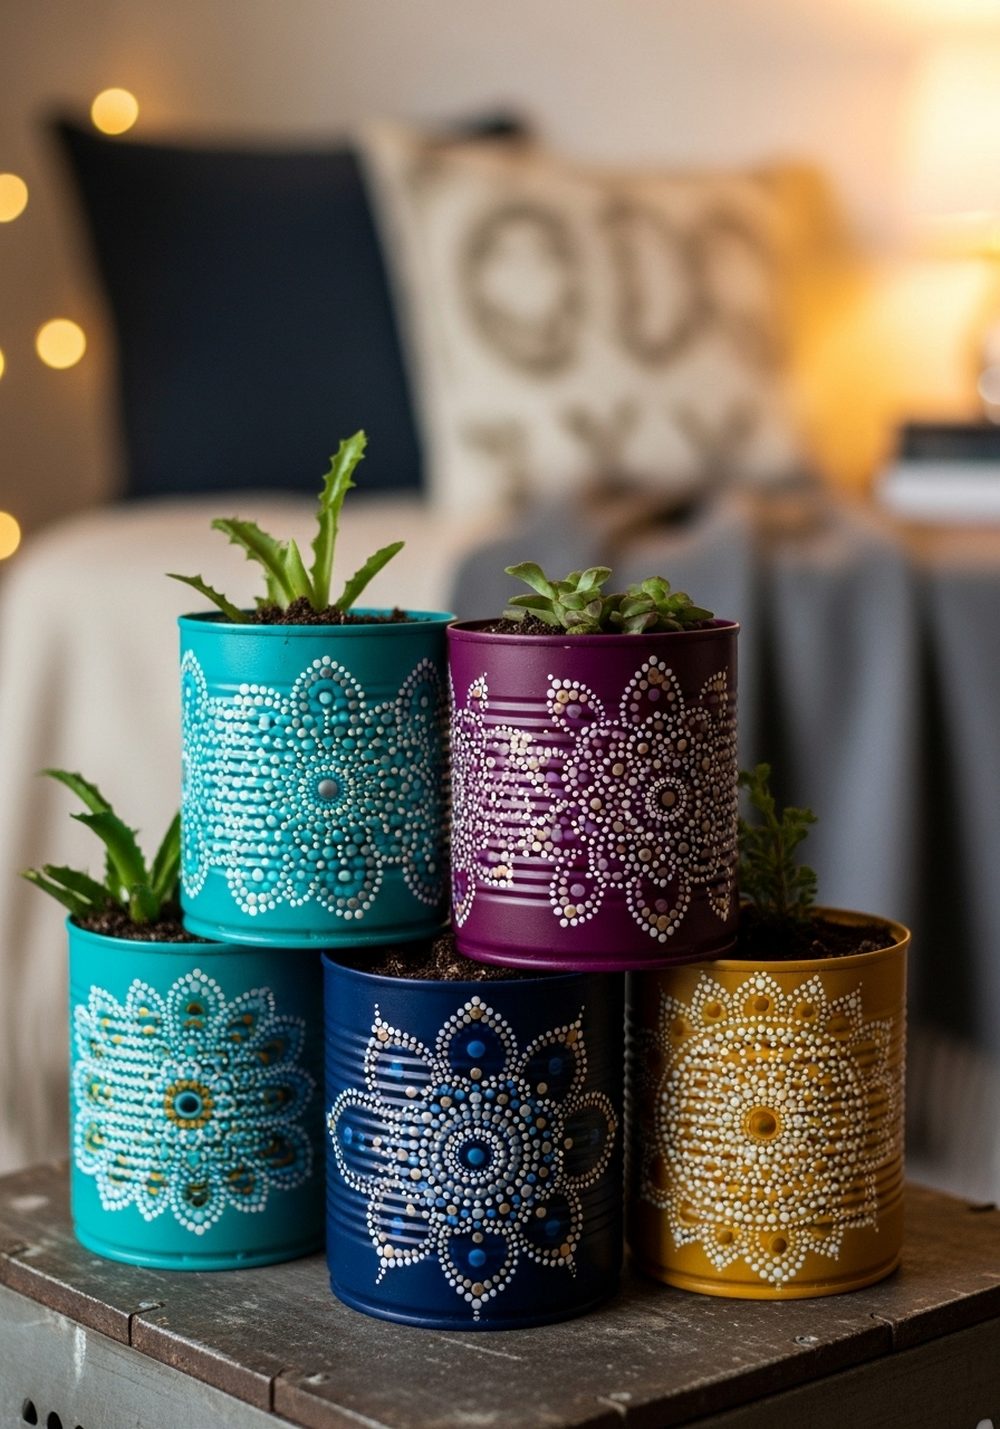
If you love boho style, a cluster of dot- and mandala-painted tin cans can transform a small reading nook or balcony corner. Start with rich base colours—turquoise, mustard, plum—and use a fine brush or dotting tool to add circles, petals, and tiny dots in white and gold. Group several cans together on a low stool, crate, or tray and fill them with trailing plants, succulents, and small ferns. The hand-painted details and lush textures create a cosy, collected-over-time feel.
- Best For: Reading corners, low balcony spots, or tucked-away seating areas.
- Budget Tip: Limit yourself to two accent paints (white and metallic) for all the detailed work.
- Styling Idea: Add a lantern and a textured throw nearby to complete the boho mood.
- Practical Note: Mix plant heights so some cans feel like “centrepieces” and others tuck around.
- Care & Maintenance: Seal the paint well if the cans will live outside in sun and rain.
10. Seasonal Theme Painted Tin Cans You Can Swap Out
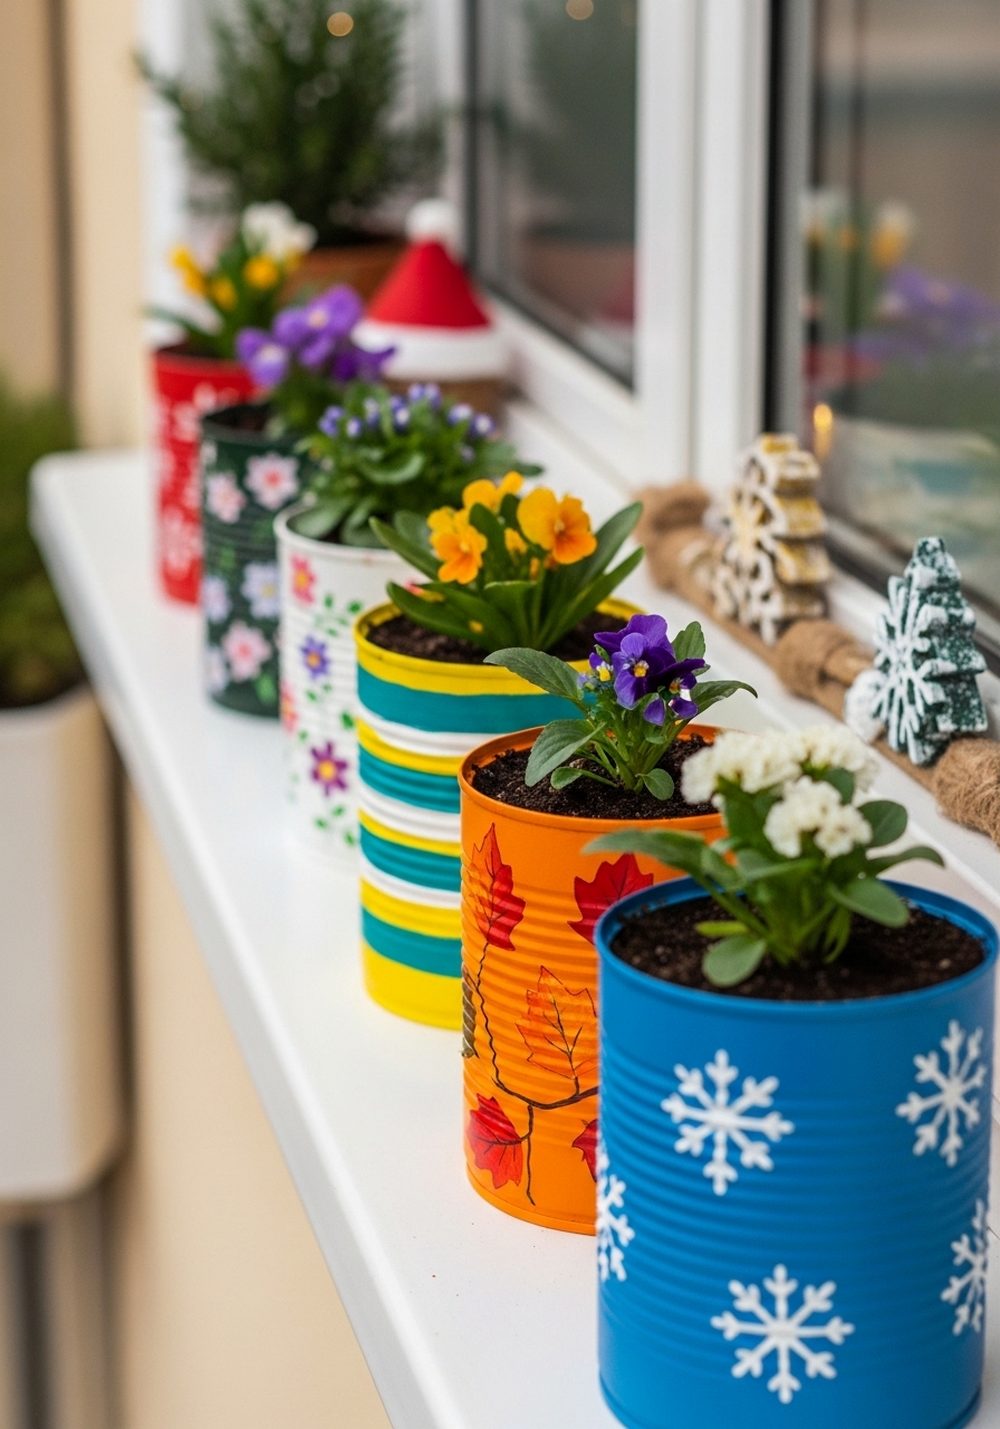
Seasonal painted tin cans let you refresh a tiny space without buying new pots every time you change your decor. Paint one set with spring florals, another with bold summer stripes, a third with autumn leaves, and a winter set with simple snowflakes or stars. Use the same size cans so they fit perfectly on your rail, shelf, or windowsill, and swap them out as the months go by. Fill them with seasonal flowers or foliage to match the artwork for an easy, charming update.
- Best For: People who enjoy decorating for seasons but have limited storage and space.
- Budget Tip: Reuse the same soil and plants where possible, just moving them into the new cans.
- Styling Idea: Keep the colour palette for each season tight (three colours max) for a polished look.
- Practical Note: Label the underside of each can with its season so packing and unpacking is simple.
- Extra Idea: Store off-season cans nested inside each other to save cupboard space.
Conclusion
Even the smallest balcony, windowsill, or rented kitchen can feel fresh and personal with a few painted tin can planters. By reusing everyday tins and adding colour, pattern, and clever layouts, you create a mini garden that suits your style and your space. Start with one or two ideas that excite you, experiment with paints and plants, and let your collection grow over time. Small spaces deserve beautiful, creative greenery too.
FAQs
1. Are painted tin can planters safe for plants?
Yes, they can be. Just make sure you add drainage holes at the bottom and use a good-quality potting mix. If you’re worried about rust, slip a plastic nursery pot inside the can so the roots don’t touch the metal directly. Always avoid lead-based or outdoor-unsafe paints.
2. How can I make tin can planters on a very small budget?
Save tins from your normal groceries and wash them well. Use leftover wall paint, tester pots, or cheap craft paint instead of buying lots of colours. Start with simple designs like stripes or solid colours, and add plants gradually by dividing existing ones or swapping cuttings with friends.
3. Will painted tin cans last outside on a balcony?
They can last quite well if you seal them properly. Use a primer, then outdoor-suitable paint, and finish with a clear sealer. Try to keep them slightly sheltered from heavy rain and direct scorching sun. If they start to rust, see it as rustic charm or give them a fresh coat of paint.
4. What plants work best in small tin can planters?
Compact plants are ideal: herbs, small succulents, trailing ivy, mini ferns, and small flowering plants. Check the light where you’ll place them—sunny windows suit herbs and succulents, while shadier corners are better for ferns and foliage plants. Avoid deep-rooted species that need lots of soil.
5. Are these ideas suitable for renters?
Absolutely. Most of these planters are light, portable, and non-permanent. You can place them on windowsills, shelves, ladders, or trays without drilling into walls. Hanging options can use over-rail hooks or removable adhesive hooks so everything comes with you when you move.
6. What is the easiest tin can planter idea for beginners?
Simple solid-colour cans or black-and-white stripes are the easiest starting point. You only need a couple of paints, a brush, and masking tape. Once you’re comfortable, you can move on to ombre, stencils, or dot patterns. Even one or two finished cans with a healthy plant can transform a small corner.