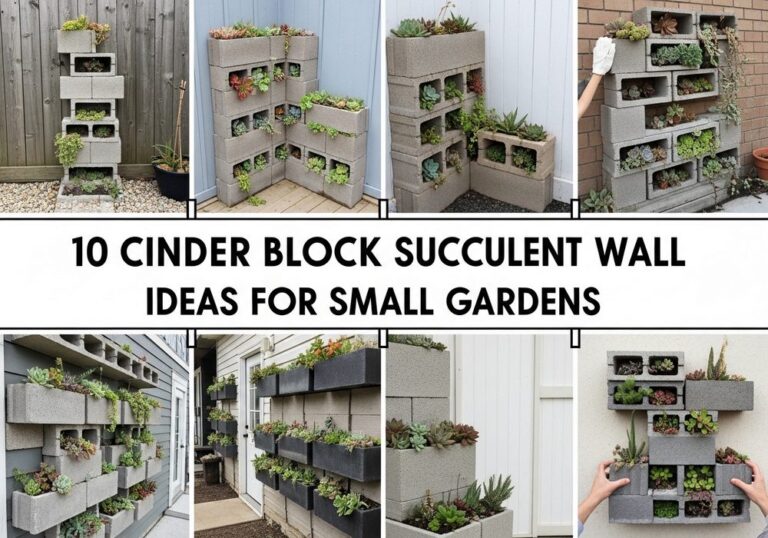
10 Painted Tin Can Planters For Front Porch
If your front porch is looking a little plain but you don’t want to spend a fortune, painted tin can planters are a brilliant place to start. They’re cheap, surprisingly stylish, and a fun way to reuse what you already have in your recycling bin.
In this guide, you’ll find ten creative ways to turn ordinary cans into charming front porch decor. From soft pastels to bold stripes and modern monochrome styles, these ideas are simple enough for beginners and flexible for renters and homeowners alike. With a bit of paint, some plants, and a free afternoon, you can create a welcoming entry that feels personal, cheerful, and totally unique.
Quick List
- Pastel Ombre Tin Can Herb Rail
- Bold Striped Tin Can Flower Tower
- Chalkboard Label Tin Can Herb Bar
- Vintage Enamel-Style Tin Can Trio
- Rainbow Drip Art Tin Can Cluster
- Stenciled Tin Can House Number Planters
- Nautical Rope-Wrapped Tin Can Planters
- Black-And-White Modern Tin Can Planters
- Floral Hand-Painted Tin Can Hangers
- Speckled Faux-Terrazzo Tin Can Planters
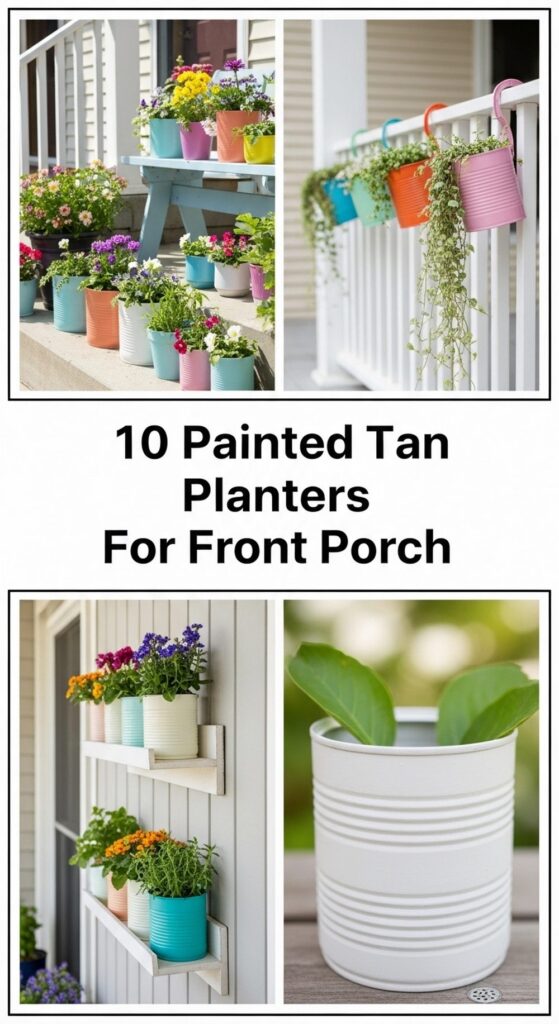
1. Pastel Ombre Tin Can Herb Rail
Turn your porch railing into a soft, colorful feature with pastel ombre tin can herb planters. Paint each can in a gradient, fading from white at the top to a gentle mint, blush, or lavender at the bottom. Punch drainage holes, plant your favorite herbs, and attach the cans to the rail with hose clamps or sturdy wire. The soft colors look beautiful against wood or white railings, and the fresh green herbs add texture, scent, and a lived-in feel as you walk up to the door.
- Best For: Narrow porches with a railing that needs a little charm.
- Budget Tip: Save cans from cooking and use tester pots or leftover wall paint.
- Styling Idea: Keep to three pastel shades so the display looks calm, not busy.
- Practical Note: Space the cans so herbs have room to grow and still fit a hand for harvesting.
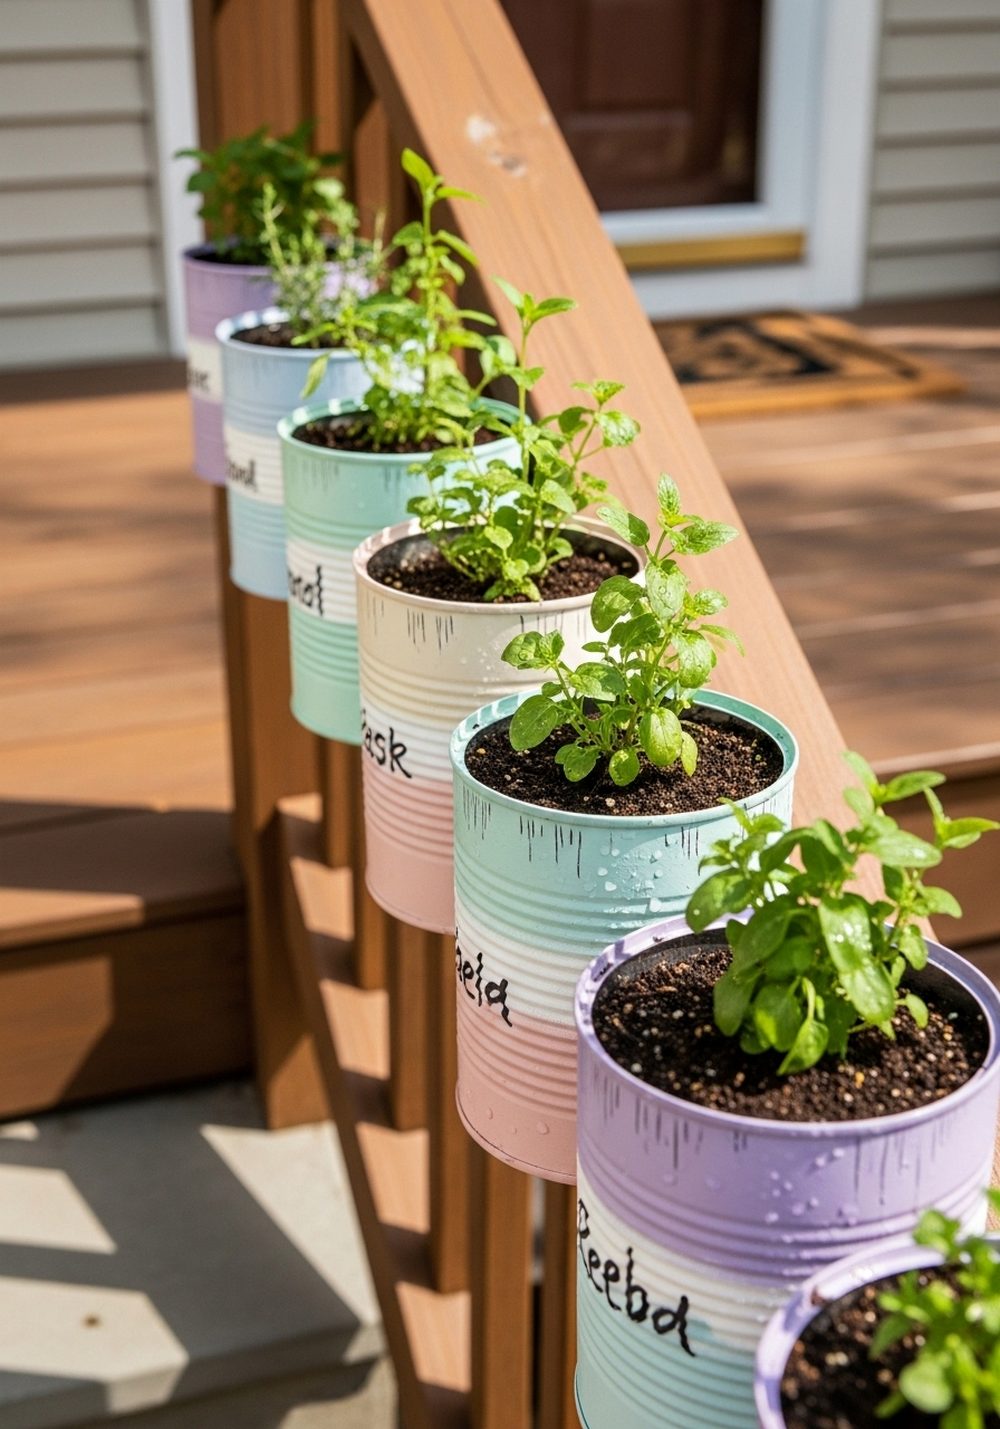
2. Bold Striped Tin Can Flower Tower
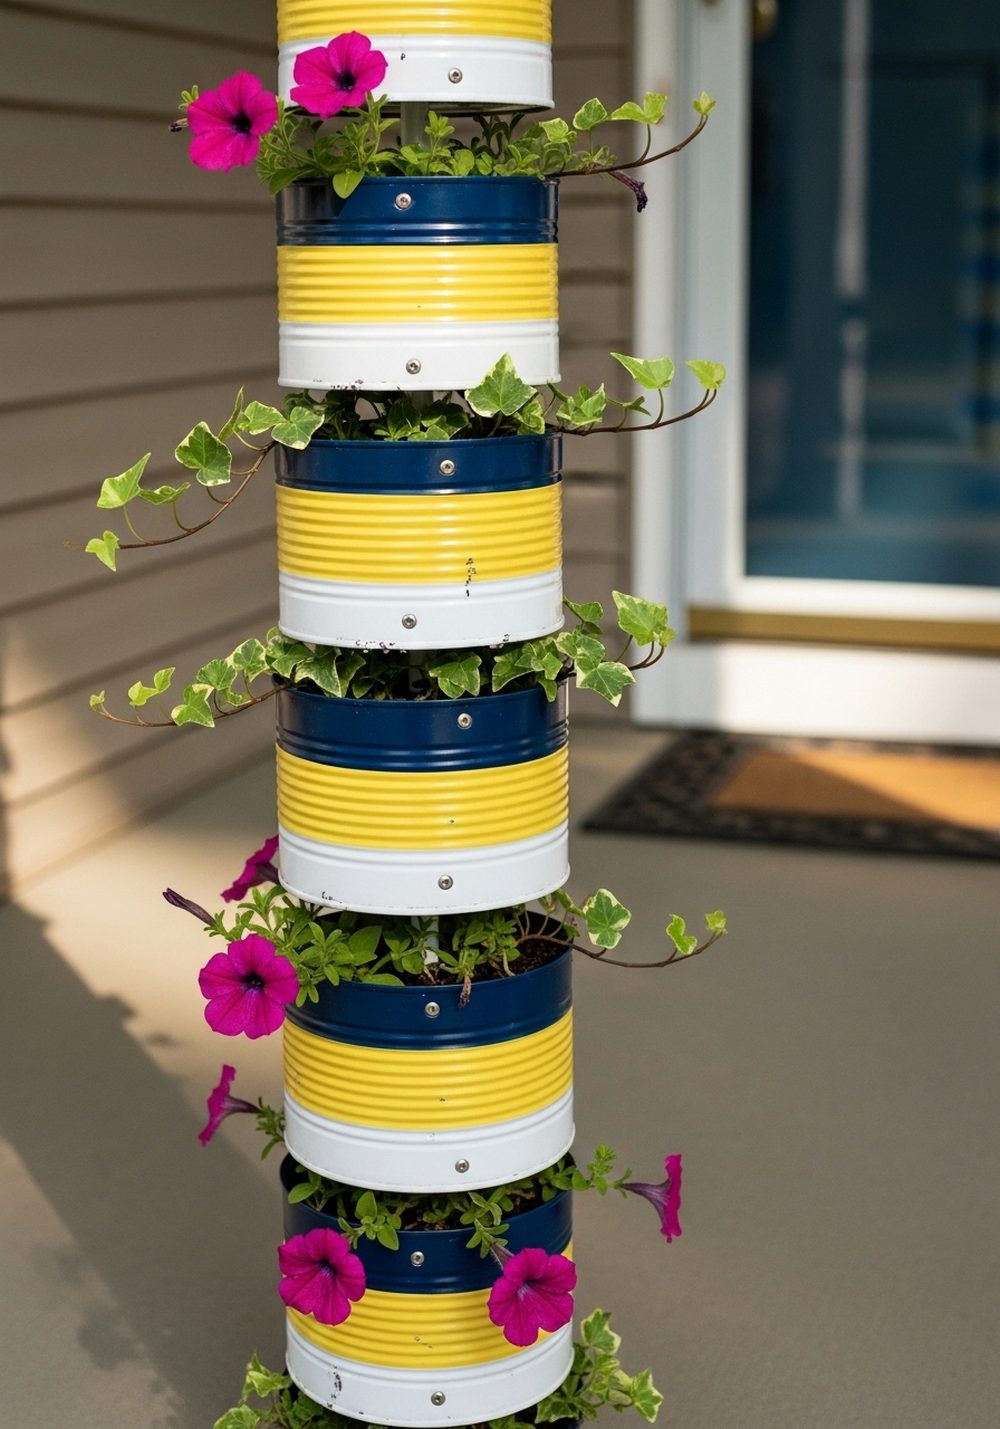
If you want big impact in a small footprint, a bold striped tin can flower tower is perfect. Paint each can in strong stripes of two or three colors, then stack them on a metal rod, pole, or vertical stand. Secure them with screws or brackets so they stay safe and stable on the porch. Fill the top cans with trailing plants and the lower ones with upright flowers to create a cascade of color. This tall, narrow tower fits beautifully into an empty corner near your steps.
- Best For: Small porches that need a dramatic focal point.
- Budget Tip: Use one main color and one accent stripe to save on paint.
- Styling Idea: Choose a color palette that echoes your front door or outdoor rug.
- Practical Note: Put the heaviest, largest can at the base for balance.
3. Chalkboard Label Tin Can Herb Bar
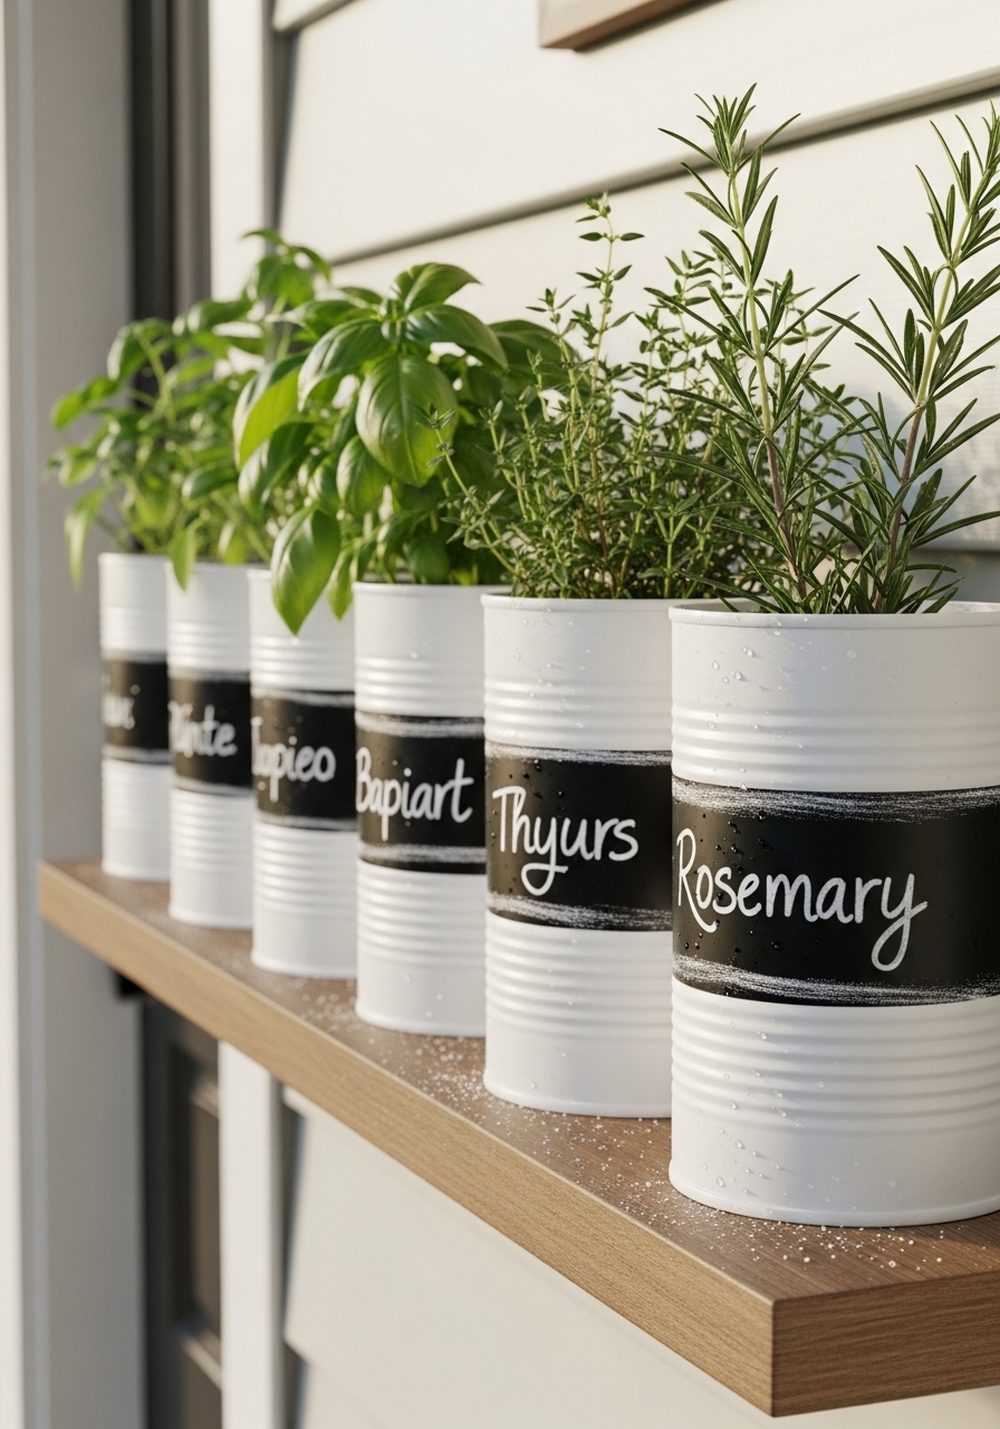
A chalkboard label tin can herb bar looks neat, organized, and effortlessly stylish beside your front door. Paint the cans a solid light color, then add a band of chalkboard paint around the middle. Once dry, write the plant names on each band and arrange them on a narrow shelf, bench, or wall-mounted board. The contrast of crisp writing against lush leaves creates a simple but eye-catching display that makes it easy to snip the right herb.
- Best For: Porch walls or narrow spaces next to the door.
- Budget Tip: One small tin of chalkboard paint goes a long way over many cans.
- Styling Idea: Use white or pastel cans for a clean, modern farmhouse look.
- Practical Note: Keep a piece of chalk in a tiny jar nearby for quick relabeling when you replant.
4. Vintage Enamel-Style Tin Can Trio
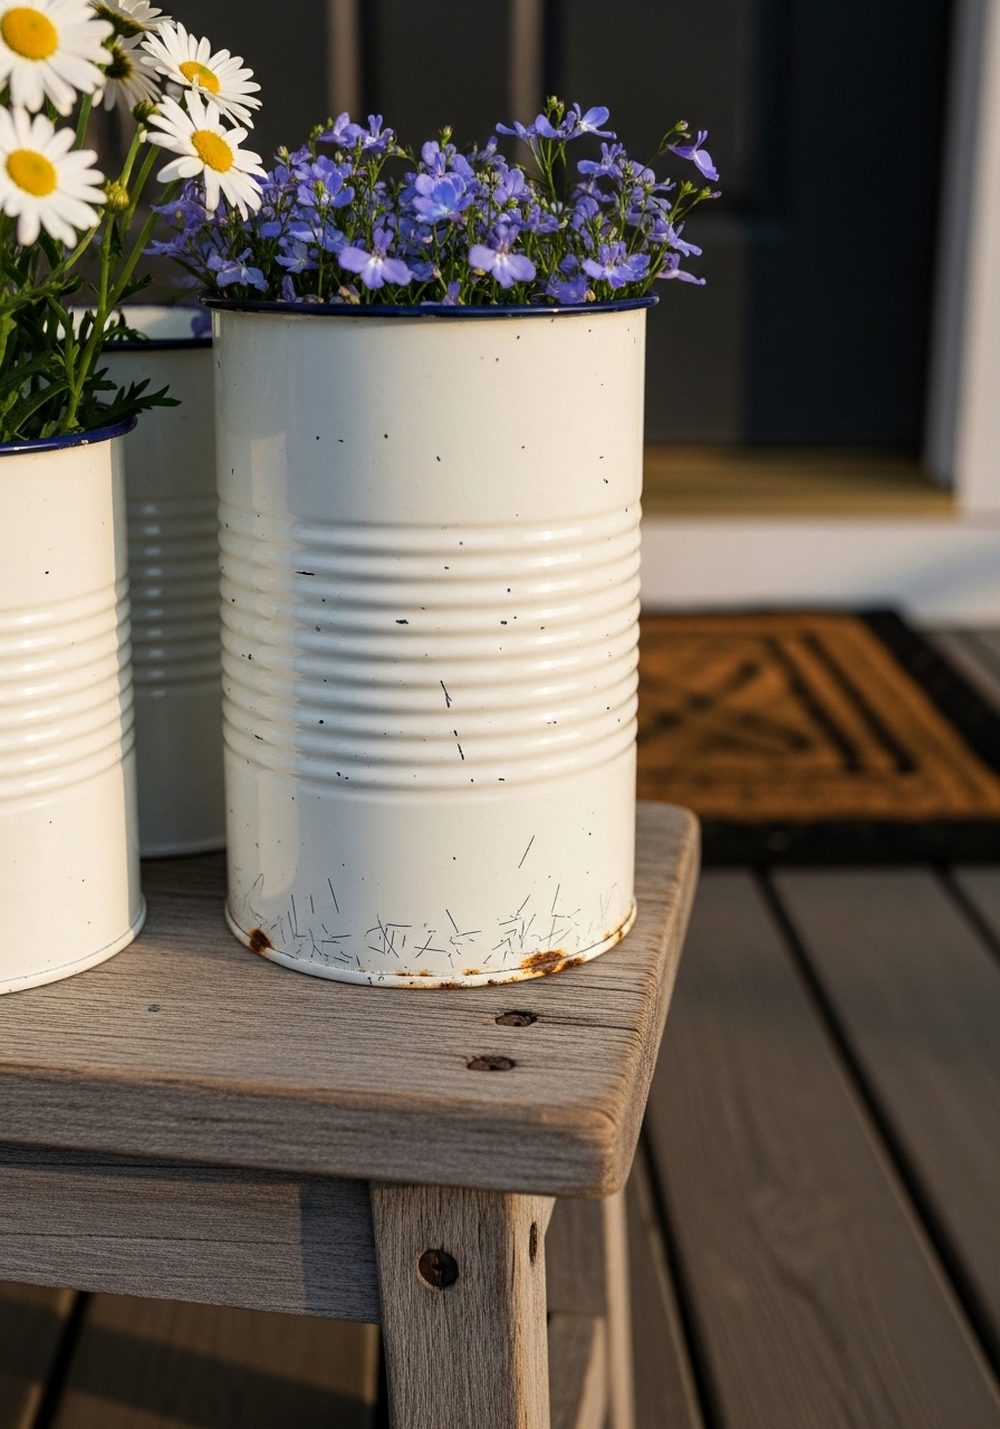
Create the charm of old enamelware without the price tag by painting your cans in creamy white with thin colored rims. Arrange a trio on a wooden stool or crate next to your front door for that “found in a vintage market” look. Slightly distress the paint at the edges to mimic real wear, then plant in simple daisies, geraniums, or baby’s breath for a cottage feel. The soft, neutral colors go with almost any house style and make the flowers really stand out.
- Best For: Traditional, cottage, or farmhouse-style porches.
- Budget Tip: Use one base color and change only the rim color on different cans.
- Styling Idea: Pair with a woven doormat and a simple wreath for a pulled-together porch.
- Care & Maintenance: Touch up chipped paint once a season if you prefer a less distressed look.
5. Rainbow Drip Art Tin Can Cluster
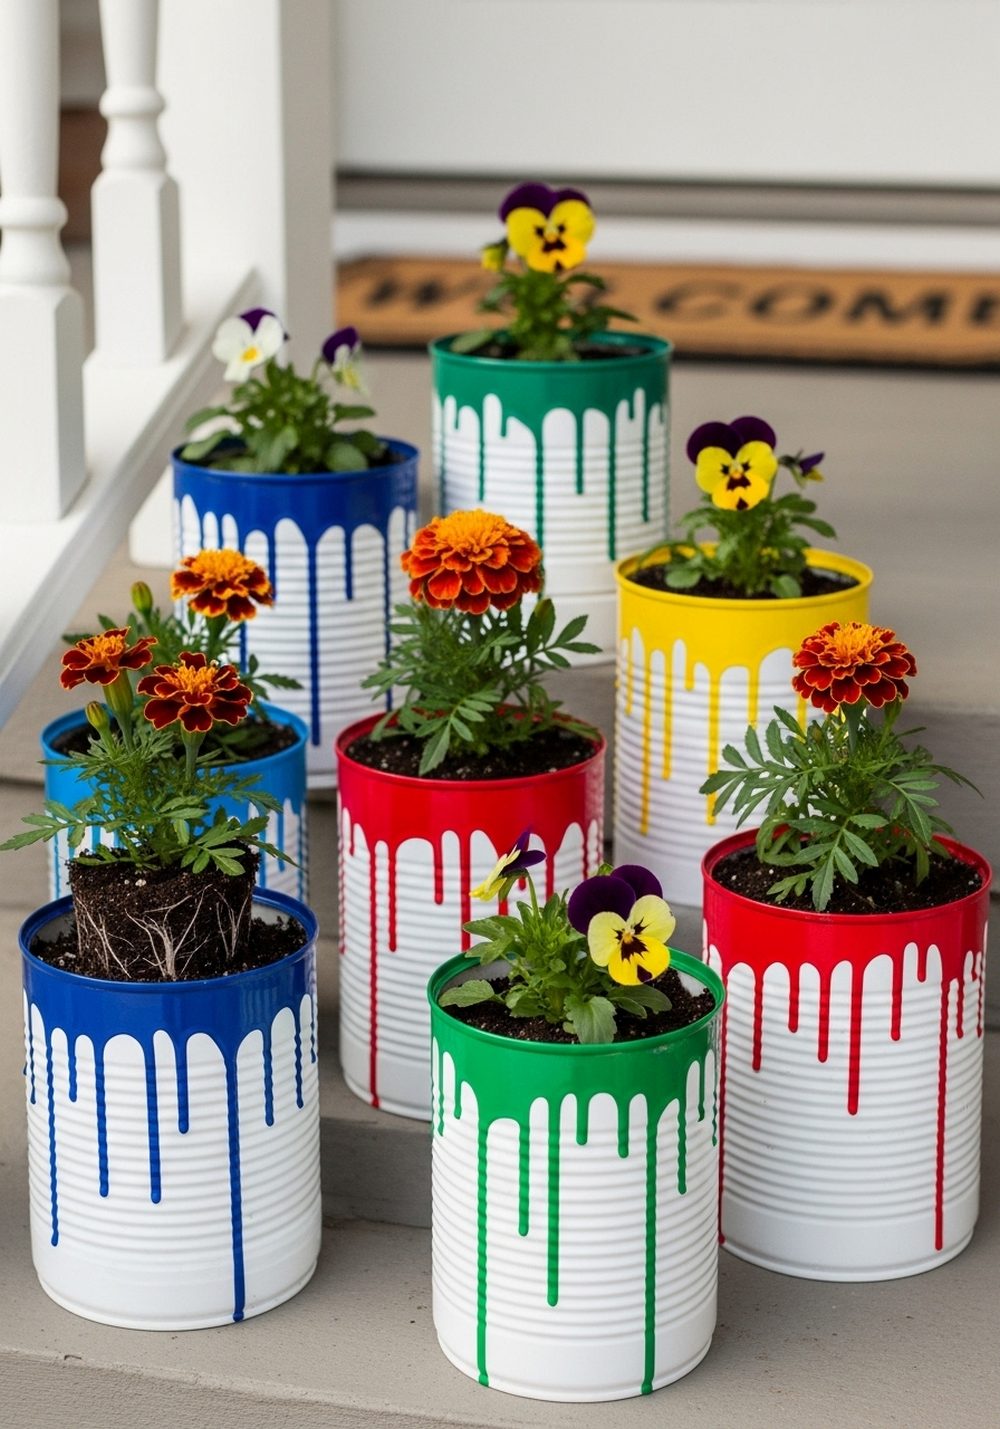
If you love bright, playful decor, a rainbow drip art cluster on your porch steps will make you smile every time you come home. Start with white-painted cans, then pour or brush on thinned paint at the rim, letting it drip naturally down the sides. Mix different bright shades for a fun, almost candy-like effect. Group the cans in small clusters on each step, filling them with cheerful blooms like marigolds, pansies, or zinnias for maximum color.
- Best For: Family homes and anyone who loves bold, happy color.
- Budget Tip: Use cheap craft paints or mix your own colors from basic primaries.
- Styling Idea: Keep the rest of the porch neutral so the drip cans really pop.
- Practical Note: Place a tray or newspaper under the cans while painting to catch drips and keep things tidy.
6. Stenciled Tin Can House Number Planters
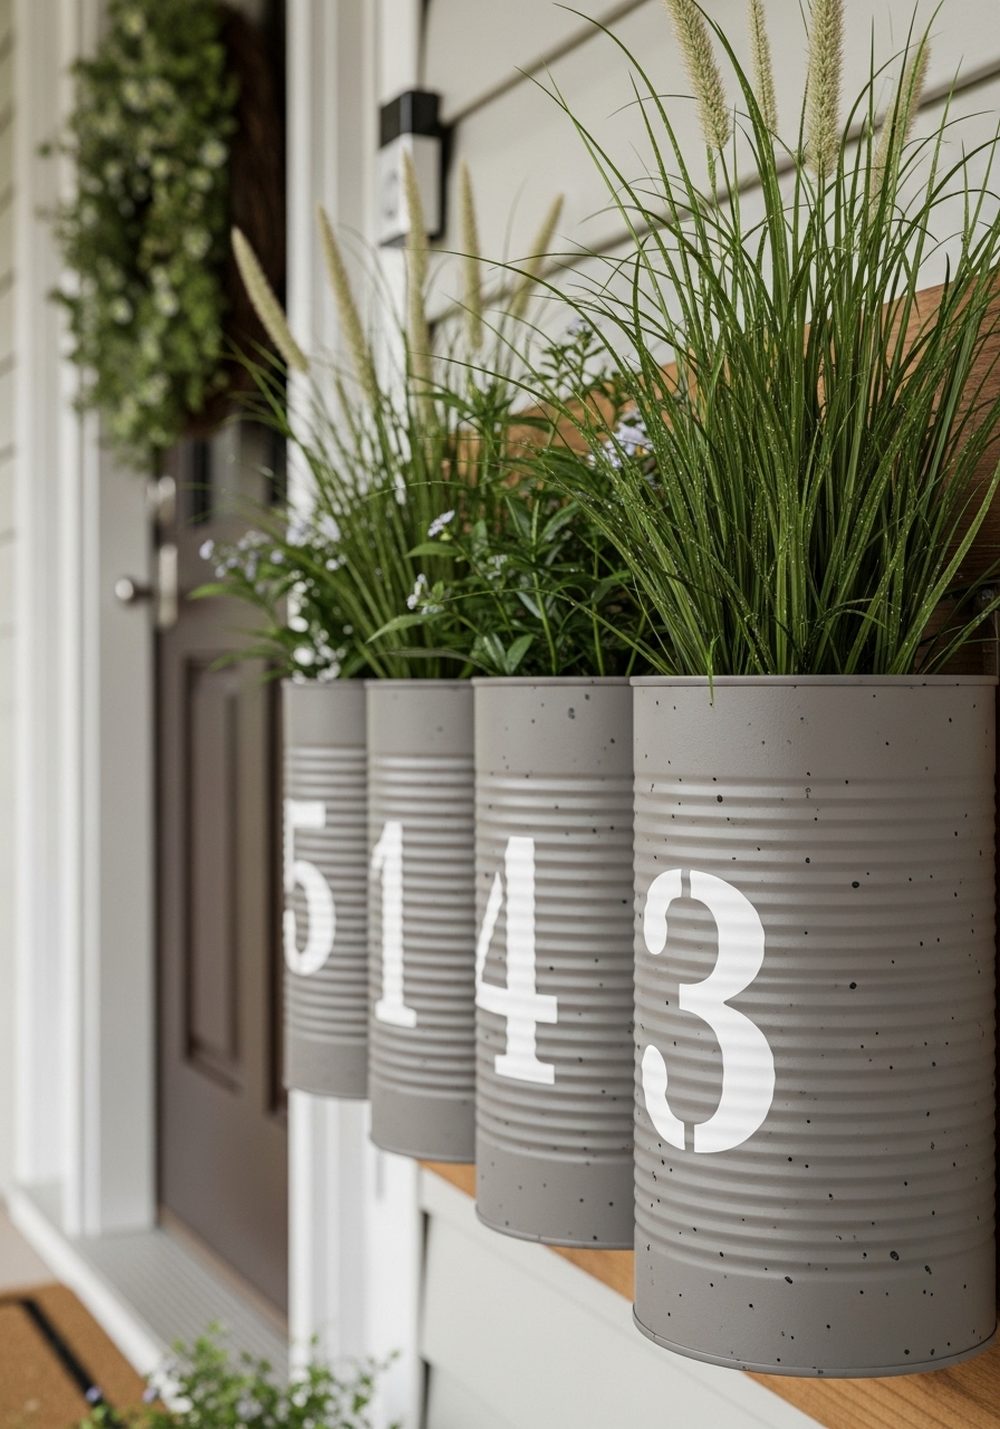
Combine function and decor by turning tin cans into house number planters that double as a living sign. Paint each can a solid color, then use stencils to add large, crisp numbers across the fronts. Mount them to a wooden board or directly to the wall beside your door, arranging them in order to spell out your address. Fill each can with a different plant variety so the whole piece feels lush and interesting from the street and the pathway.
- Best For: Making your home easier to spot from the road in a stylish way.
- Budget Tip: Cut your own stencils from card if you don’t want to buy them.
- Styling Idea: Choose high-contrast colors (e.g., dark cans with white numbers) for a modern, graphic look.
- Practical Note: Make sure the numbers remain visible even when plants grow tall—choose compact or trailing varieties.
7. Nautical Rope-Wrapped Tin Can Planters
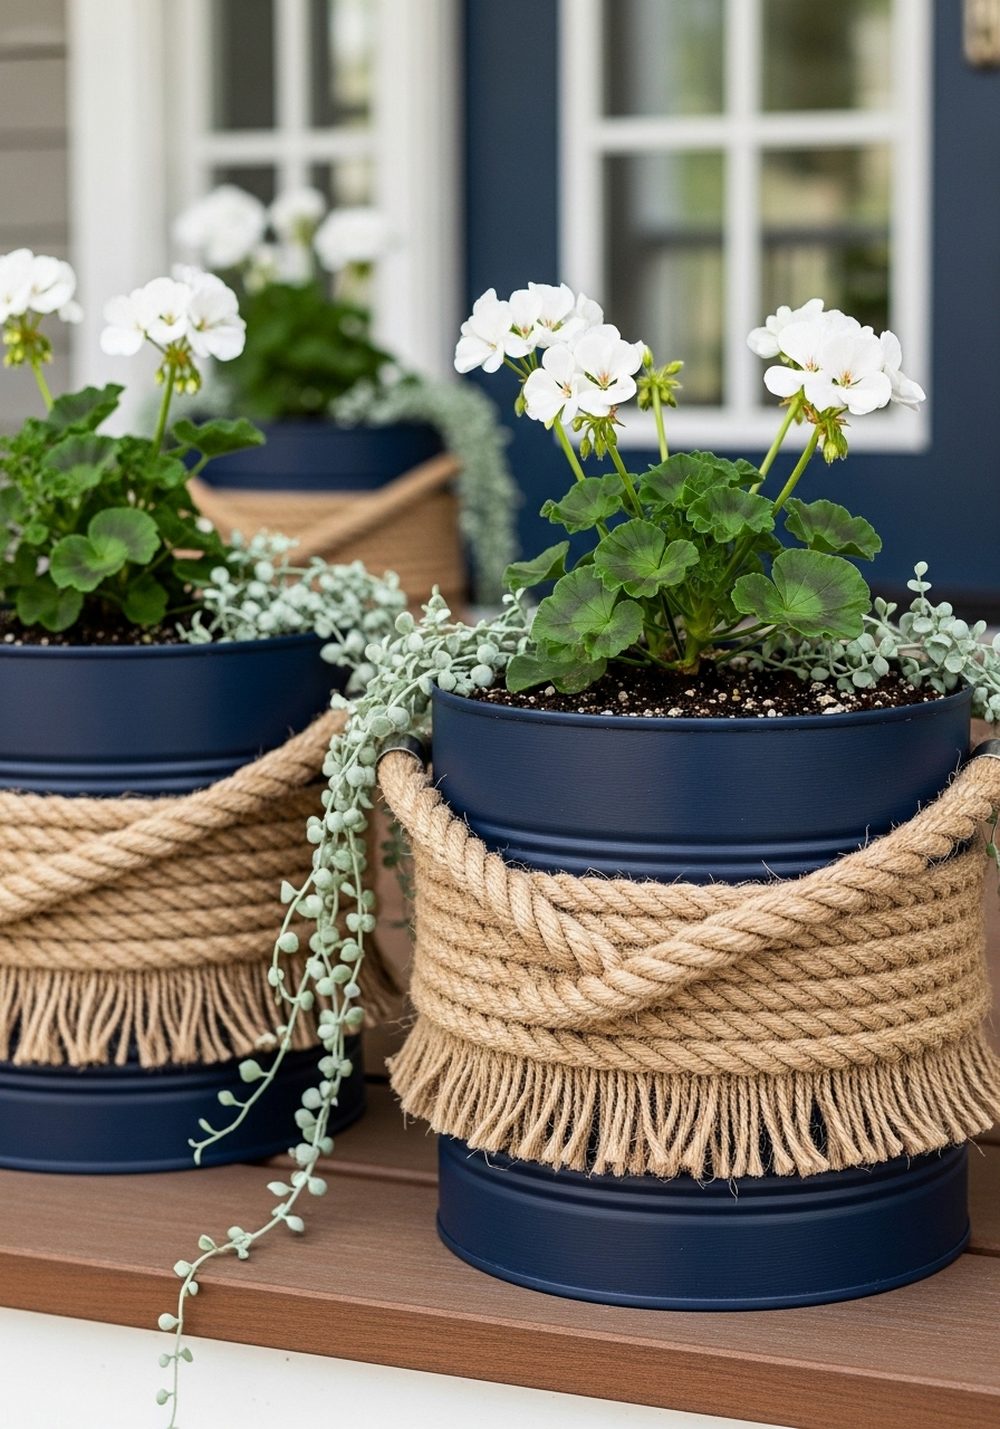
For a subtle coastal vibe, wrap painted tin cans with natural rope and cluster them on your porch. Paint the top and bottom of each can in navy or another deep tone, leaving the middle free for a few tight wraps of jute or sisal rope. The mix of smooth metal, soft paint, and rough fiber adds instant texture. Fill them with white or blue flowers and silvery foliage, then place the planters near a doormat, lantern, or simple wooden bench to complete the look.
- Best For: Porches on seaside homes or anyone who loves a relaxed coastal style.
- Budget Tip: Rope is inexpensive and can decorate several cans from one roll.
- Styling Idea: Add a striped outdoor cushion or rug to echo the nautical theme.
- Practical Note: Use a strong, weather-resistant glue to keep the rope secure outdoors.
8. Black-And-White Modern Tin Can Planters
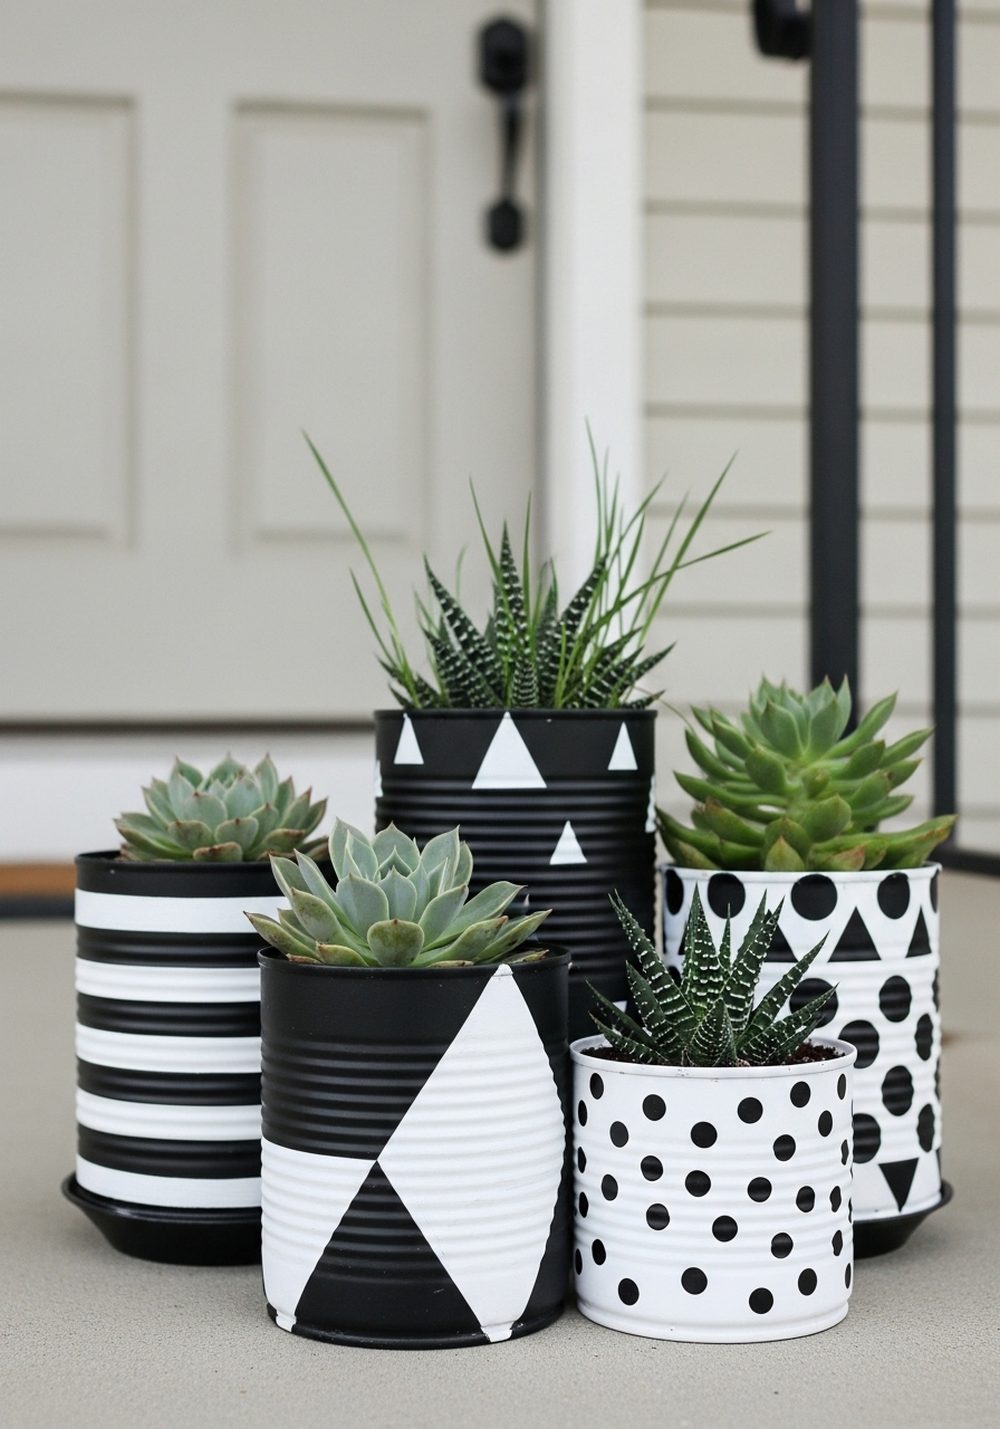
If your taste leans modern and minimalist, black-and-white tin can planters can give your front porch a sleek refresh. Paint some cans white with black stripes, others black with white dots or triangles, and group them together on a low bench, crate, or mat. Plant them with clean-looking greenery like succulents, small grasses, or boxy herbs. The simple shapes and high contrast create a stylish graphic effect that looks particularly good against plain siding and a bold front door color.
- Best For: Modern, urban, or contemporary homes.
- Budget Tip: Use just black and white paint so you don’t need to purchase multiple colors.
- Styling Idea: Keep plant choices mostly green for a calm, architectural feel.
- Practical Note: Arrange cans in odd numbers (3, 5, 7) for a more balanced grouping.
9. Floral Hand-Painted Tin Can Hangers
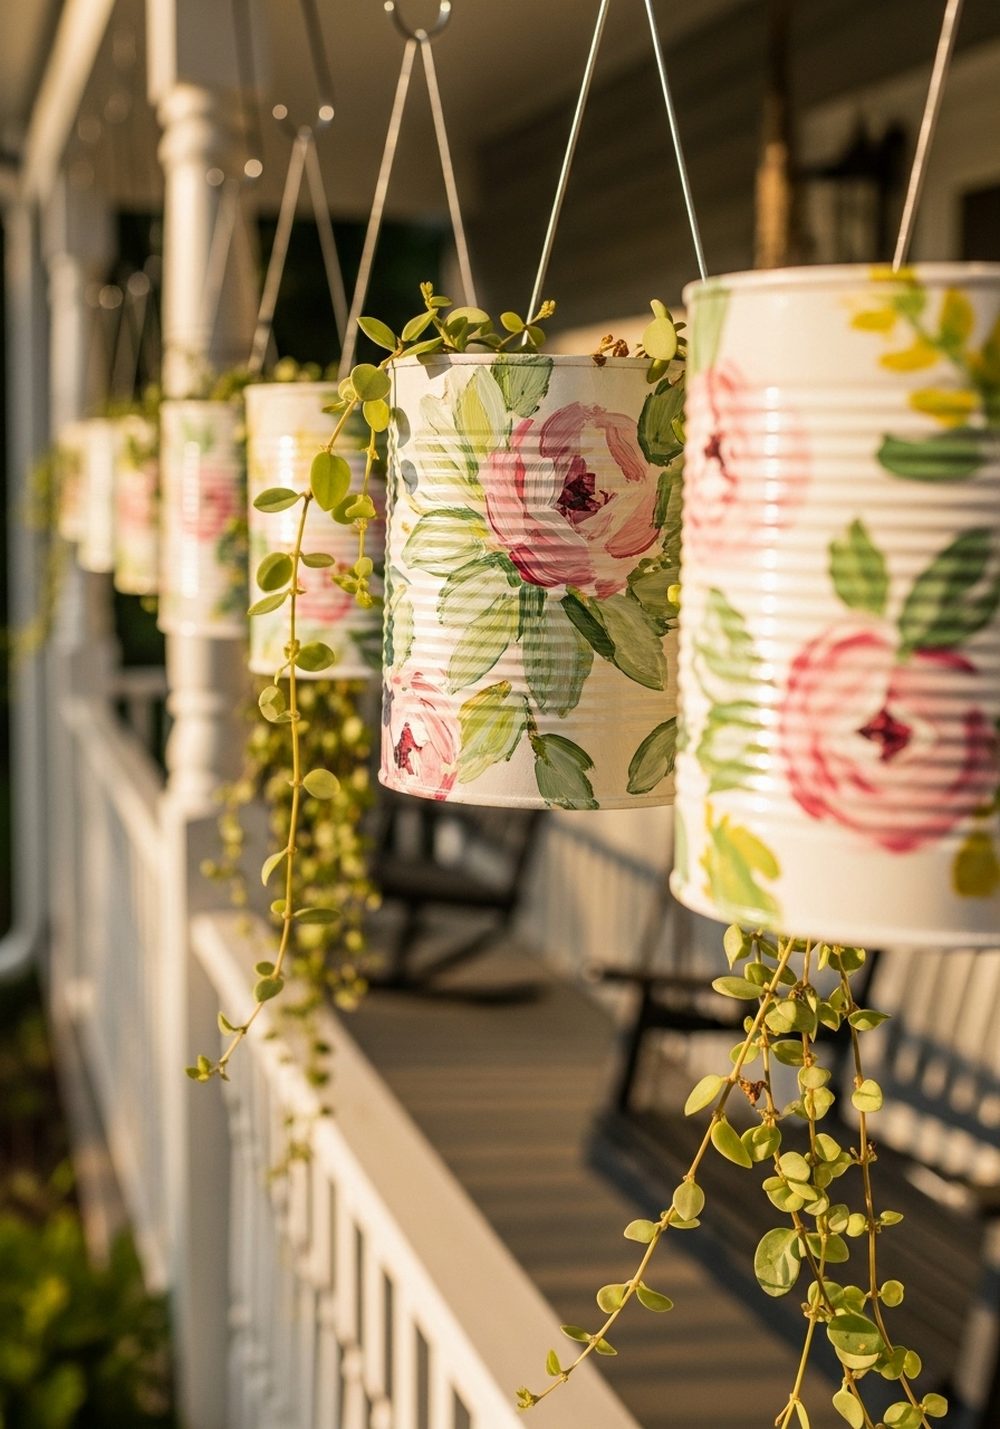
Hanging floral cans add softness and movement to your porch without taking up floor space. Paint each can a light base color, then hand-paint loose flowers and leaves around the sides. Don’t worry about perfect detail—the charm comes from the imperfect, painterly style. Drill holes near the top and add twine or chain handles, then hang them from hooks along a beam or wall bracket. Fill with trailing plants or small blooming varieties so the flowers in the paint echo the real ones.
- Best For: Small porches and renters who don’t want to clutter the floor.
- Budget Tip: Share paints and brushes with a friend and paint together as a weekend project.
- Styling Idea: Choose a palette that matches any porch cushions or your front door.
- Practical Note: Make sure hooks are screwed into solid wood so they can hold the weight of wet soil.
10. Speckled Faux-Terrazzo Tin Can Planters
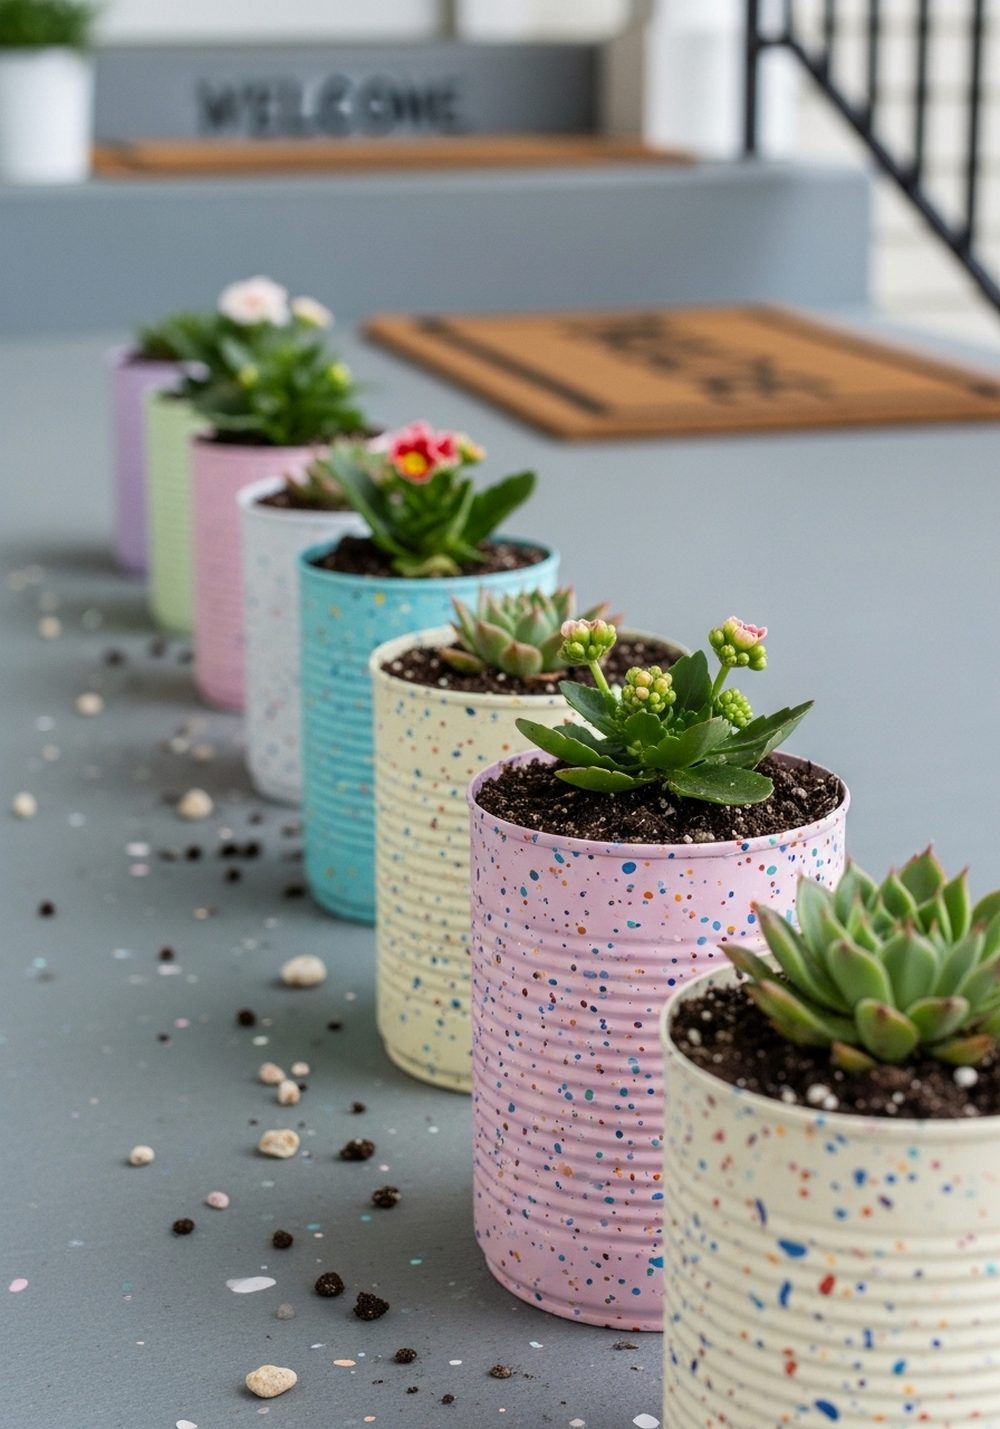
Get a trendy terrazzo look on a tiny budget with speckled tin can planters. Paint each can in a pastel or neutral base, then flick or dab on small specks of contrasting colors with an old brush or sponge. Once they’re dry, line the cans along your steps, under a window, or on a porch shelf. The speckles add playful detail without being overwhelming, especially when paired with simple greenery and small, low-growing flowers that let the pattern shine.
- Best For: Modern or Scandinavian-inspired porches that favor soft color and clean lines.
- Budget Tip: Use leftover paints from other projects for the speckles—tiny amounts go a long way.
- Styling Idea: Stick to three speckle colors across all cans for a cohesive, curated feel.
- Care & Maintenance: Seal with a clear outdoor varnish to keep the speckles looking fresh longer.
Conclusion
Painted tin can planters prove that you don’t need expensive pots to create a beautiful, welcoming front porch. With a few colors, some creativity, and a handful of plants, you can turn recycling into decor that shows off your style, whether you love soft pastels, bold stripes, or modern patterns. Start with one simple idea, try it on a few cans, and let your collection grow over time. Little by little, your porch will become a cheerful, personal entry you’re proud to come home to.
FAQs
1. How can I make painted tin can planters on a very small budget?
Save cans from everyday cooking and wash them thoroughly. Use leftover wall paint, tester pots, or inexpensive craft paints instead of buying big tins. Start with just a few cans and one or two colors, then add more details and plants over time as your budget allows.
2. Are tin can planters safe for renters who can’t make permanent changes?
Yes, tin can planters are perfect for renters because they’re completely portable. You can place them on steps, shelves, or small stands instead of drilling into walls. If you do hang them, use removable hooks designed for outdoor use and lighter plantings so you can take everything down without damage when you move.
3. How do I stop painted cans from rusting or peeling outdoors?
Let the cans dry thoroughly after washing, then use a metal or all-surface primer before painting. Once your design is finished, seal the outside with a clear, outdoor-safe varnish. Also, drill drainage holes and, if possible, place a small plastic pot inside the can so the metal doesn’t sit constantly in wet soil.
4. What plants work best in tin can planters on a front porch?
Choose plants based on the light your porch gets. For sunny porches, herbs, petunias, marigolds, and small grasses do well in cans. For shady entries, look for ferns, impatiens, and trailing ivy. Because cans are small, choose compact varieties and water a bit more often, especially in hot weather.
5. Can I mix these painted tin can planters with other types of front porch decor?
Absolutely. Tin can planters look great alongside lanterns, outdoor rugs, small benches, and simple signs. Just repeat some of the same colors across cushions, pots, and cans so everything feels connected. Vary the heights using stools, crates, and shelves to create a layered, interesting display rather than one flat row.
6. What’s the easiest idea here for a complete beginner?
The simplest starting point is to paint cans a single color and add basic stripes or dots, like the black-and-white modern planters. You only need one or two colors and no special tools. Once you’re comfortable with paint and brushes, you can try ombre, stencils, or hand-painted florals for a more detailed look.