10 Painted Tin Can Planters For Herb Gardens
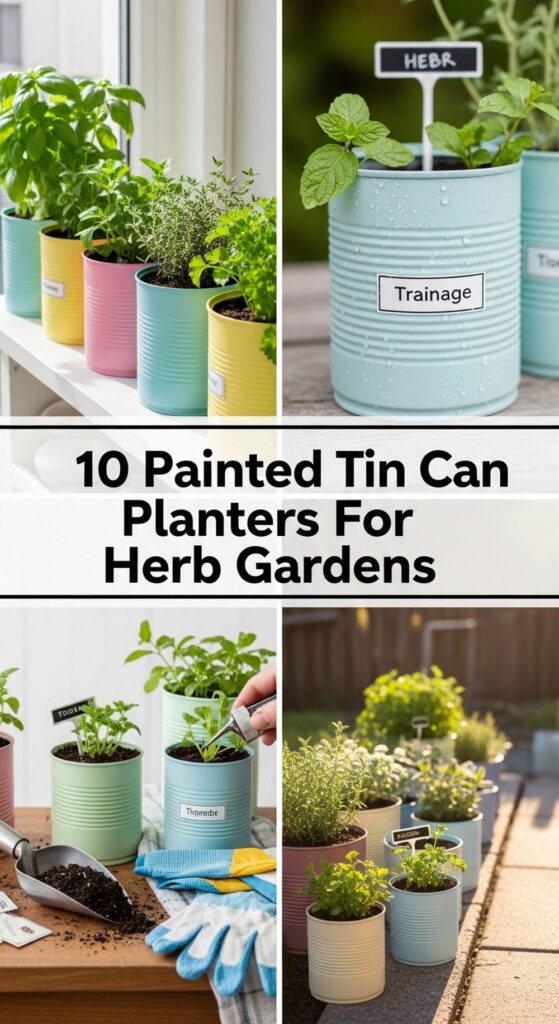
Painted tin can planters are one of the easiest ways to turn everyday recycling into something genuinely charming for an herb garden. They’re small, flexible, and perfect for tucking onto a sunny windowsill, a balcony rail, or a little patio shelf. With a little paint and a few simple setup steps, you can create a coordinated look that makes your herbs feel like a “real” garden—without spending much at all.
In this post, you’ll find practical styles that work with different spaces and decor moods, plus easy tips to help your herbs thrive (not just look pretty).
Quick List
- Sage Green Bistro Can Set
- Black-and-White Stripe Kitchen Herb Rail
- Terracotta-Look Cans With Aged Patina
- Coastal Blue Cans With Rope Wrap Accents
- Cottage Floral Decoupage Tin Can Trio
- Minimal White Cans With Copper Drip Rim
- Rainbow Pastel Seedling Line-Up On A Windowsill
- Rustic Chalkboard-Style Paint Without Writing
- Hanging Herb Cans On A Balcony Railing
- Polka Dot Party Cans For A Family Herb Corner
1. Sage Green Bistro Can Set
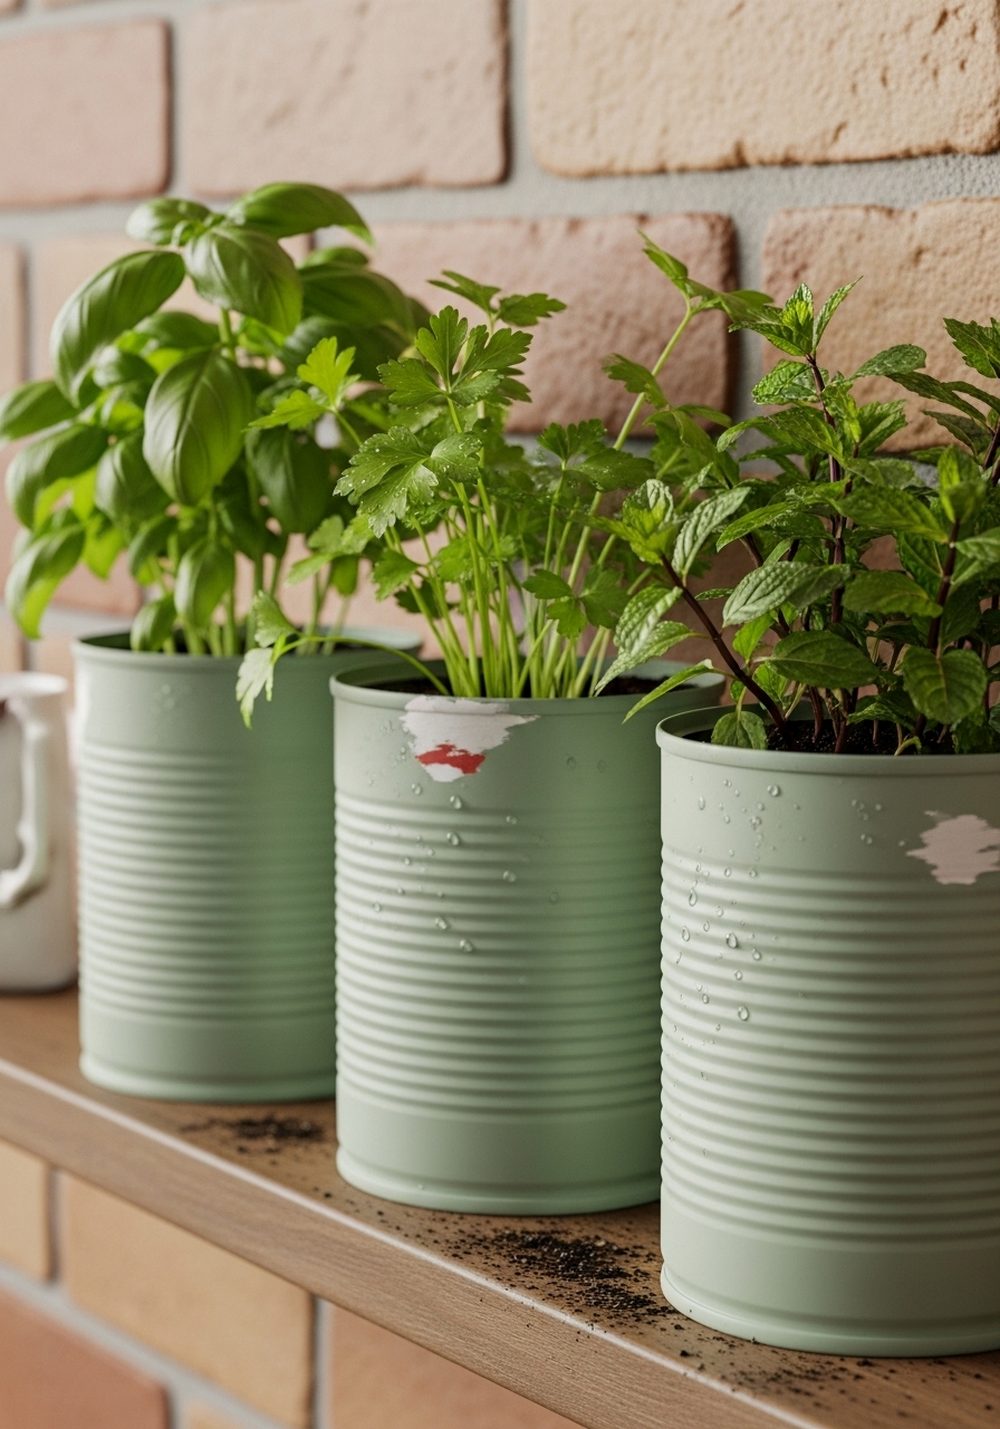
A soft sage green instantly makes tin cans feel calm and intentional, especially when you group three together like a mini herb “bistro” display. Paint the cans with a primer first so the color stays smooth, then add drainage holes and a small layer of pebbles before soil. Pop them on a narrow shelf or step where they’ll get steady light, and keep the look tidy with one matching tray underneath to catch drips.
- Best For: Windowsills, small patios, or a compact kitchen herb spot.
- Budget Tip: Use leftover wall paint samples and a simple clear sealer.
- Styling Idea: Pair with light wood, linen, and terracotta for a soft, natural mood.
- Care & Maintenance: Rotate the cans weekly so herbs grow evenly toward the light.
2. Black-and-White Stripe Kitchen Herb Rail
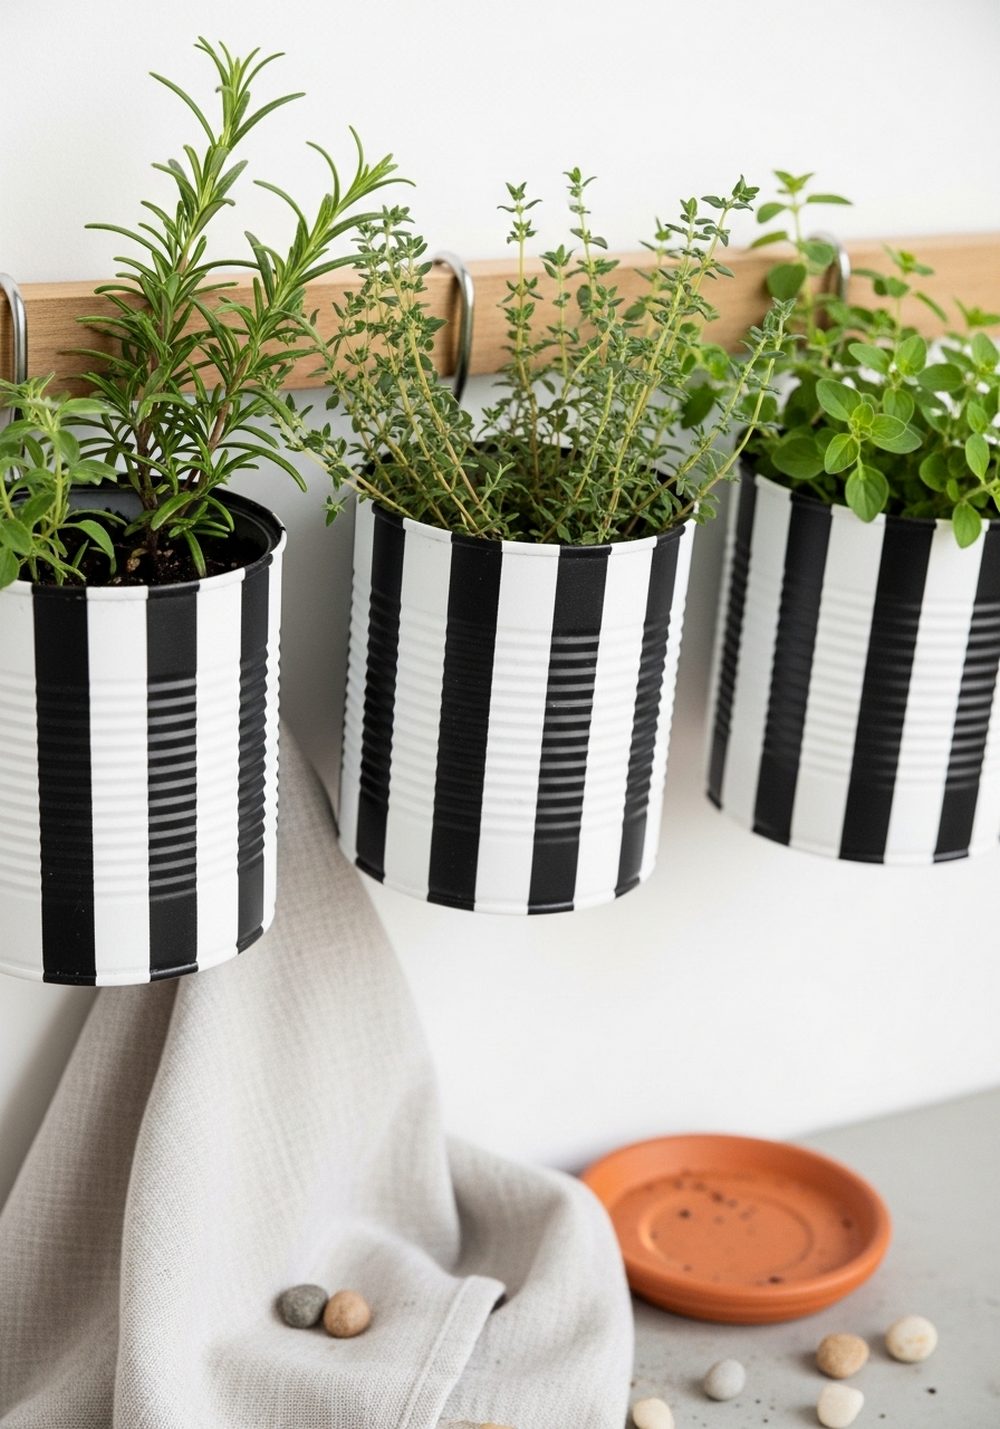
Stripes add instant structure and look especially sharp in kitchens or modern outdoor corners. Paint clean vertical lines using painter’s tape, then mount the cans on a wooden rail with hooks (or place them on a narrow ledge for a no-drill option). This style looks best when the herbs are upright and tidy—think rosemary, thyme, and oregano—so the pattern stays visible and crisp.
- Best For: Small spaces where you need vertical storage.
- Budget Tip: A scrap board and basic hooks create a “custom” look cheaply.
- Styling Idea: Keep everything monochrome for a modern, graphic vibe.
- Practical Note: Use a drip tray below if the rail is indoors.
3. Terracotta-Look Cans With Aged Patina
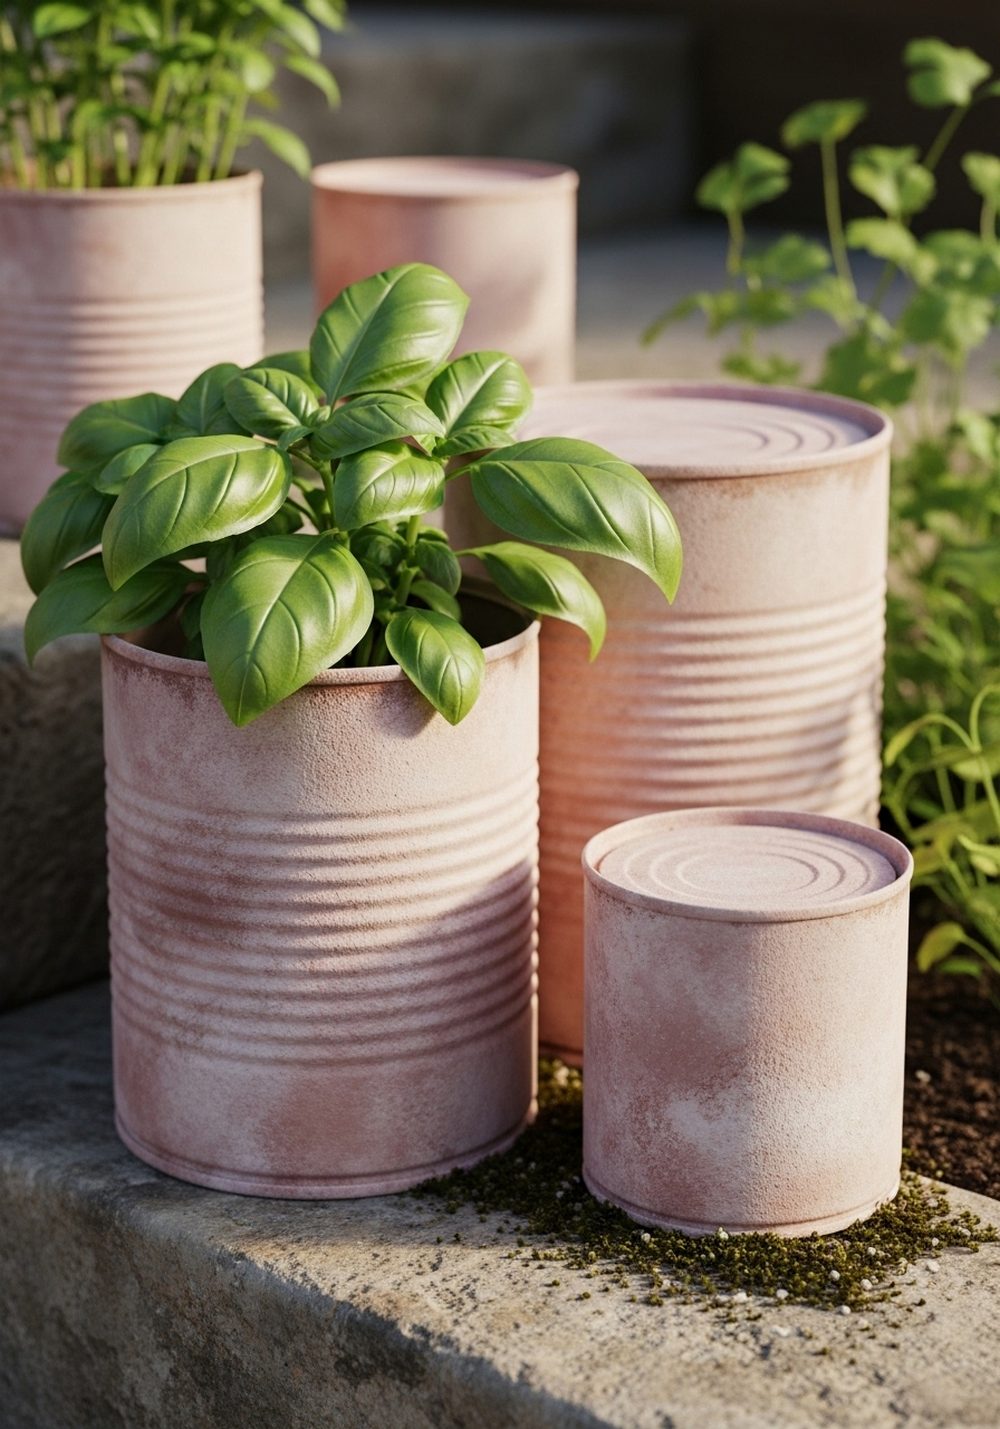
If you love earthy cottage garden charm but want a lighter, cheaper option than real pots, paint tin cans to mimic terracotta. Start with a warm clay base coat, then dab on lighter and darker tones with a sponge to create depth. Group them on stone steps or beside a raised bed so they blend naturally with the garden. The worn look is forgiving and hides little scuffs beautifully.
- Best For: Rustic patios, herb beds, and porch steps.
- Budget Tip: Craft paint mixed with a little baking soda can add a chalky texture.
- Styling Idea: Combine with stone, wood, and woven baskets for a warm mood.
- Care & Maintenance: Seal well so frequent watering doesn’t soften the finish.
4. Coastal Blue Cans With Rope Wrap Accents
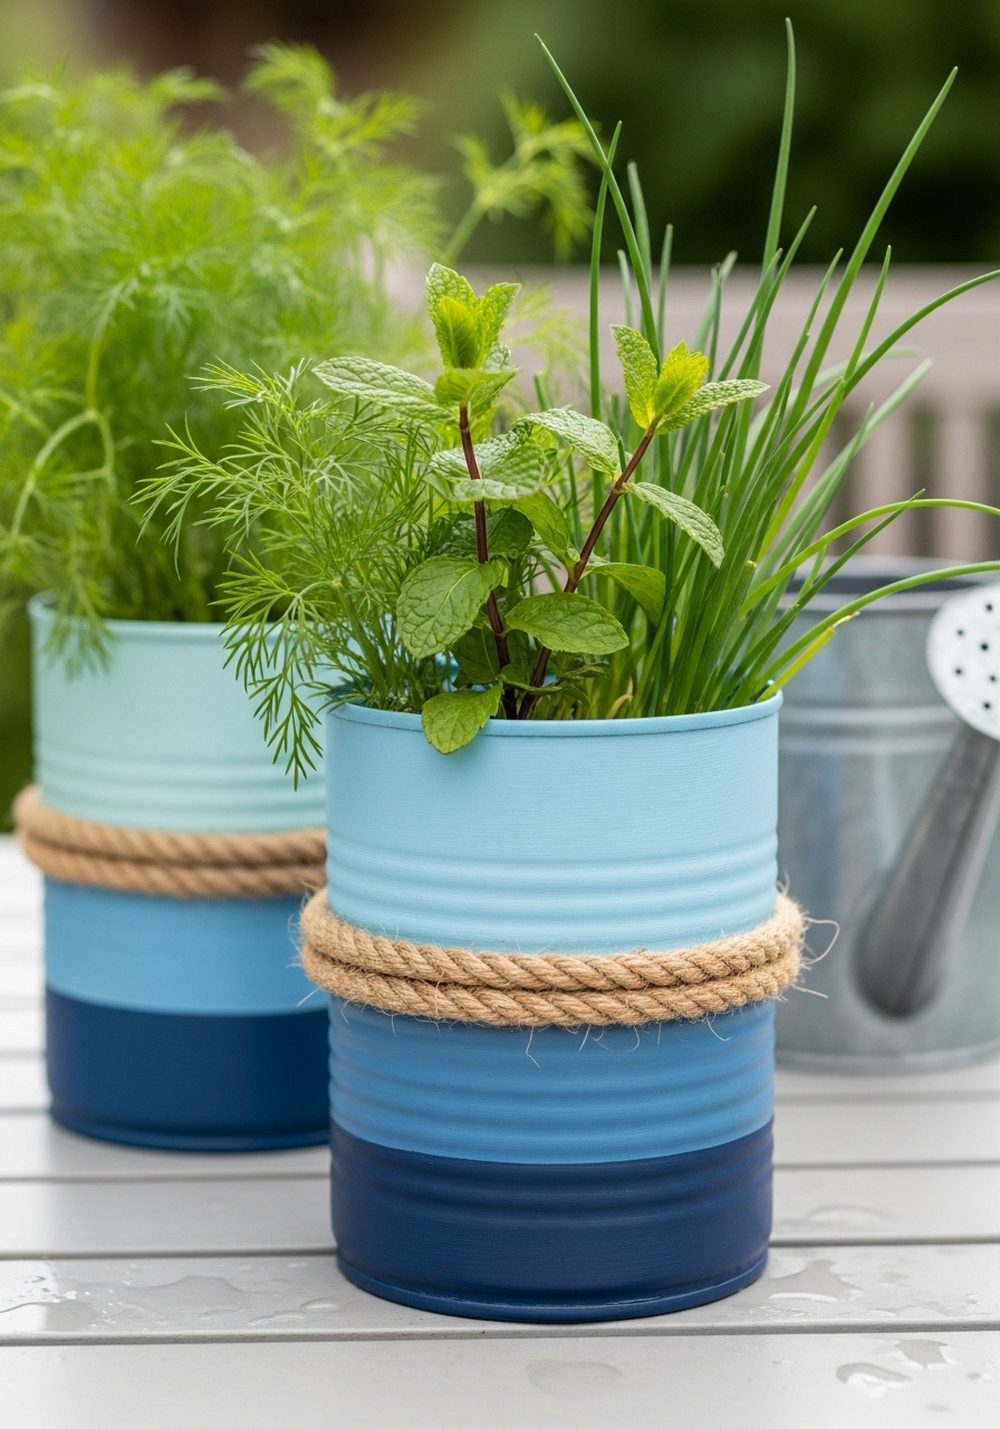
Layered blues give a breezy, coastal feel, and a rope band adds texture without much effort. Paint the cans in a blue palette (even slightly mismatched tones look good), then wrap rope around the middle with strong glue. This looks especially charming on an outdoor table or balcony shelf, where the rope and paint catch the light. Herbs with fine textures—like dill and chives—fit the airy look.
- Best For: Balconies, patios, and outdoor dining corners.
- Budget Tip: Use twine instead of rope, or wrap only one “accent” can.
- Styling Idea: Pair with white pots and light wood for a fresh, seaside mood.
- Practical Note: Keep rope above the waterline so it doesn’t stay damp.
5. Cottage Floral Decoupage Tin Can Trio
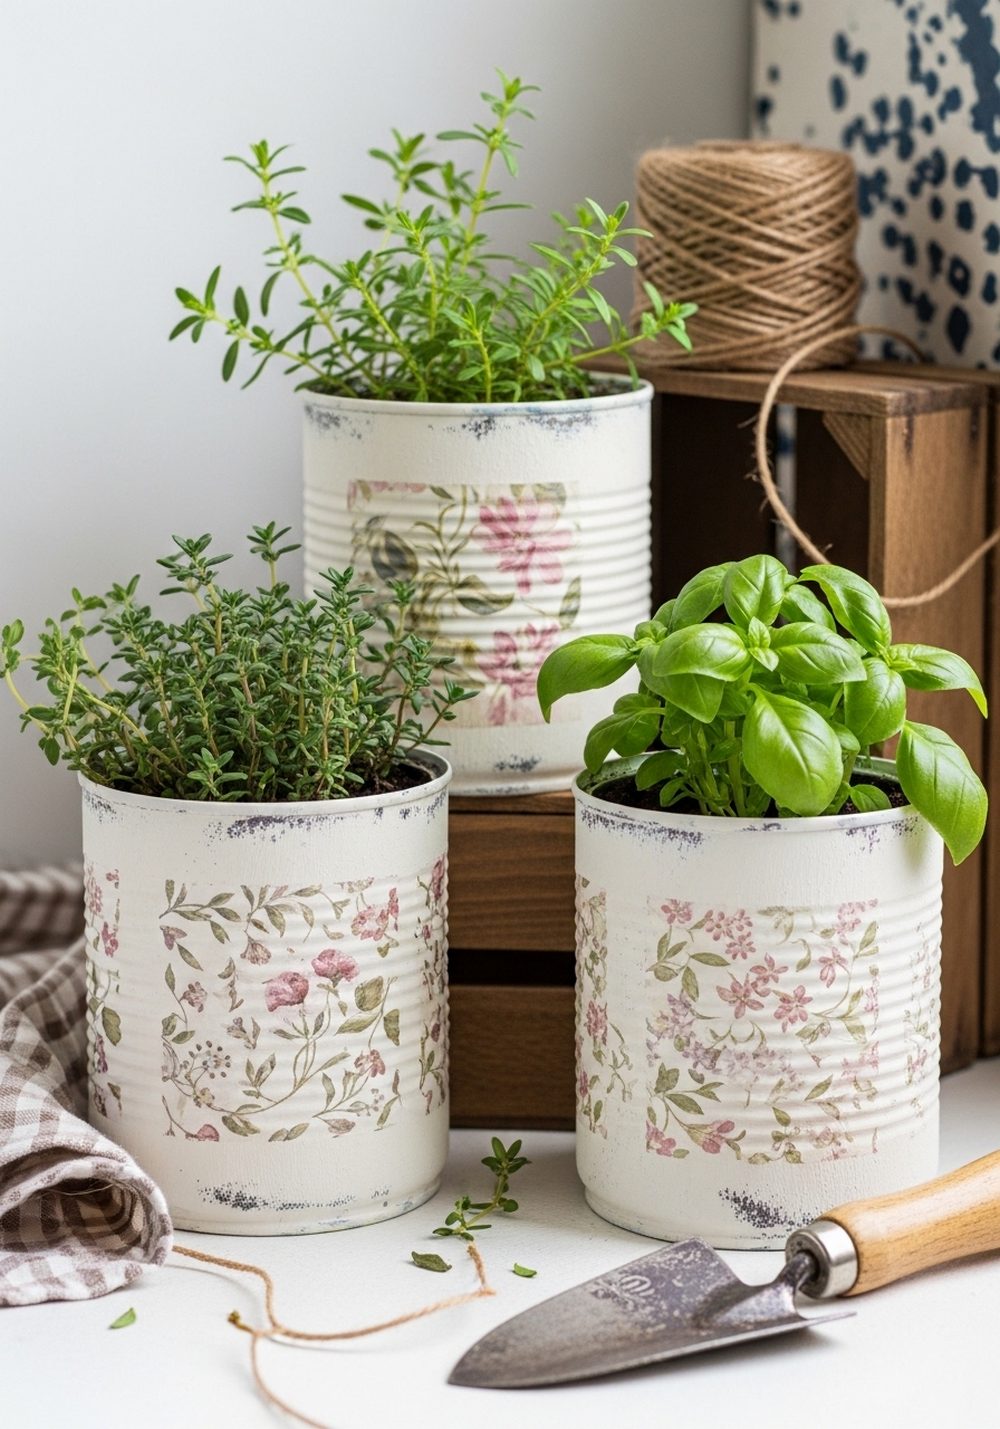
A cream base with soft florals turns plain cans into a sweet cottage-style display. Paint the cans, let them dry, then apply floral decoupage pieces and seal thoroughly for a wipe-clean finish. Keep the arrangement simple—three cans in a row on a small crate or tray—so the patterns feel charming rather than busy. It’s a lovely way to make a herb corner feel like a styled little “room” outdoors.
- Best For: Porches, cottage gardens, or a cozy window nook.
- Budget Tip: Use leftover wrapping paper or napkins for decoupage.
- Styling Idea: Add warm neutrals, vintage tools, and soft greens for a romantic mood.
- Care & Maintenance: Wipe spills quickly and reseal if the surface dulls.
6. Minimal White Cans With Copper Drip Rim
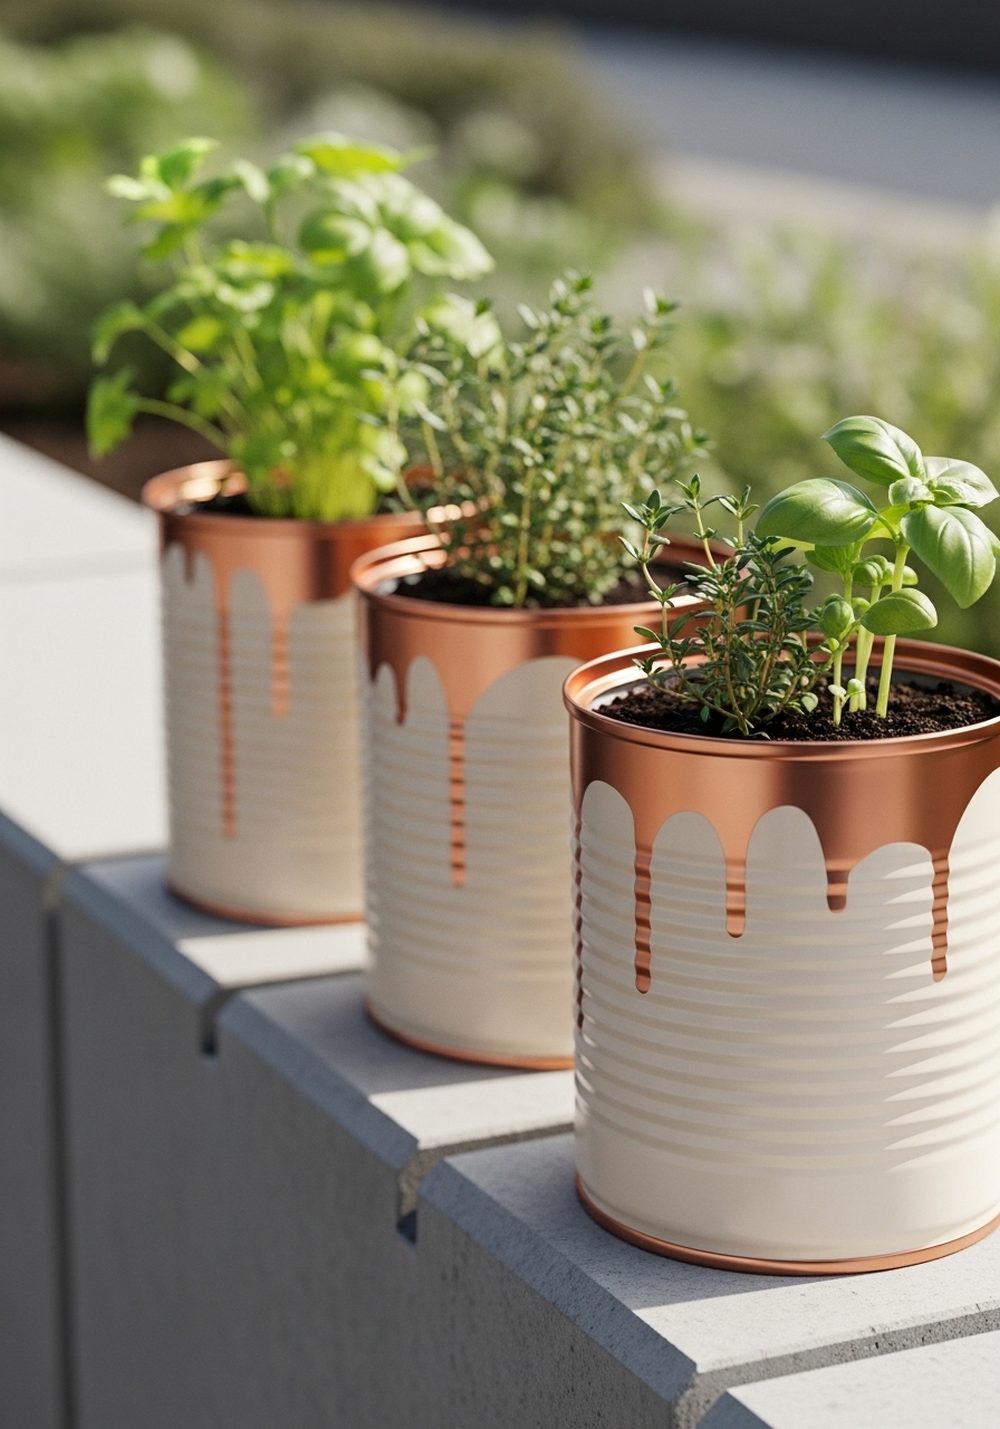
This design feels sleek but still handmade: matte white with a metallic drip near the rim. Paint the can white, then add a copper edge with a small brush for a clean “dipped” effect. The look is especially striking against deep green herbs and dark soil. Keep the setup simple—matching trays, neat spacing, and minimal extras—so the copper detail stays the star.
- Best For: Modern patios, clean kitchen counters, or minimalist balconies.
- Budget Tip: Do copper on just one feature can for a designer touch.
- Styling Idea: Pair with concrete, black metal, and crisp white for a modern mood.
- Practical Note: Use a tray that won’t stain if water runs under the cans.
7. Rainbow Pastel Seedling Line-Up On A Windowsill
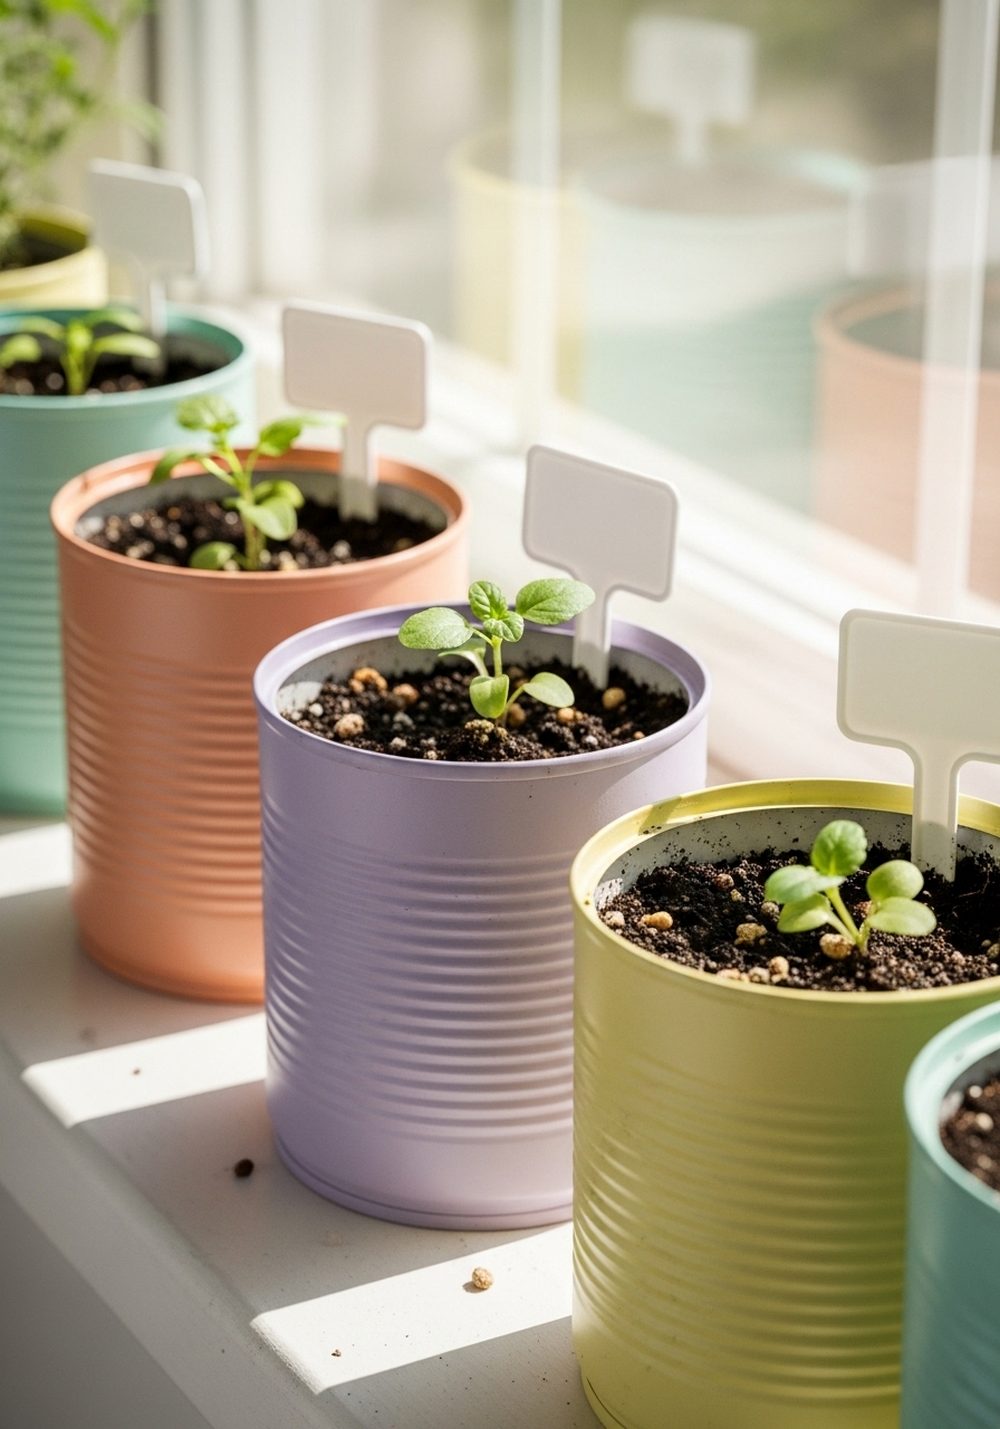
Pastel-painted cans make seedlings feel cheerful and “collected,” especially when you line them up in a row. Choose soft colors, paint the cans, and add drainage holes so young herbs don’t sit in water. A single long tray underneath keeps watering simple and protects your windowsill. This look is playful but still tidy, and it works beautifully in small homes where every green spot counts.
- Best For: Apartments, rentals, and bright windowsills.
- Budget Tip: Paint only the top half of each can to stretch your supplies.
- Styling Idea: Keep pastels muted for a calm, airy mood instead of neon.
- Care & Maintenance: Water lightly and often; seedlings hate soggy soil.
8. Rustic Chalkboard-Style Paint Without Writing
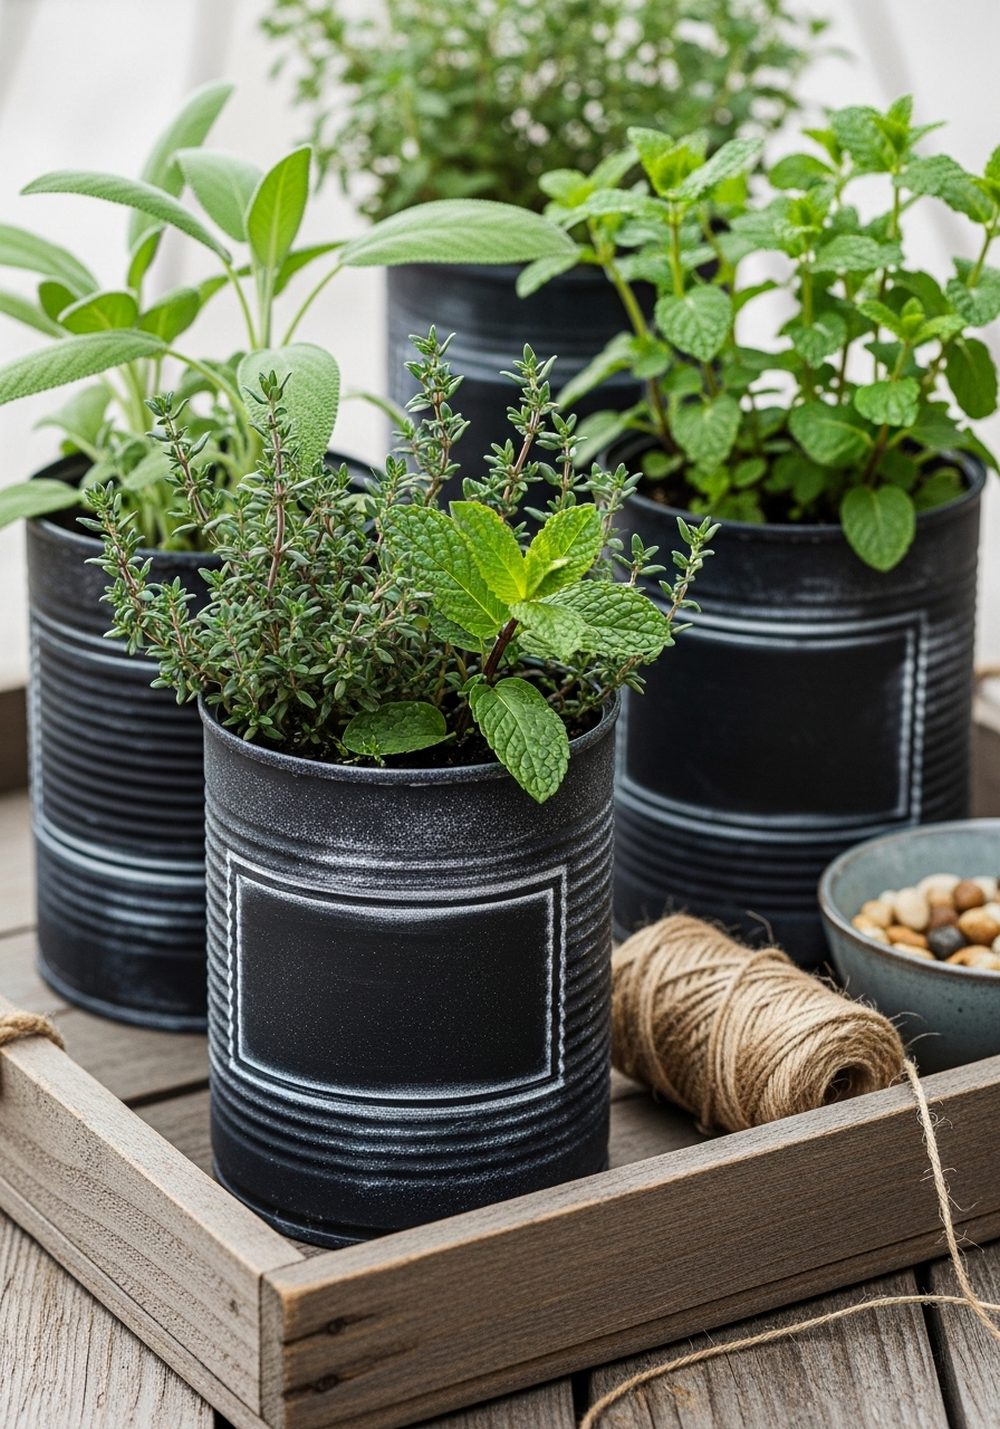
A charcoal chalkboard-style finish feels rustic and practical, and it pairs well with almost any herb. Use a matte, textured paint to get that soft “chalky” look, then seal it so it doesn’t rub off on hands or shelves. This style looks best on reclaimed wood trays, potting benches, or garden shelves where you want a cozy, hardworking vibe.
- Best For: Potting benches, shaded porches, and rustic garden corners.
- Budget Tip: One paint color covers a whole set and hides imperfections easily.
- Styling Idea: Add wood, twine, and galvanized metal for a farmhouse mood.
- Practical Note: Skip writing if you want the display to stay clean and timeless.
9. Hanging Herb Cans On A Balcony Railing
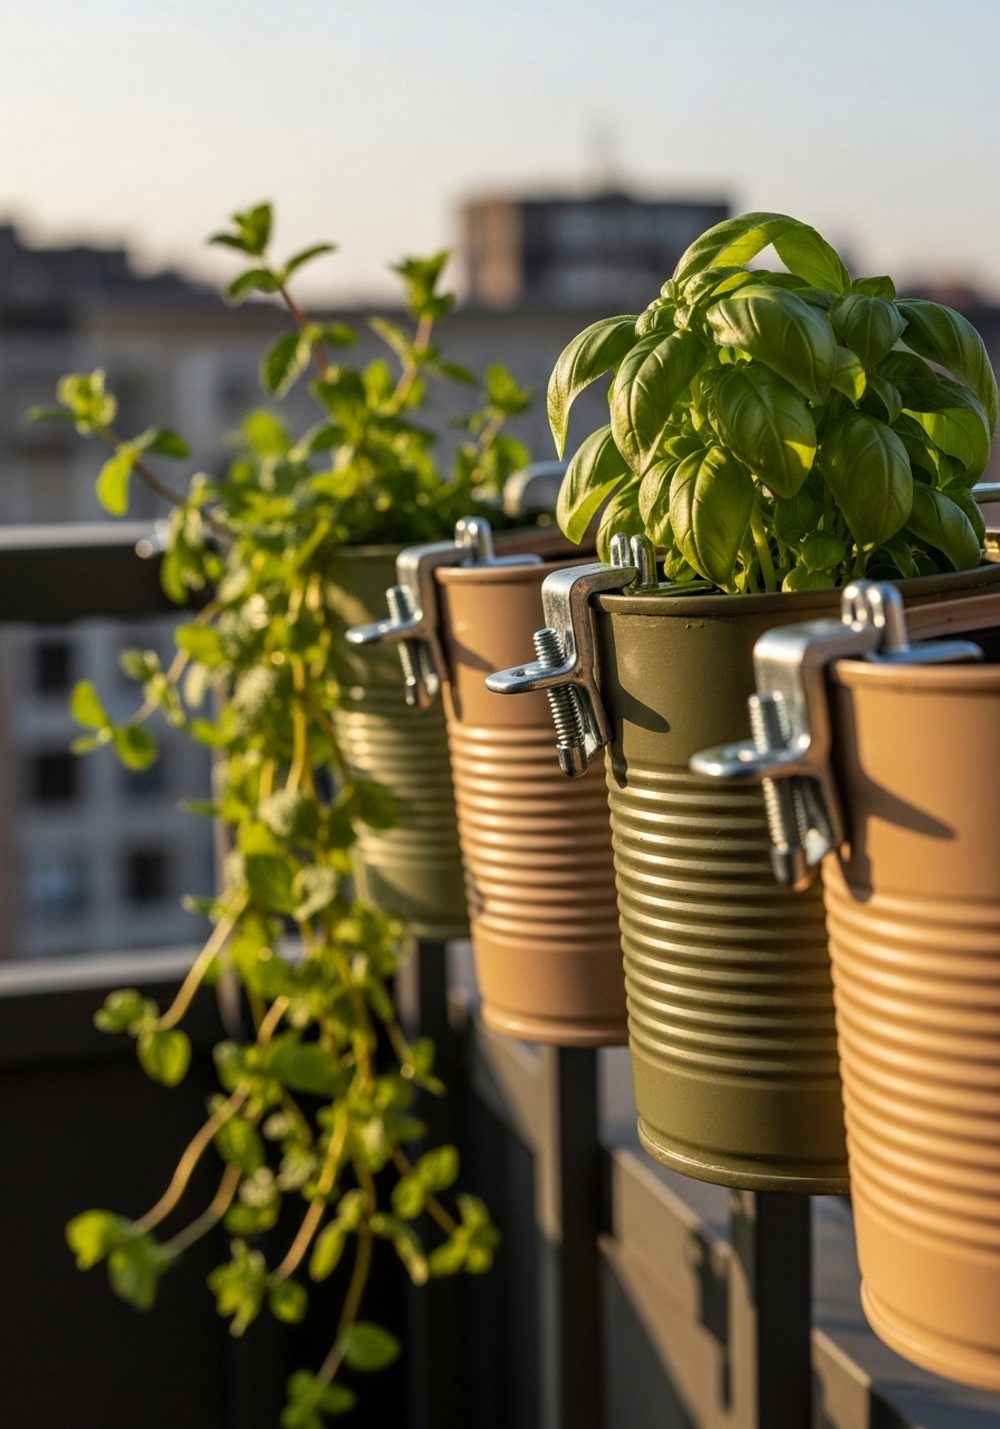
If floor space is tight, hanging tin cans on a balcony rail is a smart, pretty solution. Paint the cans in earthy tones so they blend with greenery, then attach them with sturdy clamps or brackets (no drilling needed in many cases). Choose compact herbs like basil and thyme, and keep watering controlled so you don’t drip onto neighbors. The result feels lush without cluttering the balcony.
- Best For: Small balconies and tiny outdoor ledges.
- Budget Tip: Start with two cans and expand the row as you find more light.
- Styling Idea: Use a natural palette (olive, clay, sand) for a calm, organic mood.
- Care & Maintenance: Check clamps monthly and re-tighten if needed.
10. Polka Dot Party Cans For A Family Herb Corner
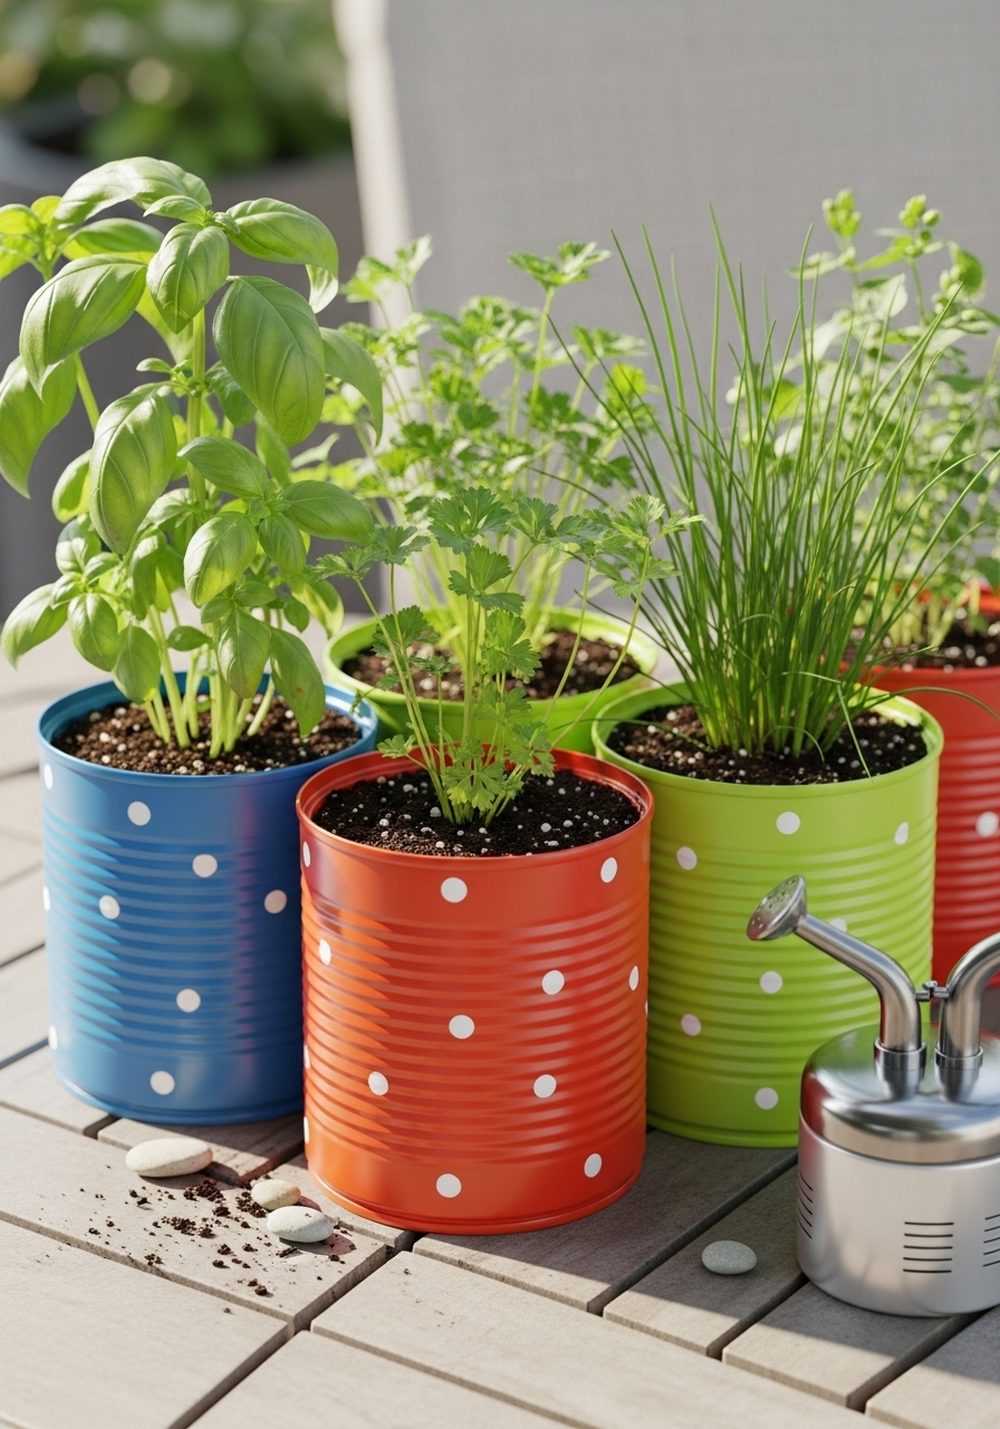
Polka dots make an herb corner feel fun and welcoming, especially if kids help water or snip herbs. Paint bright base colors, add small dots with the end of a pencil or a cotton swab, then seal for durability. Set the cans on a sturdy table or low shelf with an easy mister and a simple tray. Choose forgiving herbs like mint, chives, and parsley that bounce back quickly.
- Best For: Family patios, beginner gardeners, and cheerful outdoor corners.
- Budget Tip: Make dots with leftover paint using household tools—no special brushes needed.
- Styling Idea: Keep the dots small and consistent for a playful but tidy mood.
- Practical Note: Place on a stable surface so the lightweight cans don’t tip.
Conclusion
Painted tin can planters are a small project with a big payoff: they add color, style, and personality while giving your herbs a neat little home. Pick a look that matches your space—modern, rustic, cottage, or playful—then start with just a few cans and build your collection as you go. Once your herbs take off, the whole corner will feel fresher, warmer, and more lived-in.
FAQs
1) How do I make sure tin can planters don’t rust?
Clean and dry the cans thoroughly, use a primer before painting, and finish with an outdoor-grade clear sealer. Keep them from sitting in pooled water by adding drainage holes and using a tray that you empty regularly.
2) What herbs grow best in small tin can planters?
Choose compact or cut-and-come-again herbs like thyme, chives, oregano, mint (best alone), and parsley. Basil can work too, but it may need more frequent watering and occasional repotting as it grows.
3) Can I use painted tin can planters indoors without making a mess?
Yes—just use a watertight tray or individual saucers and water lightly. Bottom watering (adding a little water to the tray and letting soil soak it up) helps prevent spills and keeps leaves drier.
4) What’s the easiest budget-friendly way to decorate the cans?
A single solid color set looks intentional and costs very little, especially if you use leftover paint. Add simple details like stripes with tape or a twine wrap to make them feel custom without extra supplies.
5) Are tin can planters okay for renters or non-permanent setups?
They’re ideal. Use shelves, trays, freestanding racks, or balcony rail clamps instead of drilling holes in walls. You can move the whole herb garden in minutes if you need to change light or rearrange.