10 Broken Pot Fairy Garden Spill Planter Ideas For A Magical Little Corner
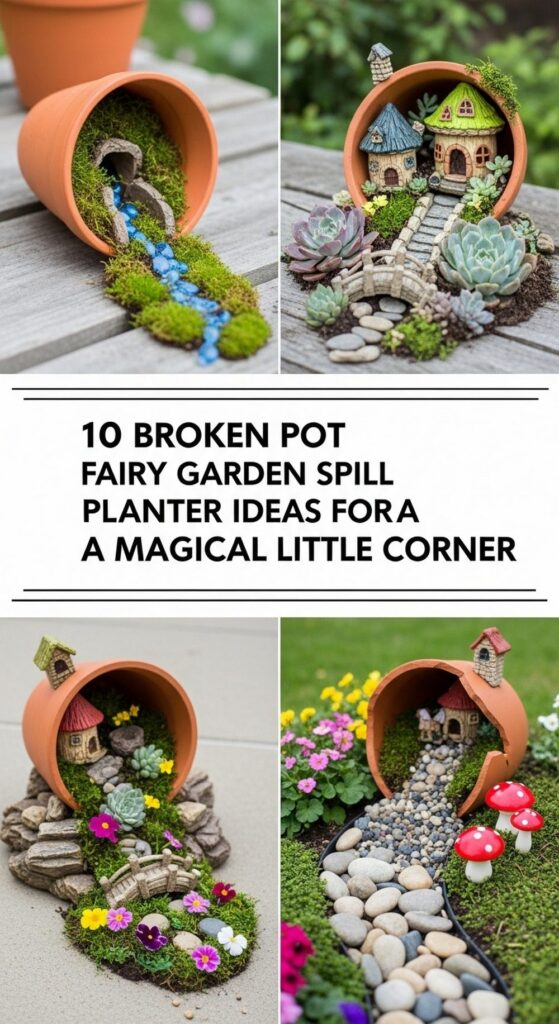
If you’ve ever cracked a terracotta pot and felt a bit sad throwing it away, this post is for you. Broken pots are actually perfect for whimsical fairy gardens and “spill” planters where soil, stones, or plants look like they’re pouring out in a tiny storybook scene.
In this guide, you’ll find ten charming ideas that work in small gardens, balconies, and even on a front step. Each idea is budget-friendly, uses easy-to-find materials, and focuses on creating a cozy, magical look. You’ll see how to turn broken clay, simple plants, and a few miniature accents into a playful fairy world that makes your outdoor space feel personal and welcoming.
Quick List
- Classic Cascading Fairy House Spill Pot
- Mossy Pebble “River” Spill Planter
- Broken Pot Fairy Staircase Garden
- Glow-In-The-Dark Moonlight Spill Pot
- Succulent Waterfall Fairy Village
- Secret Doorway Broken Pot Fairy Garden
- Double-Pot Split-Level Fairy Spill Planter
- Mini Herb Meadow Fairy Spill Pot
- Beach Cove Fairy Spill Planter
- Seasonal Swap-Out Fairy Spill Pot
1. Classic Cascading Fairy House Spill Pot
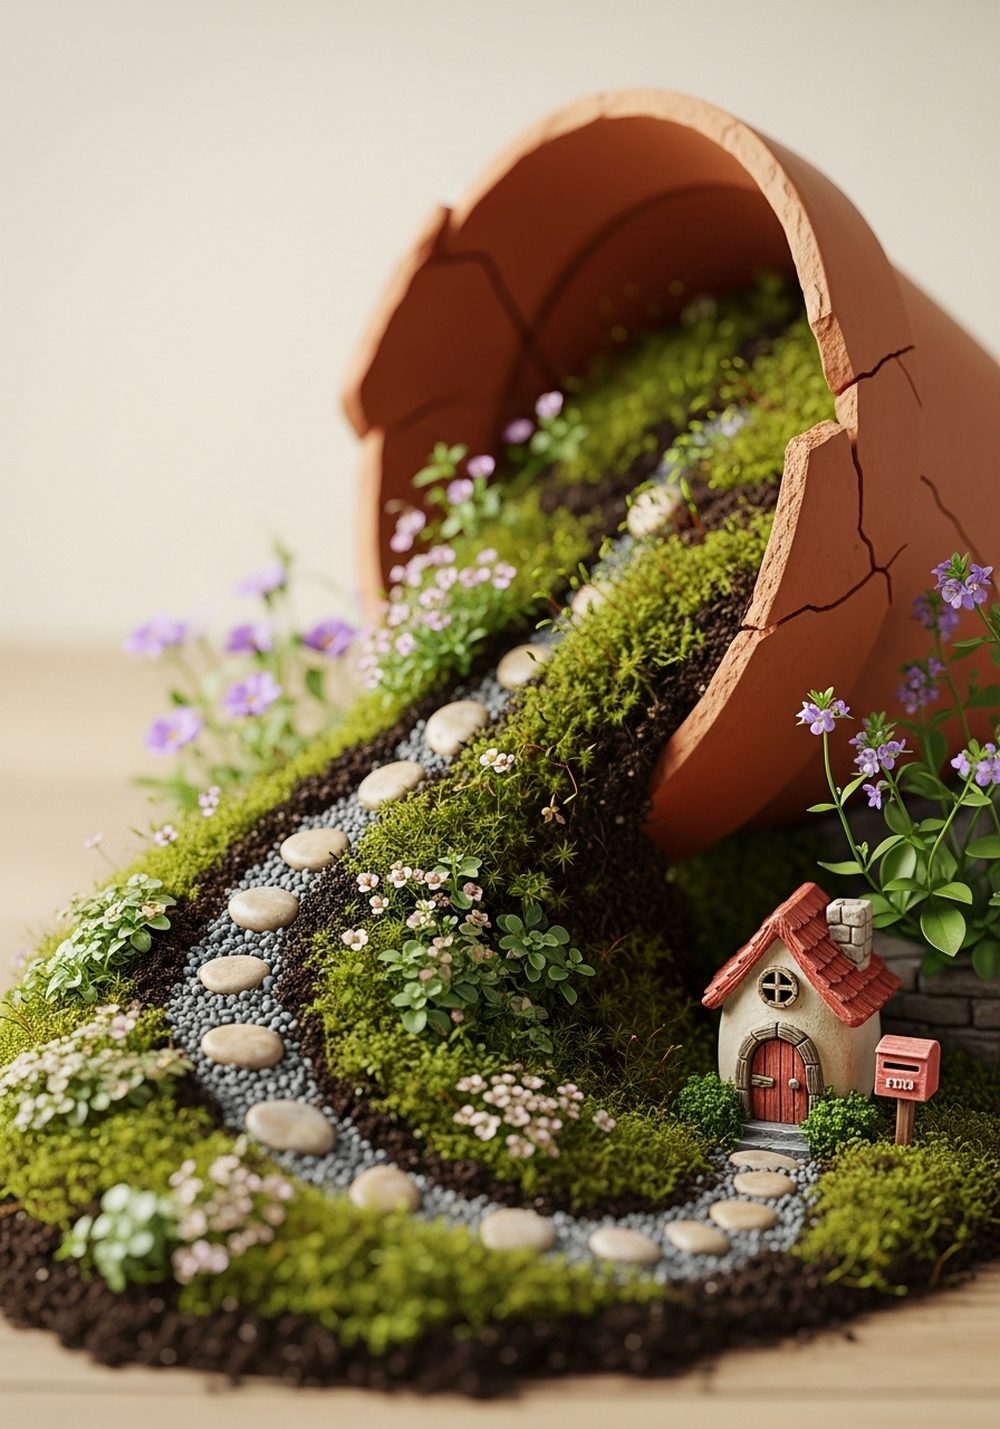
Tilt a broken terracotta pot on its side so the opening faces downward, then let the soil “spill” out in a soft curve onto a shallow tray or bed. Plant low-growing groundcovers and tiny flowers along the spill to form a miniature path leading to a fairy house at the base. Add pebbles for stepping stones and maybe a tiny mailbox or fence. The cracked edges look intentional, framing a little hillside cottage scene that feels straight out of a storybook.
- Best For: Small corners on patios, balconies, or beside a larger planter.
- Budget Tip: Use a broken pot you already have and DIY a fairy house from painted rocks or a small cardboard box sealed with outdoor varnish.
- Styling Idea: Stick to soft pastels and white flowers for a dreamy, cottage-garden mood.
- Practical Note: Place the pot on a tray or saucer to catch soil and keep things tidy.
2. Mossy Pebble “River” Spill Planter
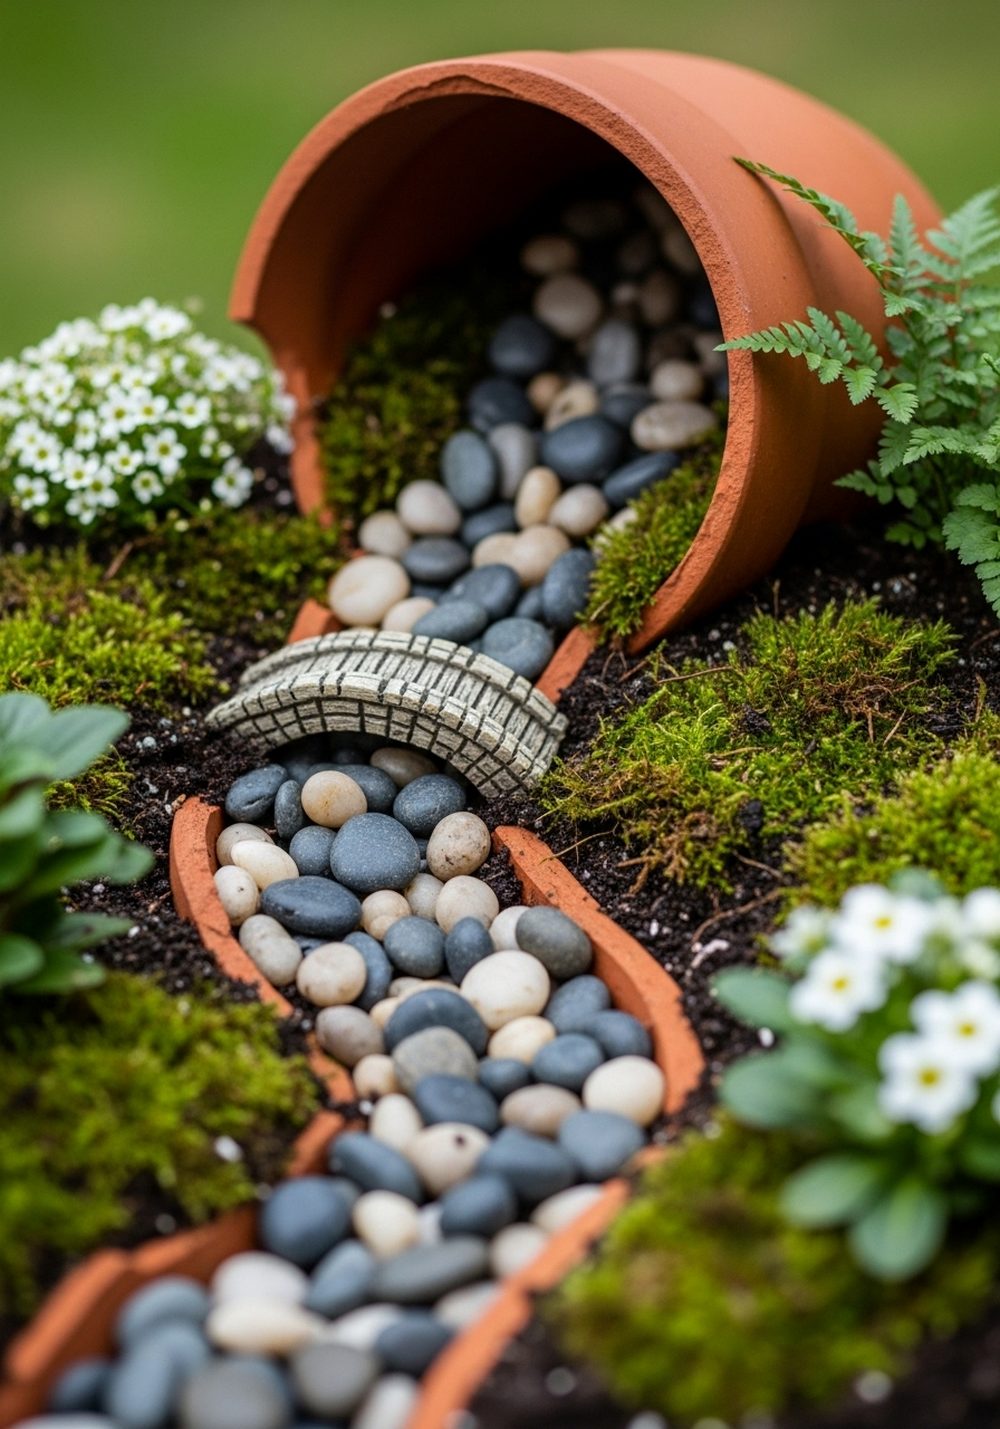
In this design, the broken pot pours out a “river” of pebbles instead of water. Angle the pot forward and let a thick line of small stones tumble from the opening, curving through the soil like a stream. Tuck moss, mini ferns, and low flowers along the edges so the pebbles look embedded in a lush, shady bank. A tiny fairy bridge or stepping stones over the river instantly adds life to the scene.
- Best For: Shaded spots where moss and ferns can stay moist and green.
- Budget Tip: Collect smooth stones from your garden or local walks and mix them with a small bag of craft pebbles.
- Styling Idea: Use grey, white, and blue-toned pebbles to mimic a cool woodland stream.
- Care & Maintenance: Mist moss regularly and avoid letting the river dry out completely.
3. Broken Pot Fairy Staircase Garden
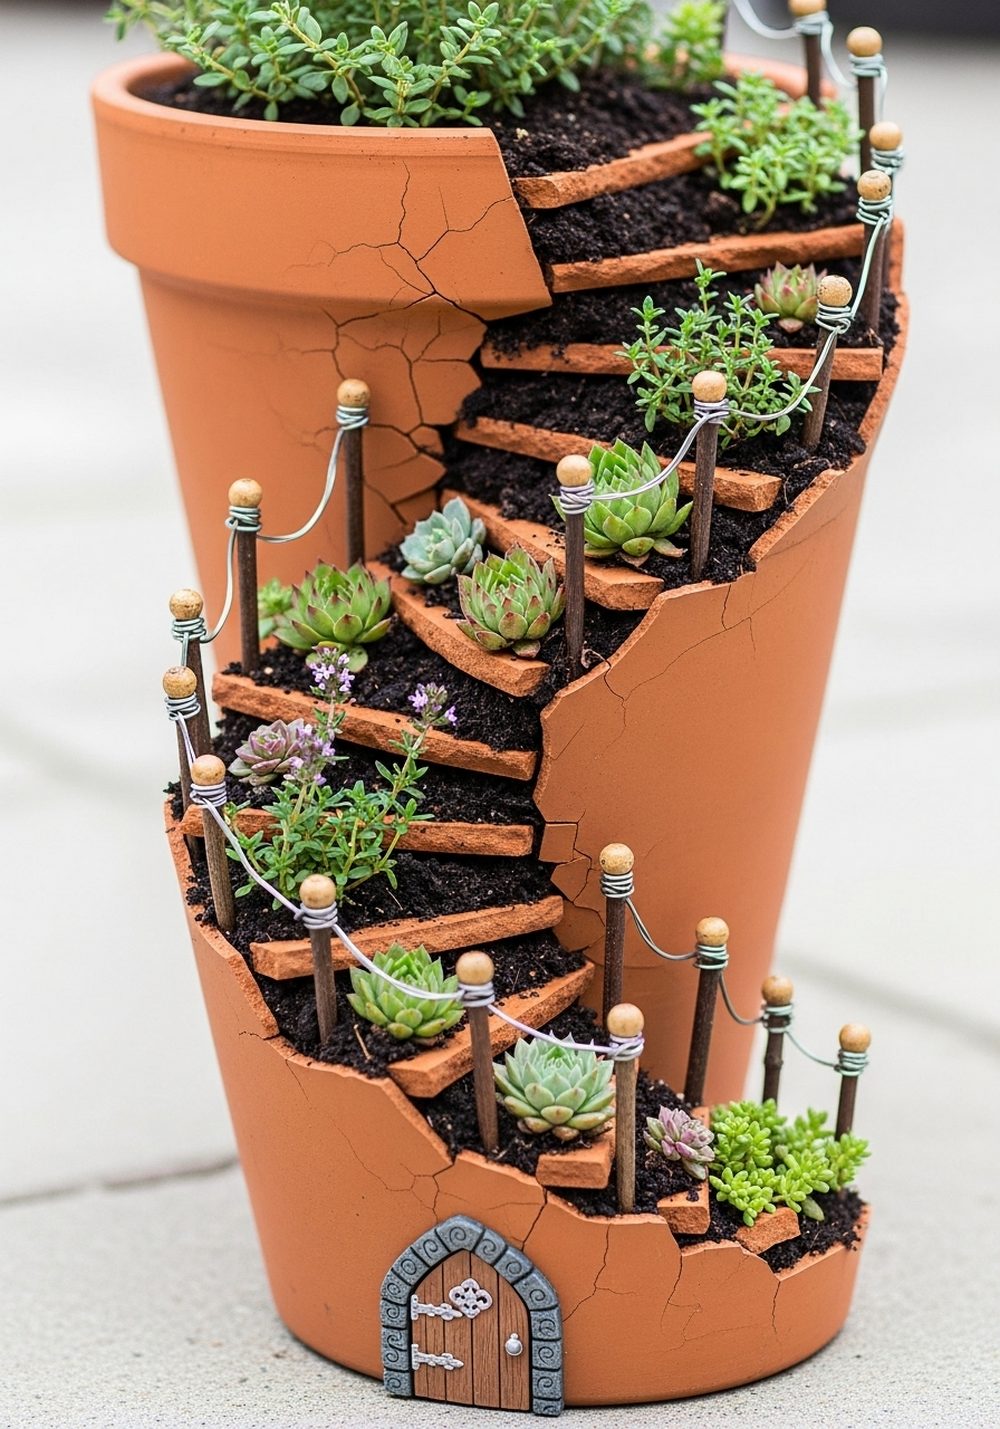
Here, the crack in the pot becomes a stairway. Stack broken shards inside the pot at different heights, filling behind them with soil to create tiers. Each shard forms a tiny “step” planted with small succulents, thyme, or low annuals. Let the crack run down the front so you can see the staircase, then end it with a fairy door at the base and a few twig railings. It turns one damaged pot into a vertical fairy hillside.
- Best For: Gardeners who want height and layers in a compact footprint.
- Budget Tip: Reuse every broken piece from your pot as steps and edging instead of buying decorative stones.
- Styling Idea: Choose plants in soft blues, silvery greens, and purples for a cool, enchanted look.
- Practical Note: Pack soil firmly behind each shard so the staircase stays stable when watered.
4. Glow-In-The-Dark Moonlight Spill Pot
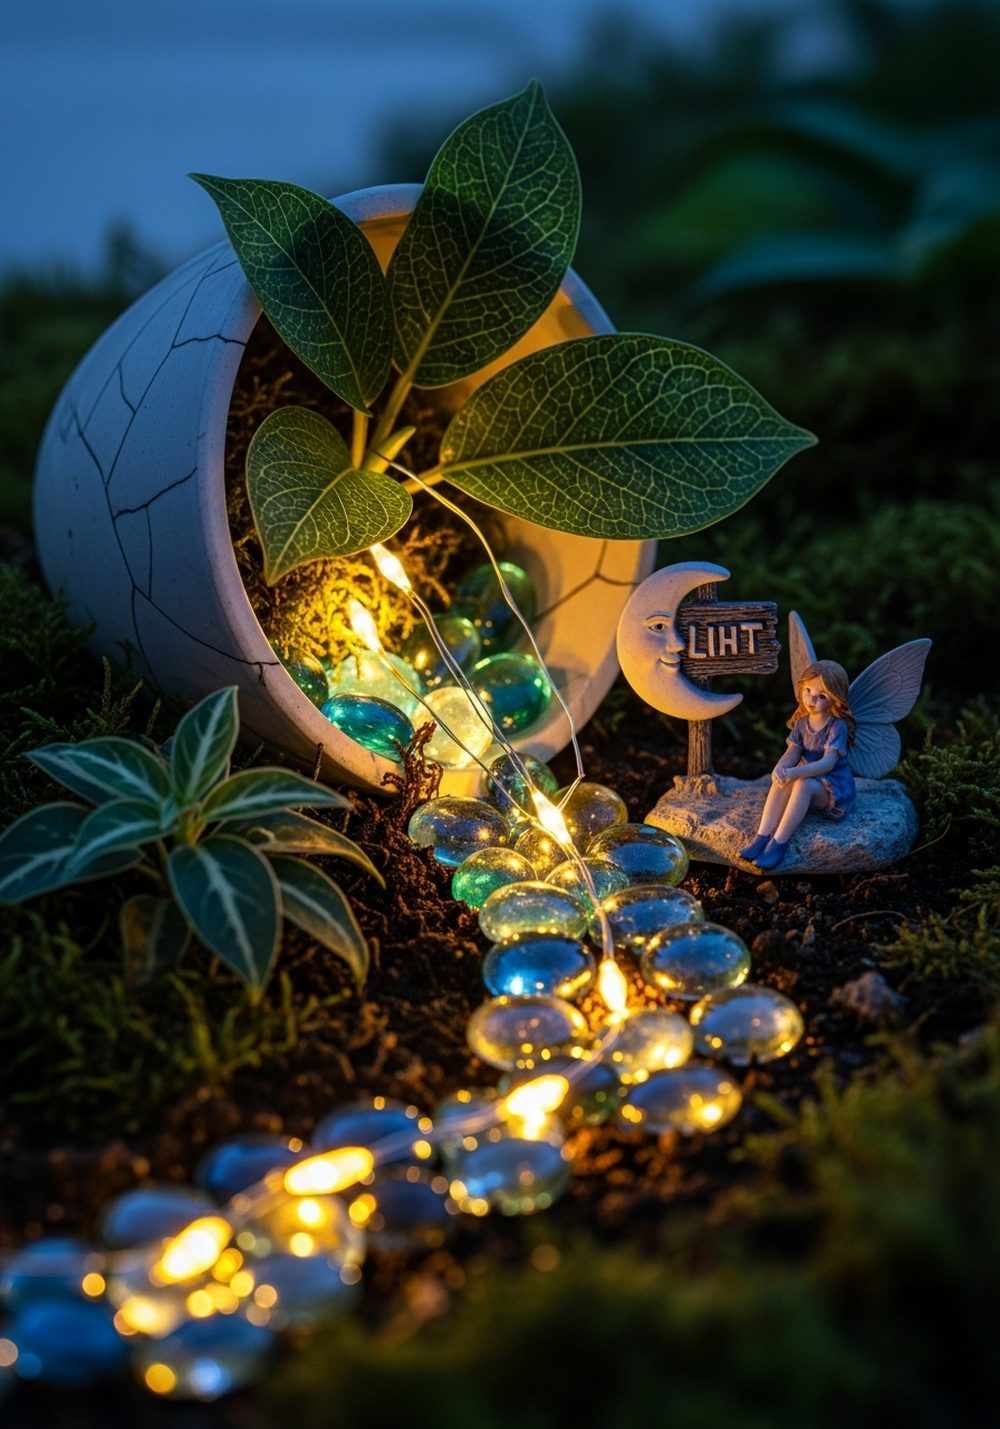
For a magical night-time effect, fill a broken pot with glowing elements. Tilt it and let glass pebbles, glow-in-the-dark stones, or a string of solar fairy lights spill out onto dark soil. Plant small, deep-green plants and a few silvery or white flowers around the “light stream” so it really pops at dusk. Add a tiny moon sign or sitting fairy figurine beside the spill for extra charm. In daylight it’s pretty; at night it comes alive.
- Best For: Path edges, doorstep corners, or any spot you enjoy after sunset.
- Budget Tip: Start with one small string of solar lights and add more glowing pebbles later.
- Styling Idea: Stick with white and pale blue accents to keep the moonlight theme.
- Practical Note: Make sure any solar panel is placed where it gets several hours of direct sun.
5. Succulent Waterfall Fairy Village
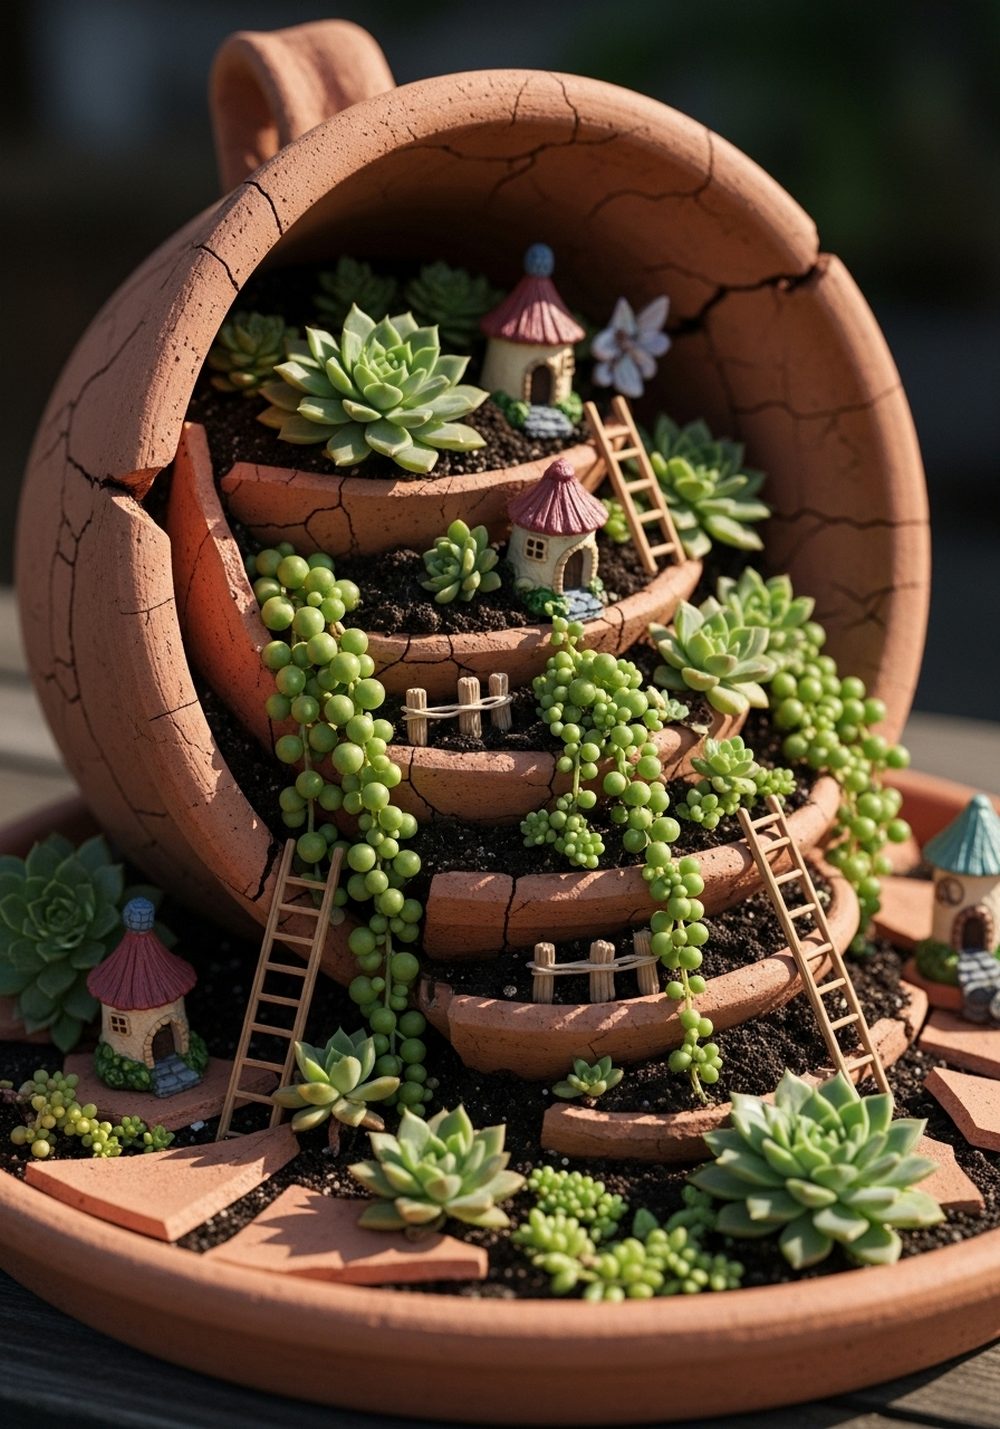
Turn a large cracked pot on its side and build up soil inside to create terraces that spill out like a hillside. Plant trailing succulents at the mouth so they drape down, with rosettes and small varieties dotted along the “waterfall.” At different levels, tuck in miniature fairy houses, ladders, and fences so it feels like a little village clinging to a cliff. The contrast of chunky clay, smooth succulents, and tiny buildings is incredibly satisfying.
- Best For: Sunny spots where succulents will thrive and stay compact.
- Budget Tip: Propagate succulents from cuttings instead of buying full plants.
- Styling Idea: Use natural wood miniatures and neutral tones so the varied greens of the succulents stand out.
- Care & Maintenance: Water lightly and infrequently; make sure drainage holes are clear.
6. Secret Doorway Broken Pot Fairy Garden
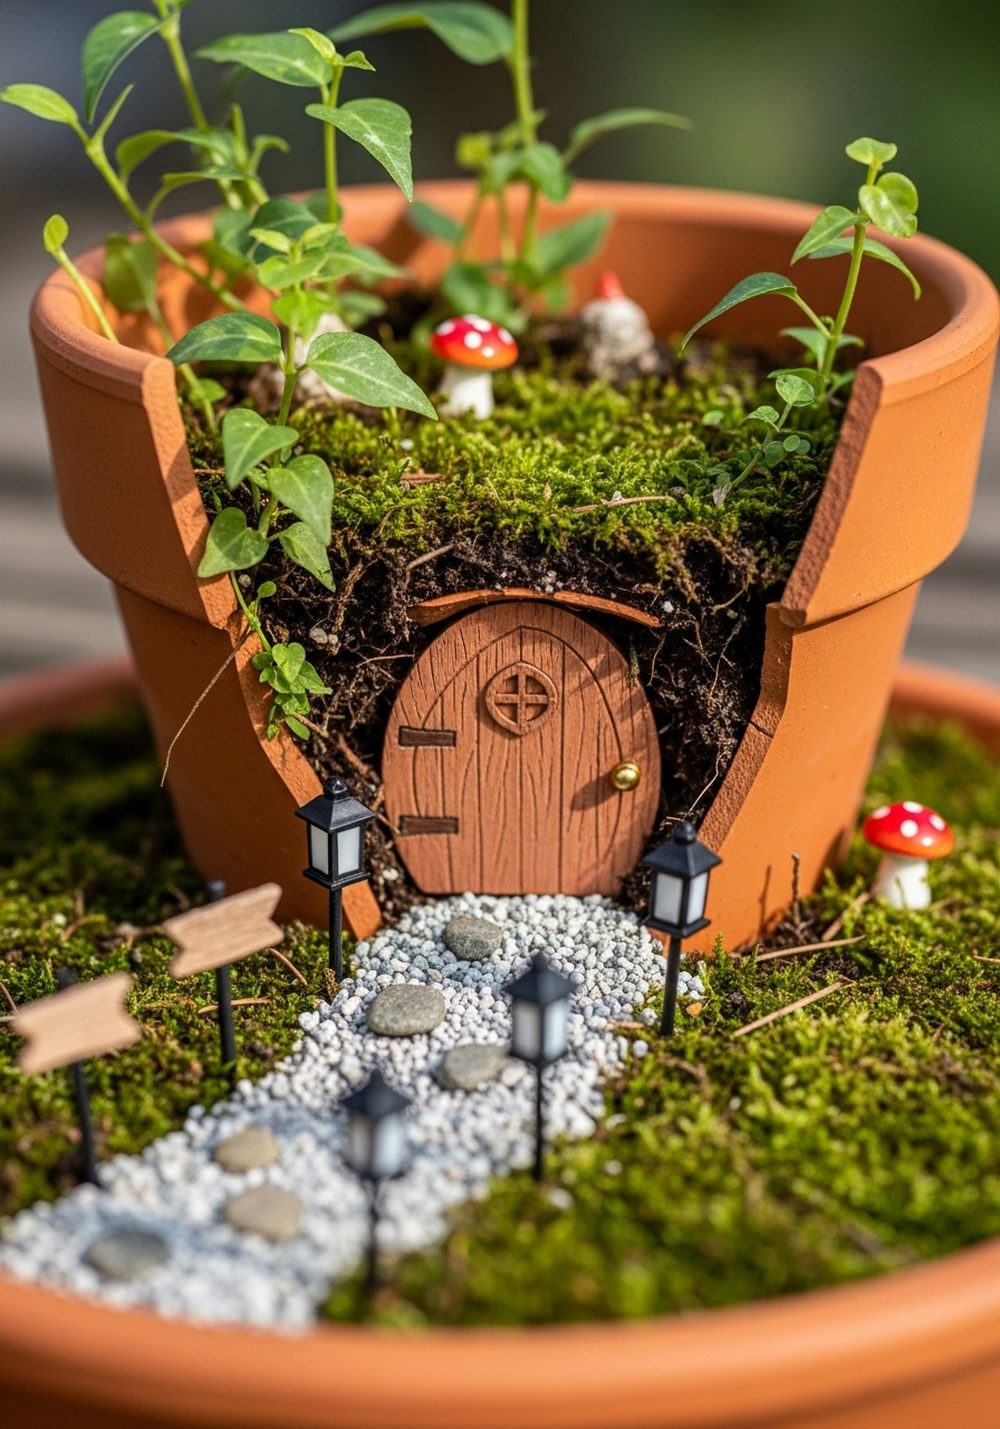
Use the main crack or broken front of a pot as a frame for a little hidden door. Nestle a miniature wooden door into the soil just inside the opening, then plant moss, mini climbers, and a few small flowers around it so it feels tucked away. Let a gravel or bark chip path “spill” out from the doorway onto a tray below, adding tiny lanterns, toadstools, or signs along the way. It looks like a fairy home hidden in a hillside.
- Best For: Story-loving kids and anyone who likes little surprises in the garden.
- Budget Tip: Make a door from craft sticks and a button for the handle instead of buying a ready-made piece.
- Styling Idea: Go for rich greens and pops of red or yellow to highlight the doorway.
- Practical Note: Keep taller plants behind the door so it stays visible as everything grows.
7. Double-Pot Split-Level Fairy Spill Planter
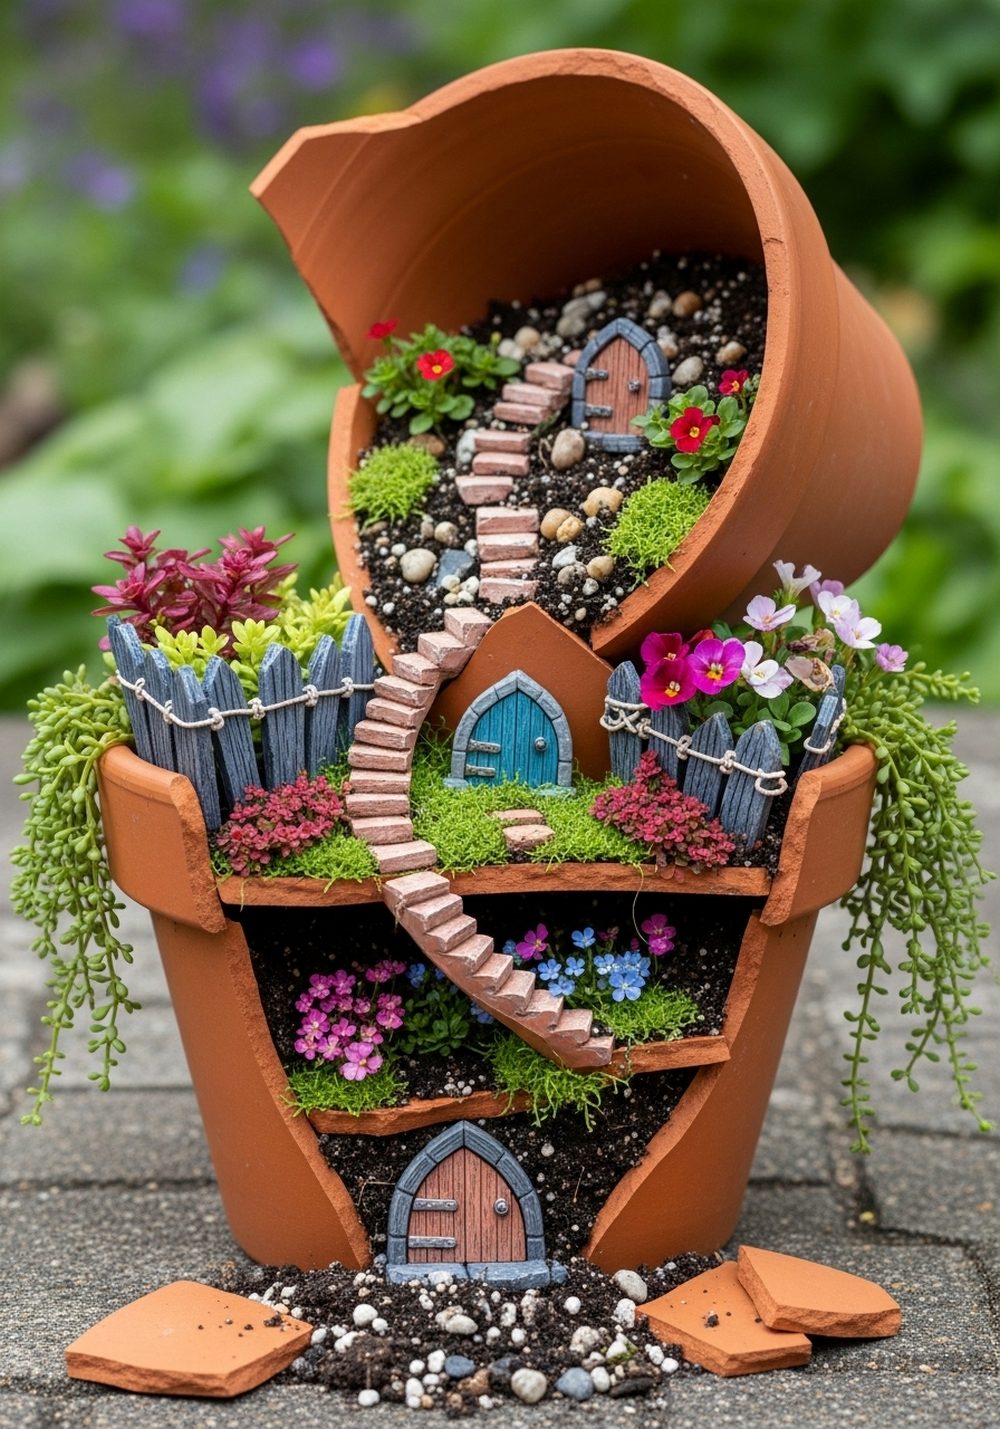
Stack two broken pots at slight angles, one above the other, to create a split-level world. The top pot spills soil, stones, or pebbles into the lower one, forming a slope between levels. Plant different but coordinating mini plants in each pot, then join them with a tiny bridge, ladder, or stairs for the fairies. The broken rims become natural ledges for railings, fences, or tiny benches, making the whole piece look like a miniature hillside village.
- Best For: A feature piece on a table, plant stand, or prominent garden corner.
- Budget Tip: Use mismatched old pots; paint them in the same color family to tie them together.
- Styling Idea: Try a “mountain village” theme with evergreens and small gravel paths.
- Practical Note: Ensure the stack is stable—use bricks, rocks, or a heavy tray underneath to prevent tipping.
8. Mini Herb Meadow Fairy Spill Pot
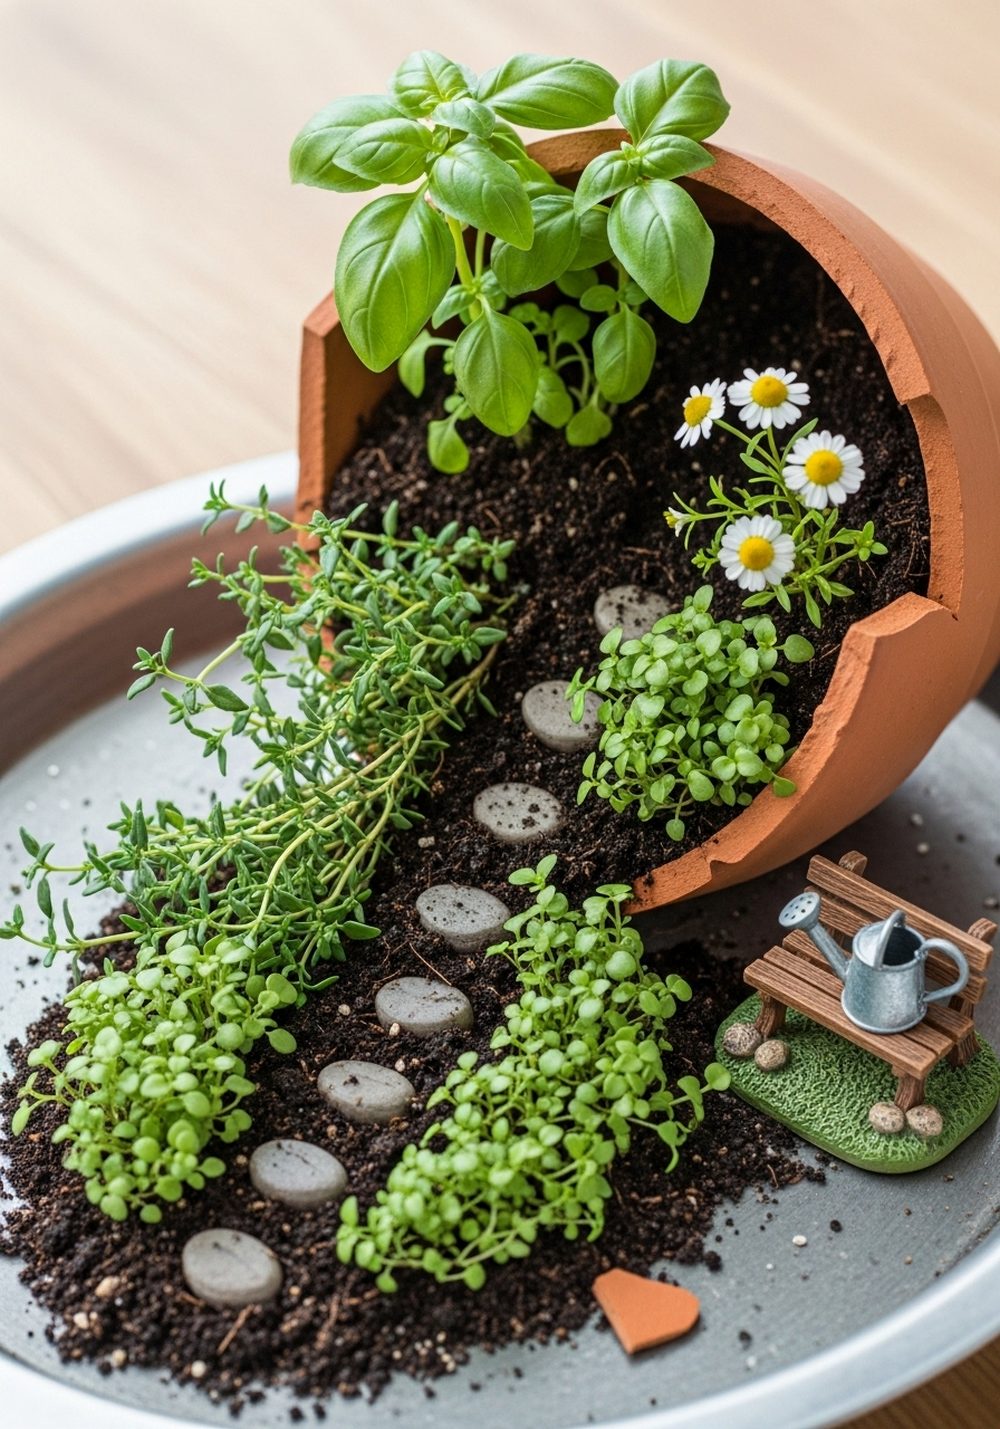
For something pretty and practical, let herbs spill from your broken pot. Angle the pot on its side over a shallow tray filled with soil. Plant low-growing herbs like thyme, tiny-leaf basil, and chamomile along the spill so they create a soft, fragrant meadow. Add a tiny bench, watering can, and path of flat stones for the fairies. It smells wonderful when brushed and fits beautifully on a balcony table or near a kitchen door.
- Best For: Cooks and tea lovers who want decor that’s also useful.
- Budget Tip: Start with small herb seedlings or shared cuttings from friends.
- Styling Idea: Use muted, natural-colored accessories so the lush green herbs stay the focus.
- Care & Maintenance: Trim herbs gently and regularly so they stay compact and don’t hide the fairy details.
9. Beach Cove Fairy Spill Planter

Create a tiny seaside escape by filling your broken pot with sand, shells, and succulents. Tilt the pot so pale sand and white pebbles spill out onto a tray, adding pieces of sea glass or blue stones as “water.” Plant small succulents behind the spill to act as dune grasses, and place a miniature fairy hut, deck chair, or boat near the shoreline. The mix of sand, shells, and green plants gives a calm, beachy feel.
- Best For: Sunny spots and anyone who loves coastal decor.
- Budget Tip: Collect shells and interesting stones on your travels instead of buying decor pieces.
- Styling Idea: Stick to whites, sandy beiges, and soft blues for a soothing coastal palette.
- Practical Note: Use a tray with raised sides so sand stays contained outdoors or on a balcony.
10. Seasonal Swap-Out Fairy Spill Pot
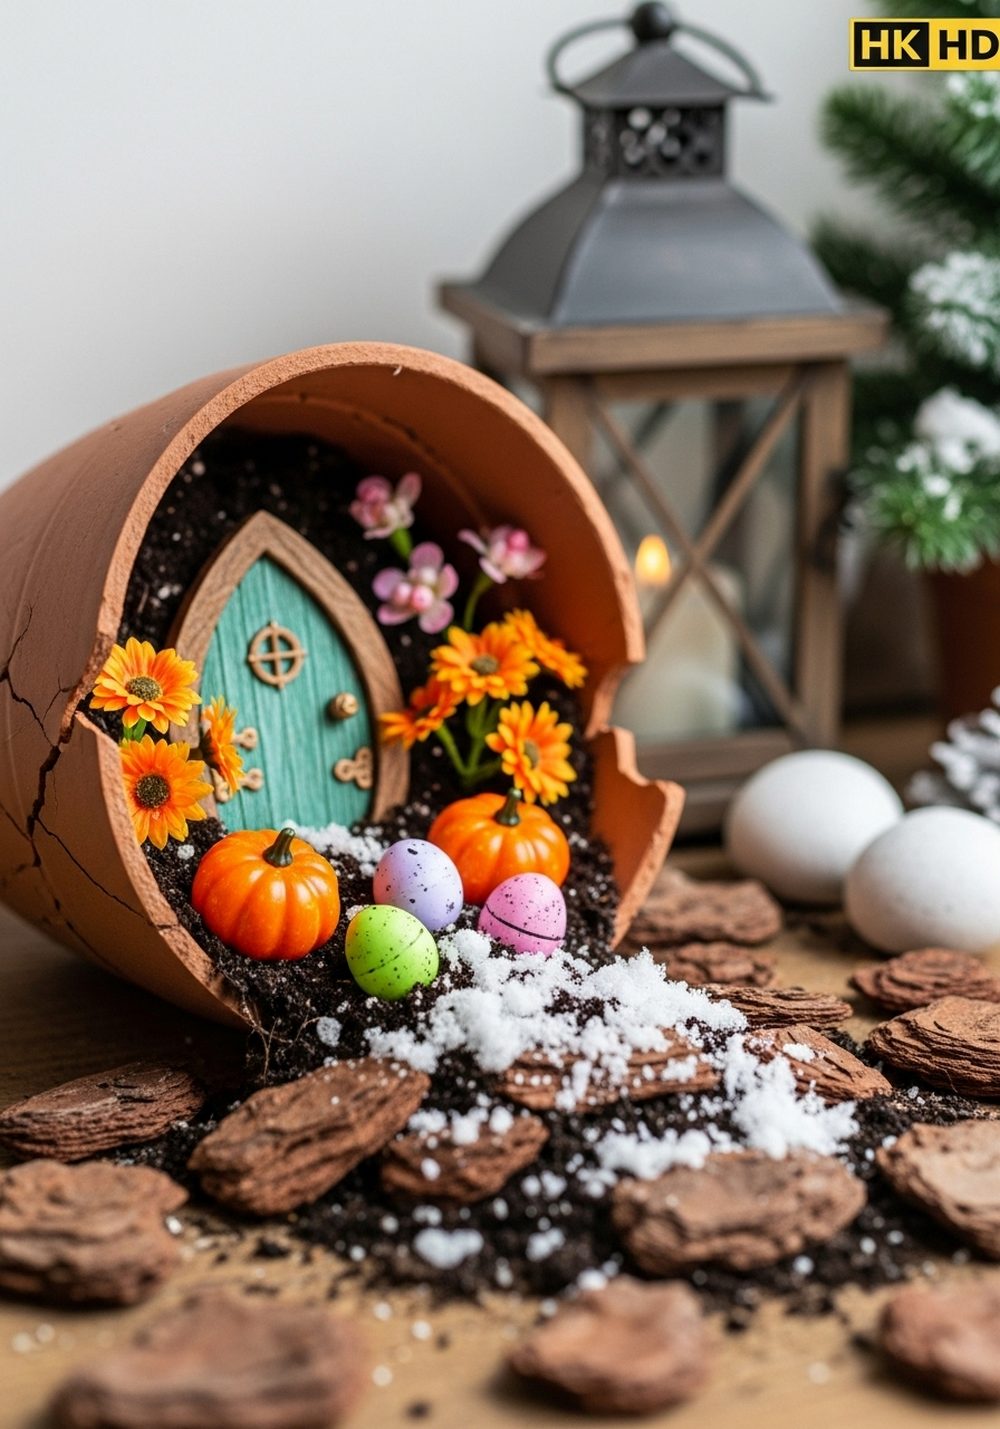
This idea uses one broken pot all year, with decor that changes by season. Angle the pot on its side with soil and bark chips spilling out. Plant a few evergreen or long-lasting plants around the edges, then swap the fairy accessories as seasons change: mini pumpkins and orange blooms in autumn, miniature presents and faux snow in winter, pastel flowers and eggs in spring, seashells and bright annuals in summer. One base, endless new looks.
- Best For: People who enjoy refreshing their decor but don’t want to redo the whole planter.
- Budget Tip: Keep a small box of seasonal miniatures and reuse them each year.
- Styling Idea: Choose neutral pot and plant colors so each seasonal accent really pops.
- Practical Note: Avoid delicate materials outdoors; pick weather-resistant or easily removable accessories.
Conclusion
Broken pots don’t have to be disappointments—they can become the most charming features in your garden. With a bit of soil, a few small plants, and some playful fairy accessories, each crack and spill turns into part of a story. Start with one simple spill planter and see how it changes the feel of your balcony, patio, or flower bed. Over time, you can build a whole network of tiny worlds that make your outdoor space feel magical and uniquely yours.
FAQs
1. How can I make a broken pot fairy garden on a small budget?
Begin with a pot you already own that’s cracked or chipped, or ask friends and neighbors for damaged pots they’re discarding. Use inexpensive groundcovers, herb cuttings, or small seedlings instead of full-sized plants. Most fairy accessories can be DIY’d from pebbles, sticks, bottle caps, and craft sticks. Add store-bought miniatures slowly over time rather than all at once.
2. Are broken pot spill planters safe for renters and balconies?
Yes, as long as you keep everything contained. Place your broken pot on a sturdy tray or saucer so soil, sand, or pebbles don’t fall onto floors or neighbors’ spaces. Choose lightweight pots and avoid stacking too high in windy areas. Because everything is portable, you can easily take your fairy garden with you if you move.
3. What plants work best in broken pot fairy gardens?
Compact, slow-growing plants are ideal. Try small succulents, creeping thyme, moss, mini ferns, low-growing annuals, or tiny herbs. These stay in scale with the fairy accessories and won’t quickly overwhelm the scene. Always match plants to your light conditions—succulents for sun, moss and ferns for shade—so they stay healthy with minimal fuss.
4. How do I make sure my fairy decor lasts outdoors?
Choose accessories made of resin, sealed wood, stone, or metal rather than paper or untreated cardboard. If you DIY items, seal them with an outdoor-safe clear varnish. In very harsh weather, you can lift delicate decor pieces out and store them, leaving the plants and pot outside. Checking everything briefly at the start and end of each season helps catch damage early.
5. Can I mix real plants with artificial decorations safely?
Absolutely. Real plants provide texture and movement, while artificial items add color and detail that won’t fade quickly. Just avoid anything that might leach chemicals into the soil, like painted objects not meant for outdoor or plant use. Keep larger artificial pieces slightly above the soil on small stones so they don’t trap moisture around plant stems.
6. What’s the easiest broken pot fairy spill idea for beginners?
A simple cascading spill with one broken pot, some soil, and a few low plants is the easiest starting point. Tilt the pot, let soil spill out, plant a small groundcover along the curve, and add one fairy door or house at the end. Once you’ve tried that and see how the plants grow, you can experiment with pebbled rivers, stairs, or more detailed villages.