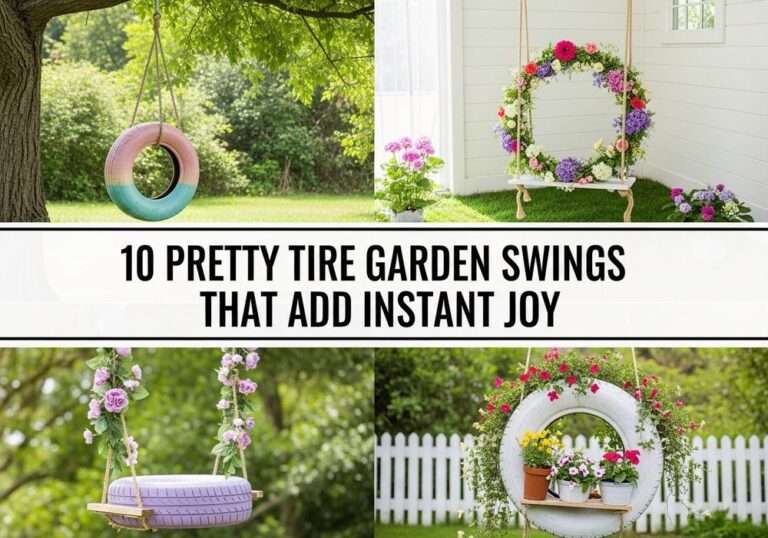
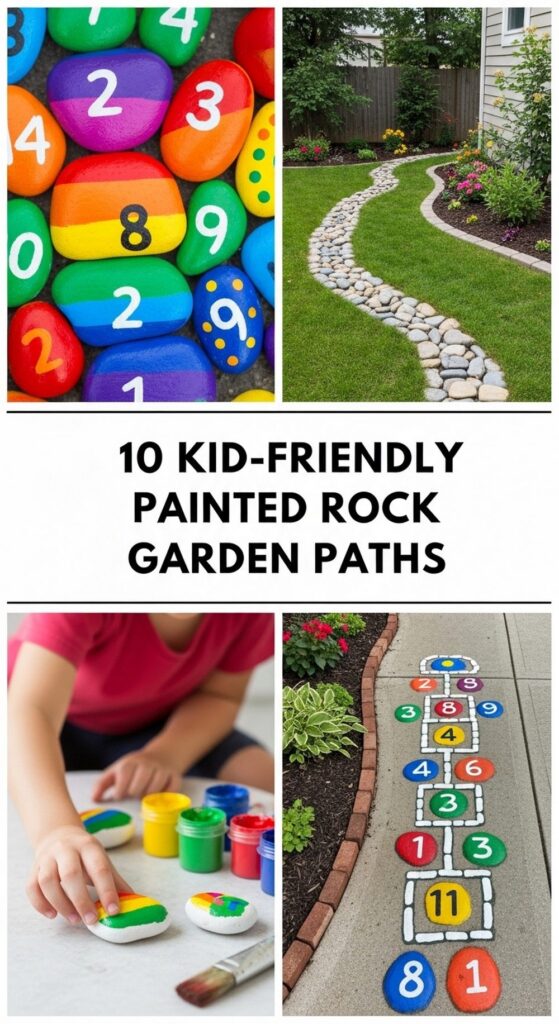
10 Kid-Friendly Painted Rock Garden Paths
If your kids love being outside but your garden path feels a bit plain, painted rocks are the perfect one-day upgrade. They’re simple, affordable, and a brilliant way to get little hands involved in decorating the garden. In an afternoon, you can turn an ordinary walkway into a playful, colorful trail that kids will want to follow again and again.
In this post, you’ll find ten kid-friendly painted rock garden path ideas you can complete in a single day. From glow-in-the-dark galaxies to rainbow alphabets and treasure maps, each idea is designed to be fun to paint, easy to lay out, and tough enough to live outdoors.
Quick List
- Rainbow Alphabet Rock Path
- Storybook Character Stepping Stones
- Glow-In-The-Dark Galaxy Rock Trail
- Garden Bug Footprint Rock Path
- Color-Coded Hopscotch Rock Walkway
- Emoji Faces Friendship Path
- Nature Patterns Discovery Path
- Treasure Map Rock Trail
- Kindness Message Rock Path
- Seasonal Shapes Rock Border
1. Rainbow Alphabet Rock Path
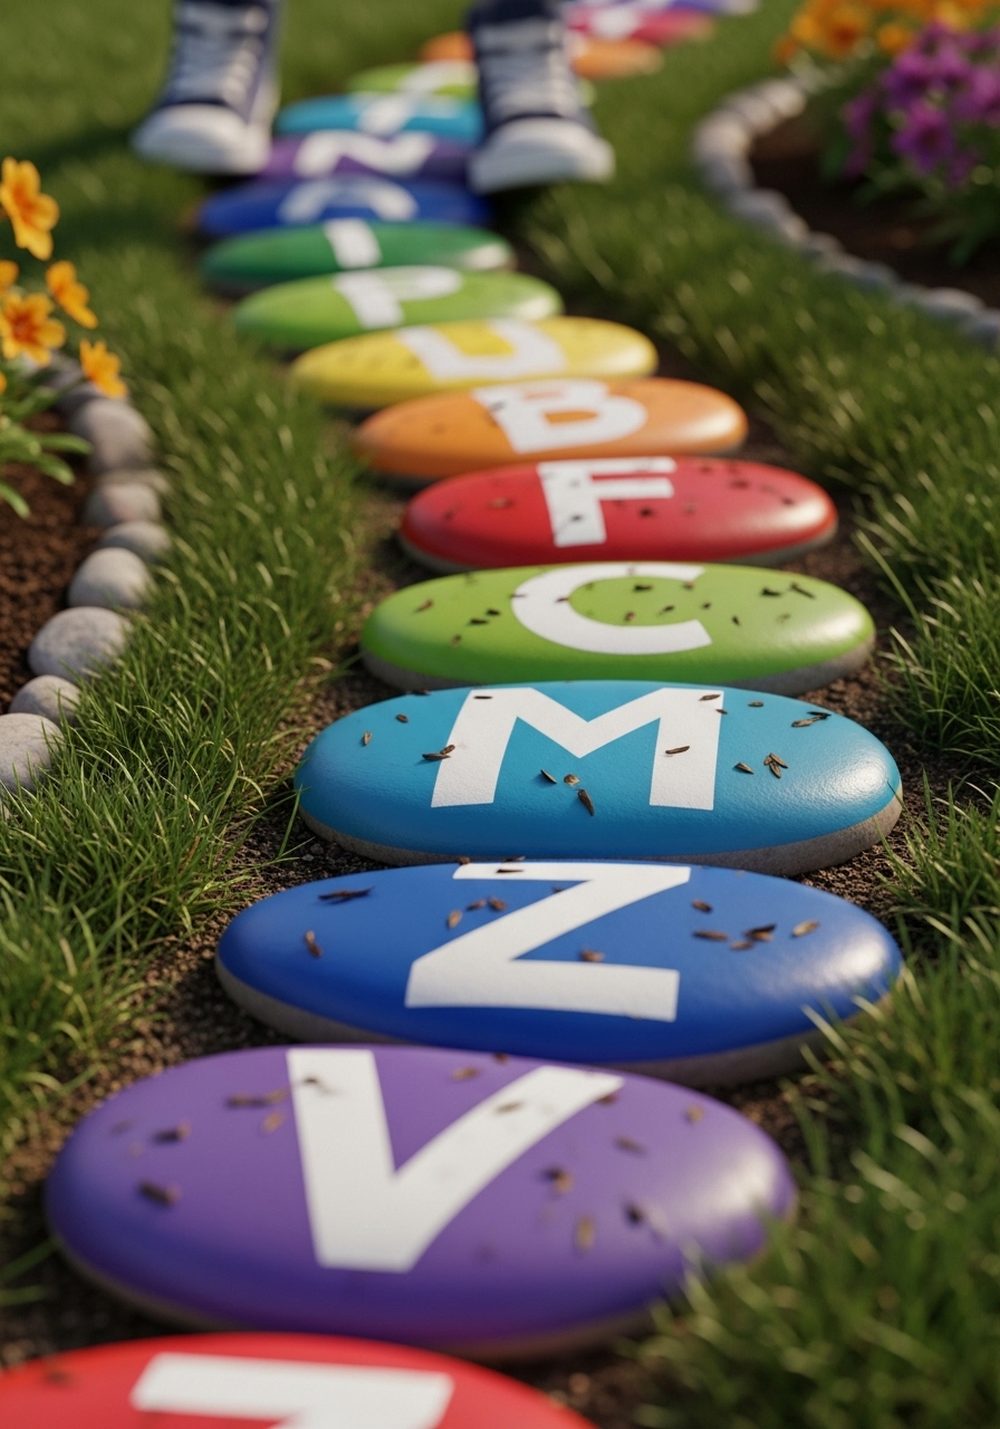
Paint a series of flat rocks in bold rainbow colors, then add simple white alphabet letters on top. Lay them beside or along a path so children can step from A to Z as they walk through the garden. It’s bright, educational, and easy for even young kids to help with by choosing colors or painting the base coats. The finished trail instantly adds cheerful pops of color through grass and flower beds.
- Best For: Families with early readers or preschoolers who love letter games.
- Budget Tip: Use free or scavenged rocks and leftover craft paints or tester pots.
- Styling Idea: Keep the letters all white so the rainbow colors tie everything together.
- Practical Note: Seal the rocks with clear outdoor varnish so muddy shoes and rain don’t damage the paint.
- Extra Idea: Hide a “secret symbol” on the back of a few rocks for kids to flip and find.
2. Storybook Character Stepping Stones

Turn plain stepping stones into a walking storybook by painting simple cartoon-style characters on each rock. Think dragons, castles, friendly monsters, or animals from a favorite tale. Keep the designs simple and bold so children recognize them right away. Once dry, set the stones in a winding line that leads to a bench, playhouse, or reading nook, inviting kids to “walk through the story” as they move down the path.
- Best For: Kids who love bedtime stories and imaginative play.
- Budget Tip: Use basic shapes and limited colors so you don’t need lots of different paints.
- Styling Idea: Stick to one story theme (fairy tale, space, jungle) to keep the path looking cohesive.
- Practical Note: Choose larger, flatter rocks so they’re comfortable and safe to step on.
- Extra Idea: Add a small “story corner” at the end with a weatherproof box for books.
3. Glow-In-The-Dark Galaxy Rock Trail
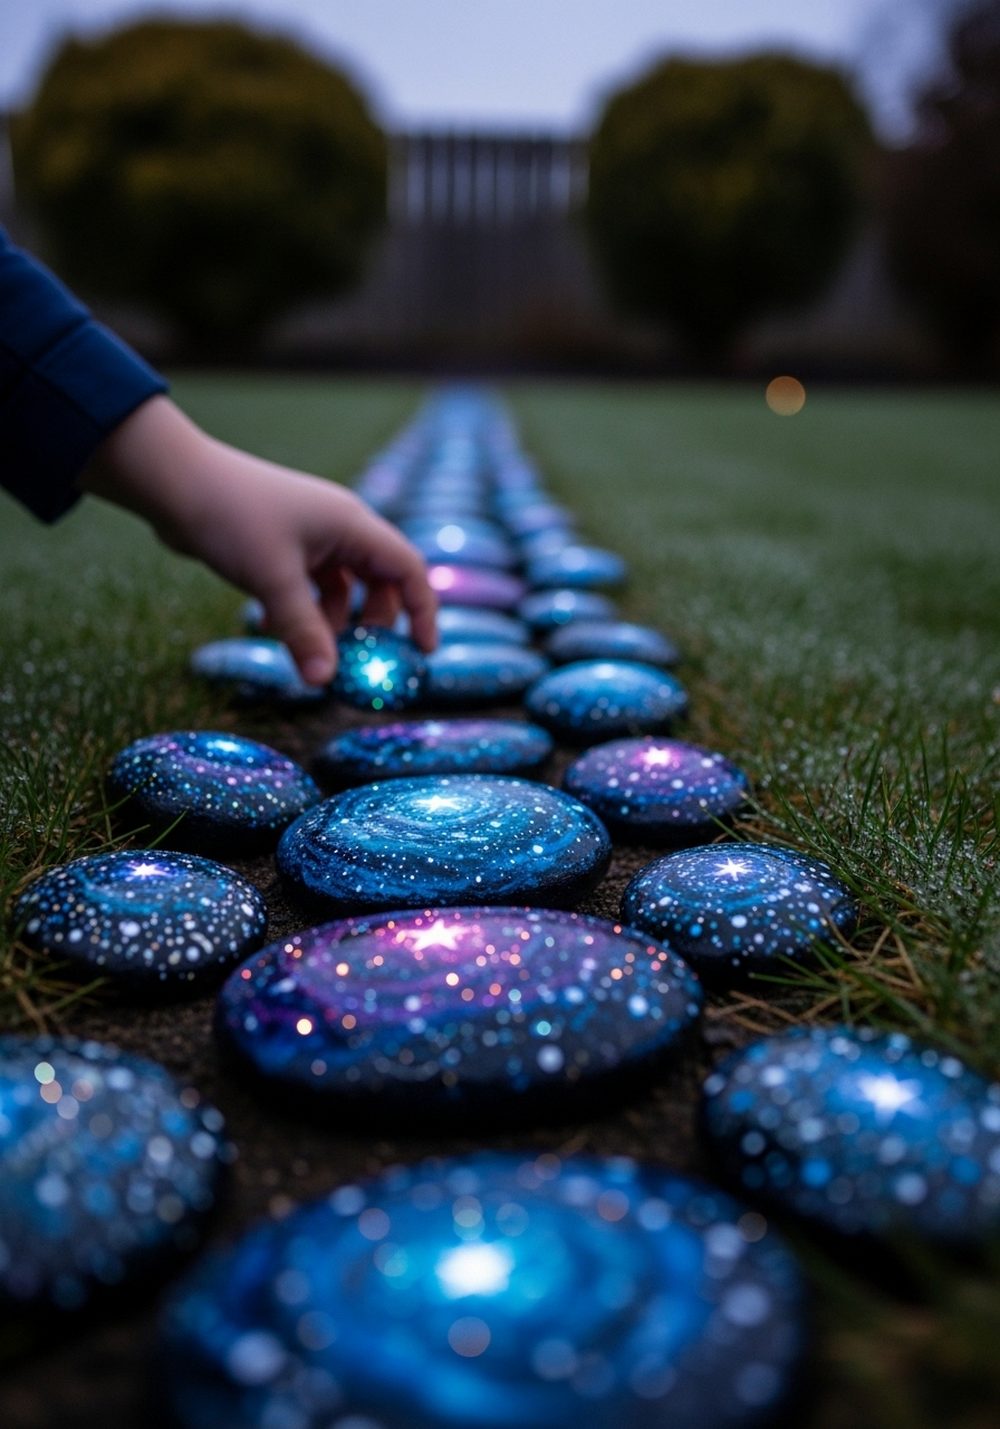
For a magical evening path, paint rocks in deep blues and purples, then add swirls, dots, and tiny stars with glow-in-the-dark paint. Arrange them as stepping stones or as a border along the path, and let the kids charge them up in the sun during the day. At dusk, the trail appears to twinkle, turning a simple walkway into a mini galaxy that’s irresistible for night-time garden adventures.
- Best For: Slightly older kids who enjoy staying out at dusk or stargazing.
- Budget Tip: Only use glow-in-the-dark paint for highlights; base-coat rocks with cheaper regular paint.
- Styling Idea: Keep surrounding décor simple so the glowing path is the star of the show.
- Practical Note: Place the rocks where they get direct daylight so they charge properly.
- Care & Maintenance: Wipe mud off occasionally so the glow isn’t dulled by dirt.
4. Garden Bug Footprint Rock Path
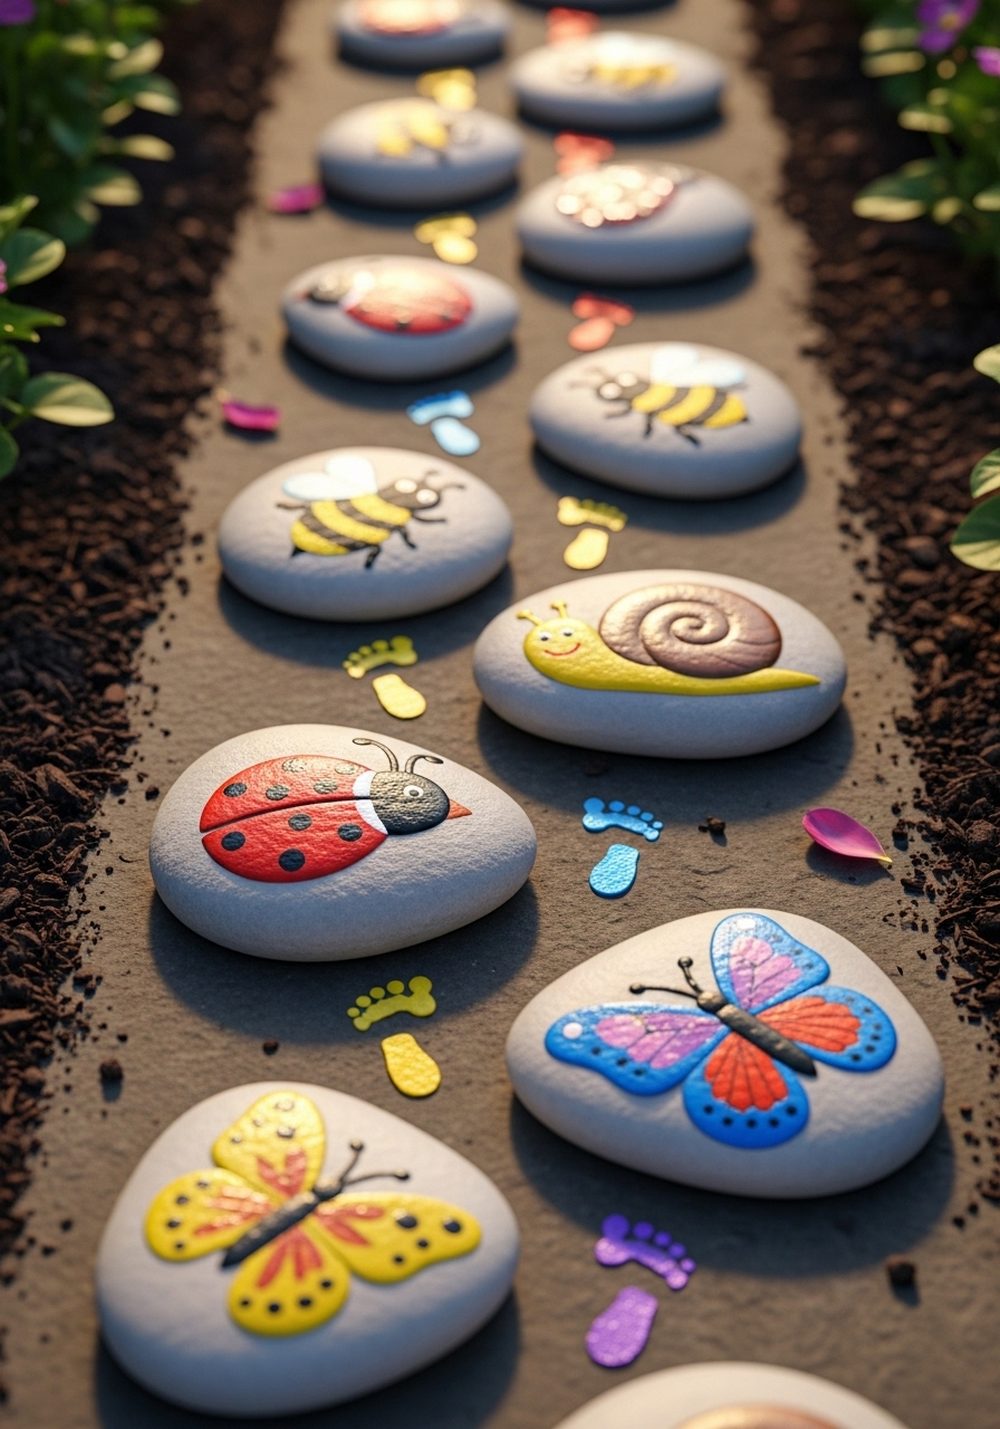
Combine kids’ love of creepy-crawlies with a simple painting project by decorating rocks as garden bugs, then linking them with tiny painted footprints. Ladybirds, bees, snails, and butterflies are all easy to paint using circles and stripes. Arrange the bug rocks along the edge of a path, with little footprints leading from one to the next. Children will love following the “bug trail,” and it adds a friendly, whimsical touch to borders and beds.
- Best For: Younger children who enjoy spotting insects outdoors.
- Budget Tip: Keep the palette to a few classic bug colors—red, yellow, black, white—to stretch supplies.
- Styling Idea: Scatter the bugs near low flowers or herbs so they look like they’re exploring the plants.
- Practical Note: Avoid placing rocks where wheelbarrows or mowers will regularly roll over them.
- Extra Idea: Add one “hidden” bug rock a little off the path as a mini scavenger hunt.
5. Color-Coded Hopscotch Rock Walkway

Turn your garden path into an instant game by painting flat rocks in bright solid colors and numbering them like a hopscotch grid. Lay them in a straight or gently curving line so kids can jump from one to ten as they move through the garden. The colorful stones brighten up any dull strip of lawn or gravel, and the simple shapes and numbers make this a very fast, one-day project for the whole family.
- Best For: Active kids who love jumping and counting games.
- Budget Tip: Skip stencils and freehand simple block numbers to save time and materials.
- Styling Idea: Choose a repeating color pattern so the path feels playful but still neat.
- Practical Note: Make sure the stones are stable and level so small feet don’t wobble when they hop.
- Care & Maintenance: Refresh the numbers with a quick top-up of paint once a year if they fade.
6. Emoji Faces Friendship Path

Paint a collection of rounded rocks bright yellow, then let kids add simple emoji-style faces—smiles, winks, sunglasses, and heart eyes. Line these rocks along both sides of a path so children walk between a row of friendly faces each time they head to the lawn or veggie patch. The expressions are easy for kids to help design and paint, and the finished path adds instant character and laughter to any corner of the garden.
- Best For: Siblings or groups of friends who enjoy silly faces and group projects.
- Budget Tip: One pot of yellow and a small amount of black and red paint goes a long way.
- Styling Idea: Mix in a few pastel rocks to soften the look if the yellow feels too strong.
- Practical Note: Use a paint marker or fine brush for details so the faces stay clear over time.
- Extra Idea: Let each child “sign” the underside of one rock as their special emoji.
7. Nature Patterns Discovery Path
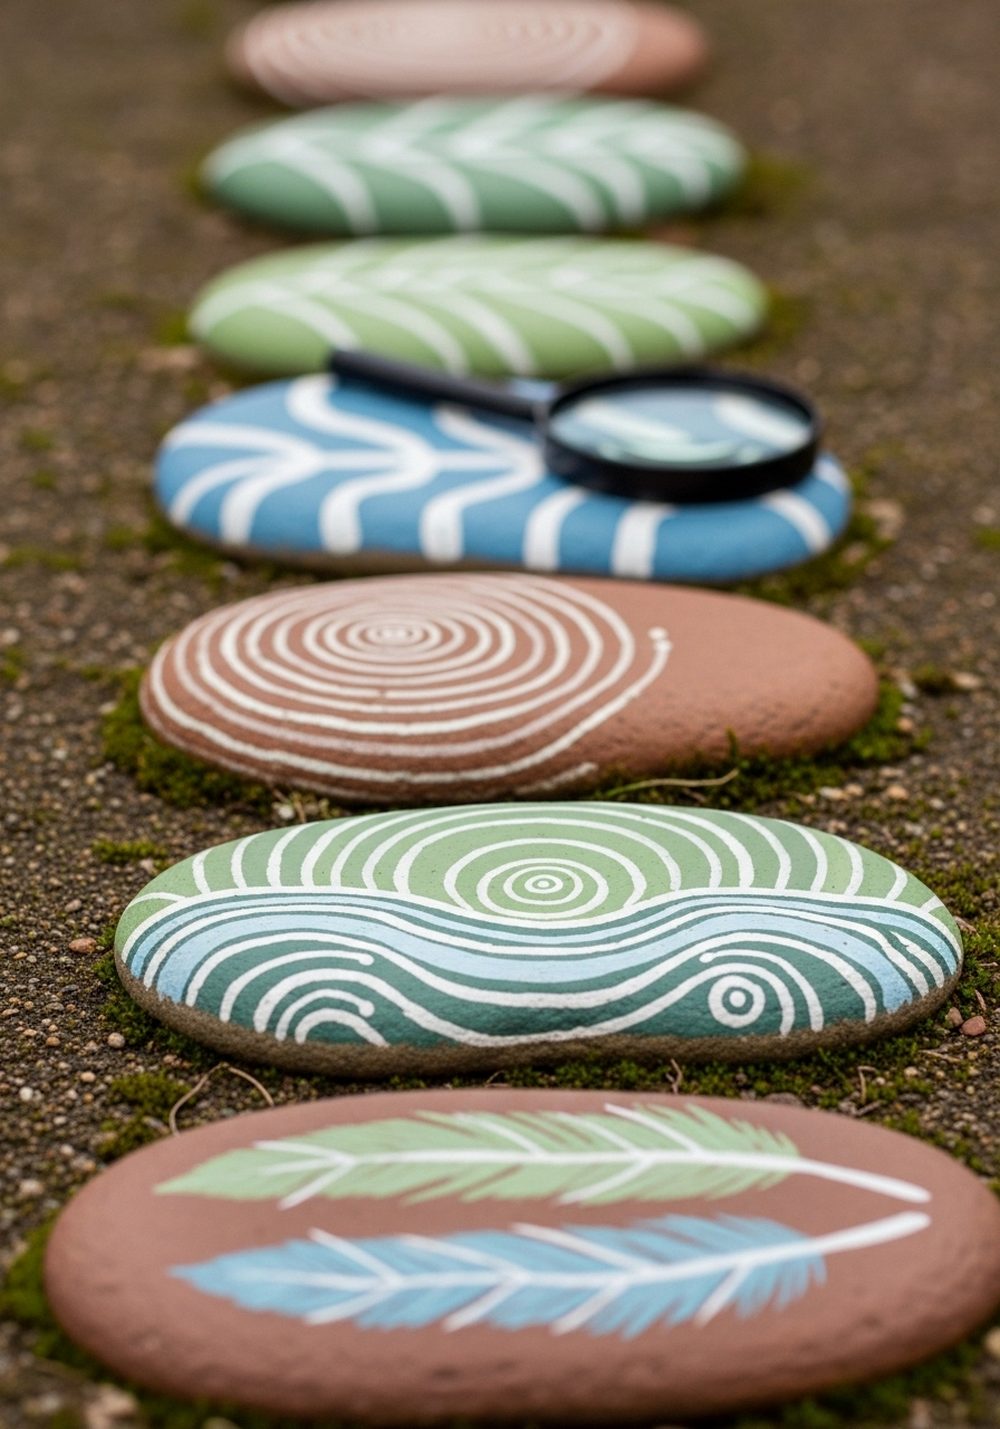
Use your garden itself as inspiration by painting rocks with patterns based on leaves, tree rings, feathers, and water ripples. Keep the colors earthy—greens, browns, and soft blues—so the path blends gently into the planting. Lay these stones beside an existing walkway or in a simple curve through a flower bed. As kids walk along, they can match the painted patterns to real textures and shapes they see around them.
- Best For: Curious children who like collecting leaves and natural treasures.
- Budget Tip: Stick to a limited color palette and rely on pattern rather than lots of different paints.
- Styling Idea: Pair this path with wooden planters, terracotta pots, and simple lanterns for a calm, natural feel.
- Practical Note: Choose matte or satin sealant so the rocks aren’t too slippery when wet.
- Extra Idea: Add a small “nature tray” at the end of the path for kids to display interesting finds.
8. Treasure Map Rock Trail
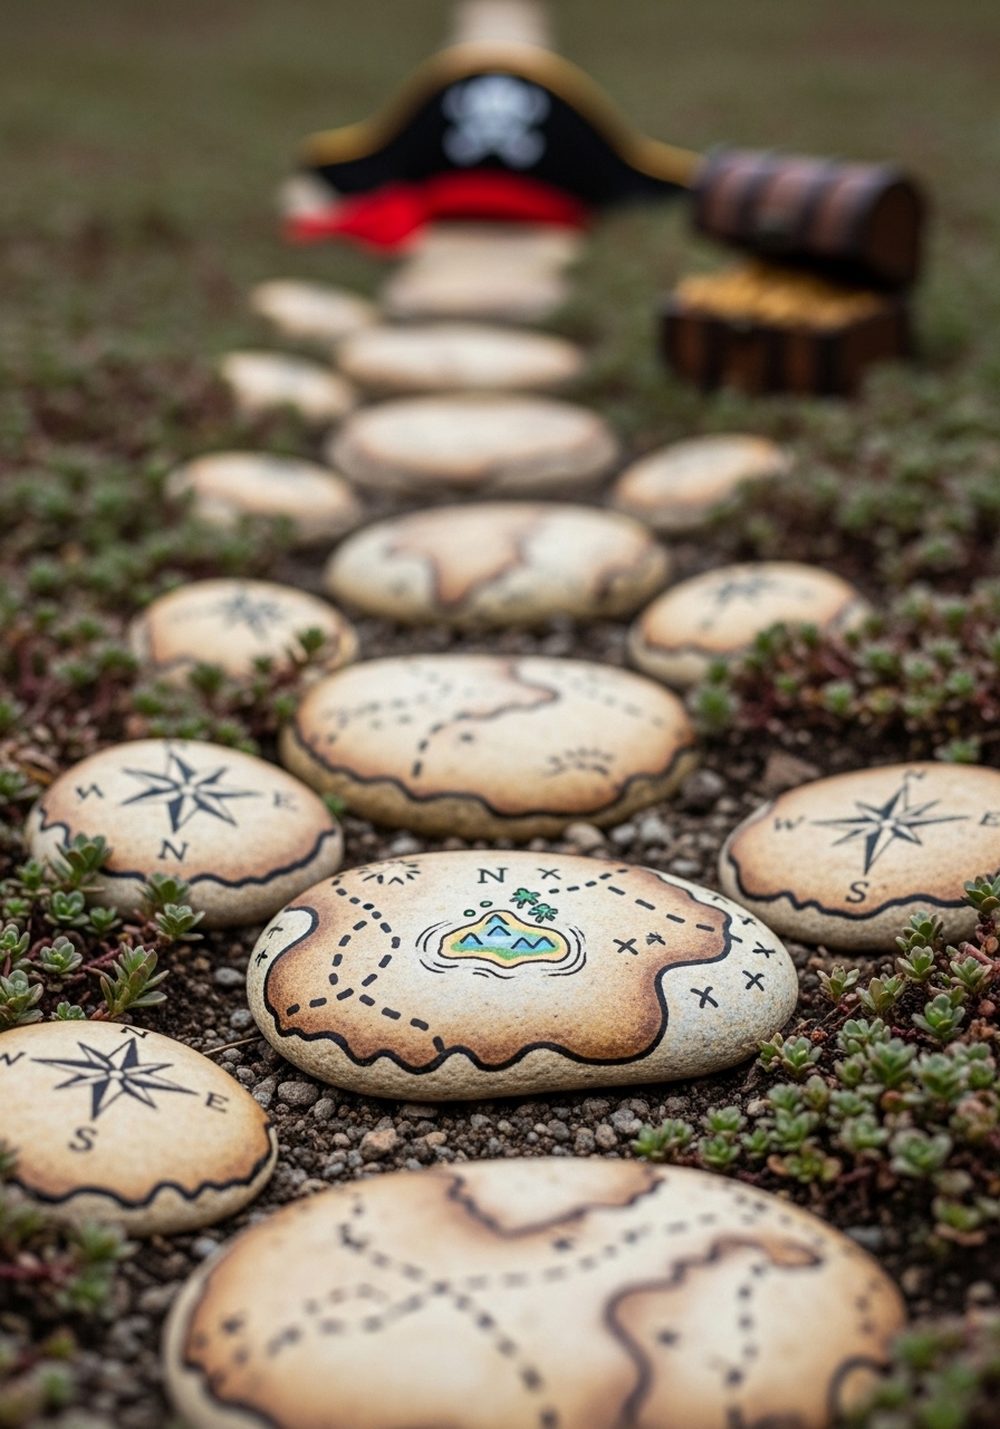
Transform the route to the shed, sandbox, or vegetable patch into a treasure hunt by painting rocks to look like pieces of a map. Use tan, brown, and black to create mini islands, dotted lines, and tiny “X” markers. Lay the rocks along or across the garden path so children follow them to a surprise—perhaps a box of chalk, a new plant to pot, or a small toy chest. It’s simple to paint yet full of adventure.
- Best For: Pirate fans and kids who love searching for hidden surprises.
- Budget Tip: Use diluted brown paint or coffee-stain effect to create “aged parchment” looks without extra products.
- Styling Idea: Add a small wooden crate or barrel near the “X” to complete the pirate theme.
- Practical Note: Make sure the final treasure spot is somewhere dry and sheltered if you’re hiding treats.
- Extra Idea: Change the treasure contents seasonally to keep the map trail exciting.
9. Kindness Message Rock Path

Create a gentle, uplifting walkway by painting rocks in soft pastels and decorating them with simple symbols for kindness—hearts, stars, smiley suns, peace signs, and linked hands. Arrange them as a border along the path or between stepping stones so kids see cheerful images each time they walk by. For very young children, these symbols are easier to recognise than words but still carry a warm, positive message through the garden.
- Best For: Families who want their garden to feel calm, positive, and welcoming.
- Budget Tip: Mix white paint into brighter colors to make your own pastel shades instead of buying new ones.
- Styling Idea: Pair this path with white or neutral pots and soft-toned flowers for a gentle, soothing palette.
- Practical Note: Choose rocks big enough that the symbols don’t get lost under dirt or mulch.
- Extra Idea: Add a new “kindness symbol” rock whenever your family celebrates a kind deed.
10. Seasonal Shapes Rock Border

Paint groups of rocks with shapes that represent each season—spring flowers and raindrops, summer suns and ice creams, autumn leaves and acorns, winter snowflakes and mittens. Line them along the edge of a garden path, grouping the rocks by season in order. Kids will enjoy moving along the border, spotting the changes through the year. It doubles as a gentle way to talk about weather, plants, and holidays while brightening up the path all year round.
- Best For: Families who enjoy marking holidays and seasonal changes together.
- Budget Tip: Paint only outlines for some shapes to save time and paint, then fill more details later.
- Styling Idea: Plant matching seasonal flowers nearby—tulips near spring rocks, marigolds near summer, and so on.
- Practical Note: Place rocks where you can easily lift or rearrange them if you like to change décor seasonally.
- Care & Maintenance: Touch up heavily weathered shapes once a year during a family “season change” painting day.
Conclusion
Painted rock paths are a simple way to turn everyday garden routes into playful, personal spaces your kids will love. With just a few supplies and an afternoon, you can add color, games, stories, and little messages under their feet. Start with one small trail or border, see how your family uses it, and then build out more ideas over time. Your garden path can grow right along with your children’s imaginations.
FAQs
Q1. How can I keep painted garden rocks affordable?
Look for free rocks in your own garden or ask friends if they have spares. Use leftover wall paint, tester pots, or basic acrylics rather than buying specialist products. Start with a small section of path and expand later so you don’t have to buy everything at once. Clear outdoor varnish is usually the only extra you really need for durability.
Q2. Are painted rock paths suitable for renters who can’t make permanent changes?
Yes, they’re ideal. You can simply place the rocks on top of gravel, soil, or lawn without cementing anything in place. When you move, just gather up the stones and take them with you. Use flexible layouts and avoid digging deep holes so you leave the garden exactly as you found it.
Q3. What kind of paint and sealer should I use so the designs last outside?
Use outdoor or acrylic paints that are water-based and safe for children to handle, then finish with a clear, weather-resistant varnish suitable for exterior use. Make sure rocks are dry and dust-free before painting, and allow enough drying time between coats. Sealing the designs helps protect against rain, sun, and muddy shoes, reducing how often you need to repaint.
Q4. How can I adapt these ideas for a very small balcony or patio?
You can still create mini painted rock “paths” by arranging stones in trough planters, along the edges of pots, or in a shallow tray of gravel. Use shorter trails, smaller rocks, and designs that fit the scale of your space. Focus on ideas like the emoji path, kindness symbols, or galaxy rocks that work beautifully in small clusters.
Q5. Is it safe to mix painted rocks with plants and soil?
Yes, as long as you let the paint cure fully and choose non-toxic products, the rocks won’t harm your plants. Avoid blocking drainage holes or smothering plant roots with heavy stones. Place painted rocks on the soil surface or in gaps between plants, and leave enough bare earth for watering and growth.
Q6. Which painted rock path idea is easiest for beginners?
The hopscotch path and emoji faces are both very beginner-friendly. They use basic shapes, limited colors, and simple designs that don’t have to be perfect to look fun. Start with a small number of rocks, see how they hold up outdoors, and gain confidence before trying more detailed bugs, galaxies, or story characters.