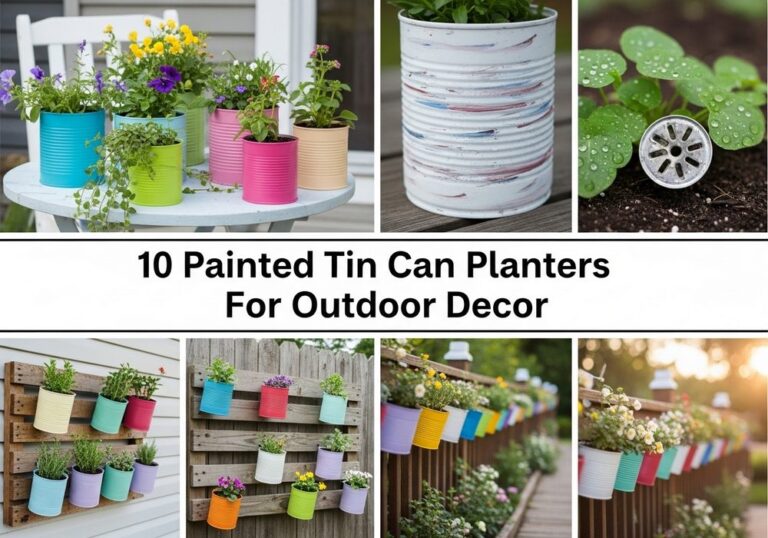
10 Modern Painted Rock Path Ideas That Look Expensive
A painted rock path can look surprisingly high-end when the colors are restrained, the shapes feel intentional, and the finish is clean. The secret isn’t complicated technique—it’s choosing a modern palette, repeating a pattern, and using crisp edging so the path reads like a designed feature, not a craft project.
These ideas are perfect for homeowners who want an upgrade without pouring concrete, and for renters who need something more flexible and removable. You’ll find options that work for small side yards, courtyards, and garden transitions, plus practical tips to keep paint looking fresh outdoors. With the right layout and a simple topcoat, painted rocks can look custom and expensive.
Quick List
- Monochrome Ombre Pebble Run
- Faux Marble Statement Steppers
- Geometric Black-And-White Tile Illusion
- Terrazzo-Inspired Rock Scatter
- Gold-Lined Minimalist River Path
- Greige “Concrete” Painted Pebbles
- Sage-And-Charcoal Zen Bands
- Micro-Mosaic Medallion Feature
- Bronzed Edge-Dipped Stepping Rocks
- Charcoal Stones With Thin White Pinstripes
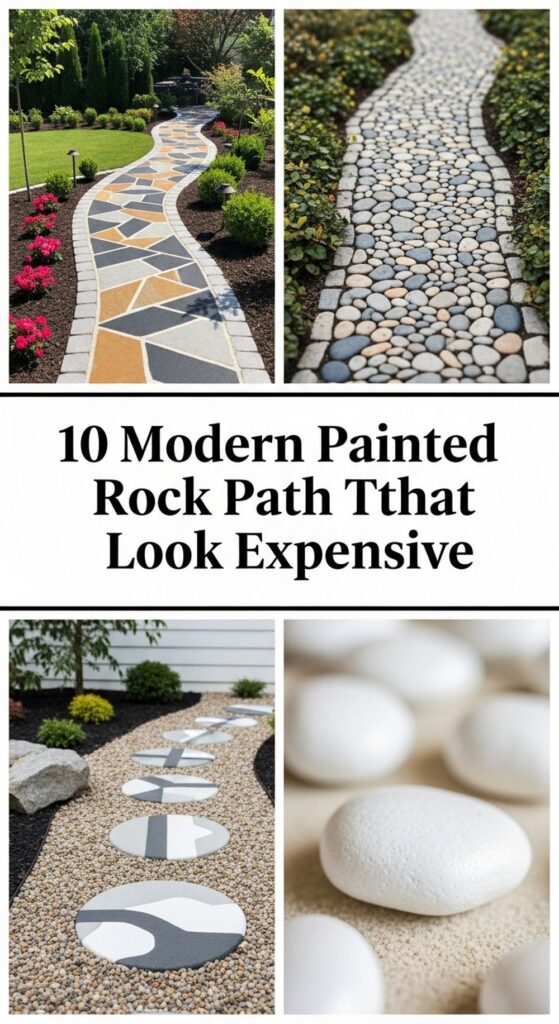
1. Monochrome Ombre Pebble Run
Create a slim “river” of smooth pebbles that fades from light gray to charcoal as it moves through the garden. Keep the look modern by using one color family and a gentle gradient rather than bright contrasts. Lay the pebbles inside a shallow trench with compacted sand, then add crisp edging so the fade looks intentional. The result feels like a designer detail—subtle, clean, and quietly dramatic—especially alongside grasses or clipped shrubs.
- Best For: Side yards and narrow walkways where a full-width path would feel heavy.
- Budget Tip: Paint only the top third of each pebble—no one sees the underside.
- Styling Idea: Pair with matte black edging and white gravel for a gallery-clean vibe.
- Care & Maintenance: Use a clear exterior sealer and touch up the darkest stones once a year.
2. Faux Marble Statement Steppers

Turn flat stepping stones into “marble slabs” with a white base and soft gray veining. Space them evenly over pale gravel so each stone reads like a statement piece. This works best when the veining is restrained—think gentle lines and a few soft swirls rather than busy patterns. Finish with a satin topcoat to mimic polished stone, and keep the surrounding planting simple so the steppers feel luxe and intentional.
- Best For: Courtyards, patio-to-garden transitions, and modern front entries.
- Budget Tip: Use inexpensive flat stones and spend your effort on the paint finish.
- Styling Idea: Warm gray veining looks especially expensive next to teak or brushed concrete.
- Practical Note: Keep spacing consistent (even a few centimeters difference looks “off”).
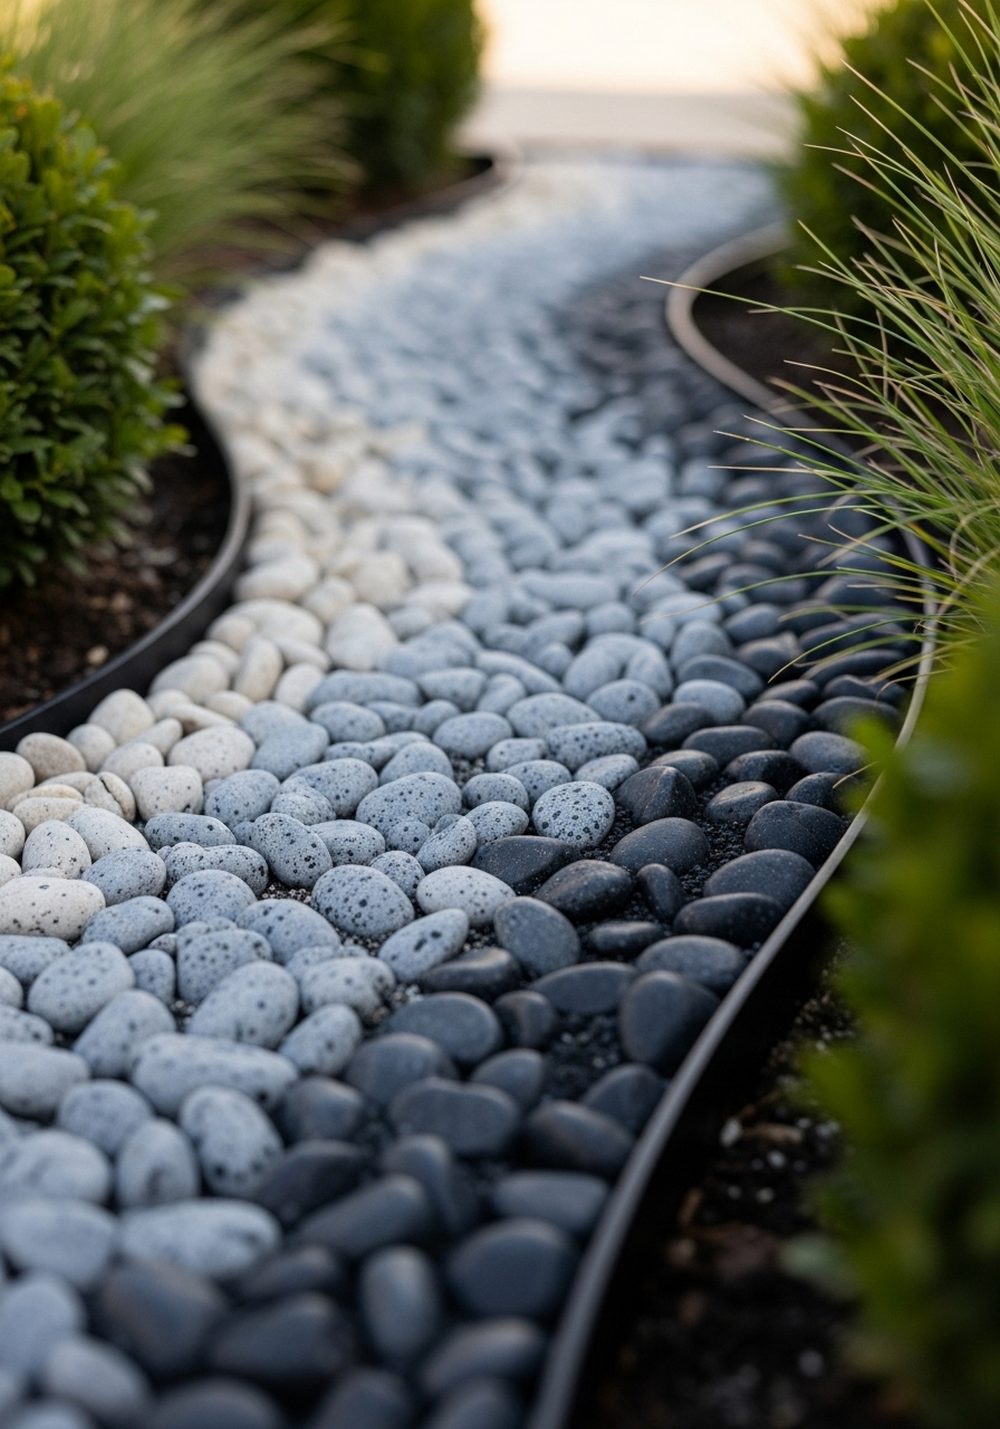
3. Geometric Black-And-White Tile Illusion
Paint a set of medium rocks with bold geometric patterns—chevrons, stripes, and diamonds—then arrange them tightly so the section reads like a tiled inset. Limit the palette to black and white for a crisp, modern result. Use this idea in a defined rectangle or square rather than an entire long path, so it feels like a design moment. Clean borders and careful spacing are what make it look expensive.
- Best For: Small gardens where one strong focal detail adds polish fast.
- Budget Tip: Create a “feature panel” instead of doing the full walkway.
- Styling Idea: Combine with plain charcoal stones around it to frame the pattern.
- Care & Maintenance: Choose a matte exterior paint and seal to reduce scuffs on white areas.
4. Terrazzo-Inspired Rock Scatter
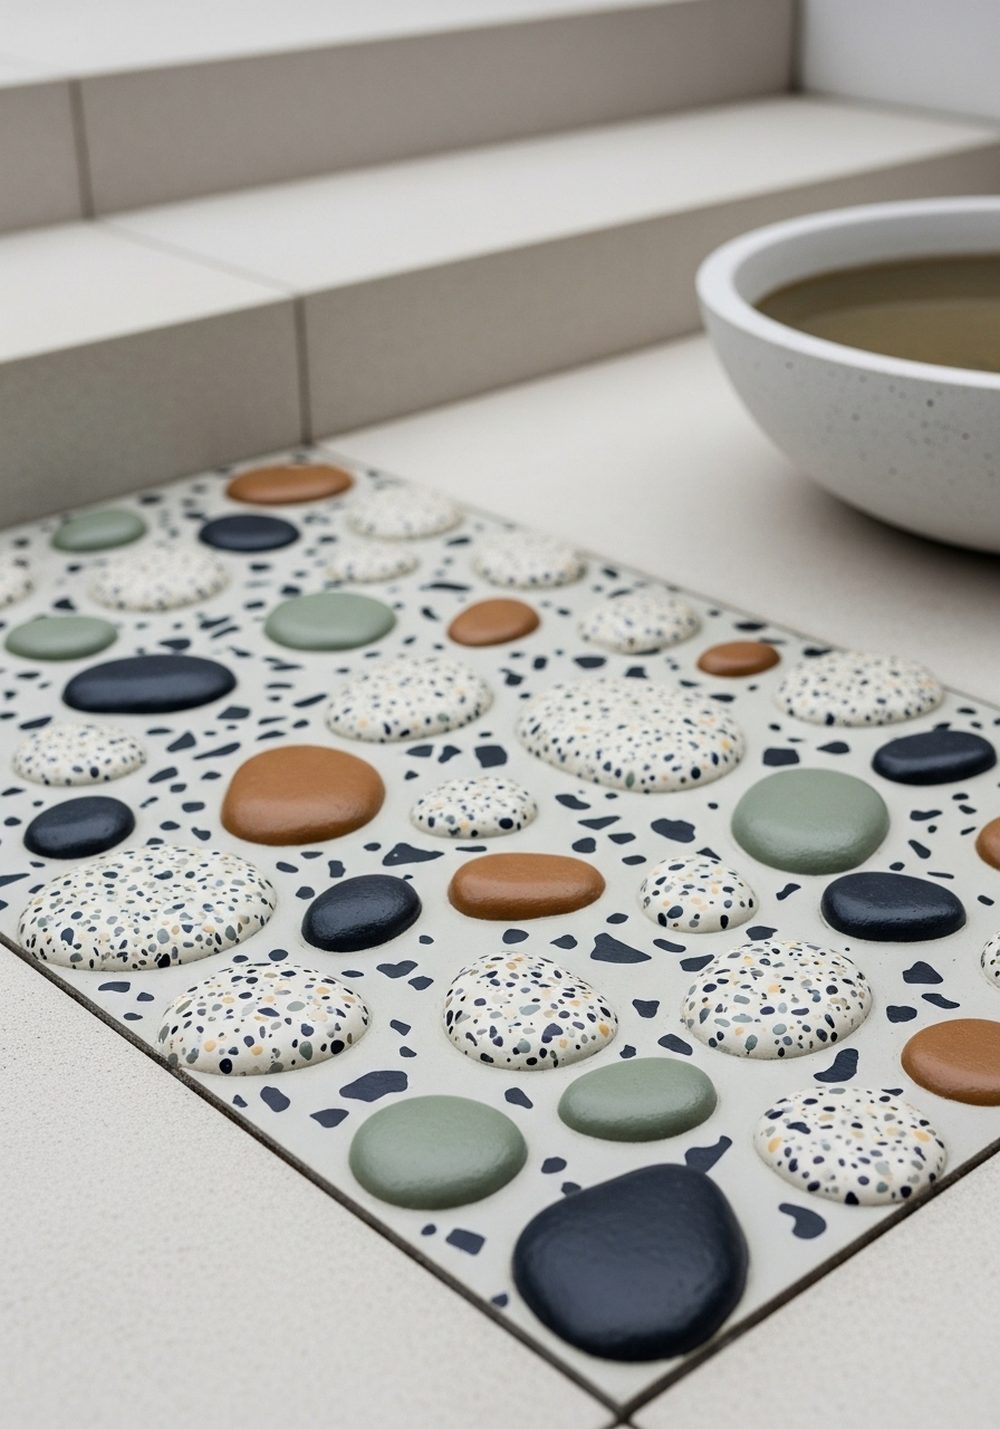
Terrazzo looks high-end because it’s playful but controlled. Copy that feeling by painting small rocks as “chips” in cream, clay, sage, and charcoal, then scattering them in clustered groups along the path. Keep the base neutral—pale gravel or sand—so the chips pop without looking busy. A satin clear coat helps the colors feel more like a finished surface rather than craft paint.
- Best For: Contemporary gardens that need softness without losing a modern edge.
- Budget Tip: Paint just a handful of “chip” rocks and mix with unpainted neutrals.
- Styling Idea: Repeat one accent color (like sage) elsewhere in pots or cushions.
- Practical Note: Cluster chips in a few areas instead of distributing them evenly everywhere.
5. Gold-Lined Minimalist River Path
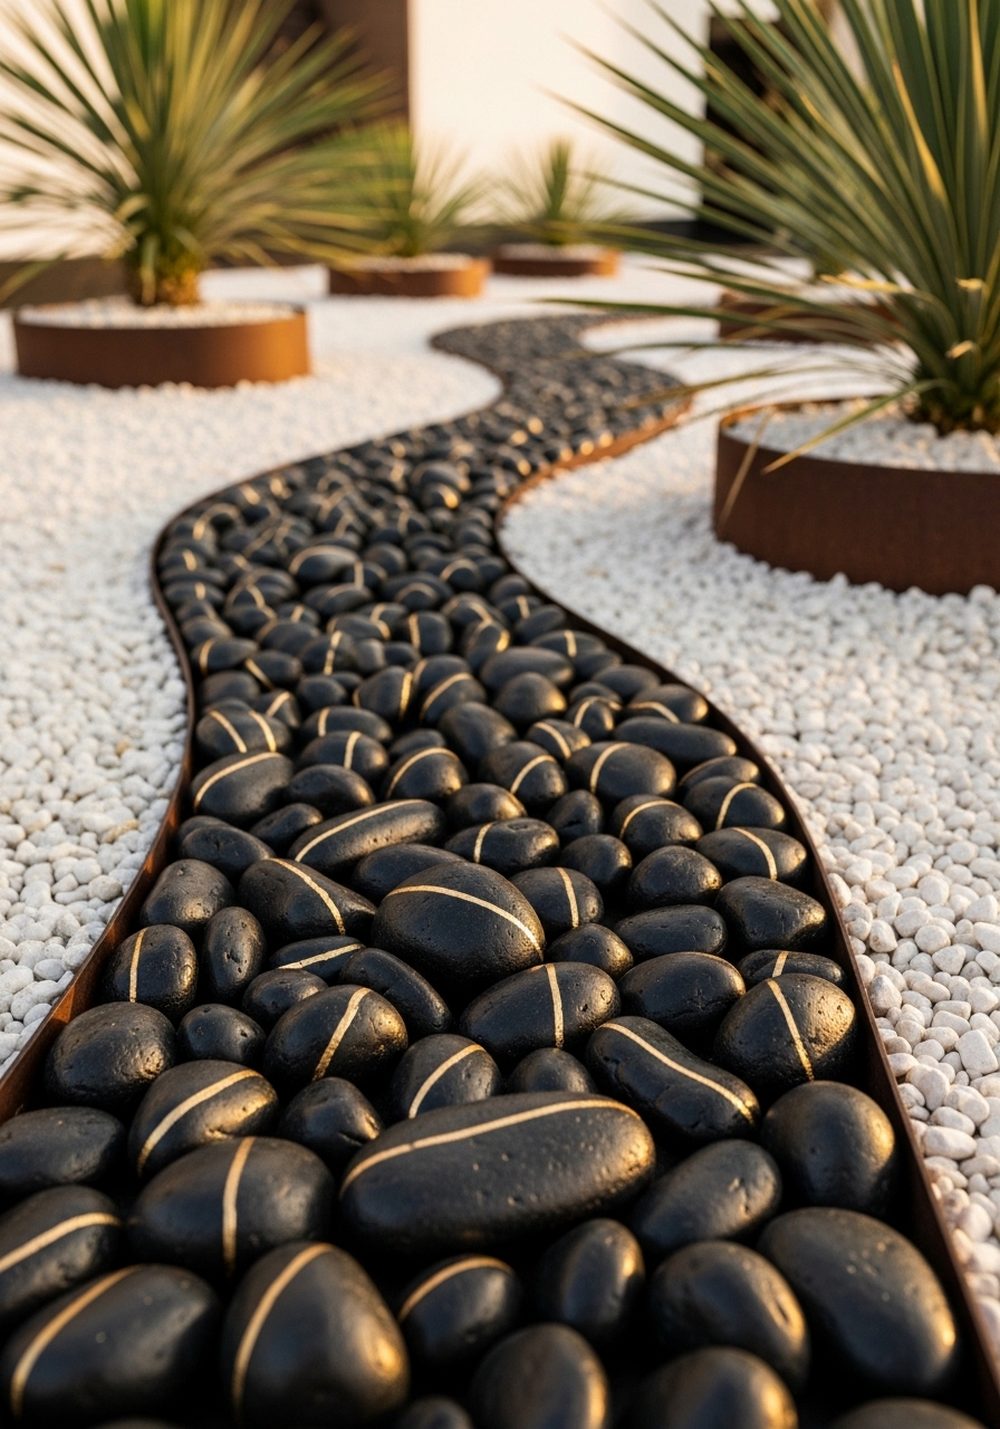
For a subtle luxury effect, paint most stones matte black, then add thin metallic gold lines on a select few. The key is restraint: scattered “glints” look expensive, while too much gold can feel flashy. Lay the stones in a narrow band that curves like a stream through white gravel. In late afternoon light, the gold catches just enough to feel intentional and refined.
- Best For: Modern gardens that already use black, white, or metal accents.
- Budget Tip: Add gold to only 10–15% of stones for maximum impact with minimal paint.
- Styling Idea: Match the gold tone to existing hardware or lighting for cohesion.
- Care & Maintenance: Use an exterior-rated metallic paint and a tough clear topcoat.
6. Greige “Concrete” Painted Pebbles
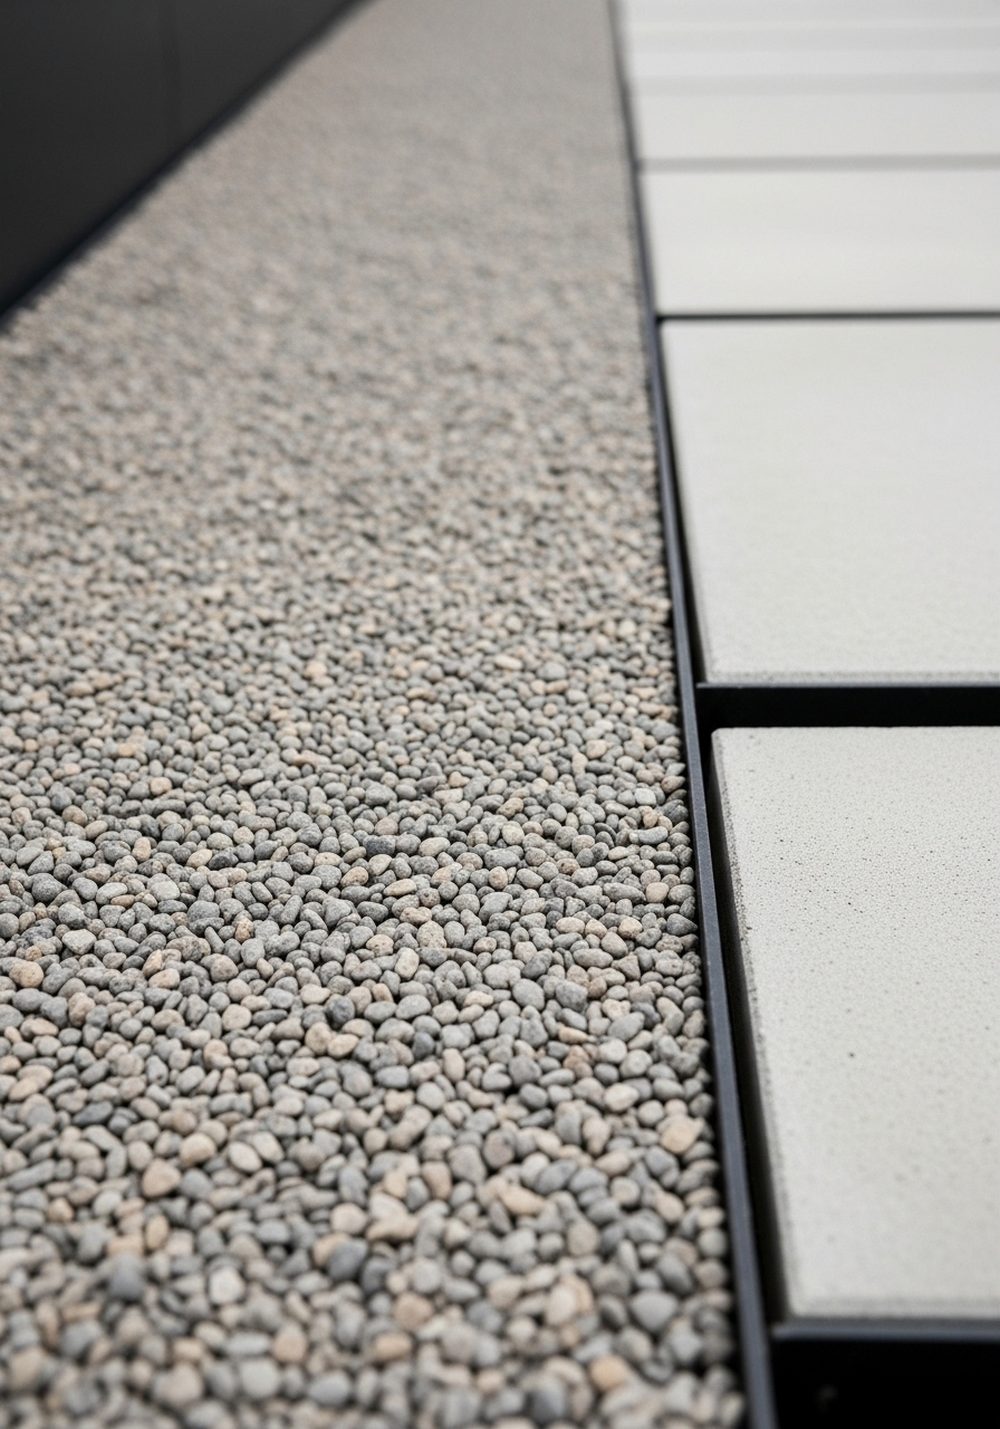
If you love the look of poured concrete but want a softer, DIY version, paint pebbles in a tight range of greige and stone tones. When laid densely with crisp edging, the surface reads like a designed material rather than individual rocks. Stick to warm grays, putty, and soft taupe so the path feels calm and modern. This is one of the easiest ways to make painted rocks look genuinely expensive.
- Best For: Minimalist landscapes and contemporary front gardens.
- Budget Tip: Use leftover interior paint samples, then seal well for outdoor use.
- Styling Idea: Pair with black edging and sculptural plants for a clean, architectural look.
- Practical Note: Aim for similar rock sizes so the surface looks uniform.
7. Sage-And-Charcoal Zen Bands
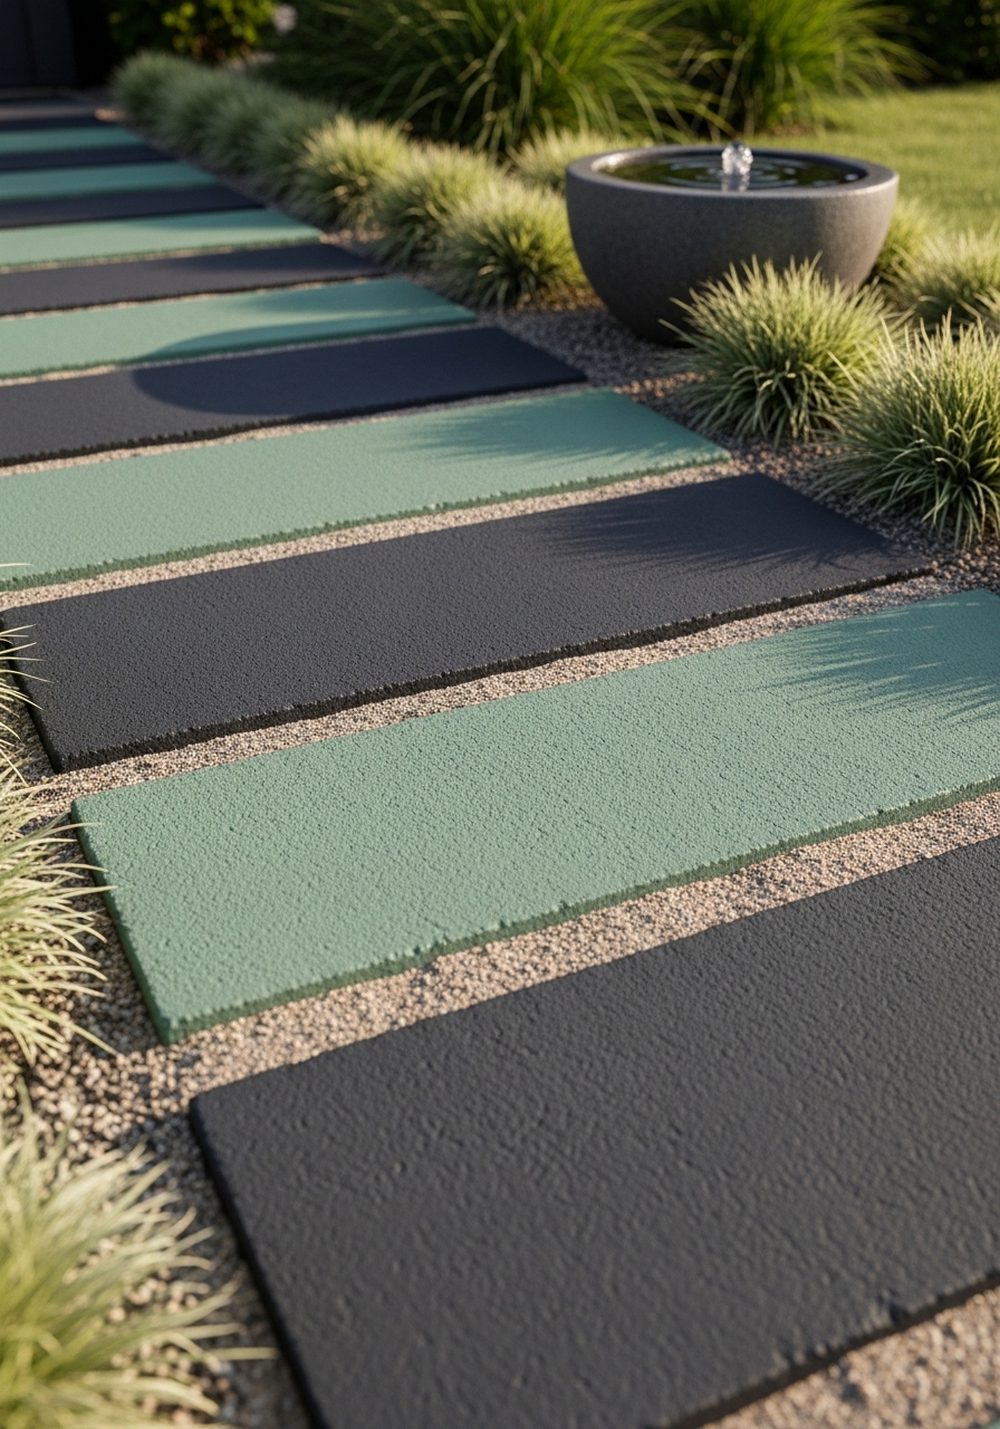
Lay alternating stripes of sage green and charcoal stones to create a “designer runner” effect through the garden. Straight parallel bands look modern and calming, especially beside grass-like plants and simple water features. Keep the sage muted—think dusty, gray-green—so it reads sophisticated rather than bright. Strong edging and careful alignment are what sell the expensive, spa-like finish.
- Best For: Zen corners, courtyard gardens, and calming side paths.
- Budget Tip: Make bands wider so you need fewer color changes and less precise sorting.
- Styling Idea: Add a single stone bowl or simple bench to reinforce the serene mood.
- Care & Maintenance: Touch up the sage stones first; lighter shades show wear sooner.
8. Micro-Mosaic Medallion Feature
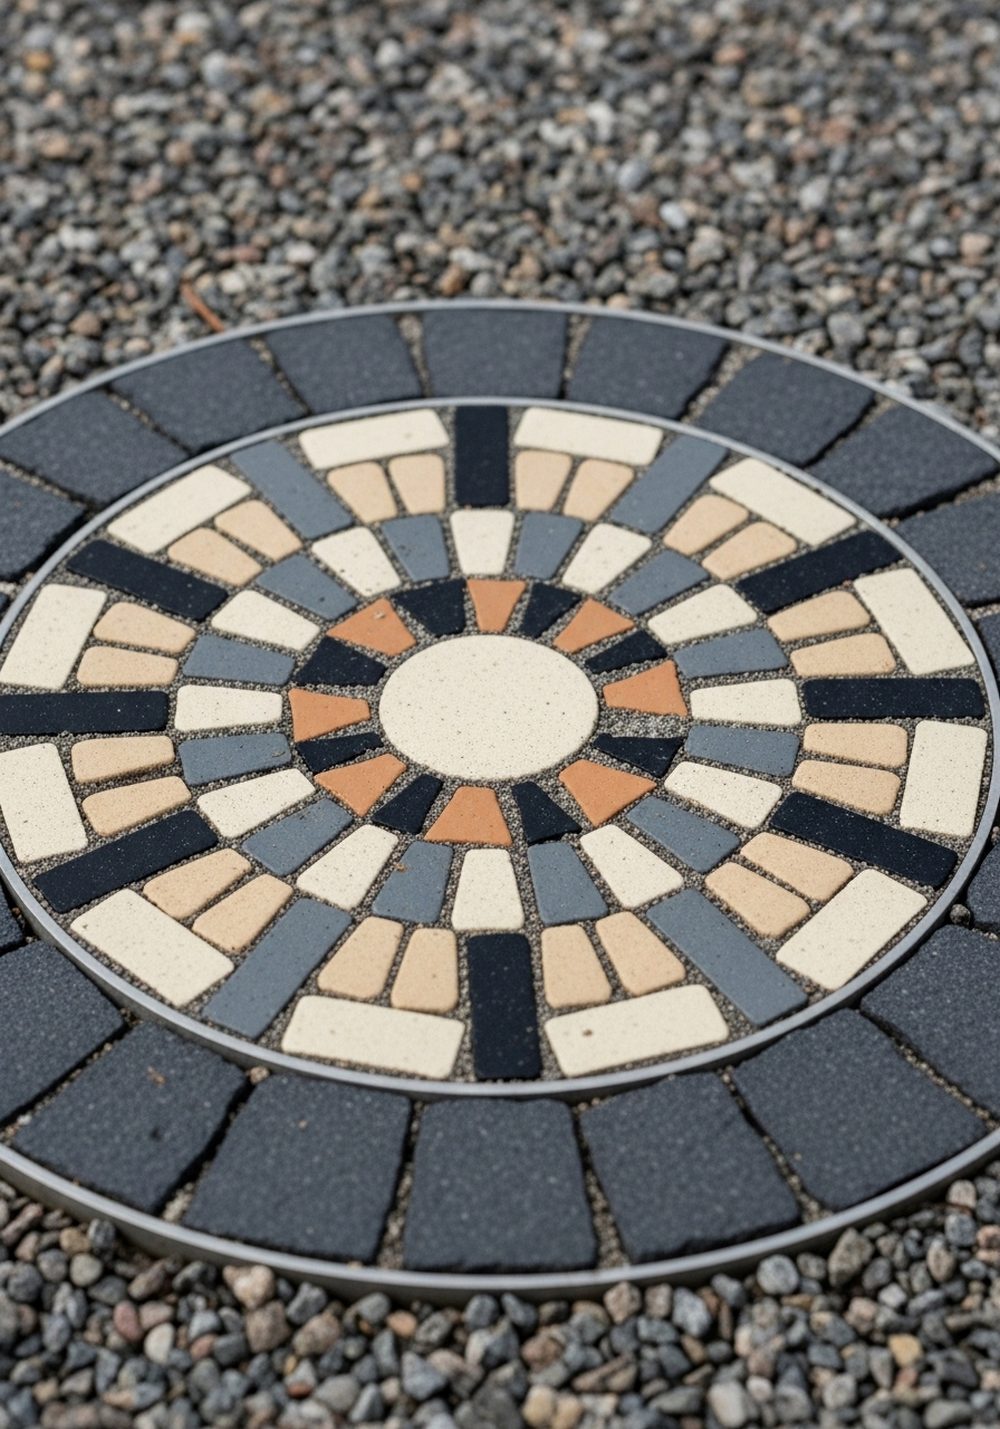
Instead of painting an entire path, create one circular “medallion” inset as a focal point. Use small stones painted in cream, black, and warm gray to form a sunburst or simple geometric ring pattern. Surround it with plain stones so the medallion feels like an artisan detail you’d find in a high-end courtyard. This idea looks especially expensive when the spacing is tight and the circle is clean.
- Best For: Courtyards, path intersections, or the spot outside a garden gate.
- Budget Tip: A single medallion uses few materials but delivers a big design payoff.
- Styling Idea: Keep the rest of the path neutral so the medallion reads as “custom.”
- Practical Note: Dry-lay the pattern first, then paint and replace for accuracy.
9. Bronzed Edge-Dipped Stepping Rocks
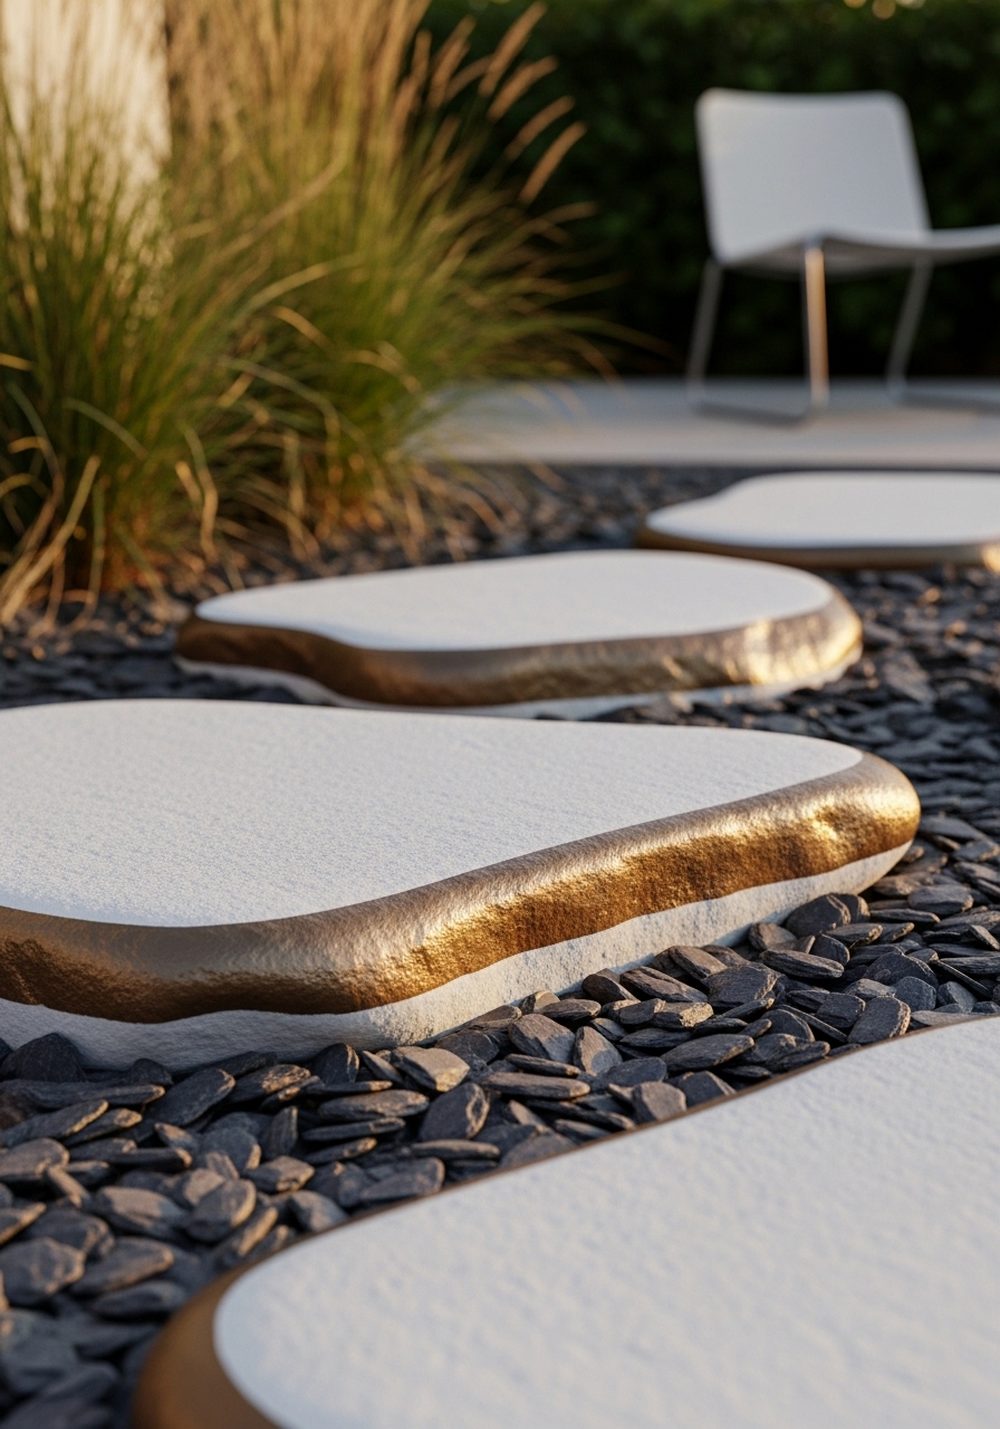
Paint flat stepping rocks in a soft off-white, then “dip” just the edges in muted bronze for a refined contrast. It’s a small detail, but it reads like designer hardware—especially when set over dark gravel or slate chips. Keep the bronze matte or satin rather than shiny. A clean edge line (use painter’s tape if needed) is what makes the finish feel expensive.
- Best For: Modern entries and patio walkways where you want a polished look.
- Budget Tip: Bronze only the front edges that are most visible from the approach.
- Styling Idea: Repeat bronze in one other element—planter trim, lanterns, or a small sculpture.
- Care & Maintenance: Seal edges well; they get the most scuffs from shoes and grit.
10. Charcoal Stones With Thin White Pinstripes
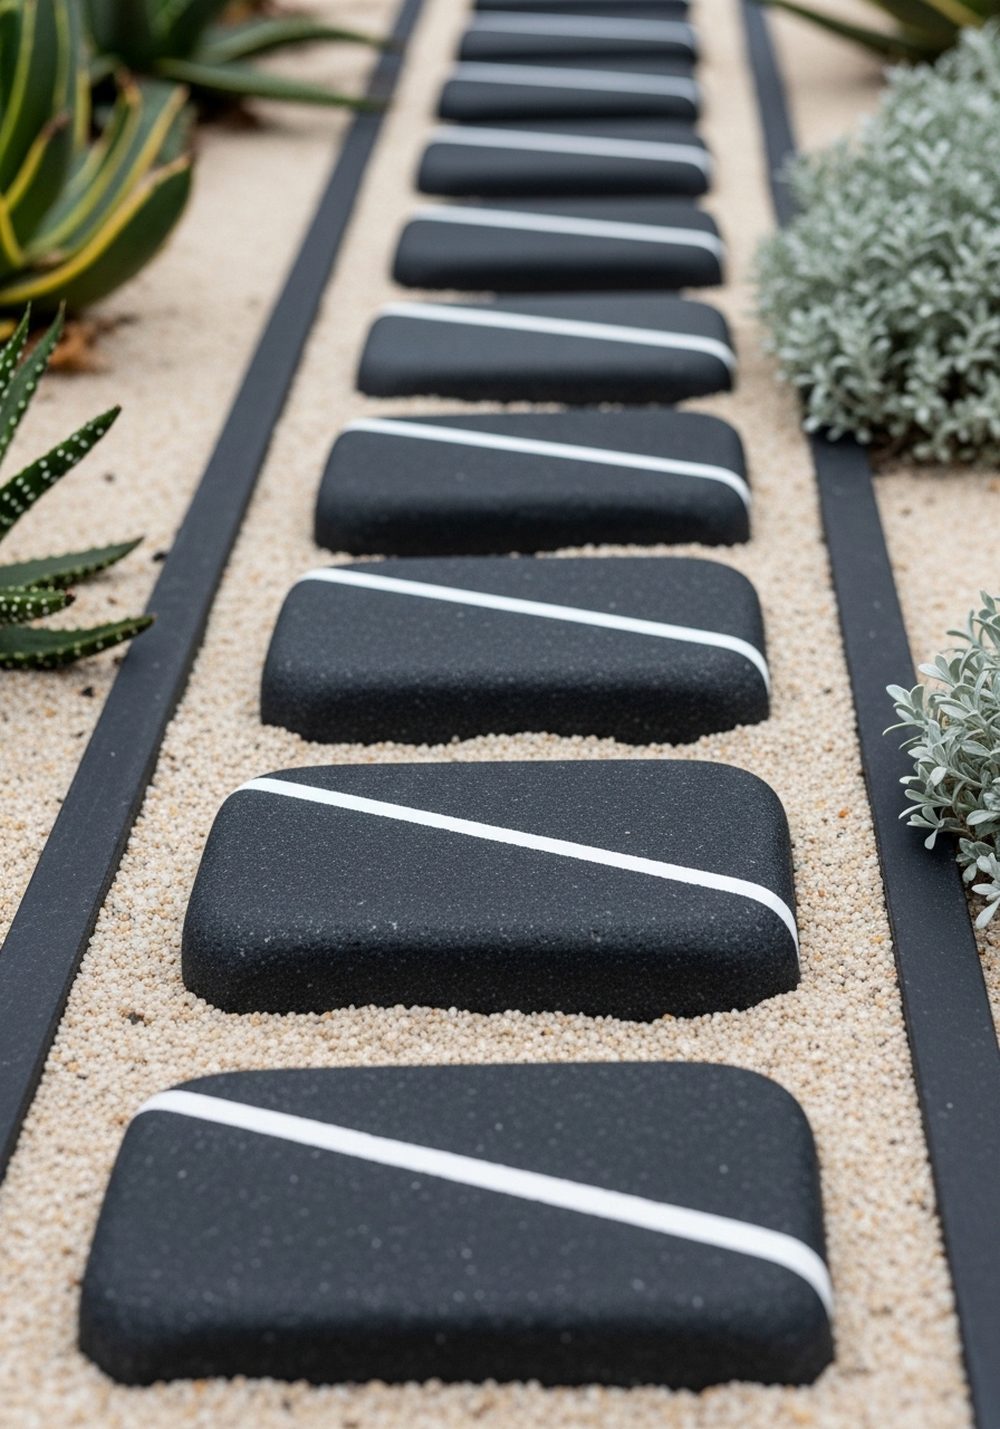
Give charcoal stones a single thin white pinstripe for a minimalist, “designed” pattern that doesn’t scream for attention. Slightly off-center stripes look more modern than perfectly centered ones, and the repetition creates a calm rhythm along the path. Use pale sand or light gravel between stones for contrast, and keep borders crisp. This is one of the quickest paint jobs that still reads upscale.
- Best For: Narrow paths and contemporary gardens that need structure.
- Budget Tip: Paint stripes on only the most visible stones and mix in plain charcoal pieces.
- Styling Idea: Pair with silver foliage or sculptural succulents for a modern palette.
- Practical Note: Use a small flat brush or paint pen for consistent line thickness.
Conclusion
Modern painted rock paths look expensive when they feel intentional: limited colors, repeated patterns, and clean edges. Whether you go for a subtle ombre “river,” a faux marble moment, or a simple pinstripe detail, the upgrade is mostly in the layout and finish. Start with one short section, seal it well, and expand once you love how it changes the whole mood of your garden.
FAQs
1) What paint works best for outdoor rocks?
Exterior acrylic paint holds up well, especially on clean, dry stones. For extra durability, use an exterior clear sealer on top. Let everything cure fully before placing rocks where they’ll be walked on.
2) How do I keep painted rocks from looking “crafty”?
Use a modern palette (neutrals, muted greens, charcoal) and repeat one pattern consistently. Crisp edging and tidy spacing make the biggest difference. A satin or matte topcoat also helps the finish look intentional.
3) What’s the most budget-friendly idea here?
The greige “concrete” pebbles and the monochrome ombre pebble run both look high-end with very little paint. You can also paint only the visible tops of rocks and mix painted stones with unpainted neutrals.
4) Are painted rock paths slippery when wet?
They can be if you use a glossy sealer. Choose a matte or satin exterior sealer, and avoid creating a perfectly smooth, glassy finish. Using varied rock textures also helps with grip.
5) Can renters do a painted rock path without permanent changes?
Yes. Build the path as a removable layer over landscape fabric or directly over compacted gravel, and use metal edging that can be lifted later. Keep paint and sealer choices outdoor-safe, then move the rocks with you if you want.