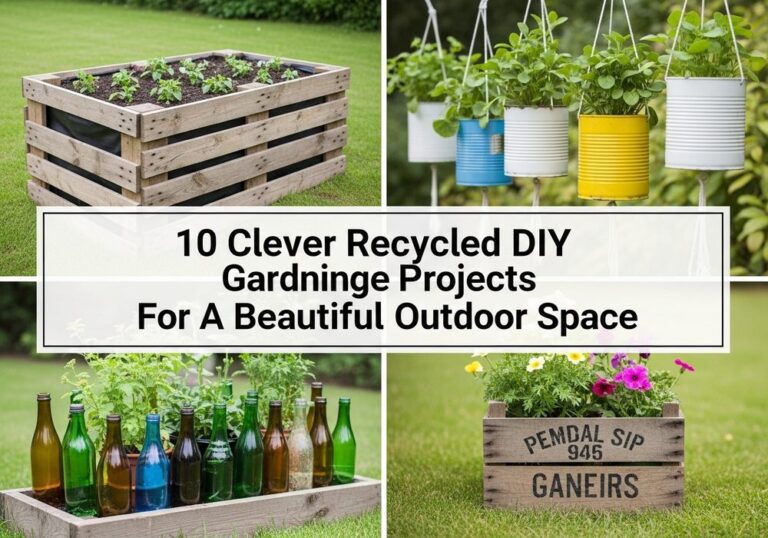
10 Rainbow Painted Rock Garden Path for Instant Curb Appeal

A rainbow painted rock path is one of those simple upgrades that instantly makes a front yard feel happier, tidier, and more “finished.” It’s perfect if you want a weekend project that doesn’t require heavy tools, big spending, or advanced DIY skills. Whether you have a straight sidewalk, a winding stepping-stone path, or just a small entry walkway, painted rocks add color and personality while guiding the eye toward your door. In this post, you’ll find ten realistic ways to use rainbow rocks—ranging from subtle edging to bold focal points—plus practical tips for making them look intentional and last through the weather.
Quick List
- Rainbow Rock Border Path
- Rainbow Stepping-Stone Centerline
- Mandala Rainbow Medallion Stones
- Rainbow “River” Mosaic In Gravel
- Ombre Rainbow Pebble Inlay
- Rainbow Rock “Welcome” Cluster (Symbol-Based)
- Rainbow Rock Edging With Plant Markers (Color-Coded)
- Rainbow Spiral Path Accent
- Rainbow Rock “Puddle” Landing Pad
- Rainbow Rock Path Lights Pairing
1. Rainbow Rock Border Path

Create instant curb appeal by lining both sides of your walkway with smooth stones painted in rainbow order. Keep the rocks similar in size so the border looks clean rather than scattered. Start at the street end and repeat the color sequence as you move toward the door, tucking each rock slightly into mulch or gravel so it feels “set” in place. The bright edge frames the path, makes planting beds look sharper, and gives your entry a cheerful, welcoming vibe.
- Best For: Straight sidewalks, narrow side paths, and front-bed edges that need definition.
- Budget Tip: Collect stones over time and paint in batches; you can extend the border as you find more rocks.
- Styling Idea: Pair bold colors with neutral gravel or dark mulch so the rainbow reads crisp and intentional.
- Care & Maintenance: Use an exterior clear sealant and touch up chips once or twice a season.
2. Rainbow Stepping-Stone Centerline

If you want color without committing to full edging, add a single file of rainbow rocks down the center of the path. Choose flatter stones so they sit stable and don’t become trip hazards. Paint each rock a solid color, seal well, and space them evenly—like little cheerful “beats” leading to the door. This works especially well on plain concrete where you want a playful detail without changing the landscaping.
- Best For: Plain concrete walkways and modern homes that suit clean, simple accents.
- Budget Tip: You only need a small number of stones, so it’s an easy low-cost starter project.
- Styling Idea: Keep the rest of the path minimal—one bright line looks more curated than lots of scatter.
- Practical Note: Make sure stones sit flat; set them into a thin bed of sand if needed.
3. Mandala Rainbow Medallion Stones

Turn a basic path into a mini gallery by adding a few mandala-style rainbow stones near the entry or at a curve. You don’t need a whole collection—three to seven stones clustered together can look purposeful and artsy. Set them in mulch or gravel and repeat a few colors in nearby planters (like a red pot or yellow flowers) to make the palette feel connected, not random.
- Best For: Cottage gardens, artistic yards, and small front beds near the porch.
- Budget Tip: Paint a few “feature” rocks instead of dozens; the impact comes from detail, not quantity.
- Styling Idea: Use dot patterns and layered circles for a handmade look that feels special.
- Care & Maintenance: Seal twice and let cure fully so dot details don’t wear off quickly.
4. Rainbow “River” Mosaic In Gravel

For a path that already has gravel, create a winding “river” of rainbow stones through the center or along one edge. The key is shape: let the river curve gently so it feels organic and leads the eye forward. Vary the stone sizes slightly, but keep the color order consistent. The gravel acts as a neutral canvas, making the rainbow pop while still looking neat and landscaped.
- Best For: Gravel paths, xeriscape front yards, and low-water landscapes.
- Budget Tip: Use smaller painted stones to fill gaps so you can cover more area with fewer large rocks.
- Styling Idea: Add a few natural gray stones mixed in so the rainbow feels grounded and not too loud.
- Practical Note: Rake gravel edges occasionally to keep the river line crisp.
5. Ombre Rainbow Pebble Inlay

If you like a more subtle, designer look, try an ombre effect instead of clear stripes. Use small pebbles painted in gradually shifting tones—reds into oranges, then yellows, and so on—so the transition feels smooth. Place them in a narrow strip beside a path or along one concrete edge. This reads polished and modern, especially when the surrounding materials are simple and neutral.
- Best For: Modern entries, minimalist gardens, and anyone who prefers softer color transitions.
- Budget Tip: Paint mixed pebbles you already have; ombre hides slight size differences beautifully.
- Styling Idea: Keep plants in greens and silvers nearby so the gradient becomes the star.
- Care & Maintenance: Choose a tough outdoor sealant; small pebbles get more abrasion.
6. Rainbow Rock “Welcome” Cluster (Symbol-Based)
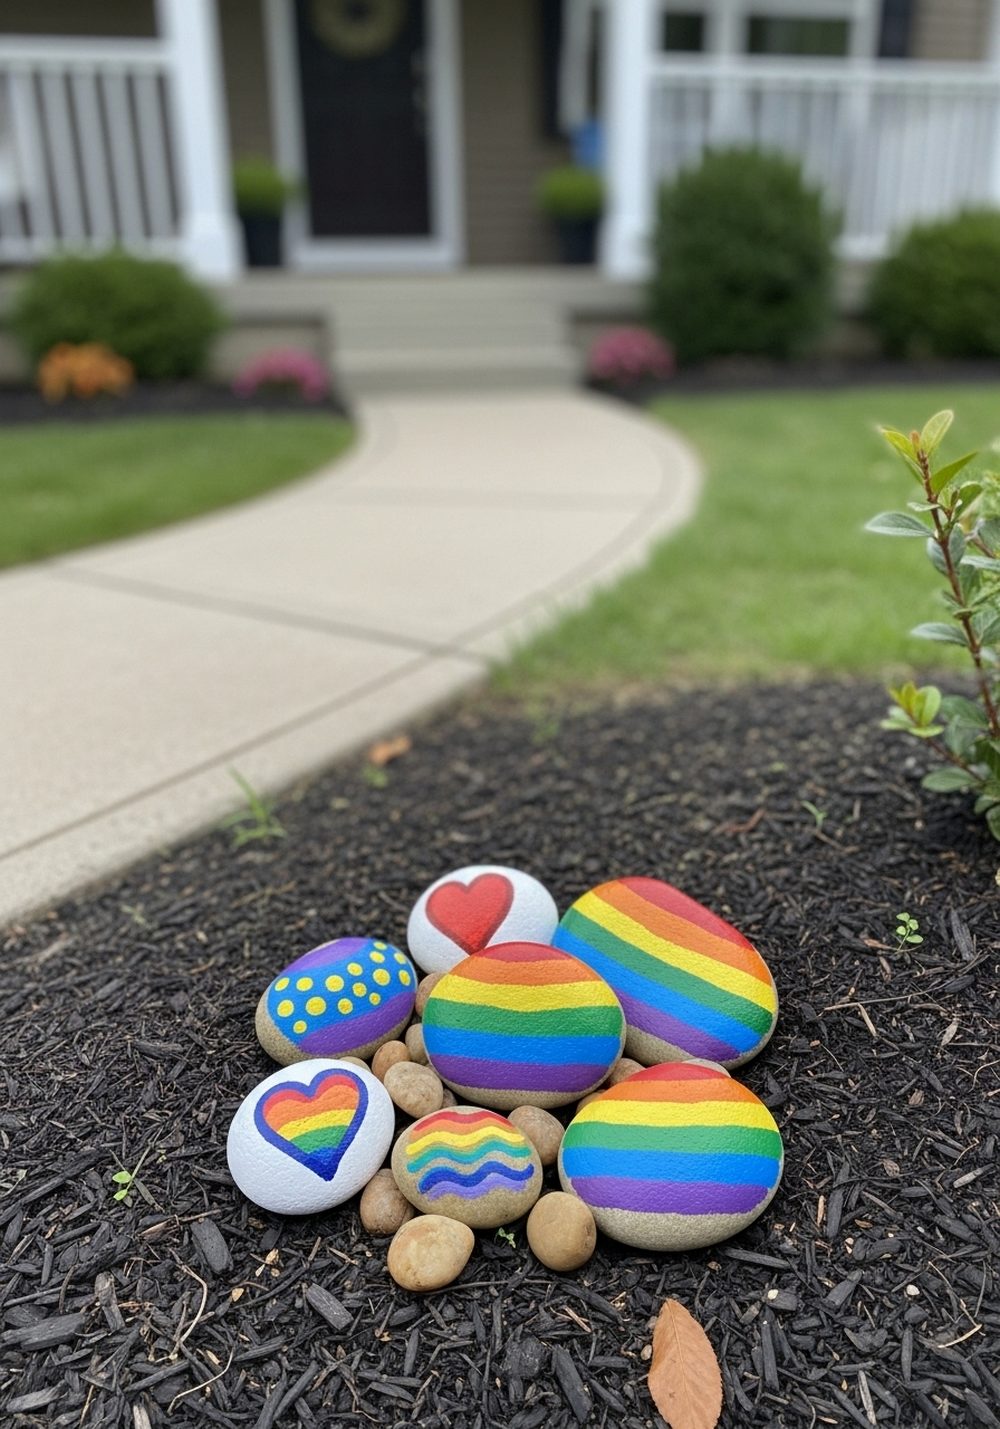
Instead of writing words, create a welcoming moment with a small cluster of rainbow rocks painted with simple shapes—dots, stripes, waves, hearts. Place the cluster at the start of the path, near a gate, or beside a porch step where it feels like a cheerful discovery. Keeping it symbol-based makes it timeless and avoids the “craft sign” look while still feeling friendly and personal.
- Best For: Small spaces, renters, and entry corners where a big border would feel crowded.
- Budget Tip: Use whatever stones you find; this idea doesn’t require matching sizes.
- Styling Idea: Repeat two or three shapes across the set so the collection feels cohesive.
- Practical Note: Nestle rocks slightly into mulch so they don’t migrate after rain.
7. Rainbow Rock Edging With Plant Markers (Color-Coded)

Combine decor and function by placing rainbow rocks at the base of plants along the path edge—one color per plant grouping. Even without labels, the colors can help you remember what’s planted where (especially in mixed beds). It also creates a rhythmic, tidy look that makes garden beds feel intentional. This approach looks especially good when the plants are small and evenly spaced.
- Best For: New gardens, mixed perennial borders, and anyone who likes order without signs.
- Budget Tip: Start with one small bed section and add colors as you expand plantings.
- Styling Idea: Use one “calm” color family (cool tones) in shady areas and warm tones in sunny beds.
- Care & Maintenance: Pull weeds around each rock so the colors stay visible and crisp.
8. Rainbow Spiral Path Accent

A spiral of rainbow stones at the start of a path creates a focal point that feels playful but still designed. Set the stones into gravel or compacted soil so the spiral edges stay sharp. This works like a visual “welcome mat” for your yard—people naturally look at it as they approach. Keep the spiral size modest so it doesn’t overwhelm the entry.
- Best For: Short front paths, small lawns, and spots where you need one strong feature.
- Budget Tip: Make a smaller spiral first; you can always expand it later with more rings.
- Styling Idea: Surround the spiral with low groundcover for a soft, finished edge.
- Practical Note: Use flatter stones on the outer ring where feet might step.
9. Rainbow Rock “Puddle” Landing Pad

Create a “puddle” of tightly packed rainbow stones near porch steps or at a path junction. The organic shape feels welcoming and helps break up large, plain areas of concrete or mulch. Aim for a clear outline—almost like a little island of color—and keep the interior stones close together so it reads as one feature, not scattered rocks.
- Best For: The base of steps, mailbox areas, and path intersections that need a visual anchor.
- Budget Tip: Mix painted stones with a few natural ones to stretch your supply without losing impact.
- Styling Idea: Pair with one neutral pot or simple bench so the color stays the main statement.
- Care & Maintenance: Sweep debris off occasionally; leaves can dull the colors if they sit too long.
10. Rainbow Rock Path Lights Pairing

Pair rainbow rocks with simple solar stake lights for curb appeal that works day and night. Line rocks on one side of the path and lights on the other, or alternate them for a balanced look. At dusk, the warm glow reflects subtly on sealed paint, making the colors feel extra lively. This idea also improves safety by lighting the walkway while adding personality.
- Best For: Evening foot traffic, front entries with steps, and darker walkways that need safer navigation.
- Budget Tip: Add lights gradually—start with two near the steps and expand down the path later.
- Styling Idea: Choose warm-toned lighting for a cozy mood that complements bright colors.
- Practical Note: Keep lights slightly back from the edge so you don’t bump them when edging or weeding.
Conclusion
A rainbow painted rock garden path is an easy way to make your front yard feel more welcoming, creative, and cared for—without a major renovation. Whether you go bold with full edging or keep it subtle with a small accent cluster, the secret is consistent placement and a good sealant so it stays sharp. Start with one small section near your entry, then build outward as you find more rocks and ideas.
FAQs
1) How do I make painted rocks last outdoors?
Clean and dry the rocks first, use outdoor-grade paint, and finish with a clear exterior sealant. Let everything cure fully before placing them outside. Touch up chips as needed—especially in high-traffic areas.
2) What’s the easiest rainbow rock layout for beginners?
A simple border on one side of the path is the easiest to make look intentional. Use similar-sized stones and repeat the color order. It’s forgiving and you can add more later.
3) Can renters do this without making permanent changes?
Yes. Place the rocks on top of mulch or gravel, or set them in a shallow layer of sand that can be removed later. Avoid adhesives and keep the design contained to portable areas.
4) What if my yard is very small?
Go for a “welcome cluster,” a small spiral, or a short centerline of stones. Concentrating the color in one spot looks designed and avoids visual clutter.
5) Are painted rocks slippery or unsafe on paths?
They can be if placed where people step directly on them, especially with glossy sealants. Keep rocks slightly off the main walking line or use flatter stones set firmly into sand so they don’t move.