10 Painted Rock Garden Markers for Outdoor Spaces
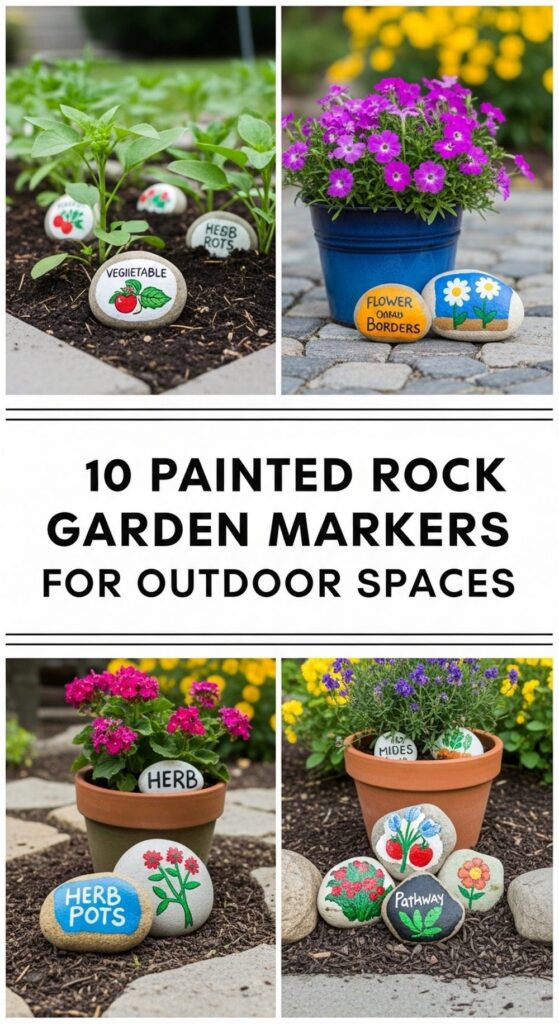
Painted rock garden markers are one of those simple little projects that instantly make your outdoor space feel more personal, organised, and full of character. They’re budget-friendly, beginner-friendly, and easy to adapt whether you’re gardening in a big backyard, a community plot, or a tiny patio with a few pots.
In this post, you’ll discover ten creative ways to turn ordinary stones into charming plant markers, from minimalist lettered rocks to playful vegetable characters. Each idea includes styling tips, money-saving suggestions, and practical notes so you can create markers that survive the weather while adding serious curb appeal to your beds, borders, and containers.
Quick List
- Herb Silhouette Rock Markers
- Chalkboard-Style Black Rock Markers
- Watercolor Wash Pebble Markers
- Storybook Vegetable Character Rocks
- Minimalist Lettered River Stone Markers
- Kids’ Handprint Rock Markers
- Mosaic Dot Mandala Rock Markers
- Weather-Themed Plant Family Rocks
- Vintage Botanical Illustration Rocks
- Glow-in-the-Dark Pathway Markers
1. Herb Silhouette Rock Markers
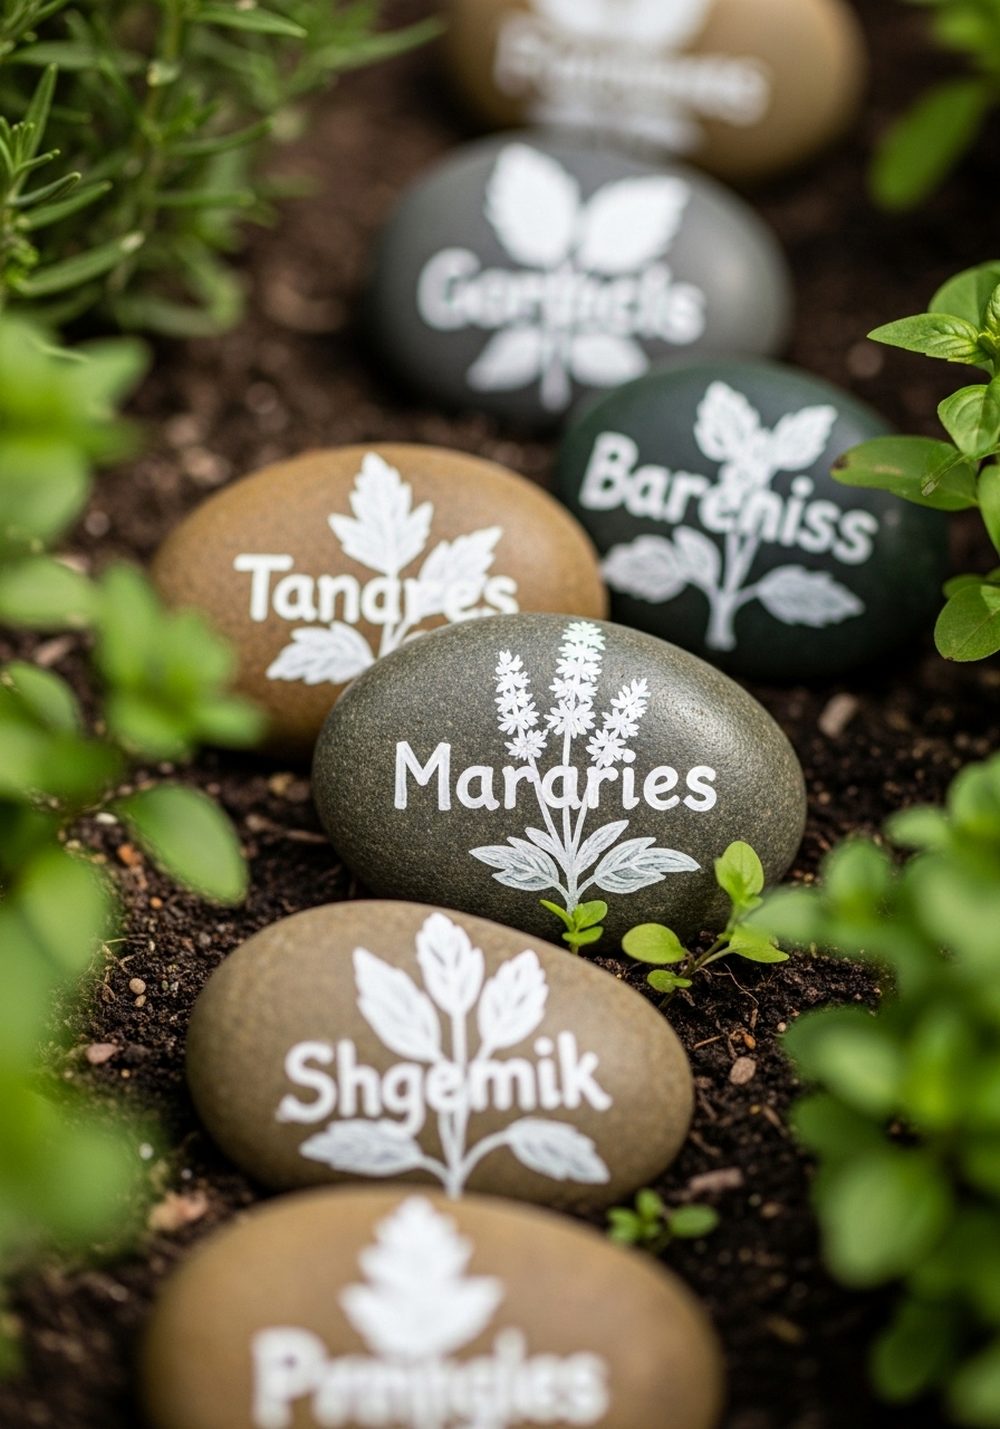
Paint smooth, medium-sized stones in a soft background colour, then add simple white or black silhouettes of each herb—like the frilly outline of parsley or the pointed sprigs of rosemary—with the name neatly written underneath. Tuck the rocks right at the front of your herb bed or large herb pots so they’re easy to read from above. The crisp shapes look stylish from a distance, and up close the silhouettes act like tiny art pieces grounded in soil and greenery.
- Best For: Herb beds, kitchen gardens, and container herbs near the back door.
- Budget Tip: Use stones you already have and sample-size paints or leftover wall paint.
- Styling Idea: Stick to one background colour for a calm, cohesive look.
- Practical Note: Seal with clear outdoor varnish so silhouettes don’t fade from watering.
- Extra Idea: Add a tiny silhouette bee or butterfly to your favourite herb markers.
2. Chalkboard-Style Black Rock Markers
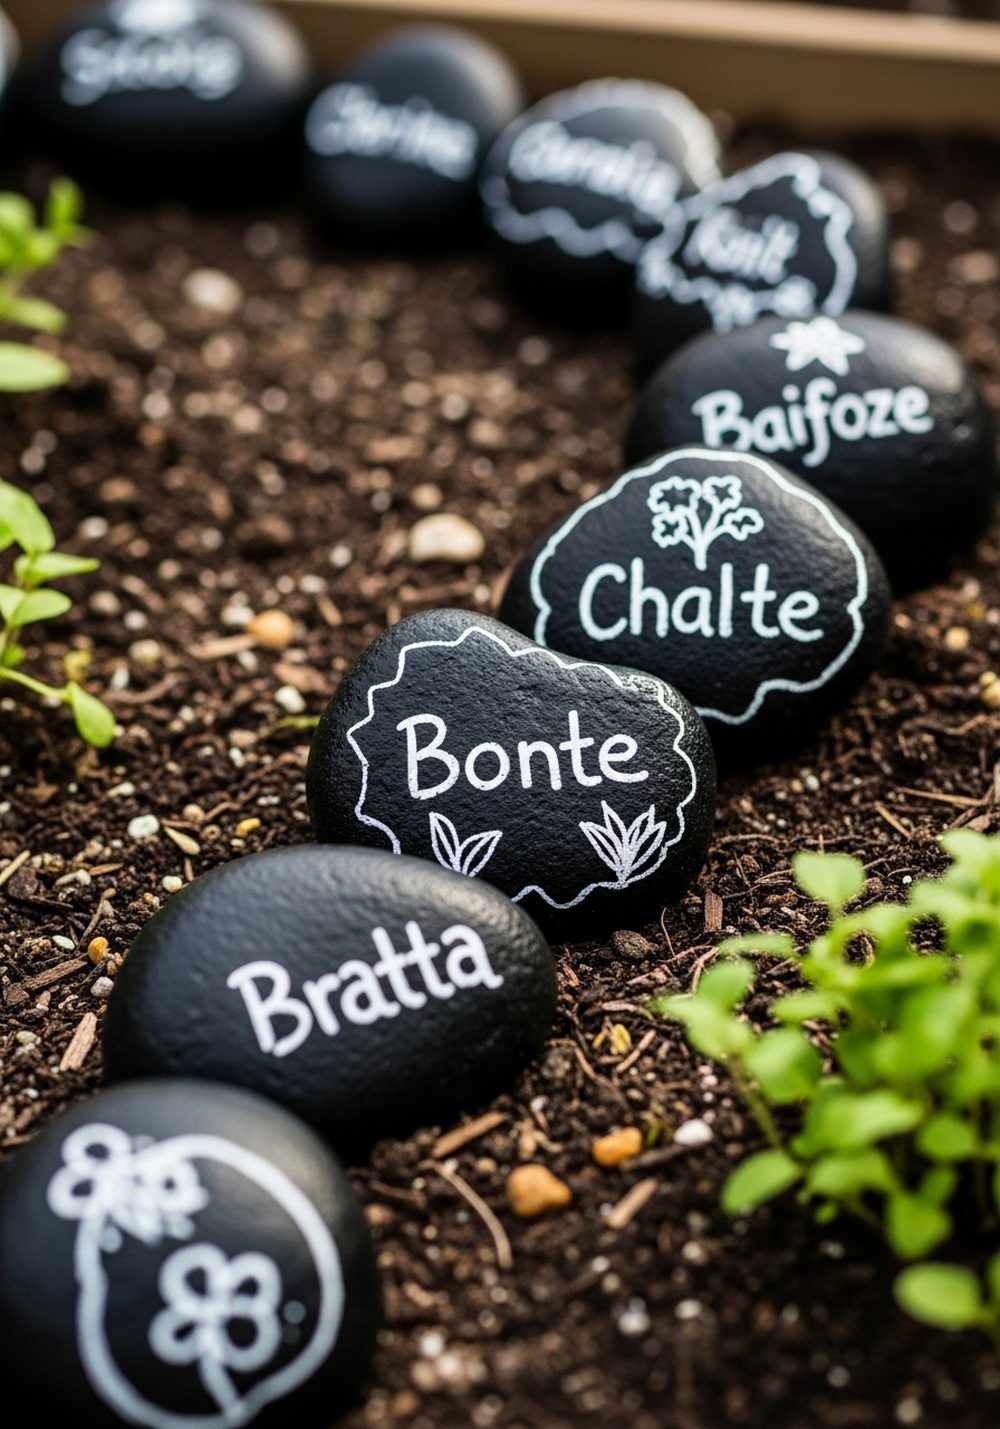
Give your garden a modern edge by painting chunky rocks in matte black, then “write” your plant names on with a white paint pen to mimic chalk. A few little doodles—like a leaf or swirl—at the corners make them look like miniature signboards. Lined along raised beds or nestled beside seedlings, they create strong contrast with the soil and greenery so you can identify plants at a glance. These markers feel contemporary but still playful and handmade.
- Best For: Raised beds, veggie plots, and tidy modern gardens.
- Budget Tip: One small pot of black acrylic goes a long way if you batch-paint your stones.
- Styling Idea: Keep lettering consistent—same size and style—to make the whole bed look curated.
- Practical Note: Use a paint pen labelled permanent and weather-resistant for lasting “chalk.”
- Care & Maintenance: Touch up chips in the black paint once a season before resealing.
3. Watercolor Wash Pebble Markers

For a soft, dreamy look, coat small river pebbles in diluted pastel paints so the natural stone still peeks through. Add white or dark lettering once the washes are fully dry. Arrange clusters of three or five near each plant group to create little colour clouds around your beds or containers. The gentle gradients look beautiful against dark soil or gravel and add a subtle decorative touch even where plants are still small or newly planted.
- Best For: Mixed flower beds, cottage-style borders, and container groupings.
- Budget Tip: Mix a tiny amount of paint with water to stretch supplies and get that washed effect.
- Styling Idea: Choose two or three complementary pastel shades and repeat them across the garden.
- Practical Note: Avoid very high-traffic areas where thin paint washes could wear quickly.
- Care & Maintenance: Reseal with clear spray varnish every year to protect the delicate colours.
4. Storybook Vegetable Character Rocks
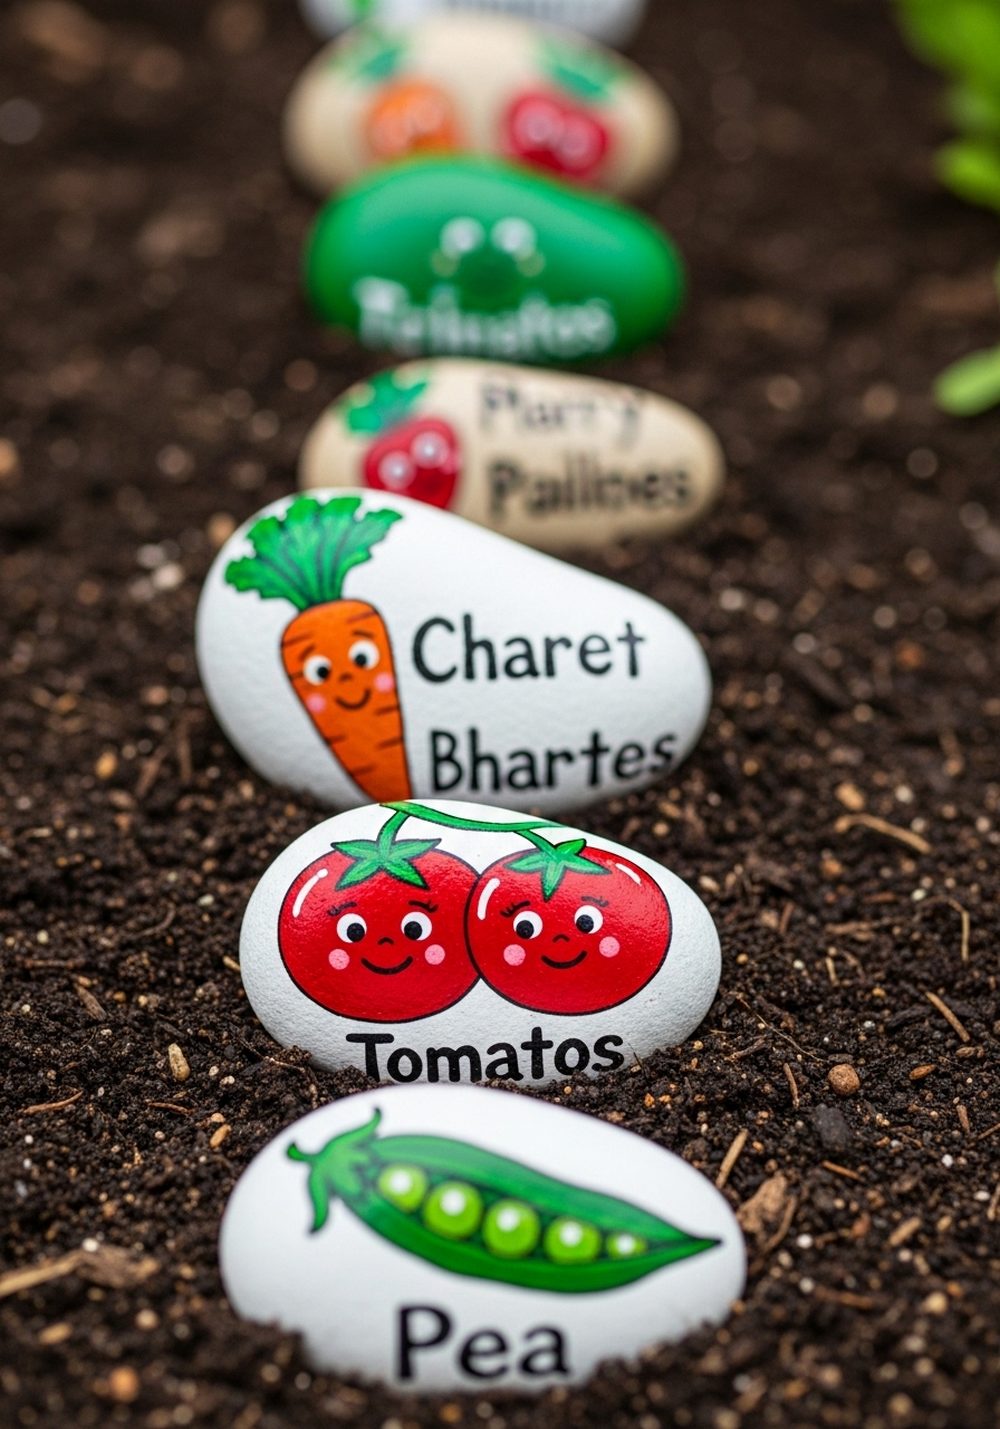
Turn your vegetable garden into a mini storybook by painting your rocks as cute characters—smiling carrots, wide-eyed tomatoes, or sleepy lettuces—then adding the plant name beneath each face. Keep the designs simple so they’re easy to recreate and fun for kids to help with. Place the rocks at the start of each row or beside clusters of the same crop. The characters make the garden feel friendly and inviting, and they also help children remember which plants are which.
- Best For: Family veg patches, school gardens, and community plots.
- Budget Tip: Use basic primary colours and mix your own shades to keep paint costs down.
- Styling Idea: Give all characters similar eyes or expressions so they feel like one “cast.”
- Practical Note: Use larger rocks so the faces and names stay readable from standing height.
- Extra Idea: Create a “garden guardian” character rock to sit at the entrance to your beds.
5. Minimalist Lettered River Stone Markers
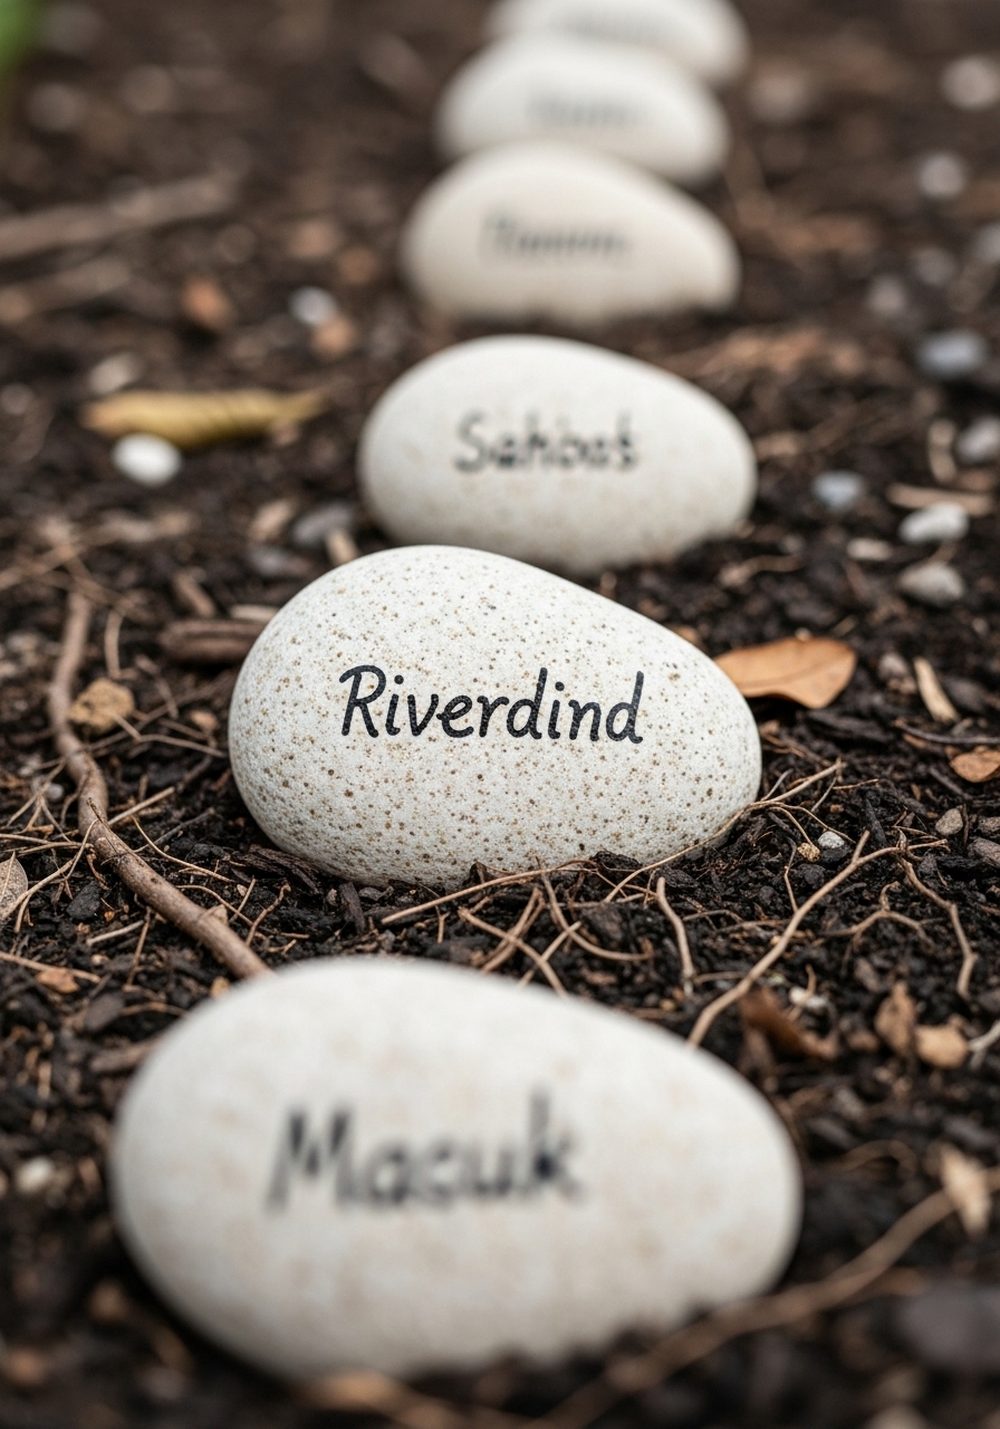
If you like a calm, understated look, keep your stones mostly natural and focus on beautiful lettering. Choose smooth, pale river rocks and write plant names directly onto the stone with a fine-tip paint pen or permanent marker. Simple block capitals or elegant script both work; the key is using the same style for every marker. Arrange them neatly at the front edge of beds or nestle them halfway into the soil for a low-profile, almost zen feeling.
- Best For: Modern, minimalist, or small urban gardens.
- Budget Tip: Skip background paint entirely—just pens, stones, and sealer.
- Styling Idea: Pair these markers with neutral pots and lots of green foliage for a spa-like mood.
- Practical Note: Choose stones with light surfaces so dark lettering stands out clearly.
- Care & Maintenance: Re-trace faded letters as needed, then reseal with a clear outdoor spray.
6. Kids’ Handprint Rock Markers
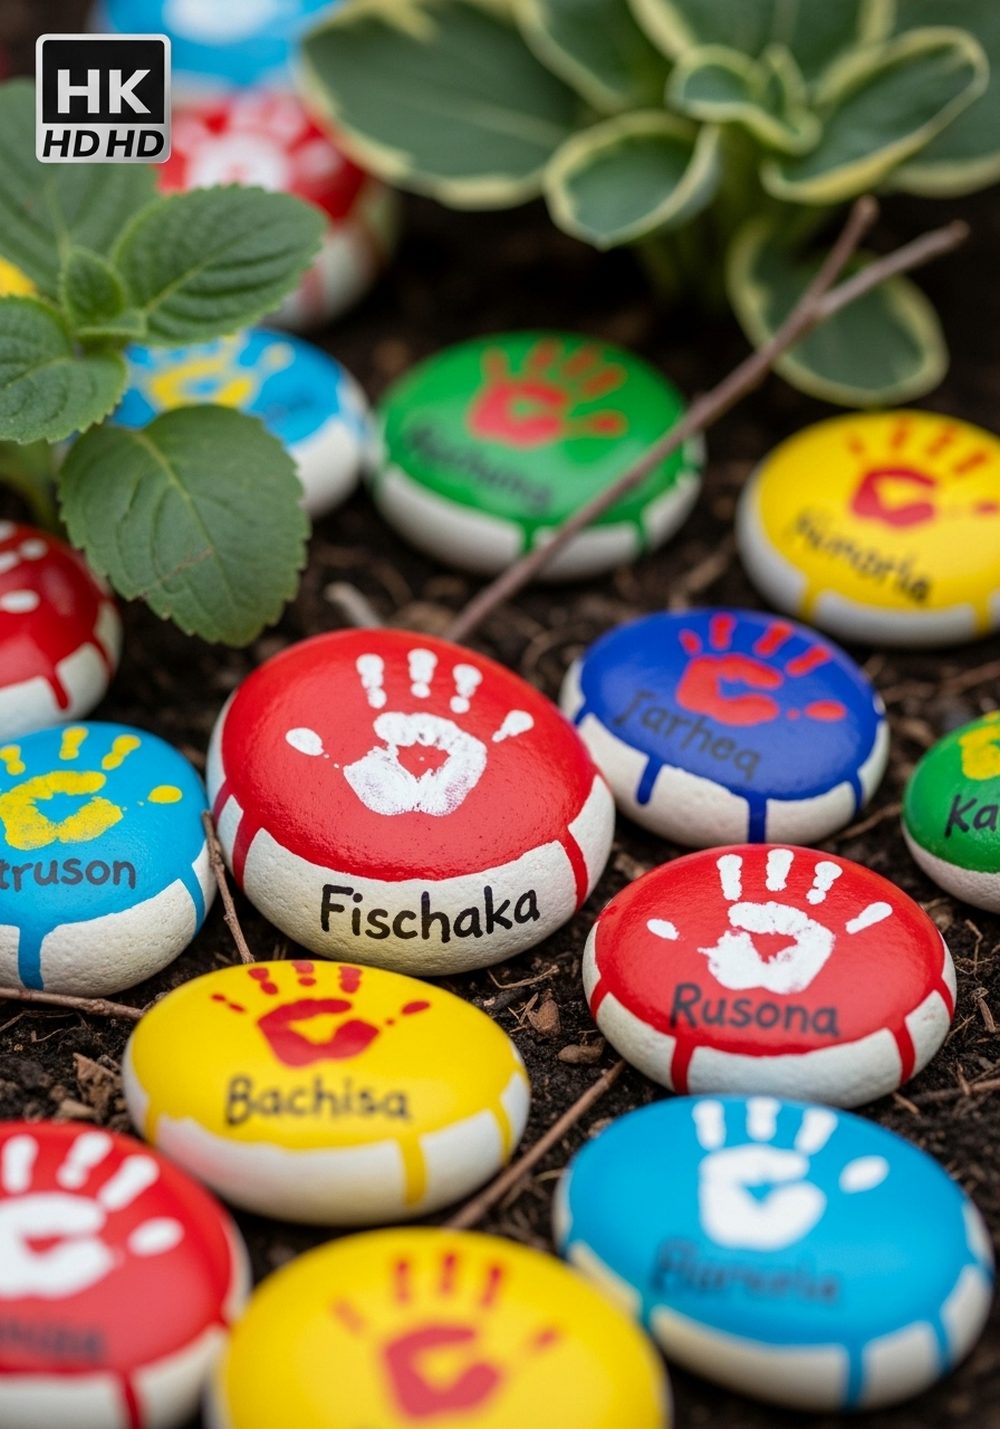
Make your garden markers double as keepsakes by inviting children to stamp their painted handprints onto rocks, then write the plant names underneath in matching colours. Each stone becomes a tiny time capsule of hand size and favourite crops. Place them around a “kids’ corner” bed or scatter them through the main veg patch. As plants grow, the coloured prints peek out between leaves and stems, adding a playful, personal story to your outdoor space.
- Best For: Family gardens, youth clubs, and school plots.
- Budget Tip: Use basic washable craft paints for handprints, then seal well once dry.
- Styling Idea: Assign each child a colour so their “signature” shows up across different beds.
- Practical Note: Let the paint dry completely before sealing so handprints stay crisp.
- Extra Idea: Add the year in tiny numbers on the back of each rock to mark the season.
7. Mosaic Dot Mandala Rock Markers
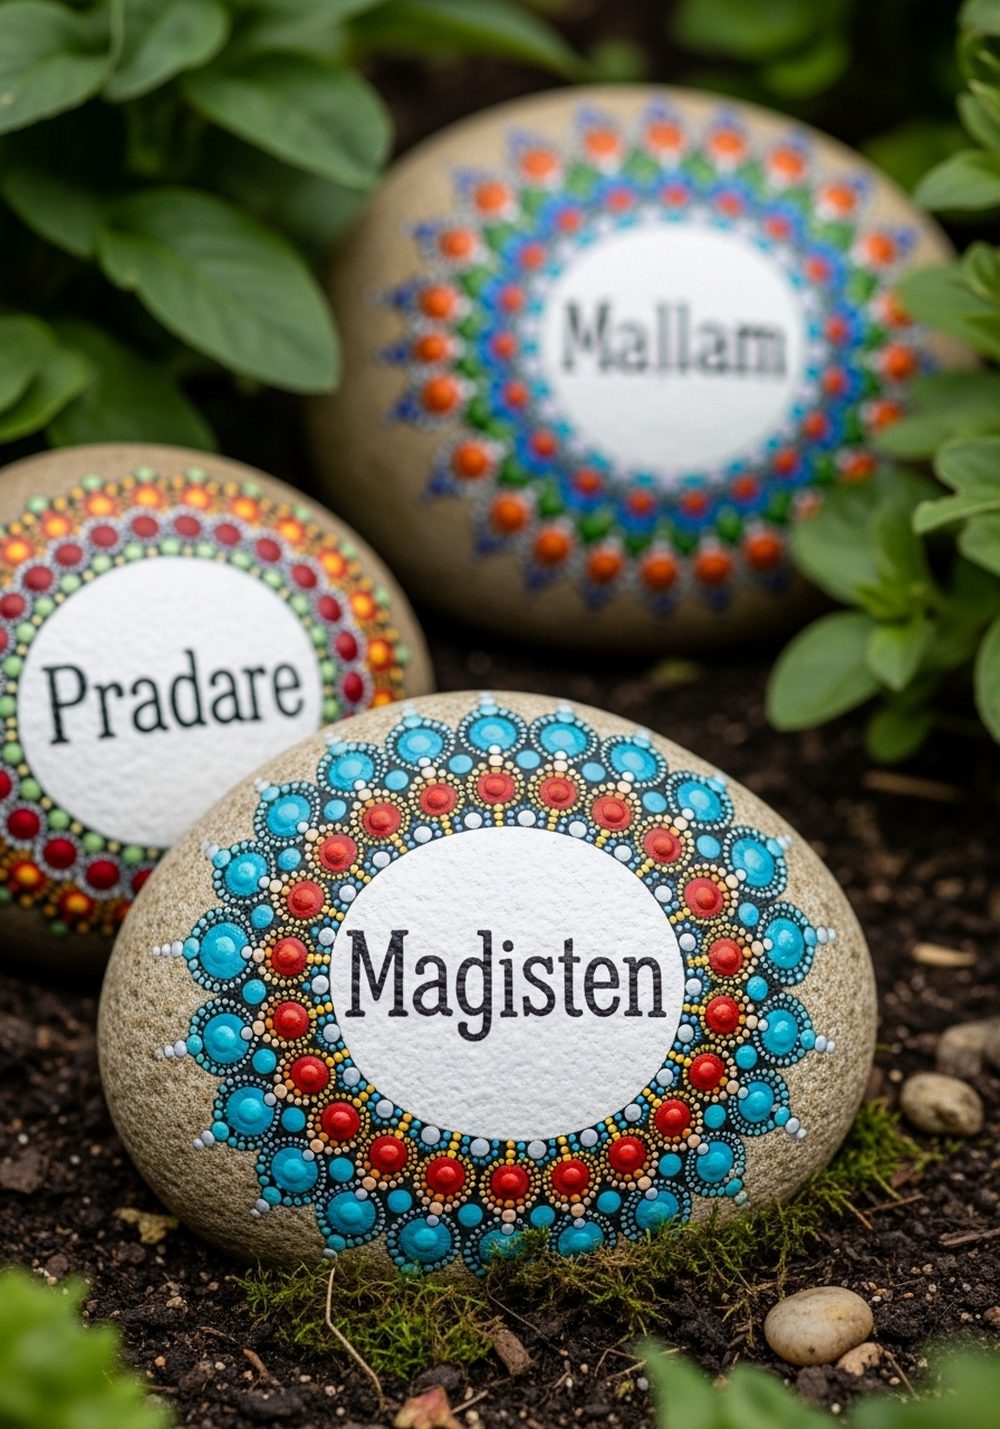
Create showpiece markers by decorating large stones with dot mandala patterns encircling the plant name. Use the tip of a brush or a dotting tool to add neat circles of colour radiating from the centre. Jewel tones like turquoise, gold, and deep red look especially striking against dark soil or mulch. These markers work almost like mini art installations, drawing the eye through the bed and adding texture and colour even when plants are not in bloom.
- Best For: Feature beds, ornamental borders, and focal container displays.
- Budget Tip: Start with only two or three colours and layer dots for complexity rather than buying many shades.
- Styling Idea: Repeat the same colour palette across all mandala rocks for a gallery-like effect.
- Practical Note: Sit these stones slightly above soil level on gravel or a brick chip base to keep patterns clean.
- Care & Maintenance: Seal thoroughly—raised dots can wear faster in exposed spots.
8. Weather-Themed Plant Family Rocks
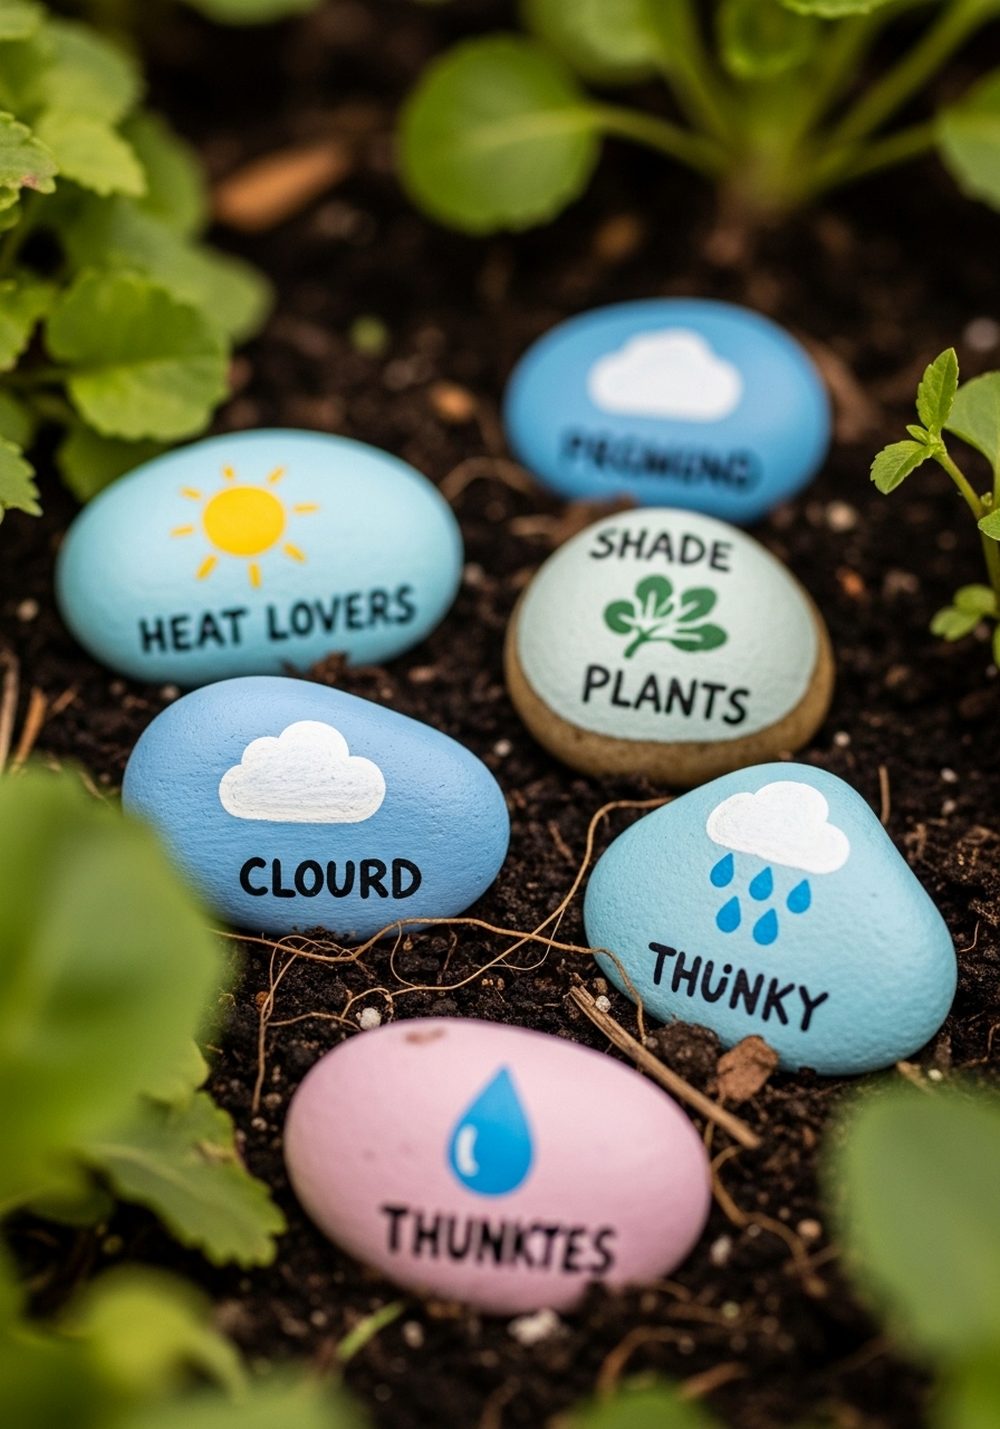
Help yourself remember plant needs at a glance by painting simple weather icons on your rocks: a tiny sun for full-sun lovers, raindrops for thirstier plants, and a cloud for shade fans. Add the plant names beneath each symbol on soft sky-coloured backgrounds, then place the markers at the start of each plant “family” group. This turns your beds into an easy visual map of growing conditions, while the repeated icon shapes add a gentle, playful theme.
- Best For: Mixed borders where light and water needs vary.
- Budget Tip: Choose one blue background colour for all rocks to keep things simple and cheap.
- Styling Idea: Keep icons very minimal—just outlines—so the effect stays calm, not cartoonish.
- Practical Note: Make icons large enough to recognise quickly without bending down.
- Extra Idea: Add a tiny symbol key on one larger rock at the edge of your garden.
9. Vintage Botanical Illustration Rocks
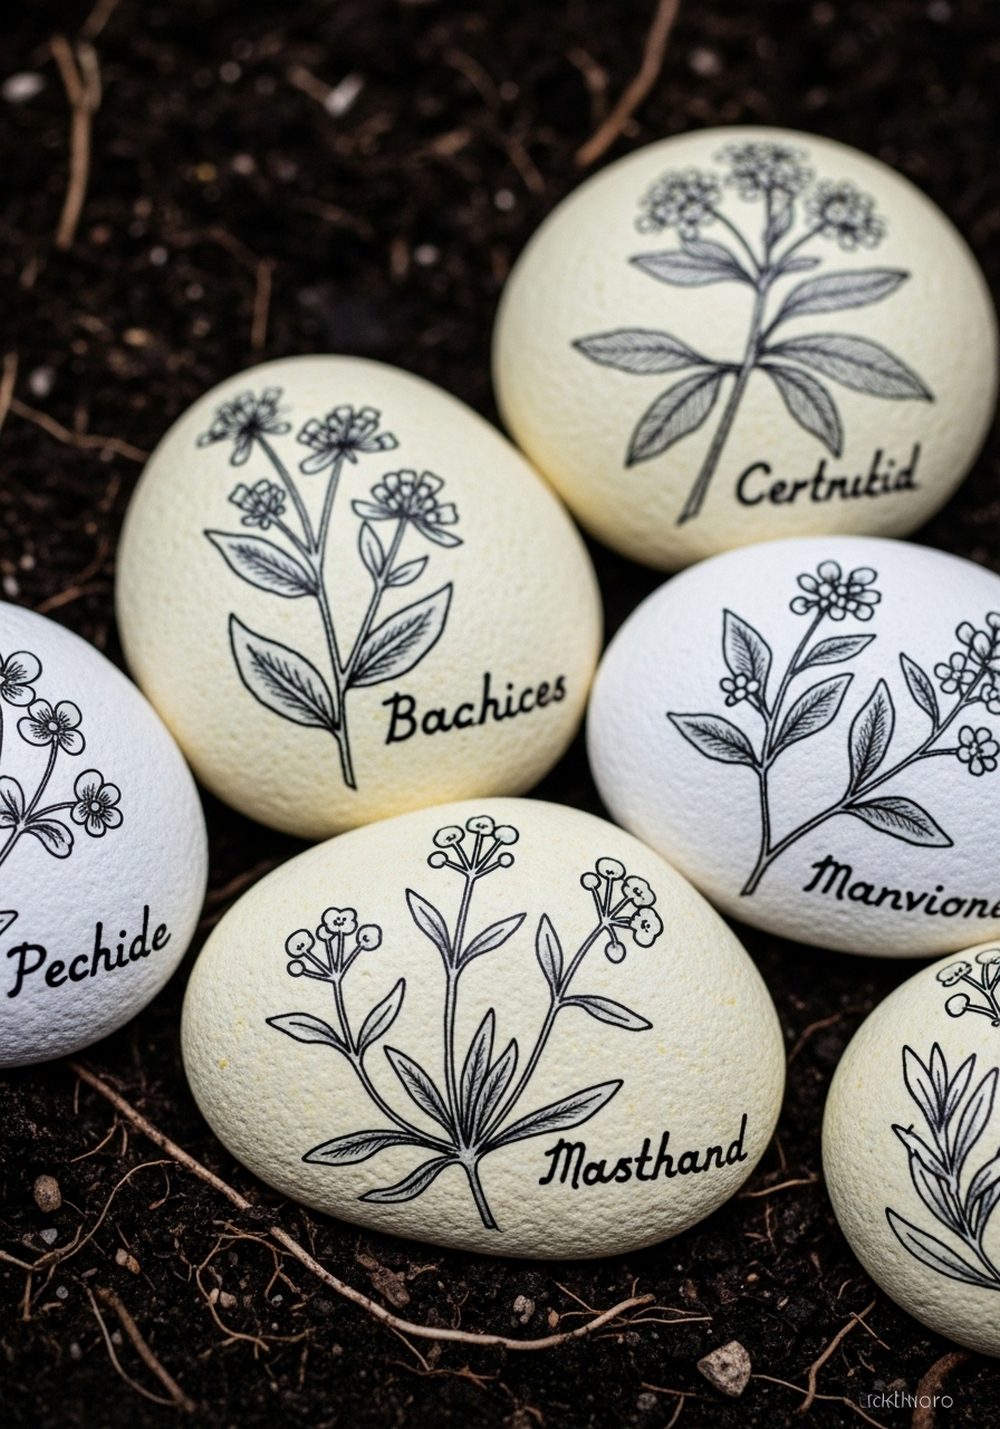
For a classic, timeless look, paint your rocks in a warm off-white and sketch delicate botanical-style drawings of each plant over the top, using a fine black or sepia pen. Include slender stems, leaf shapes, and a few small blooms, then add plant names in a tidy hand underneath. These markers look especially beautiful in cottage gardens and among older brick or stonework, echoing the feel of vintage plant illustrations while still being fully practical and weather-ready.
- Best For: Cottage gardens, traditional borders, and heritage-style spaces.
- Budget Tip: One pot of creamy base paint and a single fine pen can cover many stones.
- Styling Idea: Keep drawings in simple line art rather than full colour to maintain that old-plate feel.
- Practical Note: Work slowly and seal gently; fine lines can smudge if handled too soon.
- Care & Maintenance: Store a couple of blank, painted rocks so you can quickly add new plants later.
10. Glow-in-the-Dark Pathway Markers
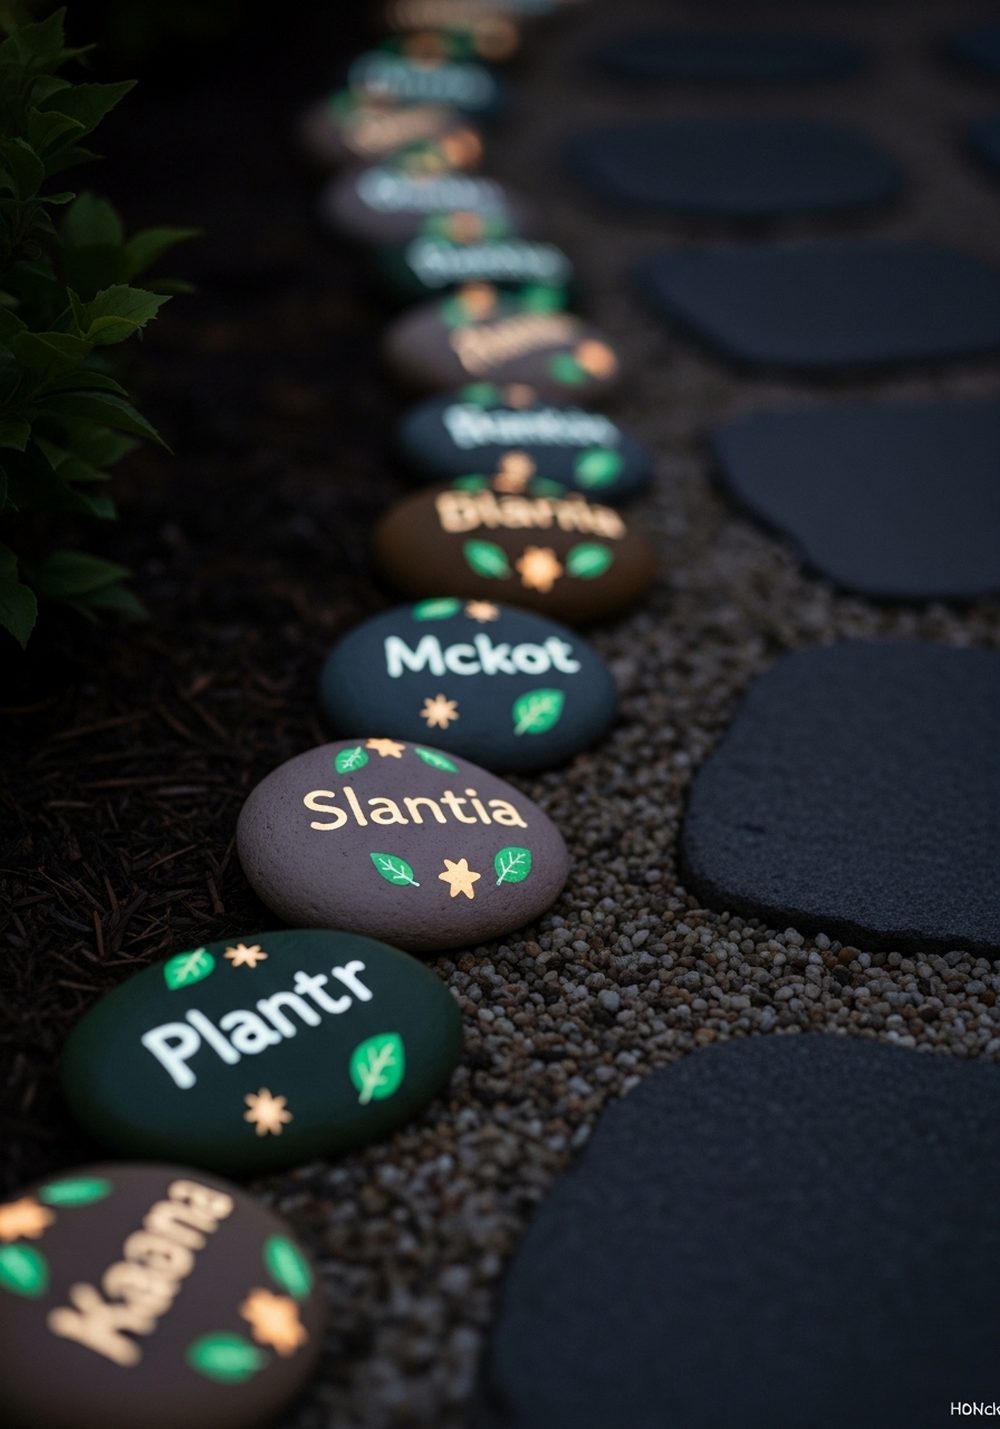
Add a little nighttime magic by painting rocks with normal plant names on their tops and glow-in-the-dark accents along the sides or edges. Line them along the front of beds by a path or near steps where you’ll see them in the evening. During the day they look like simple, stylish markers; after dark they give off a soft glow that outlines your planting and makes your garden feel cosy and inviting for evening strolls or outdoor dinners.
- Best For: Gardens enjoyed at dusk, patio borders, and paths.
- Budget Tip: Use glow paint only for small accents so a little goes a long way.
- Styling Idea: Stick to neutral daytime colours so the rocks don’t look too busy when not glowing.
- Practical Note: Place these where they can “charge” in daylight for maximum evening brightness.
- Care & Maintenance: Refresh glow paint every couple of seasons as it slowly dulls in sunlight.
Conclusion
Painted rock garden markers are a simple project that can completely change the personality of your outdoor space. Whether you lean toward minimalist lettering, playful characters, or glowing accents, each stone helps you stay organised while adding colour, texture, and story to your beds and containers. Start with a handful of rocks and one style that suits your garden, then slowly build a collection that grows and evolves alongside your plants.
FAQs
1. How can I make painted rock garden markers on a very small budget?
Gather free stones from your own garden or local walks (where it’s permitted), then use basic acrylic craft paints and a single clear sealer. Start with simple lettering or one-colour designs that don’t require multiple brushes or tools. You can always add extra details later as you collect more supplies.
2. Are painted rock markers suitable for renters or temporary gardens?
Yes, they’re perfect for renters because they’re completely portable and don’t alter the space permanently. When you move, simply gather your stones and take them along. They’re especially handy for potted balconies or patios where you can’t install fixed signage or stakes.
3. How do I protect my painted rocks from rain and sun?
Use outdoor-rated acrylic paints and finish with a clear, weather-resistant sealer, ideally one designed for exterior use. Apply several thin coats, allowing each to dry fully. Place rocks where they’re not constantly submerged in water; a layer of gravel or mulch beneath them helps them dry more quickly after rain.
4. What’s the easiest painted rock marker idea for beginners?
Minimalist lettered stones are the easiest starting point. You only need smooth rocks, a good paint pen or permanent marker, and a clear sealant. Focus on neat, consistent writing rather than detailed artwork. Once you’re comfortable, you can experiment with silhouettes, icons, or small patterns.
5. Can I use painted rock markers in very small spaces like balconies or window boxes?
Absolutely. Small pebbles or flat stones tuck neatly into window boxes, railing planters, and compact pots without taking up much planting space. Choose thinner stones and keep designs simple so the markers don’t overwhelm your containers. They’ll help you keep track of herbs and flowers in tight quarters while adding a decorative touch.
6. Is it safe to place painted rocks directly in soil with edible plants?
Generally, using acrylic paint and a fully cured, non-toxic clear sealer is considered safe for decorative markers. To be extra cautious, place stones on the soil surface rather than burying them, and avoid chipping paint into the beds. If you’re concerned, keep painted rocks at the front edge of the bed, just outside the main root zone.