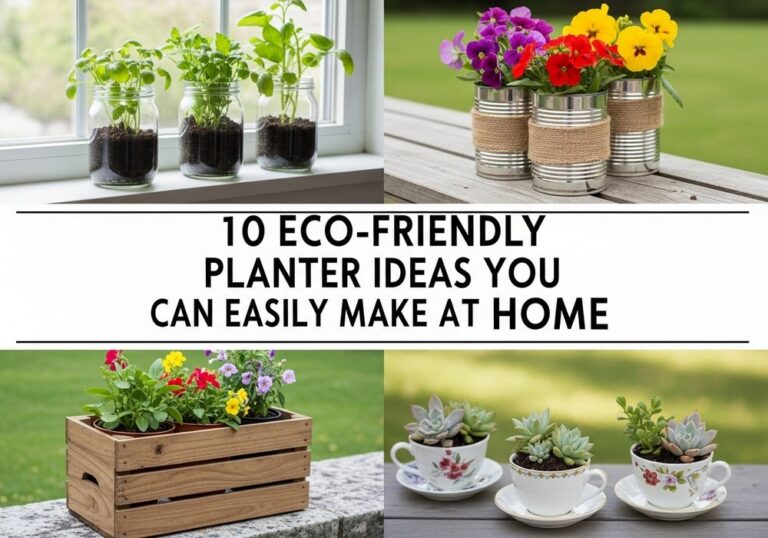
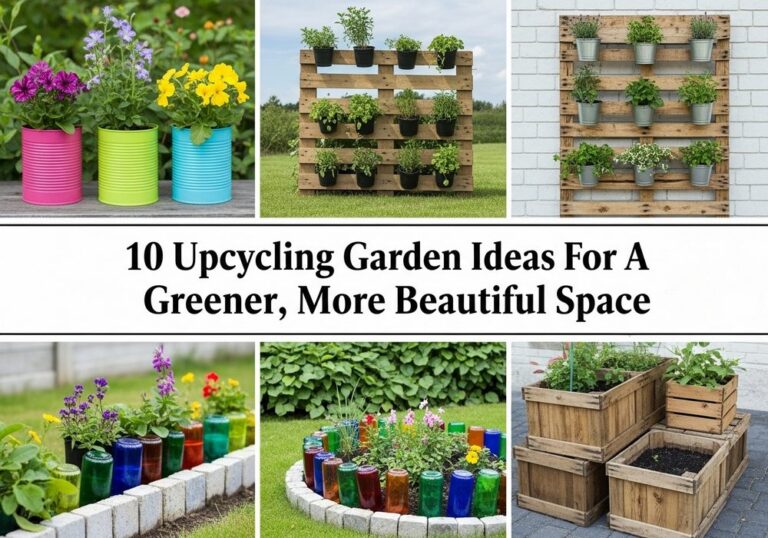
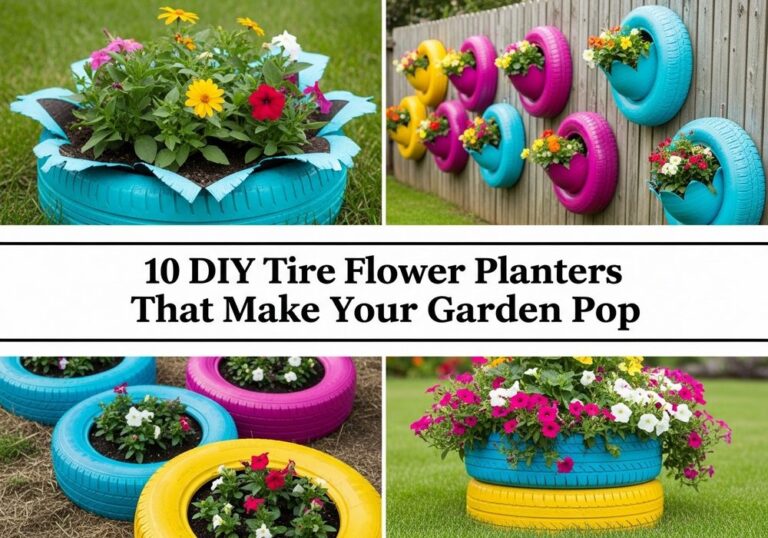
From Pantry To Patio – 10 Recycled Tin Can Garden DIYs Anyone Can Make
If you’ve ever finished a can of tomatoes and felt a tiny pang of guilt tossing the tin, this post is for you. Those “empty” cans are secretly one of the easiest, most budget-friendly materials for charming garden decor.
In this guide, you’ll find ten simple ways to turn basic pantry tins into rail planters, lanterns, bird feeders, and more. Most of these projects need only a few tools, leftover paint, and some imagination. Whether you have a big backyard, a tiny balcony, or a rented patio, these recycled tin can ideas will add color, texture, and personality to your outdoor space.
Quick List
- Color-Blocked Herb Tin Can Rail Planters
- Punched-Tin Can Garden Lanterns
- Boho Tin Can Wind Chimes
- Vertical Tin Can Wall Garden
- Tin Can Wildflower Border Pots
- Rustic Tin Can Utensil & Tool Caddy
- Tin Can Bird Feeders On A Branch
- Tin Can Tabletop Flower Centerpieces
- Tin Can Fairy Garden Mini Worlds
- Tin Can Marker & Plant Label Station
1. Color-Blocked Herb Tin Can Rail Planters
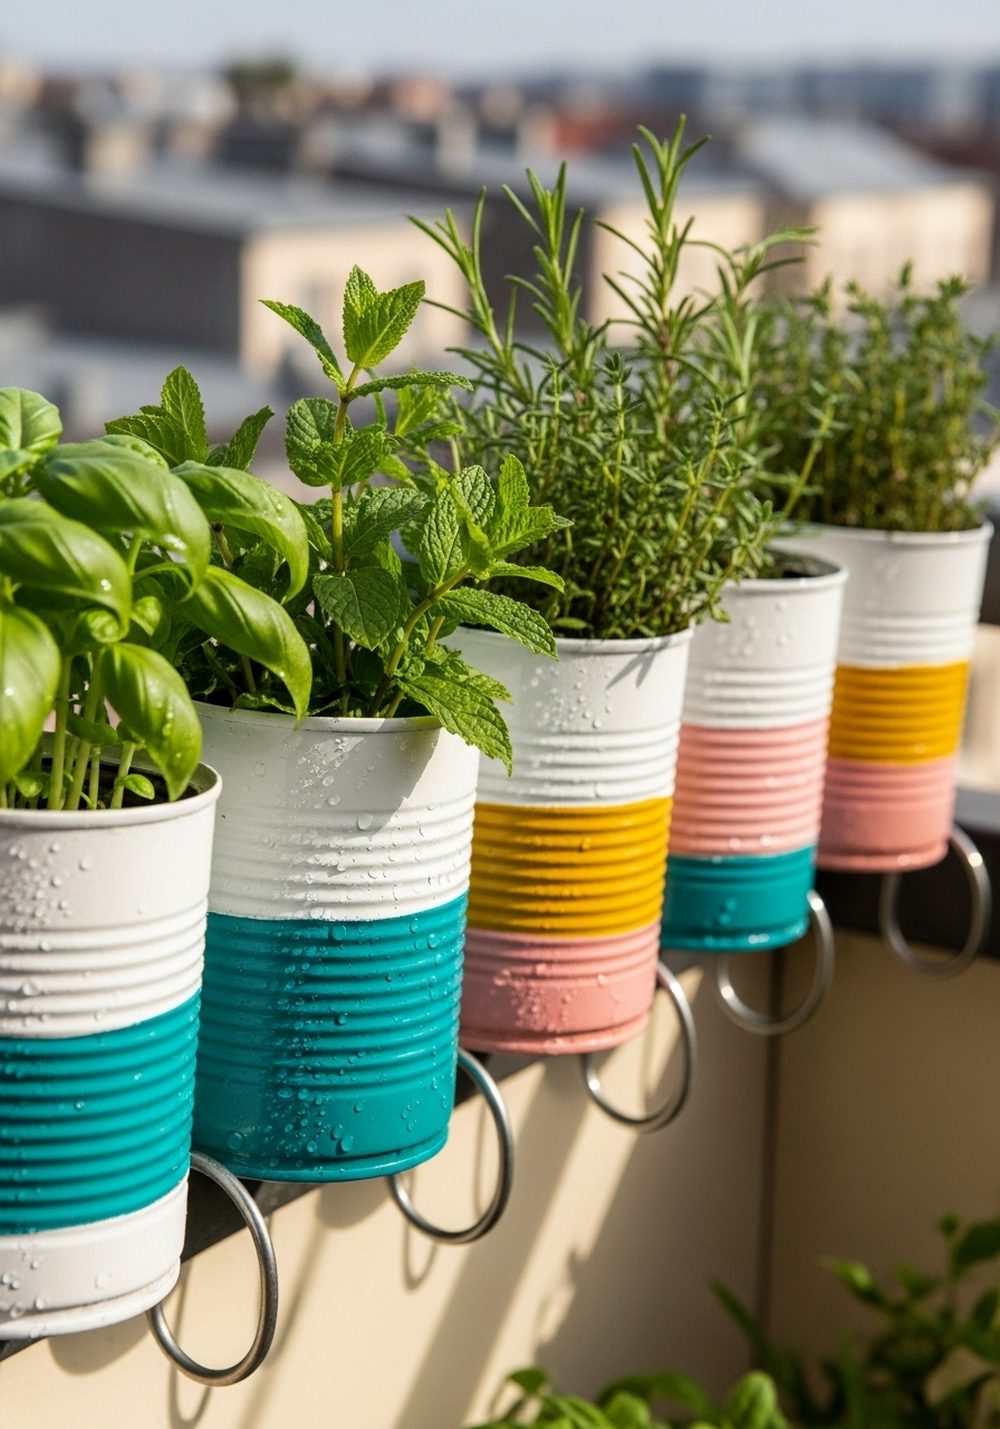
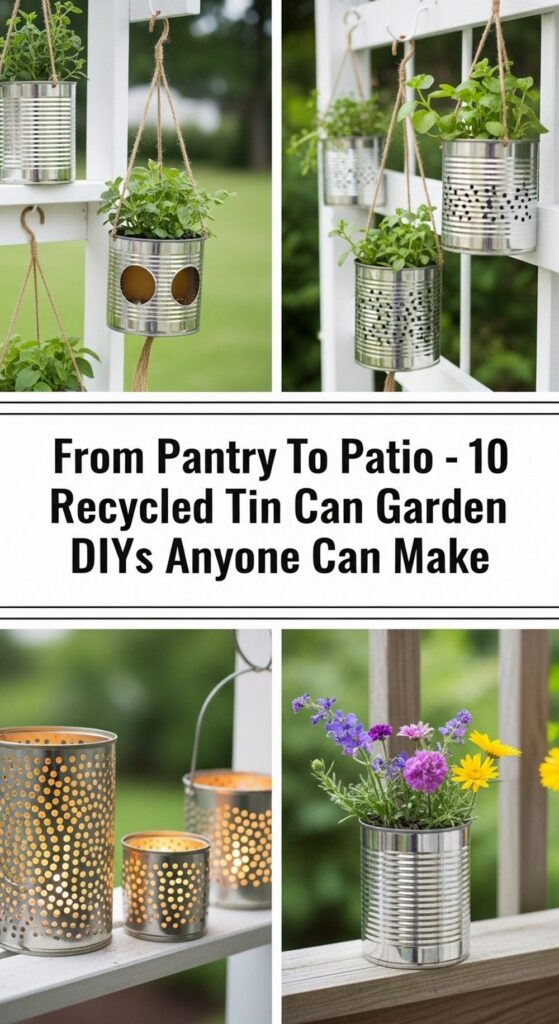
Turn your balcony or patio railing into a cheerful mini herb farm with painted tin cans clipped or hooked along the edge. Clean and dry your cans, gently hammer down any sharp edges, and drill a couple of drainage holes in the bottom. Paint them in simple color blocks or stripes, then attach metal hooks, sturdy wire, or special railing brackets. Fill with potting mix and tuck in herbs like basil, mint, or chives. The bright cans and lush green leaves instantly make your rail feel styled and alive.
- Best For: Small balconies, renters, and anyone short on floor space.
- Budget Tip: Use leftover wall paint or tester pots instead of buying new craft paints.
- Styling Idea: Choose three coordinating colors (for example, white, sage, and terracotta) for a pulled-together look.
- Practical Note: Place thirstier herbs at the ends where they’re easier to water and check.
- Care & Maintenance: Water regularly and rotate cans every few weeks so plants grow evenly.
2. Punched-Tin Can Garden Lanterns
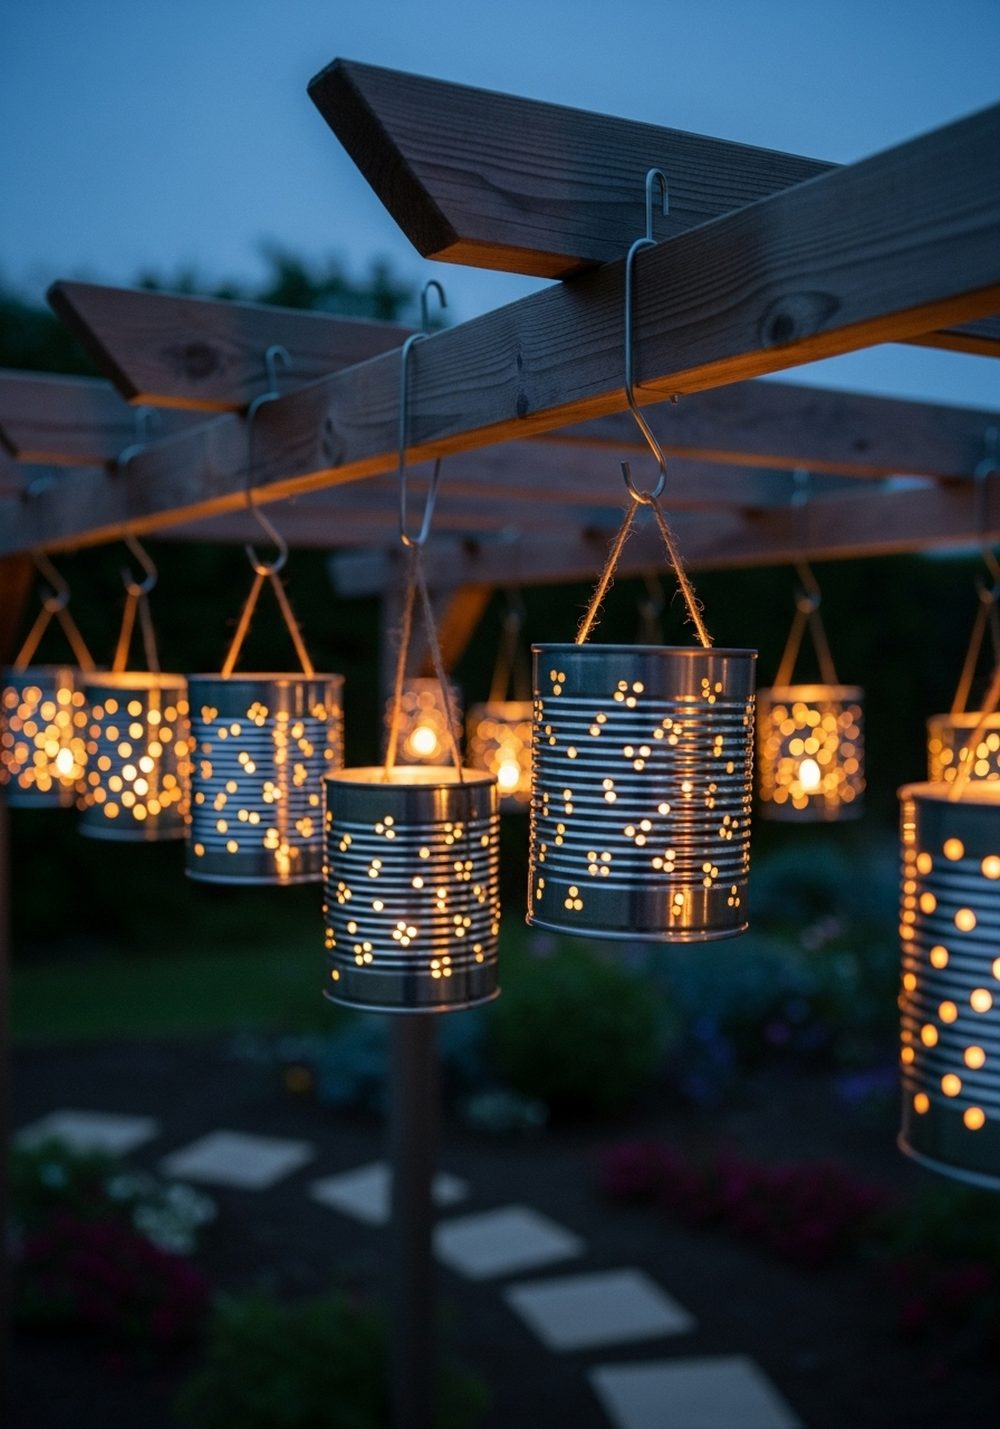
Punched-tin lanterns are a magical way to add soft evening glow to your garden using cans you’d normally throw away. After cleaning the cans, fill them with water and freeze—this keeps the sides from denting as you punch designs with a hammer and nail. Create simple stars, hearts, or random dotted patterns. Once thawed and dried, paint or leave them raw, then pop in tea lights or small LED candles. Line them on steps, tabletops, or hang them with wire for instant atmosphere.
- Best For: Cozy patios, outdoor dinners, and relaxed evening garden corners.
- Budget Tip: Skip fancy patterns and just dot random holes—clustered together they look surprisingly designer.
- Styling Idea: Spray-paint all the cans in one soft metallic shade for a chic, unified look.
- Practical Note: If using real candles, keep lanterns away from overhanging foliage and children’s reach.
- Extra Idea: Add a handle from wire or twine so you can hang them from branches or hooks.
3. Boho Tin Can Wind Chimes
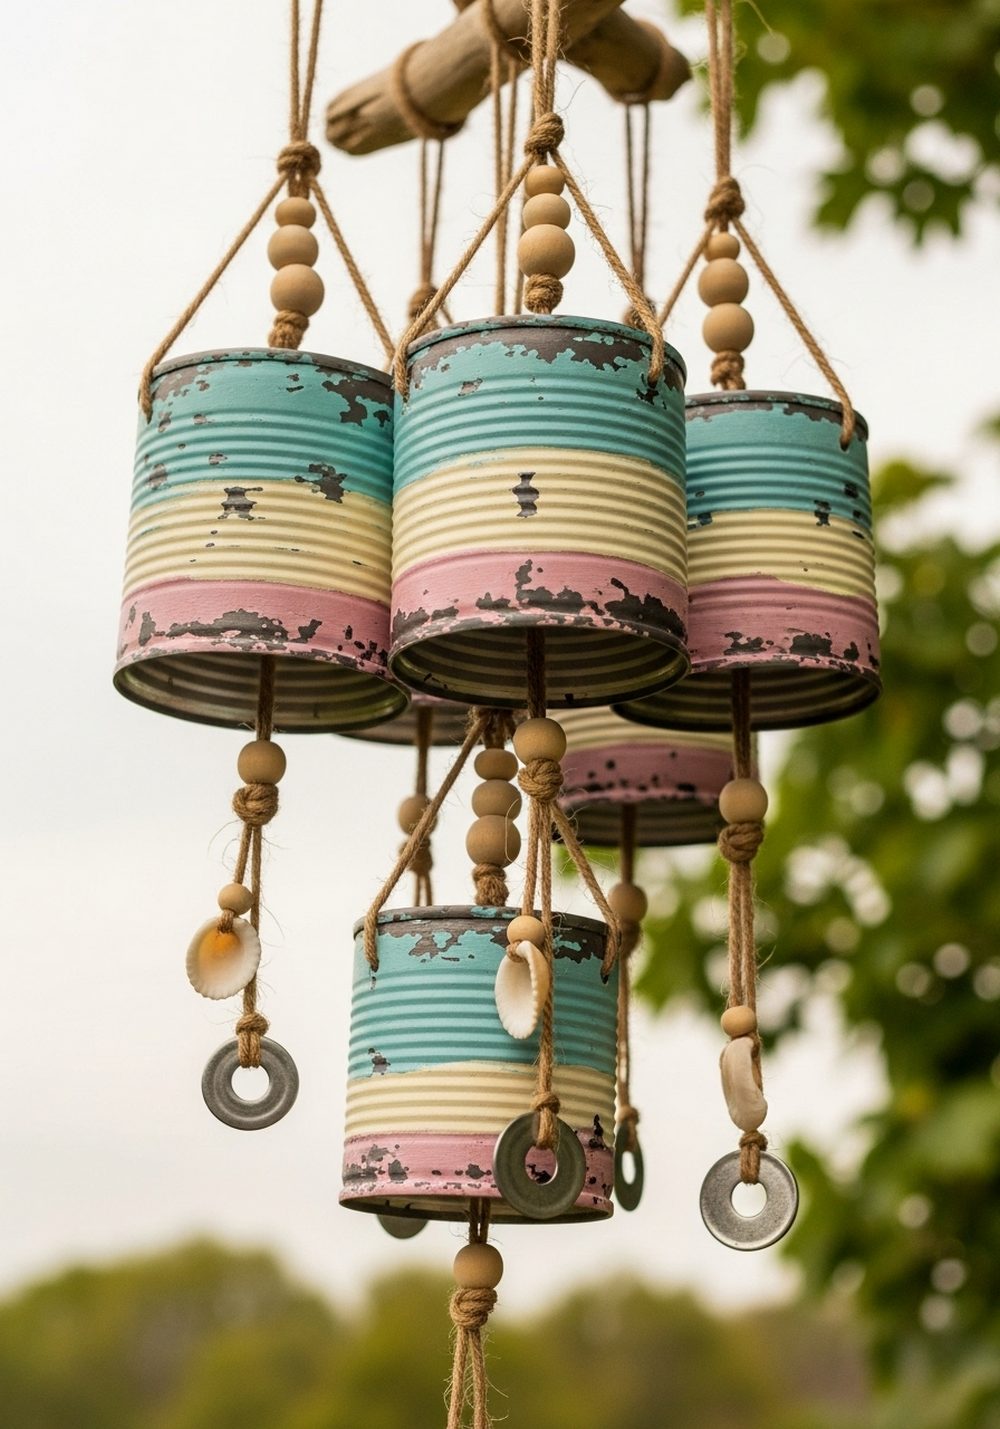
Boho wind chimes made from tin cans add movement, sound, and personality to your garden. Paint your cans in layered pastels or neutrals, then lightly sand some edges for a worn, beachy feel. Punch a hole in each base, thread jute or strong string through, and tie them at different heights to a branch, stick, or old curtain rod. Add beads, shells, keys, or metal washers at the ends for tinkly sounds in the breeze. Hang your chimes where they catch both wind and light.
- Best For: Covered porches, pergolas, and relaxed boho-style gardens.
- Budget Tip: Use old jewelry beads and hardware odds-and-ends to add sparkle and sound.
- Styling Idea: Mix three can sizes side by side for a more sculptural, layered look.
- Practical Note: Check knots and strings now and then, especially in windy areas, to prevent pieces falling.
- Care & Maintenance: Give cans a quick wash if dust builds up, or repaint for a fresh new color scheme.
4. Vertical Tin Can Wall Garden
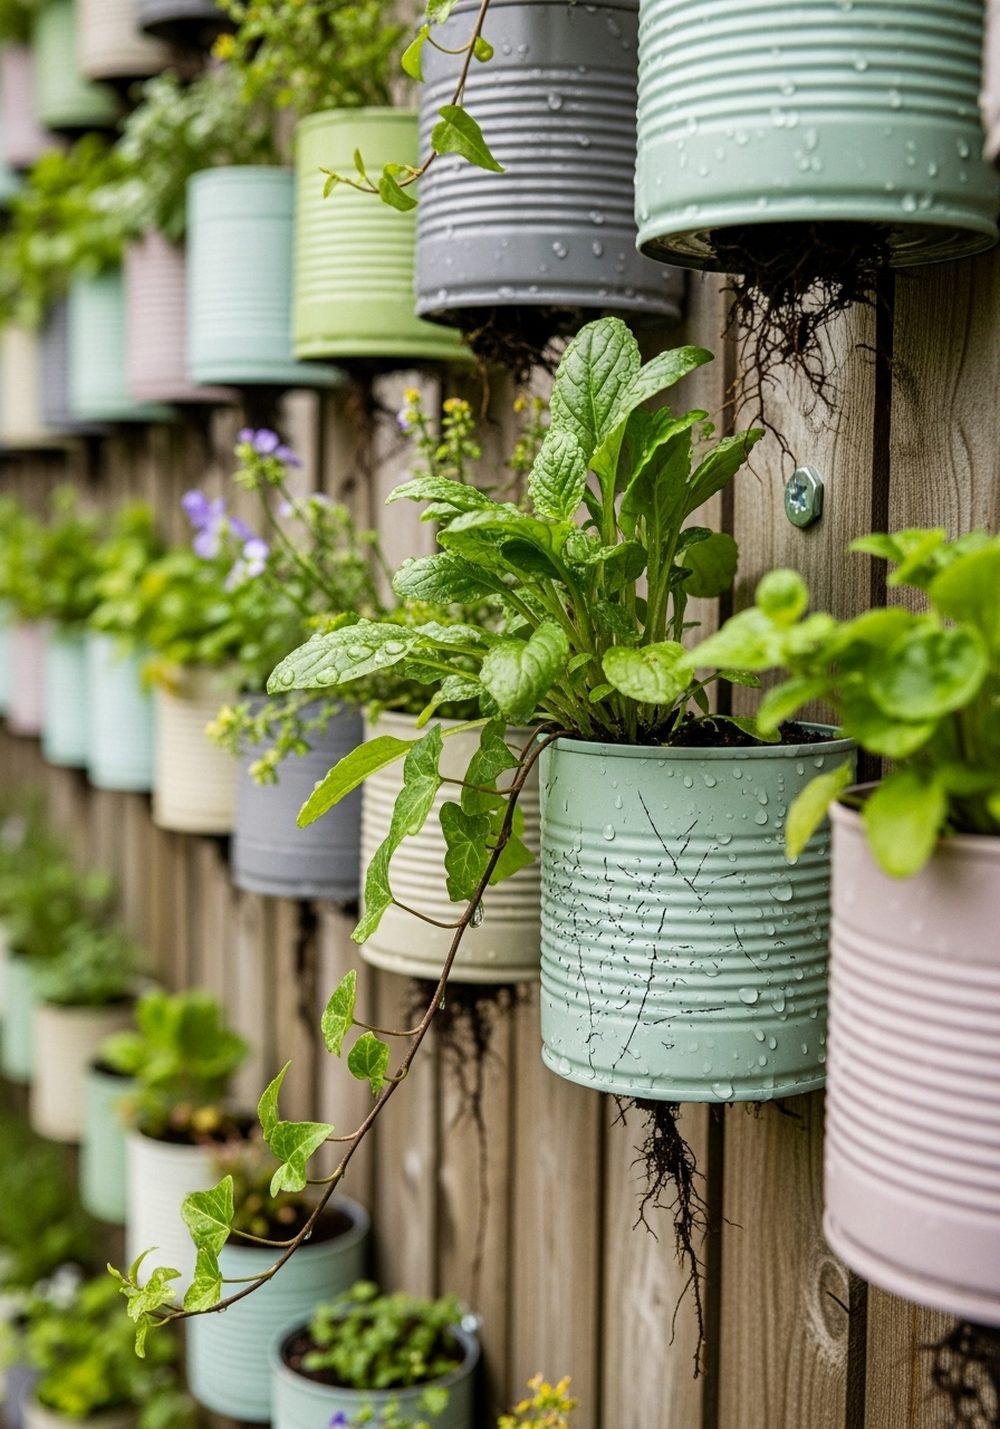
A vertical tin can wall garden turns a bare fence or wall into a living, leafy feature. Prepare your cans with drainage holes and paint or seal them if you like. Screw them directly into wooden fence panels or onto a wooden board first, spacing them in staggered rows. Fill with lightweight potting mix and plant herbs, trailing ivy, or compact flowers. As the plants grow, they soften the hard lines of the cans and create a lush vertical tapestry that doubles as decor and extra growing space.
- Best For: Small courtyards, side passages, and plain fence panels that need interest.
- Budget Tip: Start with just a few cans and add more as you collect them over time.
- Styling Idea: Use one color of can and let the plants provide the variety, or go rainbow for a playful vibe.
- Practical Note: Place thirstier or sun-loving plants on the bottom row where they catch more runoff and light.
- Care & Maintenance: Water thoroughly but gently and refresh the top layer of soil with compost each season.
5. Tin Can Wildflower Border Pots
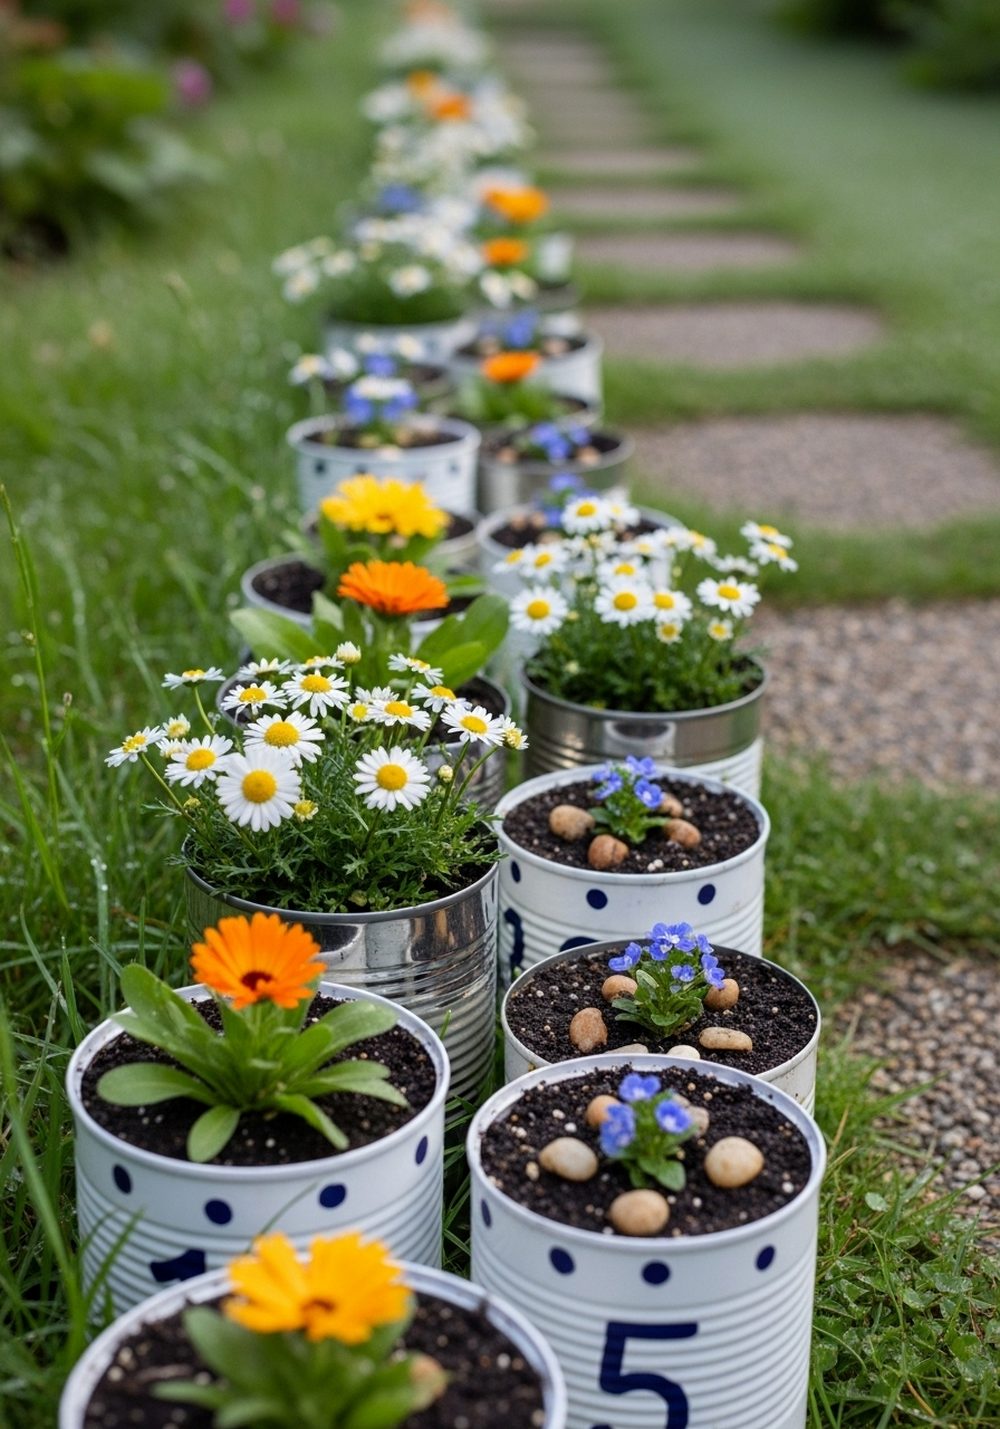
Instead of buying matching terracotta pots, line your garden path or bed edge with recycled cans planted with wildflowers. After adding drainage holes, paint simple dots, stripes, or numbers on each can—or leave the metal showing for a rustic look. Fill them with easy annuals or wildflower mixes, then cluster them in groups along paths or in front of larger shrubs. The mix of heights, colors, and metal textures creates a relaxed, cottage-style border that feels charming and informal.
- Best For: Informal gardens, cottage-style beds, and gravel paths.
- Budget Tip: Grow from seed directly in the cans to save on plant costs.
- Styling Idea: Keep designs simple and repeat one small motif (like a white dot) across all cans.
- Practical Note: In hot climates, move cans slightly off hard surfaces so they don’t overheat roots.
- Care & Maintenance: Deadhead spent blooms to encourage more flowers and replace tired annuals each season.
6. Rustic Tin Can Utensil & Tool Caddy
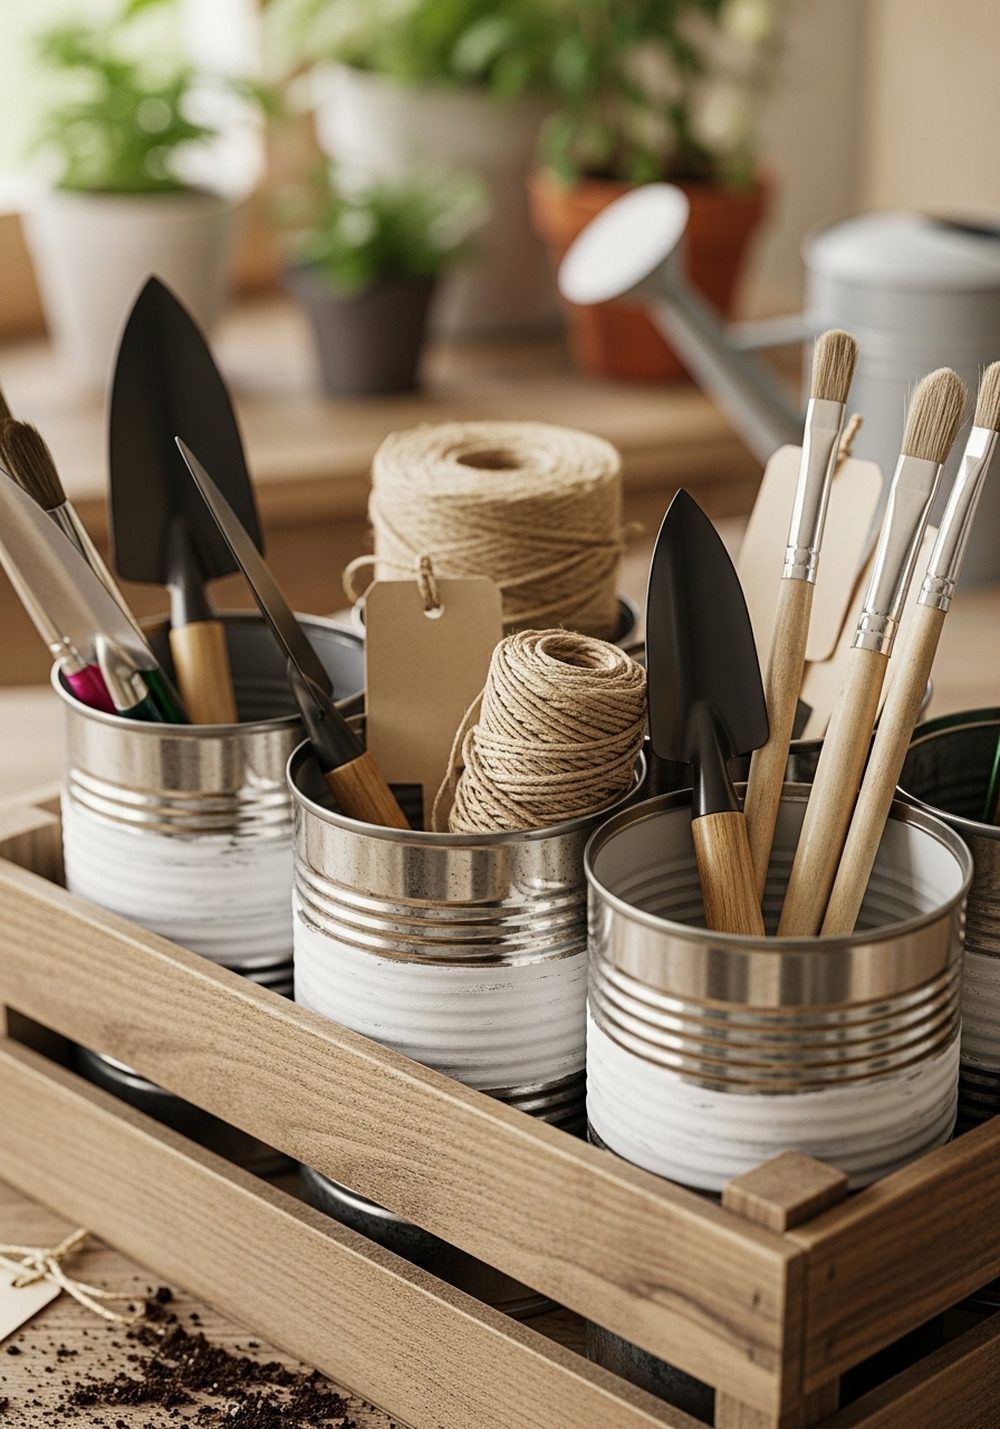
Keep your potting table tidy and attractive with a tin can caddy for tools and small supplies. Group three to six cans in a wooden crate or screw them to a board, letting each can hold something different: hand trowels, pruners, twine, labels, gloves. A simple wash of white or grey paint, or a strip of burlap and twine around each can, instantly makes it look intentional rather than cluttered. Place this by your back door or potting bench and your essentials become part of the decor.
- Best For: Gardeners who love a functional yet pretty potting area.
- Budget Tip: Use a leftover fruit crate or scrap wood instead of buying a new organizer.
- Styling Idea: Stick to soft neutrals and natural textures so tools and supplies blend in visually.
- Practical Note: File any sharp can edges and position sharp tools with blades facing down.
- Care & Maintenance: Shake out dirt occasionally and wipe cans with a damp cloth to keep them looking fresh.
7. Tin Can Bird Feeders On A Branch
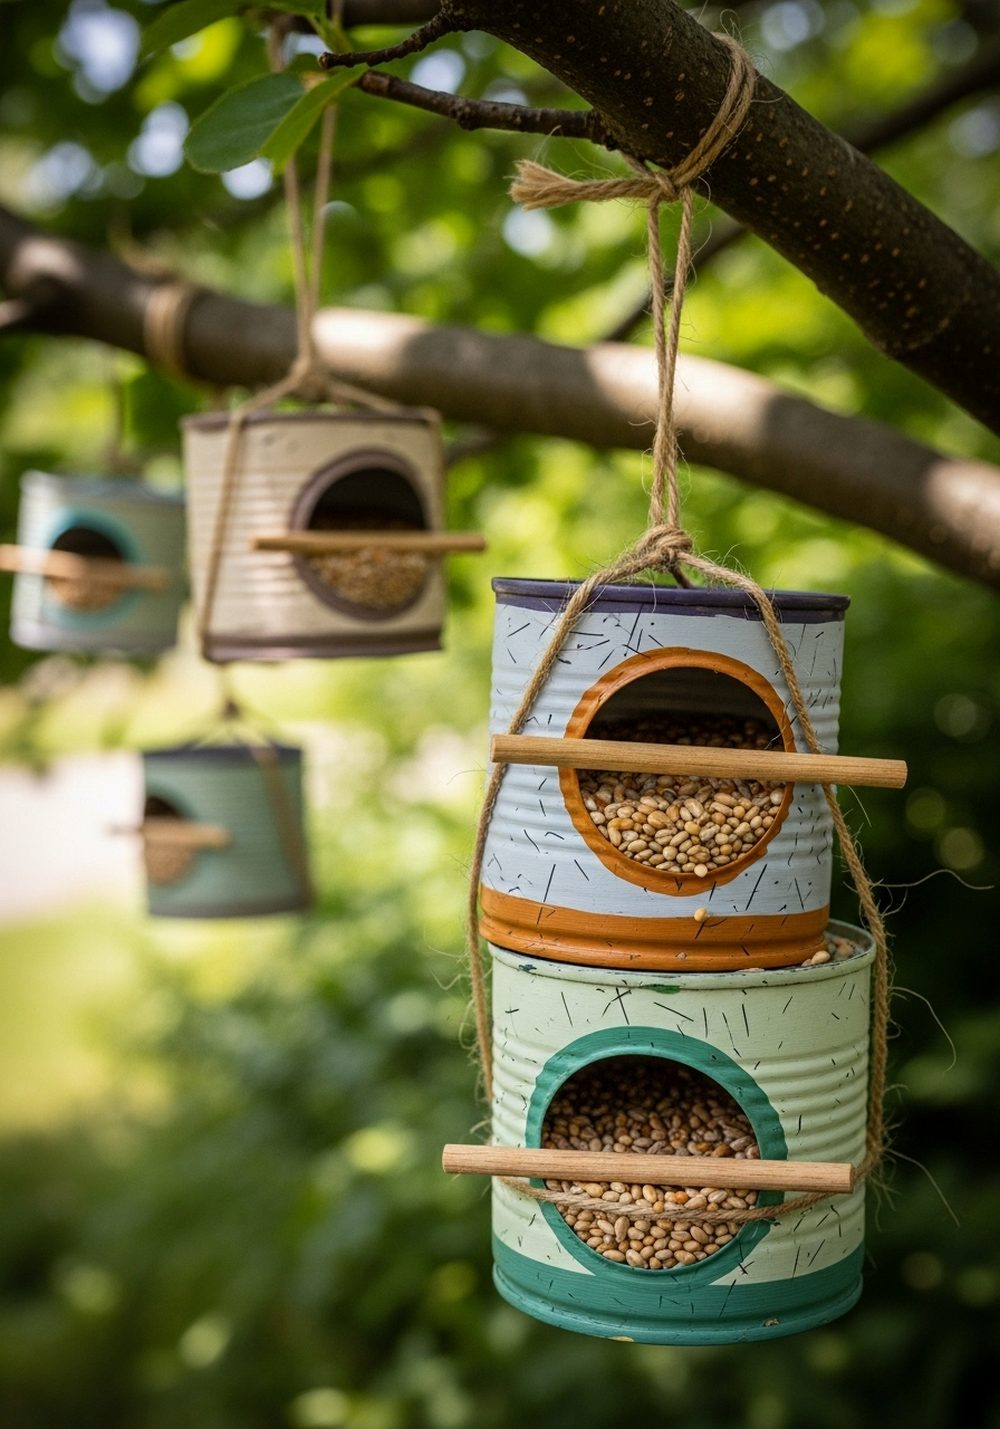
Invite birds into your garden with simple tin can feeders that look charming hanging from a tree. Clean your cans, paint them in muted or nature-inspired colors, then glue a small dowel or stick across the opening to act as a perch. Attach twine or chain to the top and hang several cans from a sturdy branch at varying heights. Fill them with birdseed and enjoy watching visitors drop by. The mix of hanging shapes, colors, and fluttering wings becomes living decor for your outdoor space.
- Best For: Gardens with trees, pergolas, or strong hooks for hanging.
- Budget Tip: Skip paint and just add a contrasting color around the rim if you’re low on supplies.
- Styling Idea: Use earthy greens, browns, and creams to blend with foliage and create a soft, natural look.
- Practical Note: Hang feeders high enough to feel safe for birds and away from curious pets.
- Care & Maintenance: Clean cans and refresh seed regularly to keep visiting birds healthy.
8. Tin Can Tabletop Flower Centerpieces
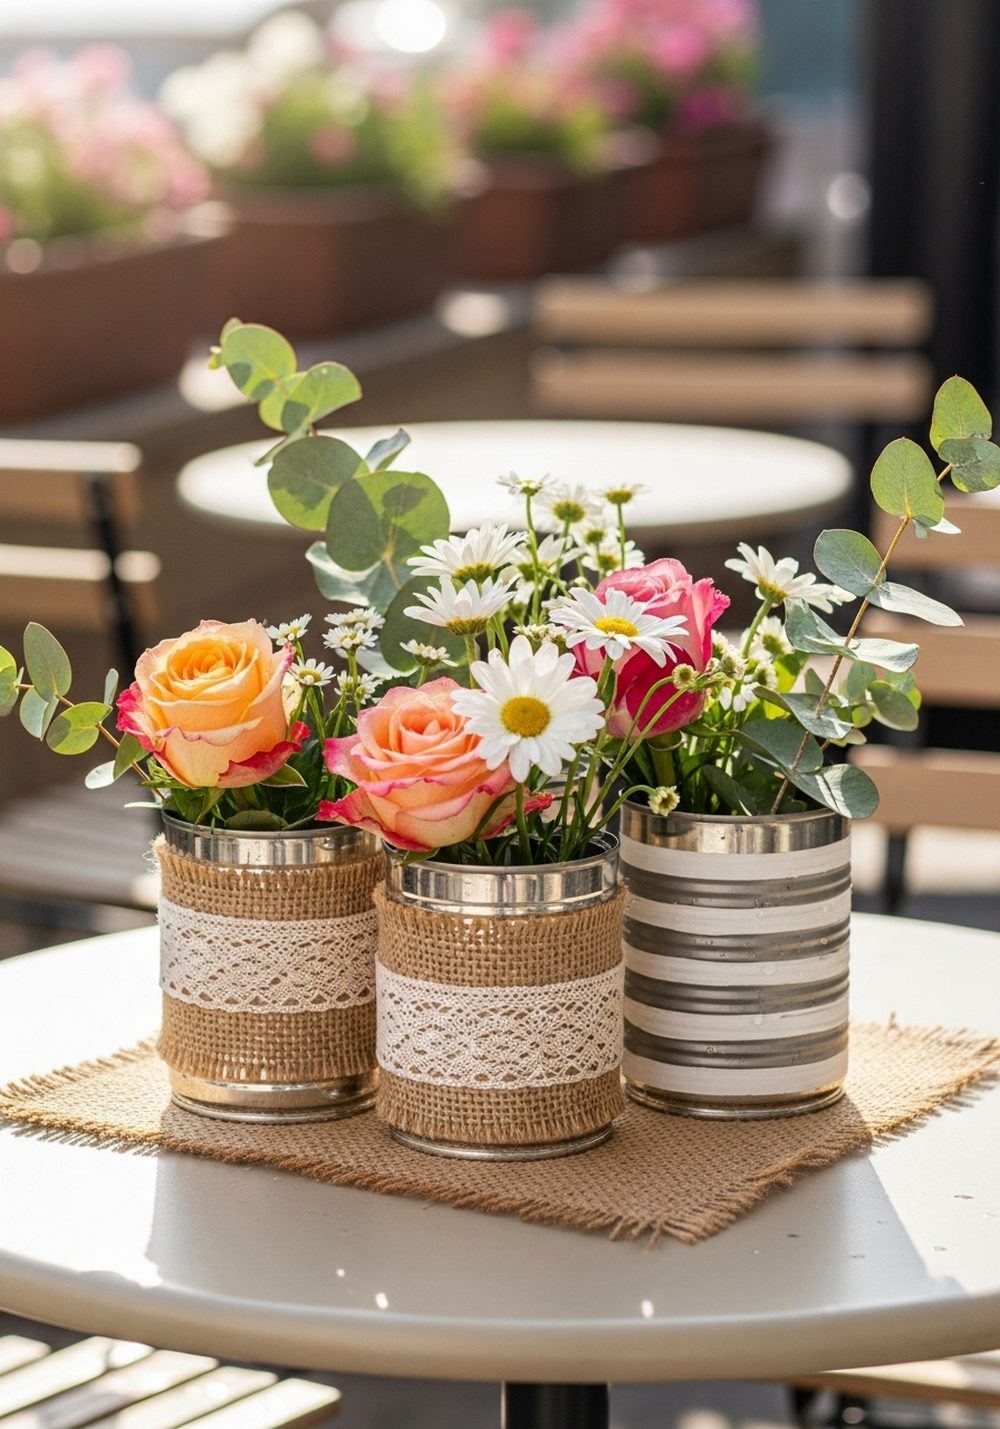
Tin cans can be surprisingly elegant as vases for a garden table centerpiece. Wrap them with burlap, ribbon, or simple paper labels, or paint them in your chosen palette. Fill with cut flowers from your garden or supermarket stems and cluster them in odd numbers in the center of your outdoor table. Mix heights by using different can sizes or tucking a few onto small wooden blocks. The metal, fabric, and fresh blooms together create an easy, low-cost arrangement that feels relaxed yet thoughtful.
- Best For: Garden parties, weekend brunches, or everyday outdoor dining.
- Budget Tip: Reuse the same cans all year and swap in seasonal flowers or greenery.
- Styling Idea: Keep all the wrapping neutral (burlap, twine, kraft paper) and let the flowers provide color.
- Practical Note: Place a small saucer under each if you’re worried about condensation on wooden tables.
- Extra Idea: Add a single sprig of herbs like rosemary or mint for scent at each place setting.
9. Tin Can Fairy Garden Mini Worlds
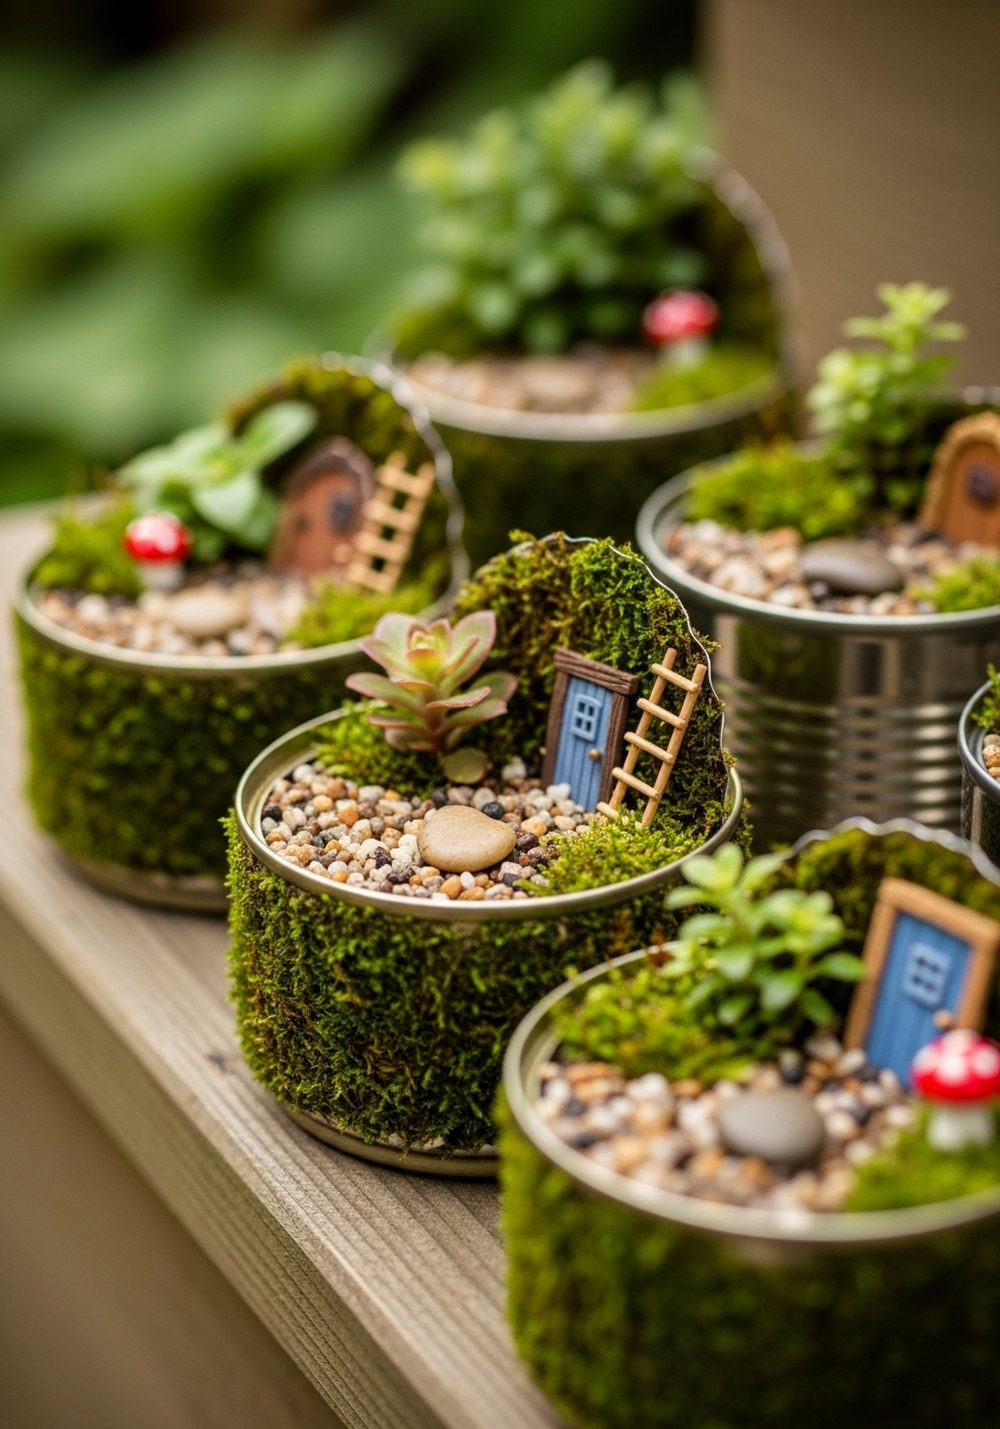
Turn leftover tins into tiny fairy worlds that delight kids and adults alike. Fill each can with potting mix and a layer of moss or groundcover, then add miniature accessories: a small door against the rim, a pebble path, a tiny ladder, or a little bench. Plant small succulents, creeping thyme, or moss to keep things compact and magical. Arrange several fairy cans on a step, shelf, or shaded corner so it feels like a little village. It’s decor, a craft project, and a conversation starter all in one.
- Best For: Families, whimsical gardeners, and shady corners that need a focal point.
- Budget Tip: Make accessories from twigs, pebbles, and scrap wood instead of buying miniatures.
- Styling Idea: Stick to one “theme” like woodland, beach, or cottage so the tiny worlds feel connected.
- Practical Note: Use kid-safe tools and supervise little ones when working with cans and soil.
- Care & Maintenance: Mist occasionally, trim plants if they outgrow their tiny setting, and refresh moss as needed.
10. Tin Can Marker & Plant Label Station
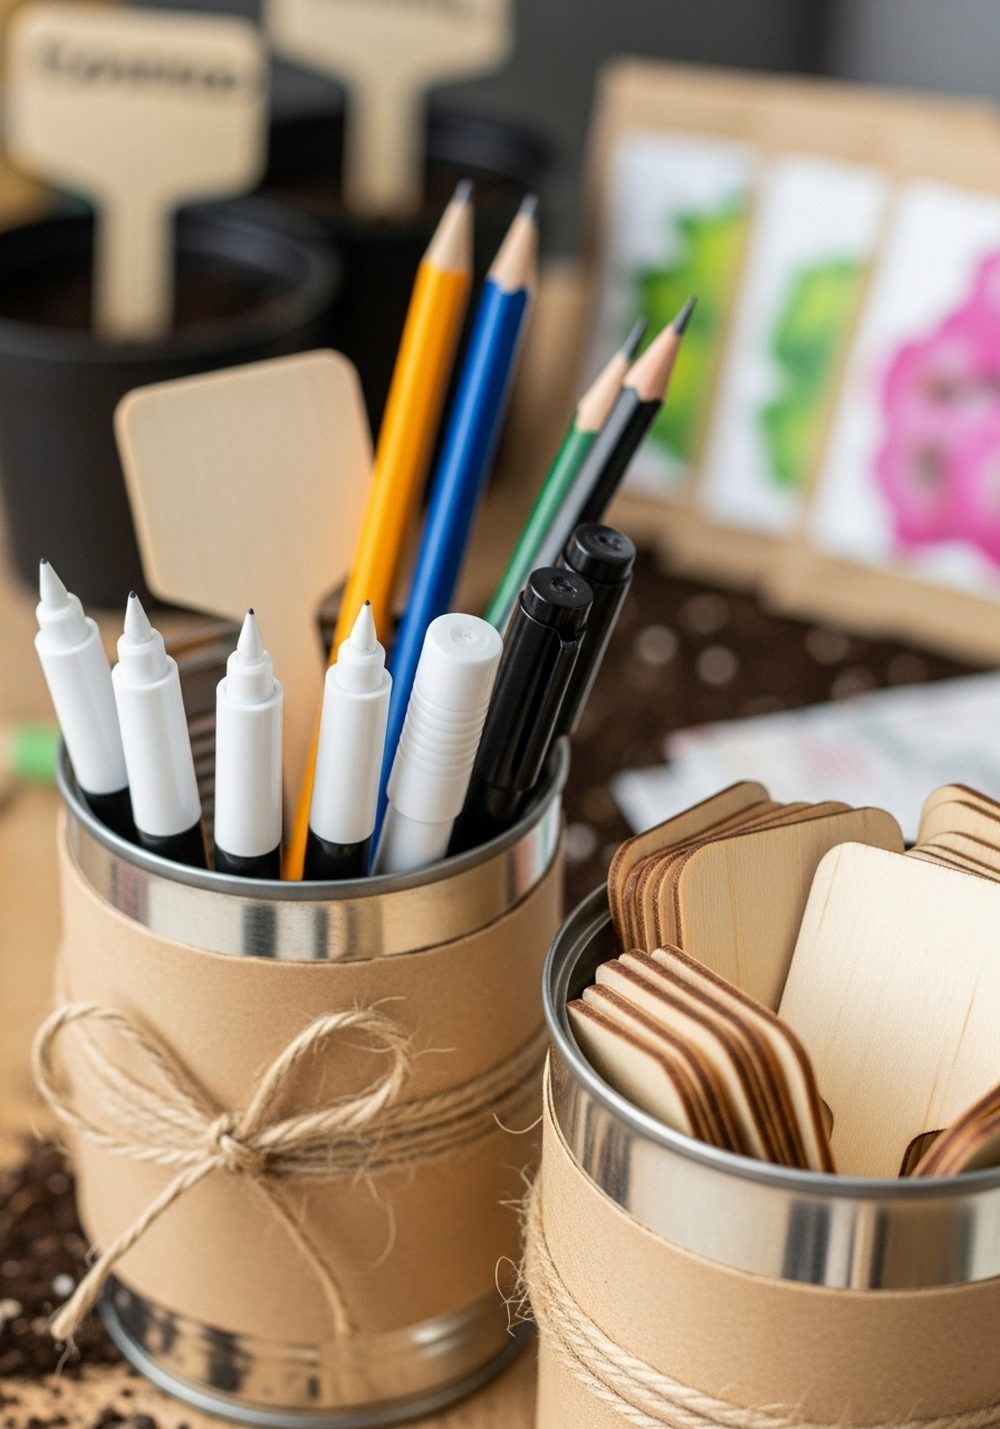
A simple tin can can become a smart little station for all your plant labels and pens, keeping your garden neat and stylish. Wrap a can in kraft paper, fabric, or paint, then add twine or a simple band so it looks finished. Fill it with plant markers, pencils, chalk pens, and a small pair of scissors. Pair it with a second can to hold blank labels or Popsicle sticks. Keep the duo on your potting bench or by the door so labeling plants becomes quick and satisfying instead of an afterthought.
- Best For: Gardeners who like everything labeled and organized.
- Budget Tip: Cut label sticks from old blinds, scrap wood, or repurpose flat plastic packaging.
- Styling Idea: Choose a neutral, calm look so the cans blend in with terracotta pots and wood surfaces.
- Practical Note: Add a small tray underneath to catch stray soil and shavings from trimming labels.
- Care & Maintenance: Sharpen pencils, refill markers, and recycle worn-out tags regularly so the station stays useful.
Conclusion
Recycled tin cans are one of those everyday items that quietly hold huge creative potential for your garden. With a few holes, a lick of paint, and some imagination, they become planters, lanterns, feeders, organizers, and whimsical mini worlds. You don’t need a big budget or a huge yard—just start with one or two of these ideas and build from there. Before long, your pantry leftovers will be decorating your patio, and your outdoor space will feel more personal, playful, and alive.
FAQs
1. How can I decorate my garden with tin cans on a very small budget?
Start by saving every clean tin can you use in the kitchen. You can often decorate them using items you already own: leftover wall paint, scrap fabric, twine, or paper. Simple touches like dots, stripes, or a strip of burlap instantly make cans look intentional. Focus on just one or two projects at a time—like herb planters or lanterns—so you don’t feel pressured to buy lots of extras at once.
2. Are tin can garden projects safe for renters who can’t make permanent changes?
Yes, most tin can ideas are completely renter-friendly. Rail planters can hang from hooks or removable brackets, wind chimes and lanterns can hang from existing structures, and tabletop centerpieces simply sit in place. If you’re attaching cans to a wall or fence, mount them on a removable board instead of drilling into the property.
3. How do I stop recycled tin cans from rusting outside?
If you like the clean look, coat the outside of each can with outdoor or clear acrylic sealer after painting. This helps protect against moisture. If you don’t mind a bit of patina, you can leave them as they are and simply replace cans that rust through over time. Keeping cans slightly raised off the ground and ensuring good drainage also slows rusting.
4. What are the easiest tin can DIYs for beginners?
The simplest projects are herb planters, wildflower border pots, and tabletop flower centerpieces. You mainly need to wash the cans, add drainage holes, and decorate them if you’d like. Lanterns and wind chimes are slightly more advanced because they involve punching holes and hanging hardware, but they’re still very manageable with basic tools and patience.
5. Can I mix tin can decor with real plants without harming them?
You can, as long as you provide drainage and good soil. Always drill holes in the base so water can escape, and use a light, well-draining potting mix. In very hot sun, metal can heat up quickly, so consider placing cans inside slightly larger pots or moving them into partial shade during heatwaves. Your plants will stay happier and your decor will last longer.
6. What if I don’t have outdoor space—can I still try these ideas?
Absolutely. Many projects work on a balcony, windowsill, or even indoors near a sunny window. Rail planters, tabletop centerpieces, fairy gardens, and a small marker station all adapt easily to small, indoor-friendly setups. Just protect surfaces from water, choose plants suited to your light, and enjoy the same charming recycled look on a tiny scale.