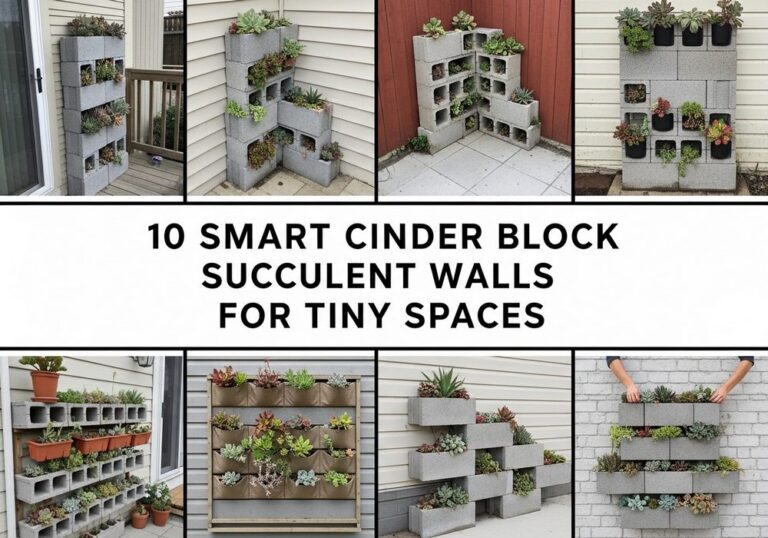
10 Plastic Bottle Drip Irrigator Ideas: The Easiest DIY Way To Water Your Garden

If you ever worry about your plants drying out between waterings, plastic bottle drip irrigators are a wonderfully simple solution. With just a few recycled bottles and a pin, you can create slow, steady watering systems that keep soil moist without wasting water or money.
This guide is perfect for home gardeners, balcony growers, and busy people who want thriving plants with less daily effort. You’ll find ten easy ways to turn ordinary bottles into clever drip irrigators for pots, borders, trees, and raised beds. Each idea is budget-friendly, renter-safe, and simple enough for a complete beginner to put together in an afternoon.
Quick List
- Simple Upside-Down Bottle Drip For Pots
- Buried Bottle Drip To Deep-Water Roots
- Two-Hole Bottle Dripper For Vegetable Rows
- Hanging Bottle Drip For Vertical Gardens
- Large-Jug Drip For Trees And Shrubs
- Multi-Bottle Drip Grid For Raised Beds
- Colored Bottle Drippers As Garden Accents
- Balcony Rail Bottle Drip For Containers
- Slow-Drip Bottle Line For Herb Borders
- Holiday-Ready Bottle Drip System For When You’re Away
1. Simple Upside-Down Bottle Drip For Pots

For small to medium pots, the upside-down bottle drip is the easiest place to start. Take a clean plastic bottle, poke one to three tiny holes in the cap with a pin, fill it with water, then push it neck-first into the soil near the plant. The bottle slowly releases water right where the roots need it. In a cluster of pots, these little reservoirs keep soil evenly moist and give your container display a neat, well-tended look.
- Best For: Houseplants, balcony pots, and herb containers that dry out quickly.
- Budget Tip: Reuse any food-safe drink bottle you already have instead of buying fancy spikes.
- Styling Idea: Choose clear or frosted bottles so they visually blend into the soil and foliage.
- Practical Note: Test the hole size over a sink first so the drip is slow, not a stream.
- Care & Maintenance: Rinse the bottle every couple of weeks to prevent algae or clogging.
2. Buried Bottle Drip To Deep-Water Roots

Buried bottle drippers are brilliant for plants that like deep, consistent moisture, such as tomatoes or peppers. Poke small holes around the lower half of a plastic bottle, then bury it up to the neck beside the plant. Fill from above and let water seep slowly out underground. This encourages roots to grow down instead of staying shallow, helping your plants cope better with heat and missed waterings while keeping the bed visually tidy.
- Best For: Thirsty vegetables and flowers in open beds or large containers.
- Budget Tip: Use larger bottles for big plants so you refill less often.
- Styling Idea: Hide the protruding neck with a small stone ring or decorative mulch.
- Practical Note: Don’t use bottles that once held harsh chemicals; stick to former food or drink containers.
- Care & Maintenance: Occasionally lift or replace bottles at the end of the season to check soil and root health.
3. Two-Hole Bottle Dripper For Vegetable Rows
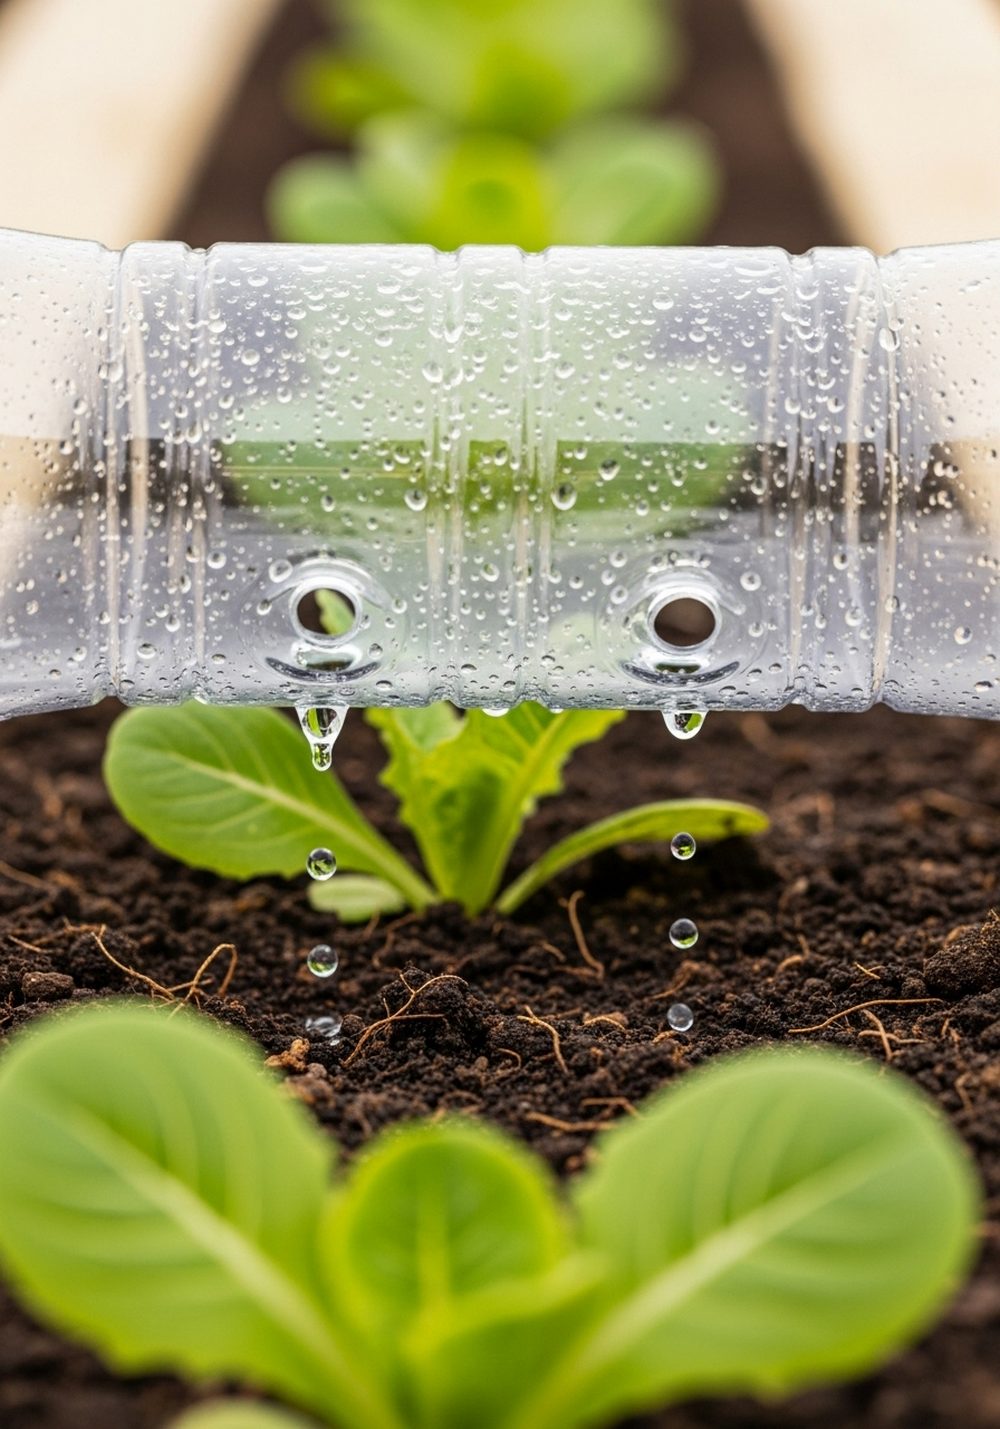
When you plant in rows, one bottle can easily serve two plants. Lay a bottle on its side between two seedlings, make two tiny holes on the underside, and secure it in place with a peg or small stone. As water drips out beneath the bottle, it soaks the soil around both plants evenly. Your rows look organized, and you’ll spend less time dragging a hose back and forth.
- Best For: Lettuce, spinach, and other close-planted crops in narrow rows.
- Budget Tip: Start with just a few bottles on the thirstiest rows, then expand if you like the system.
- Styling Idea: Use matching bottles along the row to make the layout look intentional and tidy.
- Practical Note: Slightly mound soil under each drip hole so the water doesn’t run off.
- Care & Maintenance: Check regularly that the holes aren’t blocked by soil or fine roots.
4. Hanging Bottle Drip For Vertical Gardens

Vertical gardens and pallet planters can dry out much faster than ground beds. A hanging bottle drip system keeps them fresh without constant attention. Suspend a bottle above the top row, poke small holes in the cap, and guide the drip along a string or directly into top pockets. As the water trickles down, the upper plants drink first and any overflow gently trickles downward, giving your vertical display a lush, well-hydrated look.
- Best For: Wall-mounted planters, pallet gardens, and hanging herb pockets.
- Budget Tip: Use lightweight smaller bottles so you can hang them with simple string or wire.
- Styling Idea: Wrap the bottle with jute twine or slip it into a small wooden sleeve to match rustic decor.
- Practical Note: Check the weight on fixings; ensure your wall or fence is sturdy enough.
- Care & Maintenance: Clean the cap holes often, as they can clog from dust or algae.
5. Large-Jug Drip For Trees And Shrubs

Young trees and shrubs appreciate long, deep drinks rather than quick daily sips. A large plastic water jug becomes a slow-release reservoir when you poke a few small holes near the bottom and place it beside the trunk. Fill the jug and let the water seep into the root zone over hours. Visually, the jug can tuck into a mulch ring or behind low groundcovers, keeping the area neat while doing the heavy lifting for you.
- Best For: Newly planted trees, fruit bushes, and larger shrubs.
- Budget Tip: Reuse big water containers instead of purchasing specialized tree bags.
- Styling Idea: Cover the jug with bark, stones, or a woven basket to blend it into your garden style.
- Practical Note: Keep holes tiny; big openings will empty the jug too quickly.
- Care & Maintenance: Remove the jug in winter if you’re in a freeze-prone area to avoid splitting.
6. Multi-Bottle Drip Grid For Raised Beds

Raised beds often dry out faster than ground-level soil, especially along the edges. Creating a simple grid with several small bottles spaced through the bed spreads water more evenly. Stand or bury them slightly, each serving a section of crops. From above, the repeated pattern of green plants and clear bottles can look surprisingly tidy and intentional, almost like a simple, homemade irrigation layout.
- Best For: Mixed vegetable beds and cut-flower raised beds.
- Budget Tip: Collect bottles gradually and add them to the bed in stages as you plant.
- Styling Idea: Align the bottles in straight or diagonal lines to echo the structure of the raised bed.
- Practical Note: Label which bottles correspond to thirstier crops so you know which to refill first.
- Care & Maintenance: Flush bottles every few weeks with a vinegar-water mix if you have hard water.
7. Colored Bottle Drippers As Garden Accents

If you enjoy a playful look, colored plastic bottles can double as both drip irrigators and cheerful accents in your flower beds. Create small holes in the cap, flip them into the soil near flowering plants, and let the bright colors peek between blooms. The contrast of vivid plastic and petals can give the border a whimsical, recycled-chic vibe while still providing practical, slow watering.
- Best For: Flower beds, cottage-style borders, and children’s gardening areas.
- Budget Tip: Use leftover colored drink bottles; peel labels to keep things neat.
- Styling Idea: Pick a color palette—such as blues and greens—to coordinate with your plants and pots.
- Practical Note: Avoid very dark bottles if you’re worried about heating in strong sun.
- Care & Maintenance: Rotate bottles occasionally to prevent fading unevenly on one side.
8. Balcony Rail Bottle Drip For Containers

On balconies, space and access to taps can be tricky. Strapping bottles to the railing so they drip into long planters is a clever workaround. Attach the bottle neck-down with wire or sturdy string, poke small holes in the cap, and adjust the height over the soil. From outside, your rail planters look lush and well-kept, while the discreet bottles quietly keep everything watered—even when you’re inside, enjoying the view instead of hauling watering cans.
- Best For: Apartment balconies and small terraces with railing planters.
- Budget Tip: Reuse slim bottles that fit neatly between rail bars.
- Styling Idea: Use matching bottles and simple, neutral straps so the system looks intentional, not cluttered.
- Practical Note: Make sure the setup doesn’t drip onto neighbors or public walkways below.
- Care & Maintenance: Re-tighten fastenings after storms or strong winds.
9. Slow-Drip Bottle Line For Herb Borders

A line of herbs along a path looks beautiful, but constant watering can be a chore. Spacing small bottles evenly along the border builds a simple slow-drip line. Each bottle feeds one or two herb clumps, keeping them fresh and fragrant. From above, the repeated rhythm of foliage and bottles gives the border structure and order, making it look thoughtfully planted rather than random.
- Best For: Low herb borders around patios, paths, or veg beds.
- Budget Tip: Start by adding bottles only to herbs that wilt fastest, such as basil or coriander.
- Styling Idea: Use clear bottles with matching caps and top the soil with decorative gravel for a clean look.
- Practical Note: Place bottles slightly behind plants so they don’t clutter the front of the border.
- Care & Maintenance: Trim herbs regularly so foliage doesn’t press too hard on bottle necks.
10. Holiday-Ready Bottle Drip System For When You’re Away

Before a trip, you can group your pots together and give each one its own bottle drip, creating a “holiday station” for your plants. Arrange containers in a cluster, fill all the bottles, and check that each drips slowly into its pot. This setup not only keeps your plants hydrated while you’re away, it also creates a visually pleasing, dense green corner that looks intentional and cozy, whether on a patio or indoors near a bright window.
- Best For: Short breaks, busy weeks, and people who travel frequently.
- Budget Tip: Save and store bottles specifically for travel times instead of buying plant-sitter gadgets.
- Styling Idea: Use similar pots and bottles in one area so the cluster looks like a designed plant display.
- Practical Note: Water thoroughly first, then use the bottles to maintain moisture, not to rescue bone-dry soil.
- Care & Maintenance: When you return, empty and store the bottles so algae doesn’t build up between uses.
Conclusion
With just a handful of plastic bottles and a few tiny holes, you can turn your garden into a low-effort, well-watered oasis. These drip irrigator ideas help you save time, reduce waste, and keep your plants healthier through hot spells and busy weeks. Start with one simple bottle in a thirsty pot, then experiment with beds, borders, and trees. Little by little, you’ll build a clever, thrifty watering system that quietly works in the background while you simply enjoy your garden.
FAQs
1. Are plastic bottle drip irrigators safe for my plants?
Yes, as long as you use bottles that originally held food or drink and rinse them well. Avoid bottles that contained chemicals or strong cleaners. If you are concerned, use clear water bottles and replace them at the end of each season to keep things fresh and tidy.
2. How many holes should I make in the bottle cap?
For small pots, one tiny pinhole is often enough. For larger containers or thirsty plants, try two or three very small holes. Always test your bottle over a sink first and adjust until the water drips slowly over several hours instead of pouring out in minutes.
3. Will these drip systems work for balcony or indoor plants?
They work very well for balcony containers and can be used indoors if you are careful. Make sure pots have saucers and that the drip is slow enough not to overflow. Balcony setups should also be positioned so they don’t leak onto neighbors or public paths below.
4. How long will a plastic bottle drip irrigator last?
In full sun, bottles may become brittle after a season or two, especially colored or very thin ones. Check them regularly and replace any that crack or discolor. The good news is they are cheap to replace, and you can upgrade to sturdier bottles as you refine your setup.
5. What’s the easiest idea for a complete beginner?
The upside-down bottle in a pot is the simplest starting point: one pot, one clean bottle, and one tiny hole in the cap. It takes just a few minutes to set up and teaches you how fast your soil and plant drink. Once you’re comfortable with that, you can move on to buried bottles or grids in beds.