10 Tin Can Garden Decor Ideas That Turn “Trash” Into Charm
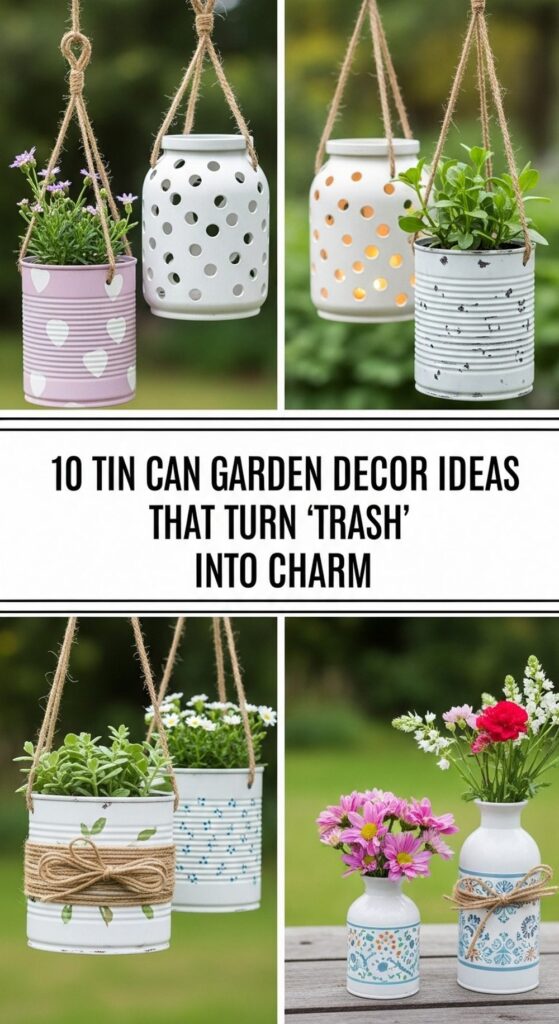
If you’ve ever felt guilty about tossing out tin cans, this is your sign to rescue them for the garden. With a little paint, a few holes, and some imagination, those “trash” cans can become lanterns, planters, bird feeders, and more.
These tin can garden decor ideas are perfect for home gardeners, renters, and small-space owners who want budget-friendly upgrades with big personality. You’ll find simple, creative projects that add color, texture, and whimsy to any outdoor space, from balconies to backyards. Pick a couple of ideas to try this weekend and watch your garden turn into a charming, recycled retreat.
Quick List
- Painted Tin Can Herb Pots On The Windowsill
- Hanging Tin Can Lanterns With Punched Patterns
- Rustic Tin Can Vertical Garden On A Fence
- Tin Can Wind Chimes With Beads And Keys
- Tin Can Bird Feeders For A Cozy Corner
- Tin Can Centerpieces For Garden Tables
- Tin Can Cutlery Caddies For Outdoor Dining
- Tin Can Flower Towers By The Front Door
- Tin Can Tool Holders In The Potting Area
- Mini Tin Can Fairy Gardens For Kids
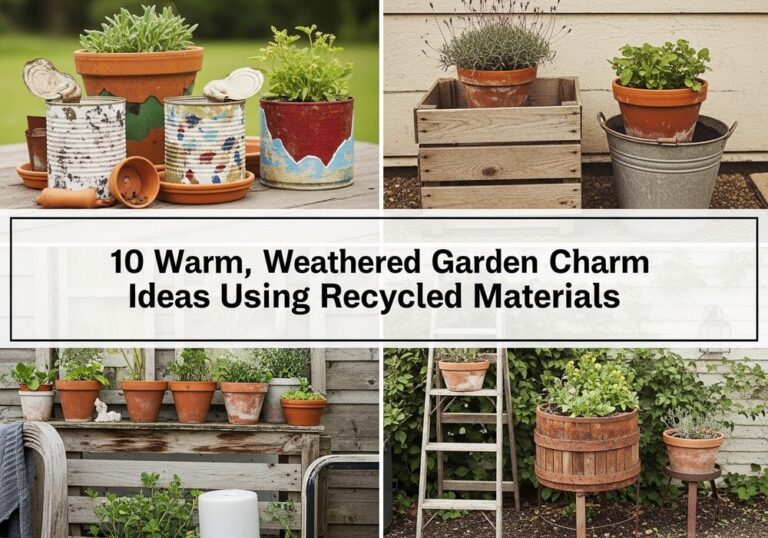
1. Painted Tin Can Herb Pots On The Windowsill
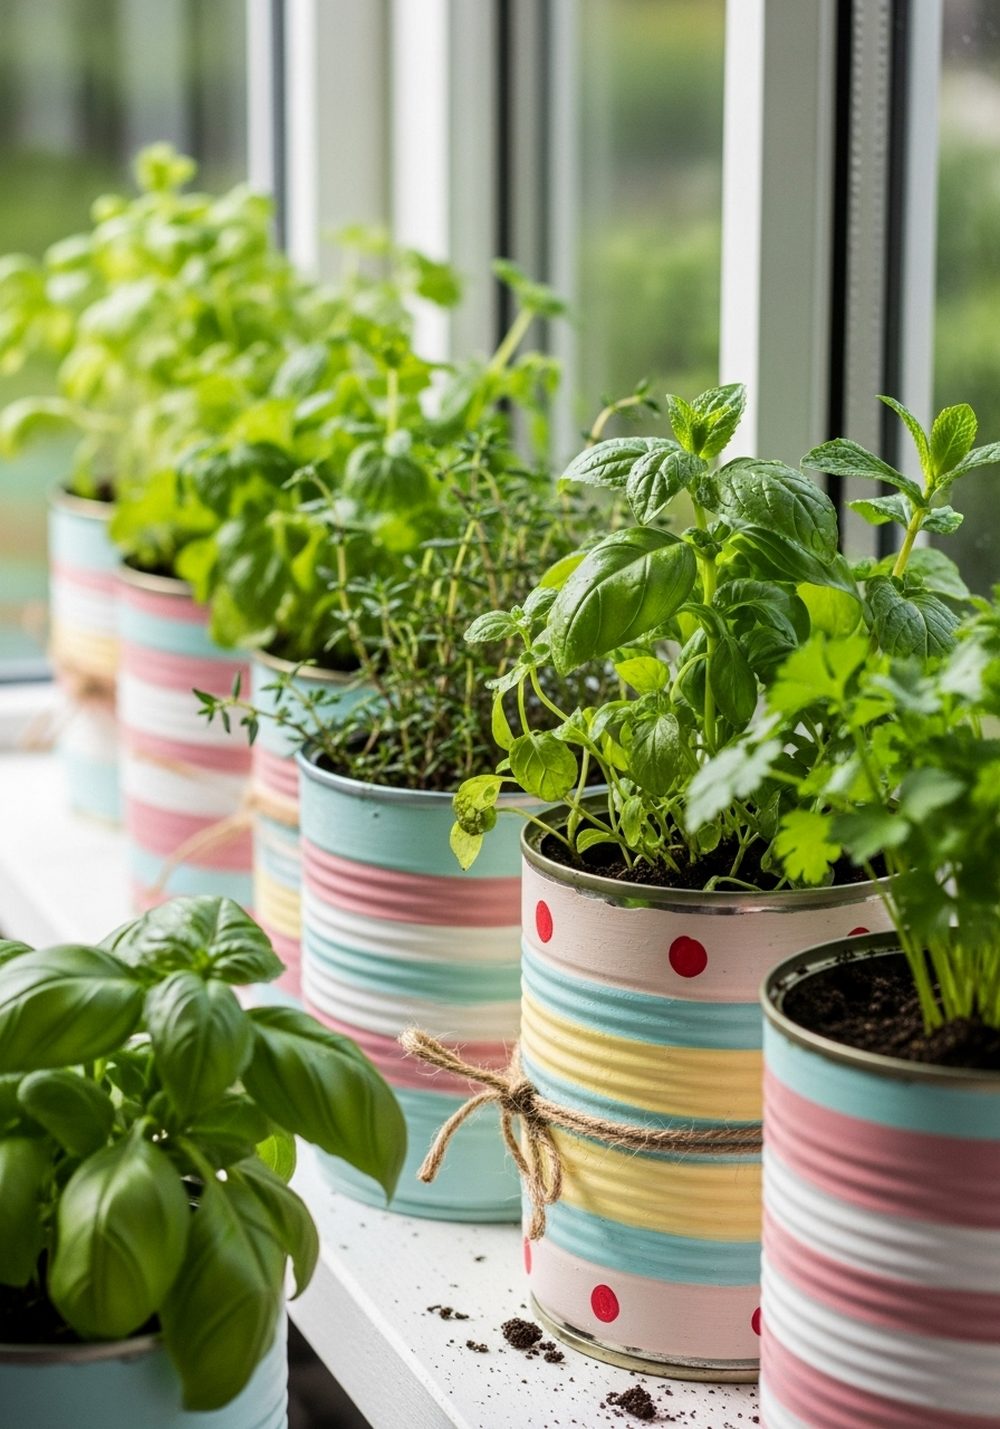
Turn plain tins into cheerful herb pots with a couple of coats of paint and a nail for drainage holes. Line them up on a sunny windowsill or balcony ledge and fill them with easy herbs like basil, mint, chives, or parsley. The smooth metal contrasts nicely with soft green foliage, and you can keep your cooking herbs right where you see them every day. Mix stripes, dots, and simple color blocks for a relaxed, homemade look.
- Best For: Small balconies, kitchen windows, and renters who can’t build permanent beds.
- Budget Tip: Use leftover wall paint or tester pots and free tins from your recycling bin.
- Styling Idea: Stick to two or three colors (for example, white, sage green, and terracotta) for a calm, cohesive feel.
- Practical Note: Add small stones or broken terracotta in the bottom for drainage before filling with compost.
2. Hanging Tin Can Lanterns With Punched Patterns
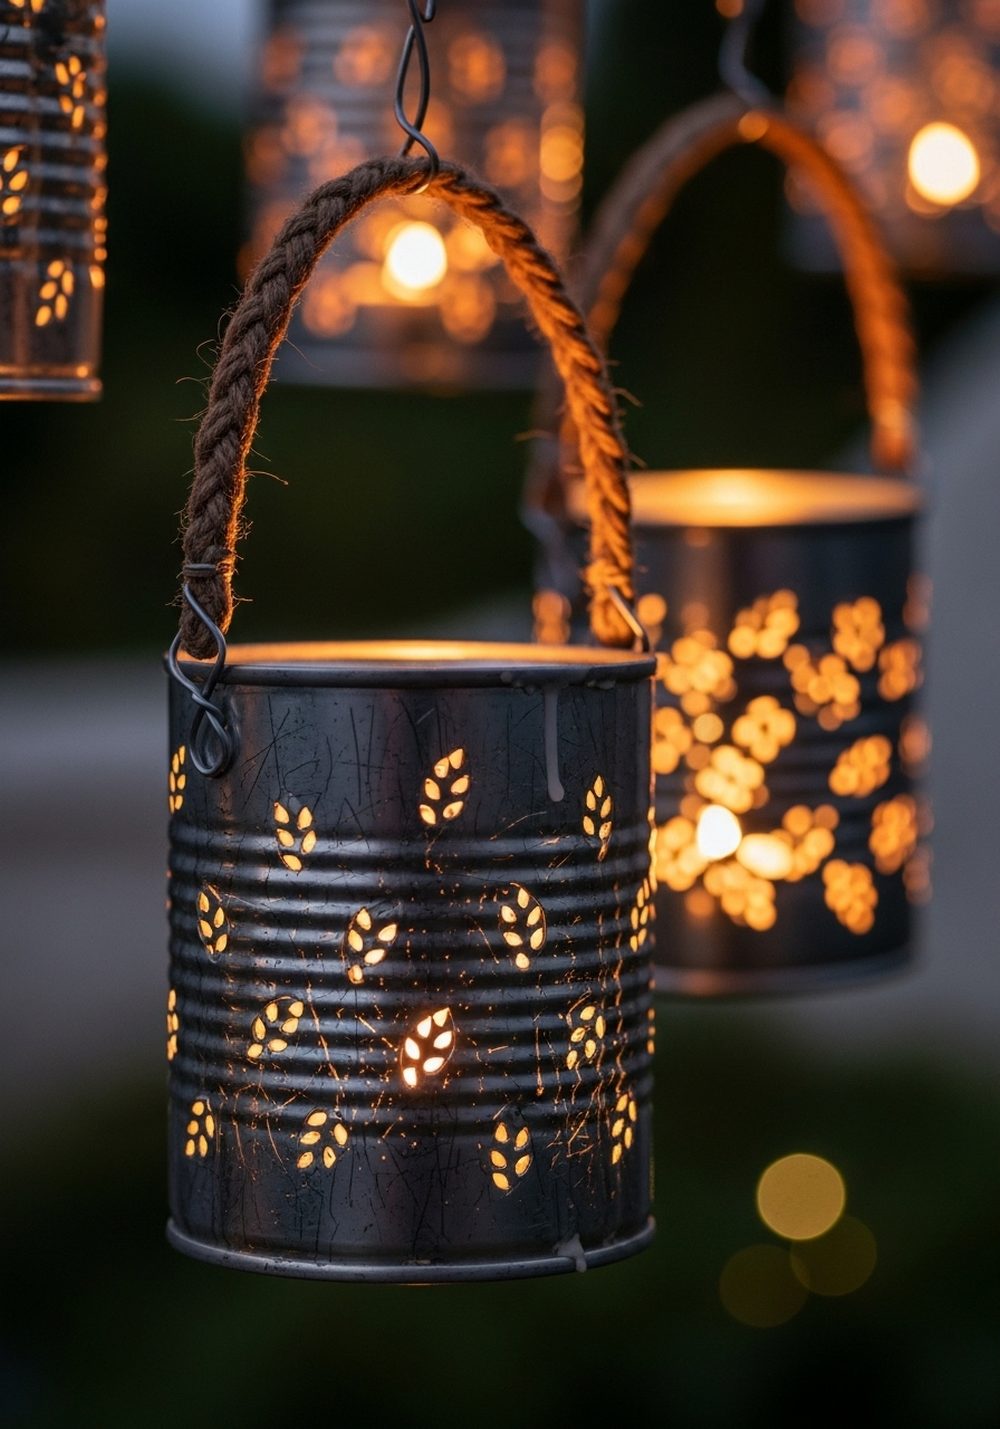
Tin can lanterns are a classic upcycle that instantly add atmosphere to summer evenings. Clean and dry your cans, then sketch a simple pattern with a marker before gently hammering holes with a small nail. Thread wire or jute around the top to create a handle, then pop in tealights or battery candles. When lit, the punched patterns throw out delicate dots and shapes of light that dance across nearby walls and foliage.
- Best For: Patio seating, pergolas, and low tree branches above a seating area.
- Budget Tip: Use cheap tea lights or solar tealights so you’re not constantly replacing candles.
- Styling Idea: Paint the outside in dark navy, charcoal, or deep green so the glowing holes really stand out.
- Safety Note: If using real candles, keep lanterns away from dry foliage and never leave them unattended.
3. Rustic Tin Can Vertical Garden On A Fence
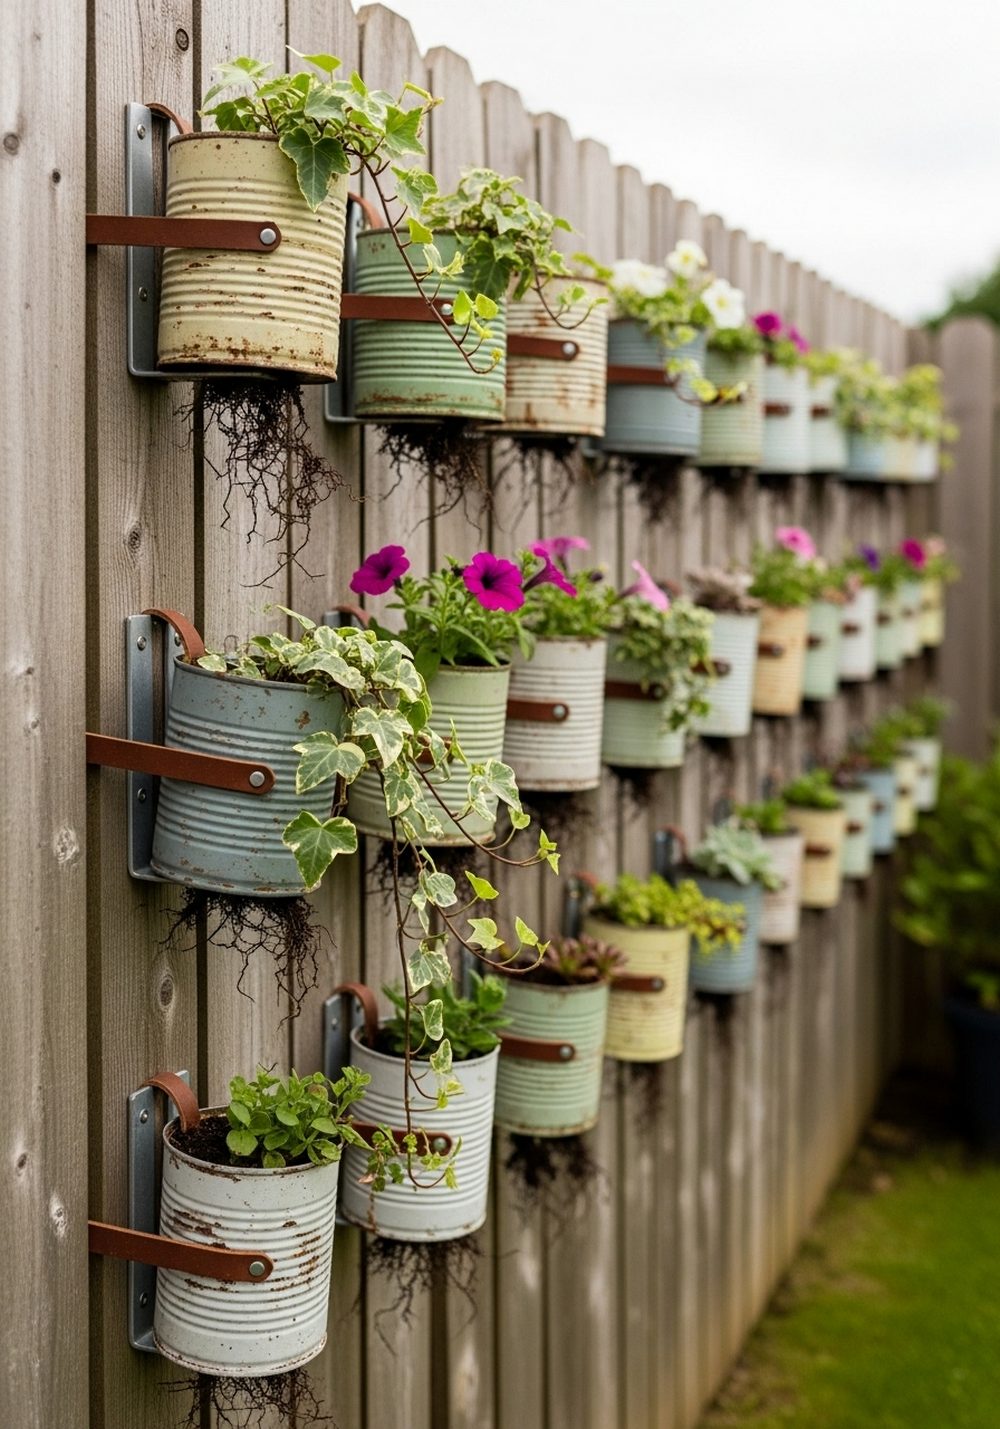
If you’re short on floor space, move up instead of out. A row of tin cans fixed to a fence transforms a flat, boring surface into a living wall. Drill drainage holes in the bottom, screw or strap the cans to wooden battens, and fill them with trailing plants, herbs, or seasonal color. The repeating shapes and heights create a strong visual rhythm, and the mix of metal, wood, and greenery feels rustic yet tidy.
- Best For: Narrow side passages, small yards, and rented fences that can take a few screws.
- Budget Tip: Start with just one or two vertical strips of cans, then add more as you collect them.
- Styling Idea: Keep cans mostly unpainted and let them weather naturally for a relaxed, farmhouse look.
- Practical Note: Choose plants with shallow roots and water more often, as cans dry out quickly.
4. Tin Can Wind Chimes With Beads And Keys
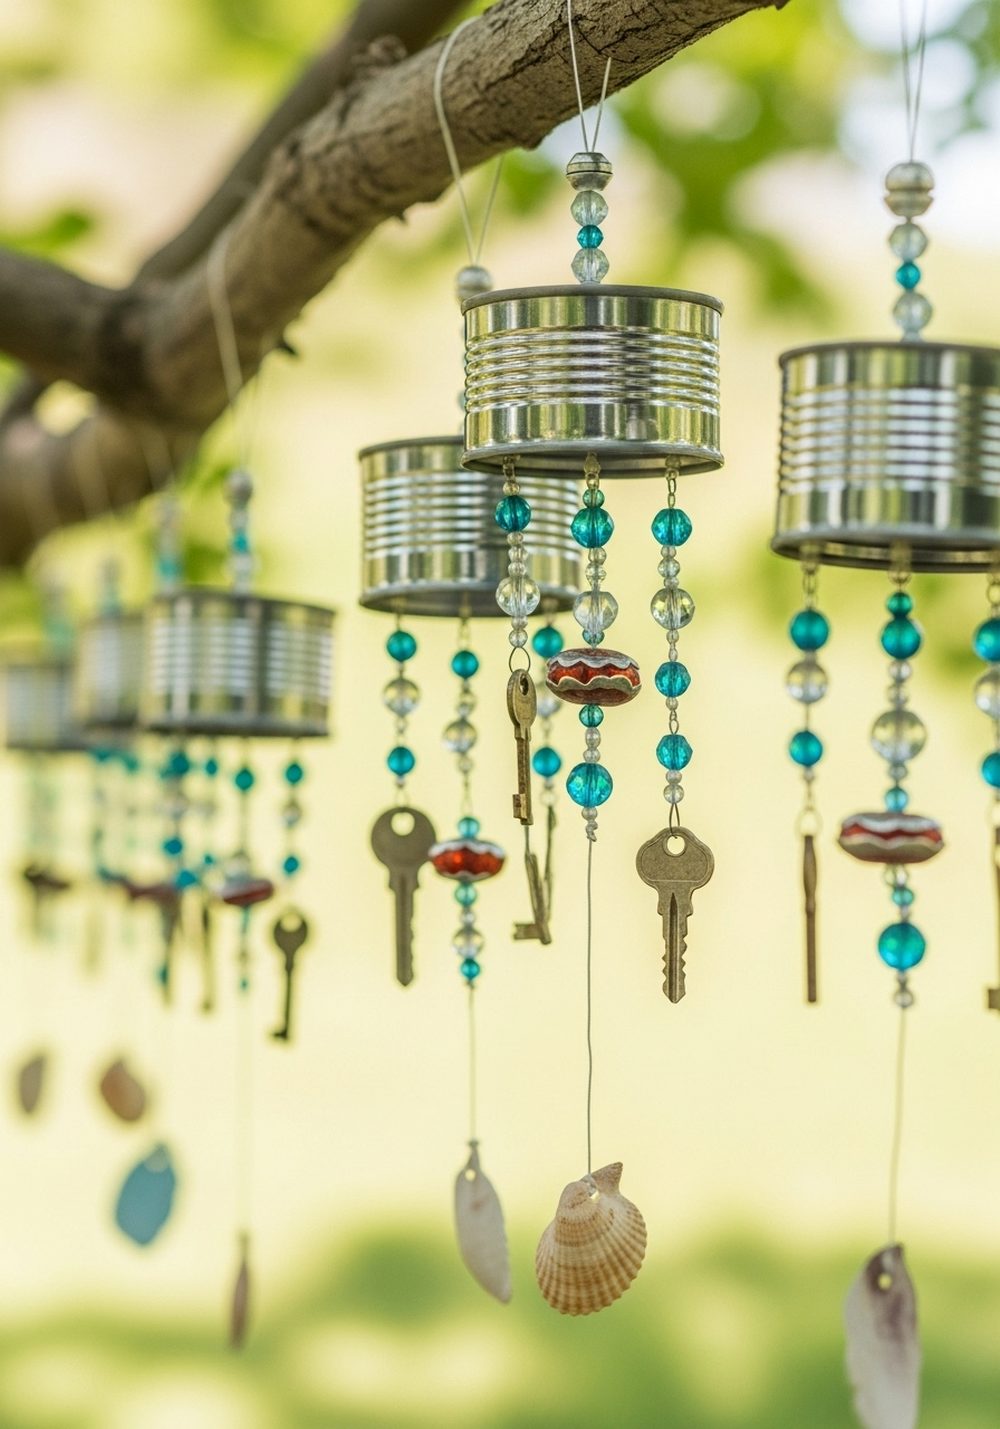
Tin can wind chimes bring sound as well as movement into the garden. Use a sturdy branch or wooden hoop as the top, then hang painted mini cans at different lengths using fishing line or twine. Add strings of old keys, shells, washers, or beads between them so they gently tap and tinkle together in the breeze. This project turns a quiet corner into something a little more magical, especially near a seat or path.
- Best For: Trees, pergolas, or porch beams where you can enjoy the sound.
- Budget Tip: Raid your junk drawer for old keys and hardware instead of buying anything new.
- Styling Idea: Use soft, coastal colors like white, aqua, and sand for a beachy, relaxed mood.
- Practical Note: Hang them where wind can reach but they won’t constantly bang against walls or windows.
5. Tin Can Bird Feeders For A Cozy Corner
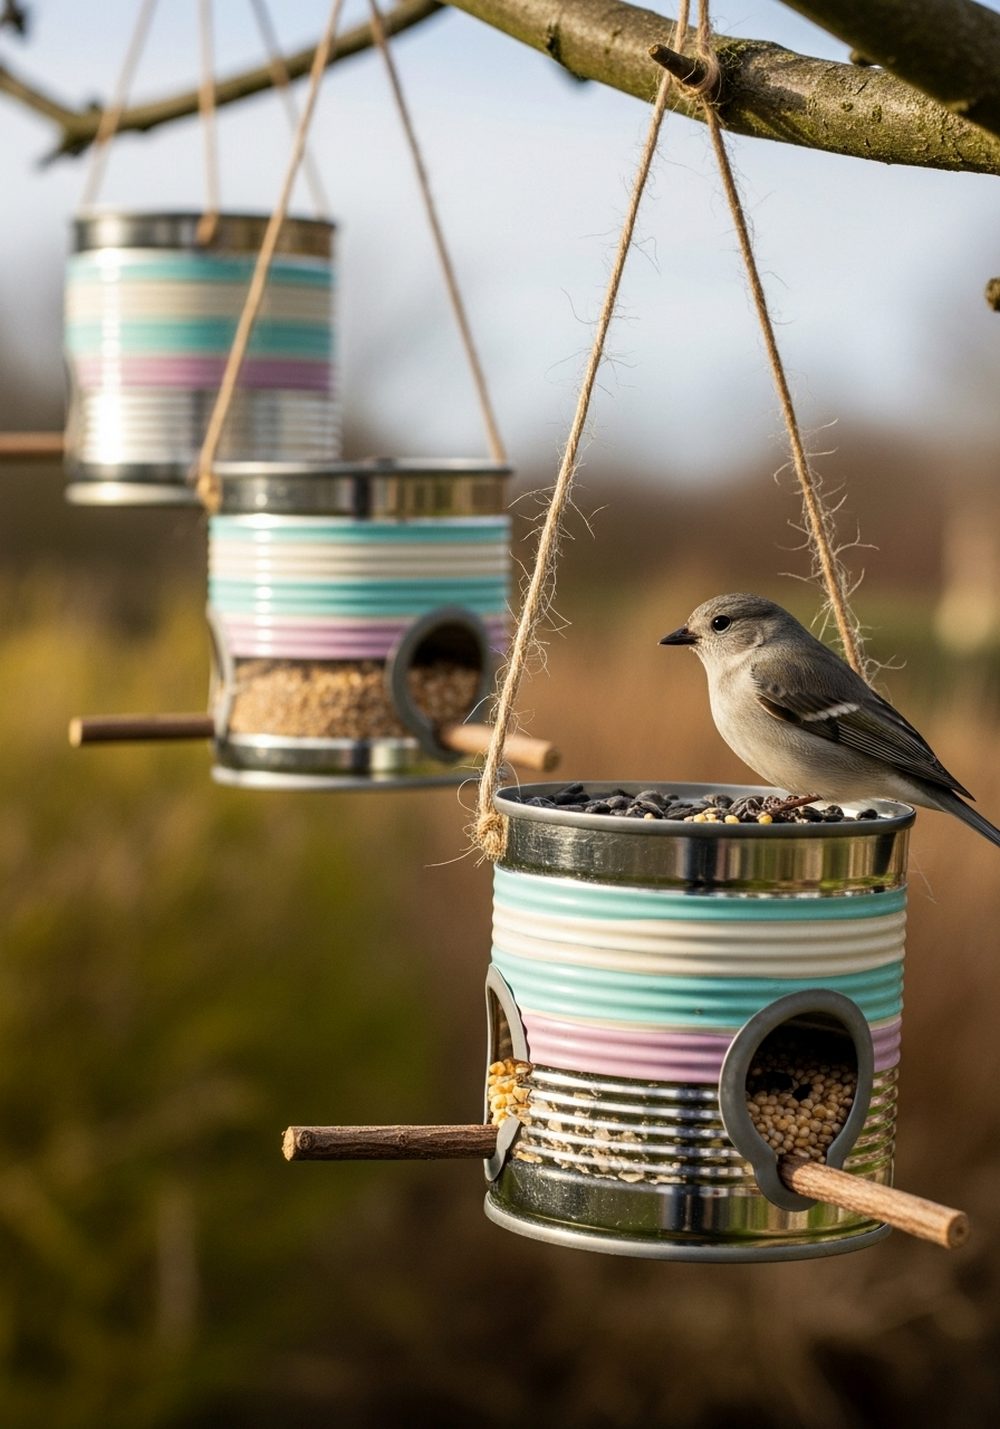
Bird feeders made from tin cans are simple, sweet, and very effective. Lay a clean can on its side, attach a ribbon or twine for hanging, and add a small stick or dowel through the open end as a perch. Fill the can with seed and hang it from a tree branch or hook. You’ll have visiting birds in no time, and the horizontal can shape creates a little sheltered tunnel they can hop into.
- Best For: Quiet corners where birds feel safe, away from heavy foot traffic and cats.
- Budget Tip: Use leftover ribbon, string, or even strips of fabric for hanging instead of buying new.
- Styling Idea: Paint the outer side in muted, natural tones so it blends into the garden and doesn’t startle wildlife.
- Practical Note: Clean and refill regularly to keep the feeder hygienic and discourage pests.
6. Tin Can Centerpieces For Garden Tables
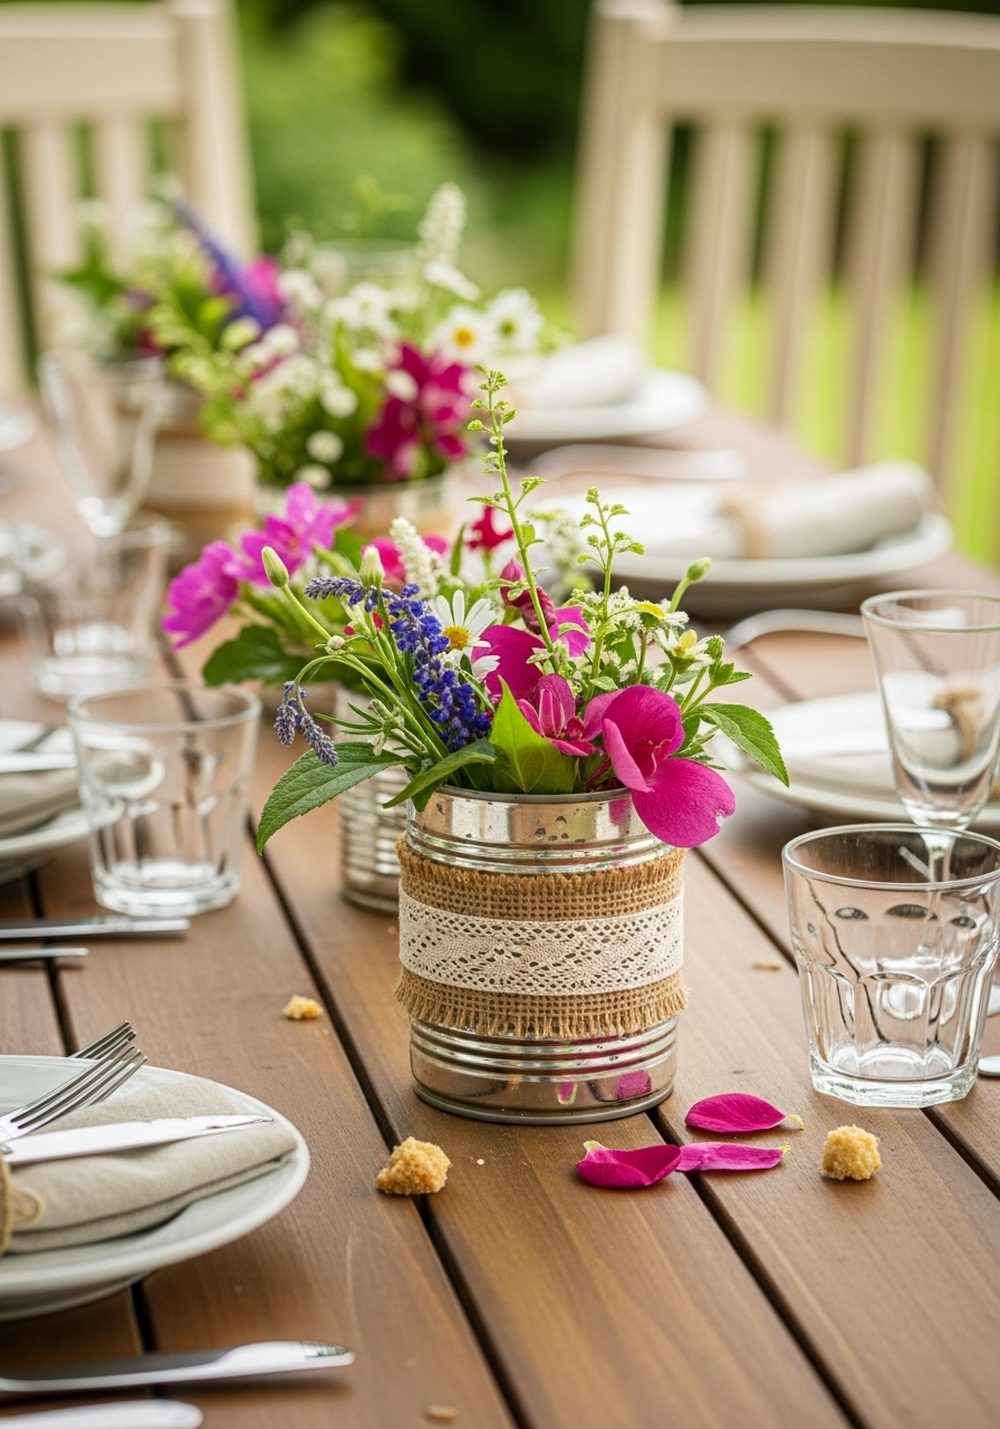
For instant outdoor table decor, cluster a few tin can vases filled with flowers down the center of your garden table. Wrap cans in burlap, lace, or twine, or leave them plain and let the metal shine. Add a mix of homegrown blooms, herbs, and a bit of greenery for a relaxed, just-picked feel. These lightweight centerpieces are easy to move around and adapt to different occasions, from a casual barbecue to a birthday tea.
- Best For: Outdoor dining tables, picnic setups, and small celebrations.
- Budget Tip: Use whatever is flowering in your garden or hedgerows instead of buying bunches.
- Styling Idea: Group three to five cans of different heights for a styled, layered look.
- Practical Note: Weigh the bottom with a few stones so they don’t blow over in a breeze.
7. Tin Can Cutlery Caddies For Outdoor Dining
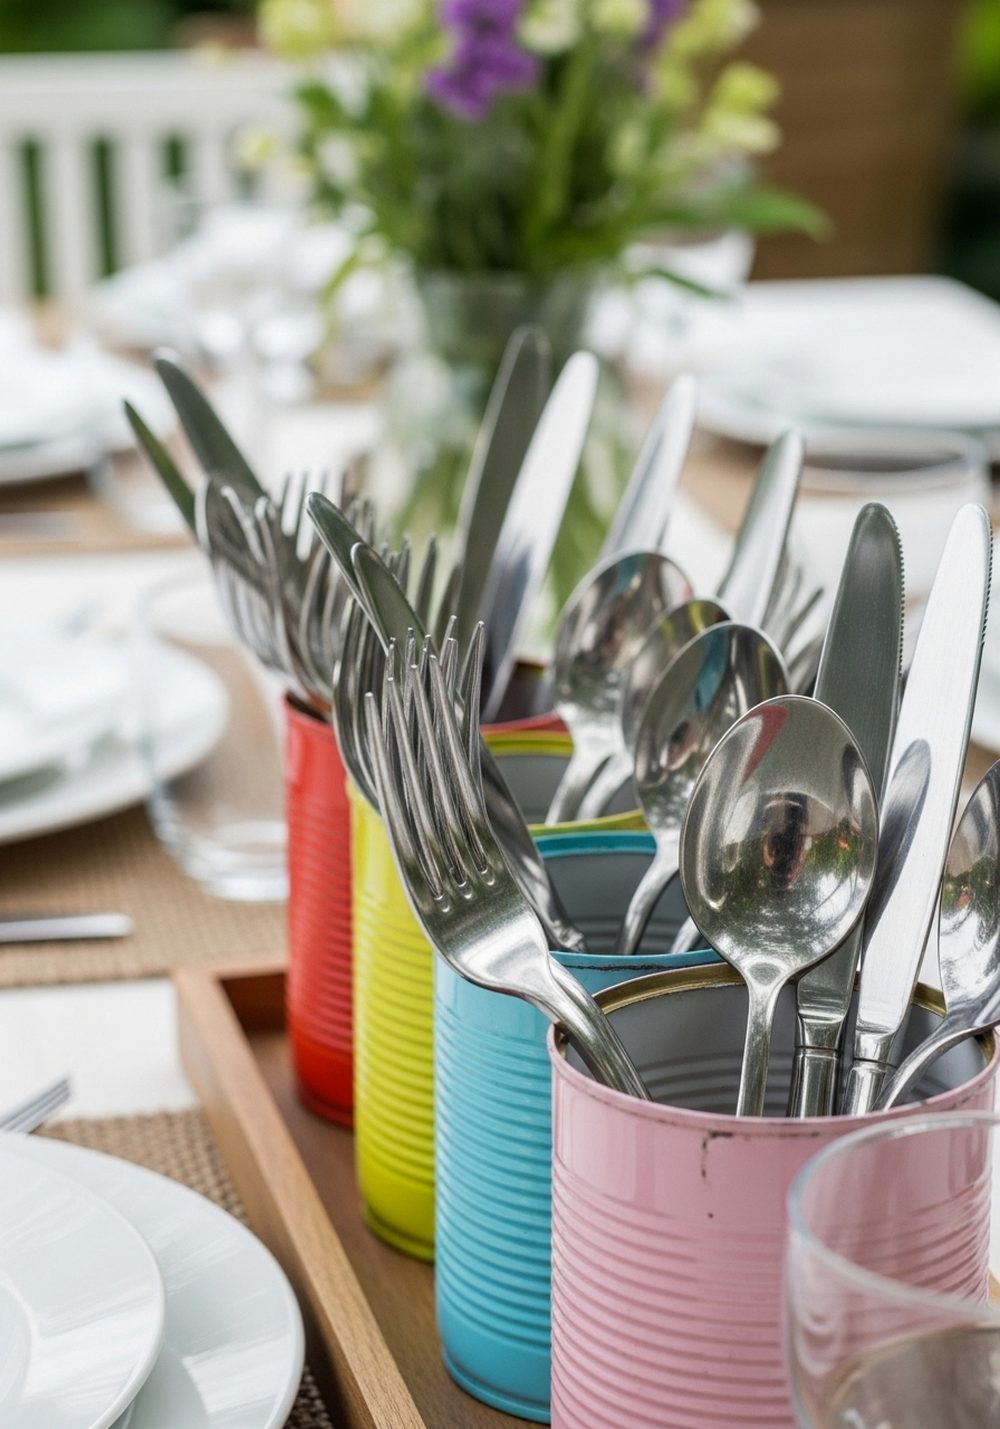
Keep outdoor meals organised with tin can cutlery caddies. Place two or three cans in a tray or crate, each one holding knives, forks, spoons, or napkins. This stops cutlery rolling across the table and makes it easy for everyone to help themselves. Painted cans in coordinating colors tie in beautifully with table linens and dishes, and the metal texture gives a relaxed, bistro-style feel to your setup.
- Best For: Families who eat outside often and hosts who love casual buffets.
- Budget Tip: Use an old wooden box or baking tray you already own as the base.
- Styling Idea: Hand-paint simple labels or little icons (fork, spoon) so guests can find what they need quickly.
- Practical Note: Store the whole tray indoors between uses to avoid rust and dust.
8. Tin Can Flower Towers By The Front Door
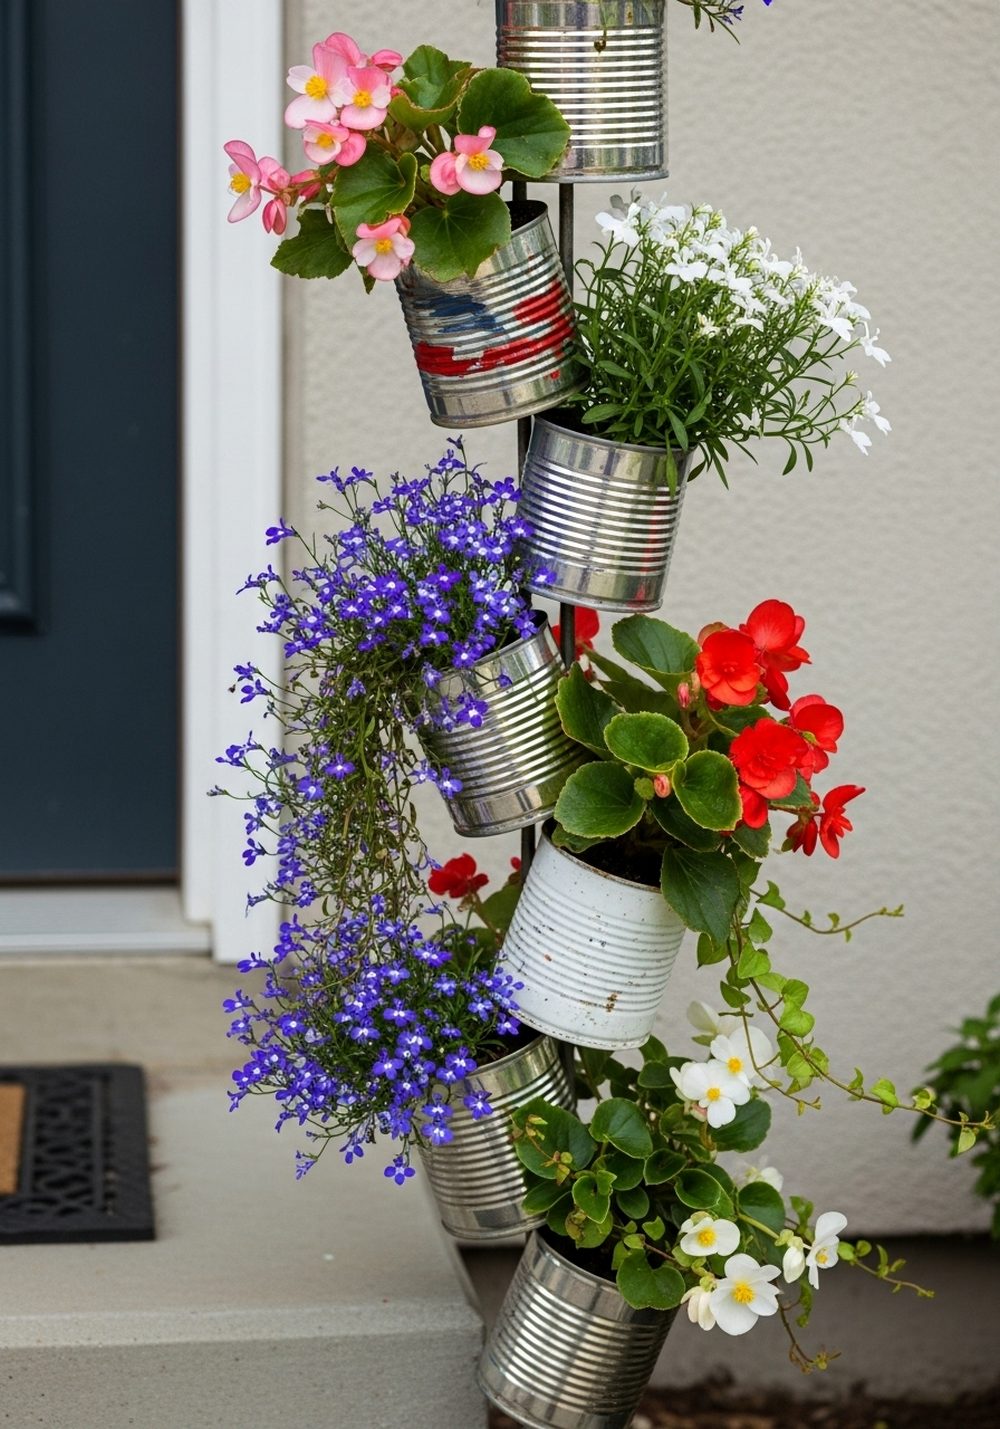
Create a big statement using small containers by stacking tin cans into a vertical flower tower. Thread the cans through a metal rod or sturdy stake driven into a large base pot, tilting each can slightly in alternating directions. Plant them with trailing and upright flowers so every level spills into the next. Set the tower beside your front door or on a porch to give guests a colourful welcome that costs much less than large ceramic planters.
- Best For: Entrances, small porches, and spots where you want a strong first impression.
- Budget Tip: Use one large bucket or pot as the base instead of buying a stand.
- Styling Idea: Keep flowers in one color family (pinks and purples, or whites and blues) for a polished feel.
- Practical Note: Secure the rod firmly and avoid very windy spots to keep the tower stable.
9. Tin Can Tool Holders In The Potting Area

In a busy potting corner, tin cans make brilliant organizers. Fix a row of cans to a wooden board or directly onto the wall and use each one to hold tools, markers, twine, and gloves. The open tops mean you can quickly grab what you need, and the repeated metal cylinders look neat and intentional rather than cluttered. It turns a messy working area into something that feels like a charming little garden workshop.
- Best For: Sheds, garages, and any outdoor potting bench.
- Budget Tip: Use offcuts of wood, old pallets, or leftover fence panels as your mounting board.
- Styling Idea: Label cans with simple tags or chalkboard stickers so everything has a set home.
- Practical Note: Drill drainage holes if the area gets damp and avoid storing sharp tools where children can reach.
10. Mini Tin Can Fairy Gardens For Kids
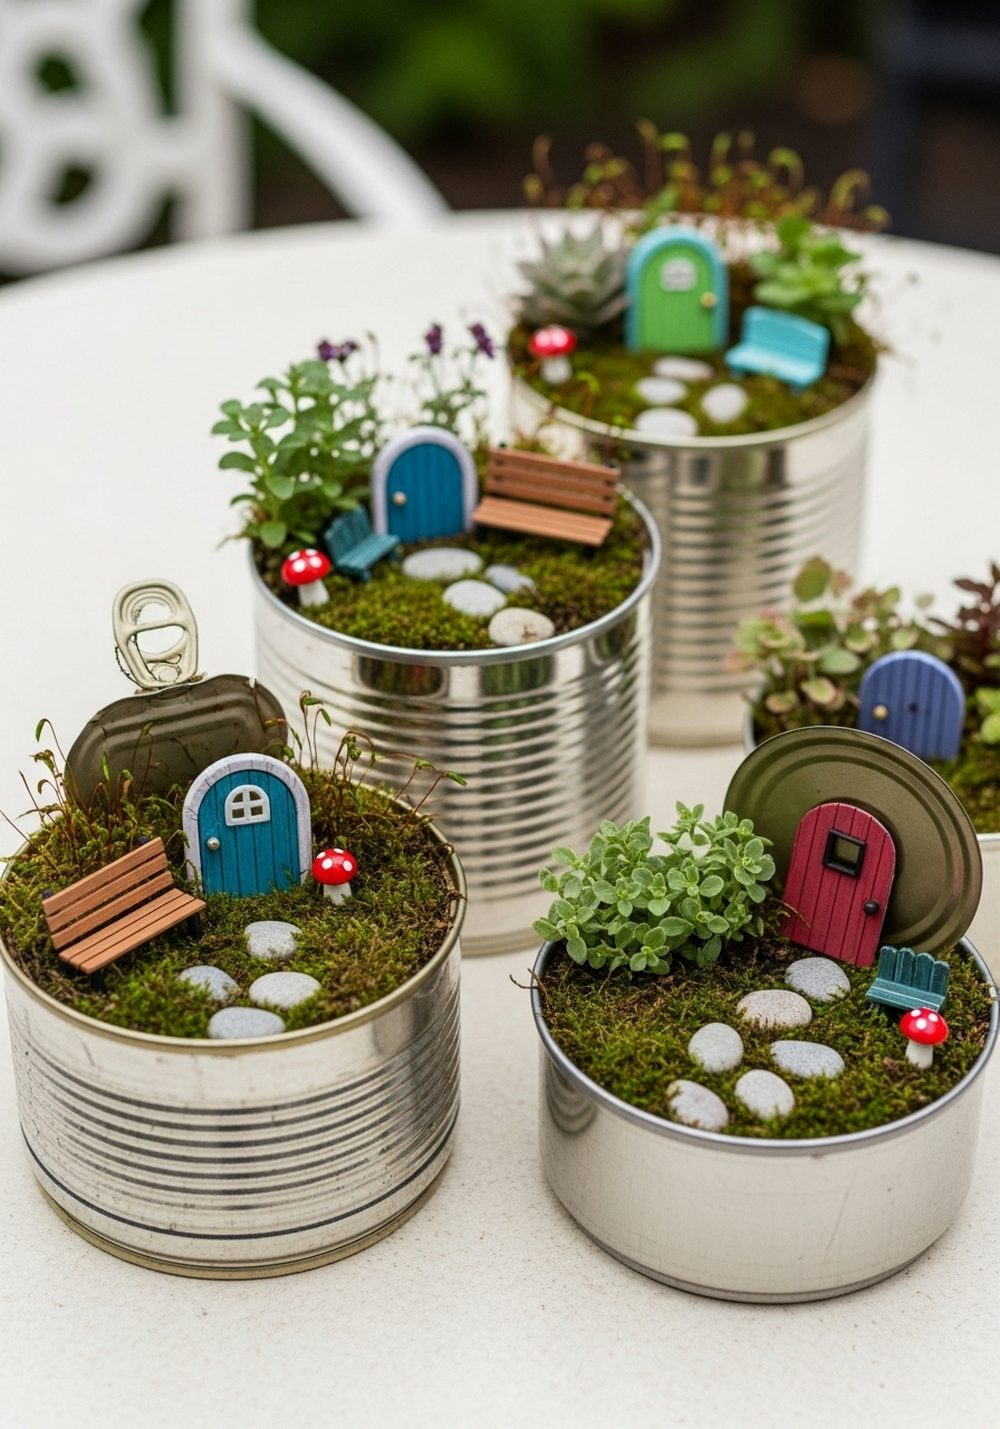
Mini fairy gardens inside tin cans are a lovely way to involve children in decorating the garden. Fill each can with soil and a layer of moss, then add tiny plants, pebbles, and miniature accessories like doors, benches, and “ponds” made from glass gems. Perch the cans on steps, shelves, or low walls so kids can visit and rearrange their tiny worlds. The small metal container keeps the project contained and manageable while still feeling magical.
- Best For: Families with children, or anyone who loves whimsical, storybook touches.
- Budget Tip: Make fairy furniture from twigs, corks, and bottle caps instead of buying miniatures.
- Styling Idea: Paint each can in soft, fairy-tale shades like lavender, sky blue, and mint.
- Practical Note: Choose hardy, low-growing plants like thyme or small sedums that can handle occasional “play.”
Conclusion
Tin cans might start life as simple packaging, but in the garden they can shine as planters, lanterns, organizers, and playful little worlds. With basic tools and a bit of creativity, you can turn everyday “trash” into decor that feels personal and full of charm. Start with one small project, see how it lifts your space and mood, then build on it until your garden quietly tells the story of your clever, resourceful eye.
FAQs
1. How can I decorate my garden with tin cans on a very small budget?
Rinse and save your own cans instead of buying containers, and use leftover wall paint, tester pots, or even nail polish for decoration. Focus on simple projects like herb pots, lanterns, or tool holders that use materials you likely already have: nails, twine, scrap wood, keys, and stones. Start with two or three cans and gradually add more as you collect them.
2. Are tin can garden projects safe for renters who can’t make big changes?
Yes, most tin can decor is completely non-permanent. Use over-door hooks, rail clamps, or freestanding frames instead of drilling into walls if you’re worried about damage. Hanging lanterns, table centerpieces, cutlery caddies, and fairy gardens can all be moved out easily when you leave, and they don’t alter fences or brickwork at all.
3. Will tin cans rust outside, and how do I protect them?
Tin cans will slowly rust outdoors, especially in wet climates, but you can slow this down. Make sure they’re completely dry before painting, use an outdoor metal primer, and finish with a clear sealant spray. Even with some rust, many people enjoy the weathered, rustic look, so you can decide whether to embrace it or touch up the paint now and then.
4. What are the best plants to grow in tin cans?
Choose plants with shallow root systems because cans are small and dry out quickly. Herbs like chives, parsley, thyme, and mint do well, as do small annual flowers, trailing lobelia, and tiny succulents. Make plenty of drainage holes and add a thin layer of gravel at the bottom so roots don’t sit in water. Regular watering and feeding keep them looking their best.
5. How can I use tin can decor in a very small balcony or patio?
Think vertical and multipurpose. Use tin cans as hanging planters on railings, as cutlery and napkin holders on a small bistro table, or as compact herb pots on a windowsill. A single row of cans on a wall or railing can add greenery without stealing floor space, and a couple of lantern cans will instantly make the tiniest balcony feel cozy in the evening.
6. Is it safe to mix plants, candles, and tin cans together?
It can be safe if you’re sensible. Keep live flame well away from dry foliage and never tuck candles into heavily planted cans. Use battery or solar candles if your cans will sit close to plants or fabrics like tablecloths. Always make sure candle cans are stable, on a heatproof surface, and never leave them burning unattended.