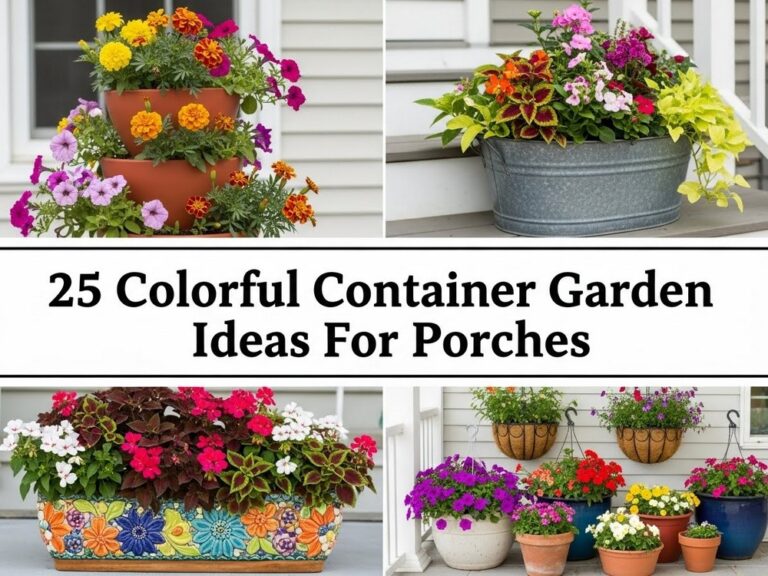
10 Budget-Friendly Painted Rock Garden Markers for Beginners
If you’re just getting started with gardening, painted rock markers are one of the easiest and most affordable ways to add personality and order to your beds. You don’t need fancy tools or special skills—just a few smooth stones, some basic paint, and a bit of imagination.
In this guide, you’ll find ten beginner-friendly painted rock garden marker ideas that are kind to your wallet and simple to recreate. From quick lettering to fun designs for kids, each idea includes styling tips and budget tricks so you can label your plants and brighten your space at the same time.
Quick List
- Simple White Lettered Herb Rocks
- Color-Coded Veggie Patch Pebbles
- Cute Cartoon Vegetable Faces
- Mini Chalkboard Label Stones
- Stenciled Leaf Silhouette Markers
- Bright Polka-Dot Plant Name Rocks
- Kids’ Handprint Garden Markers
- Minimal Line-Art Icon Stones
- Rustic Earth-Tone Rock Labels
- Rainbow Border Pathway Markers
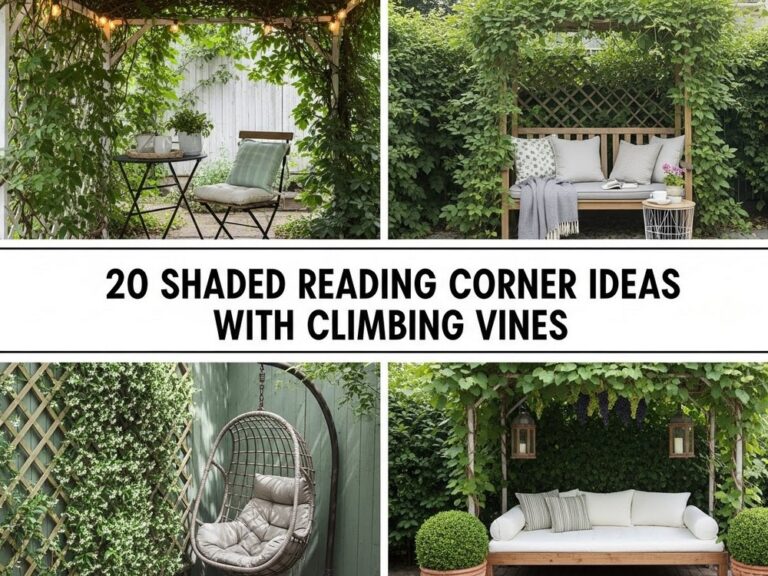
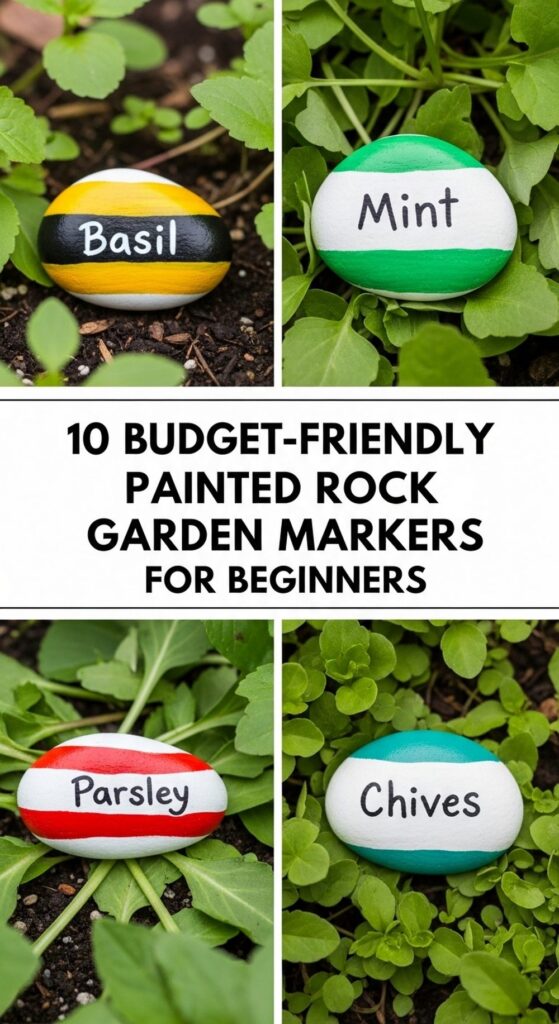
1. Simple White Lettered Herb Rocks
A classic starter project, simple white-lettered rocks look clean, modern, and instantly useful in any herb bed or pot cluster. Paint your smooth stones in a dark base color—black, deep green, or navy all work well—then use a thin brush or paint pen to write the herb names in neat white capitals. Place each rock right at the base of the plant so you can see it at a glance. The contrast of white on dark paint against fresh green herbs always looks polished.
- Best For: Herb gardens, kitchen-door planters, or windowsill pots.
- Budget Tip: Collect free stones from your yard or a friend and use a small set of basic acrylic paints.
- Styling Idea: Keep the font simple and all caps for a minimal, modern look.
- Practical Note: Seal with a clear outdoor varnish so the lettering doesn’t fade in rain or sun.
2. Color-Coded Veggie Patch Pebbles
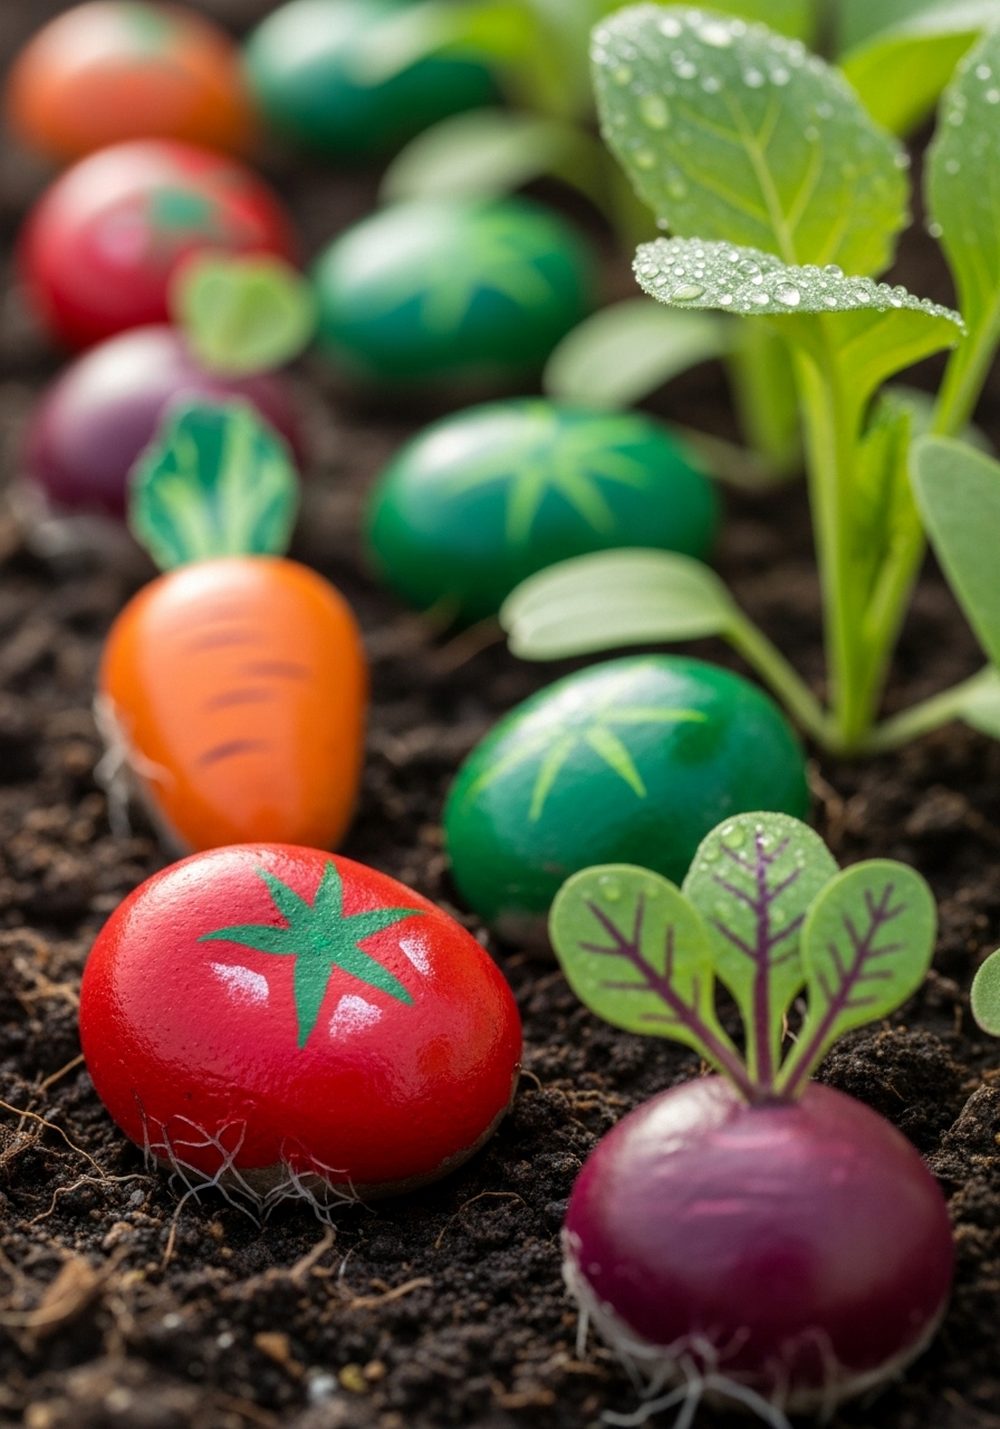
If you struggle to tell seedlings apart, color-coded pebbles make it easy. Pick a color for each vegetable—red for tomatoes, orange for carrots, green for peas, purple for beets—and paint small pebbles in that solid shade. Write the plant name in black or white if you like, but even without words, you’ll quickly learn which color means which crop. Scatter the matching pebbles along each row so you can see them from above when you’re watering or weeding.
- Best For: Larger vegetable beds where labels need to be visible from a distance.
- Budget Tip: Use leftover craft paint; you only need a small amount for each color.
- Styling Idea: Stick to a simple palette of bright primary colors for a cheerful, kids’ garden feel.
- Care & Maintenance: Touch up chips once a season and reseal if colors start to dull.
3. Cute Cartoon Vegetable Faces
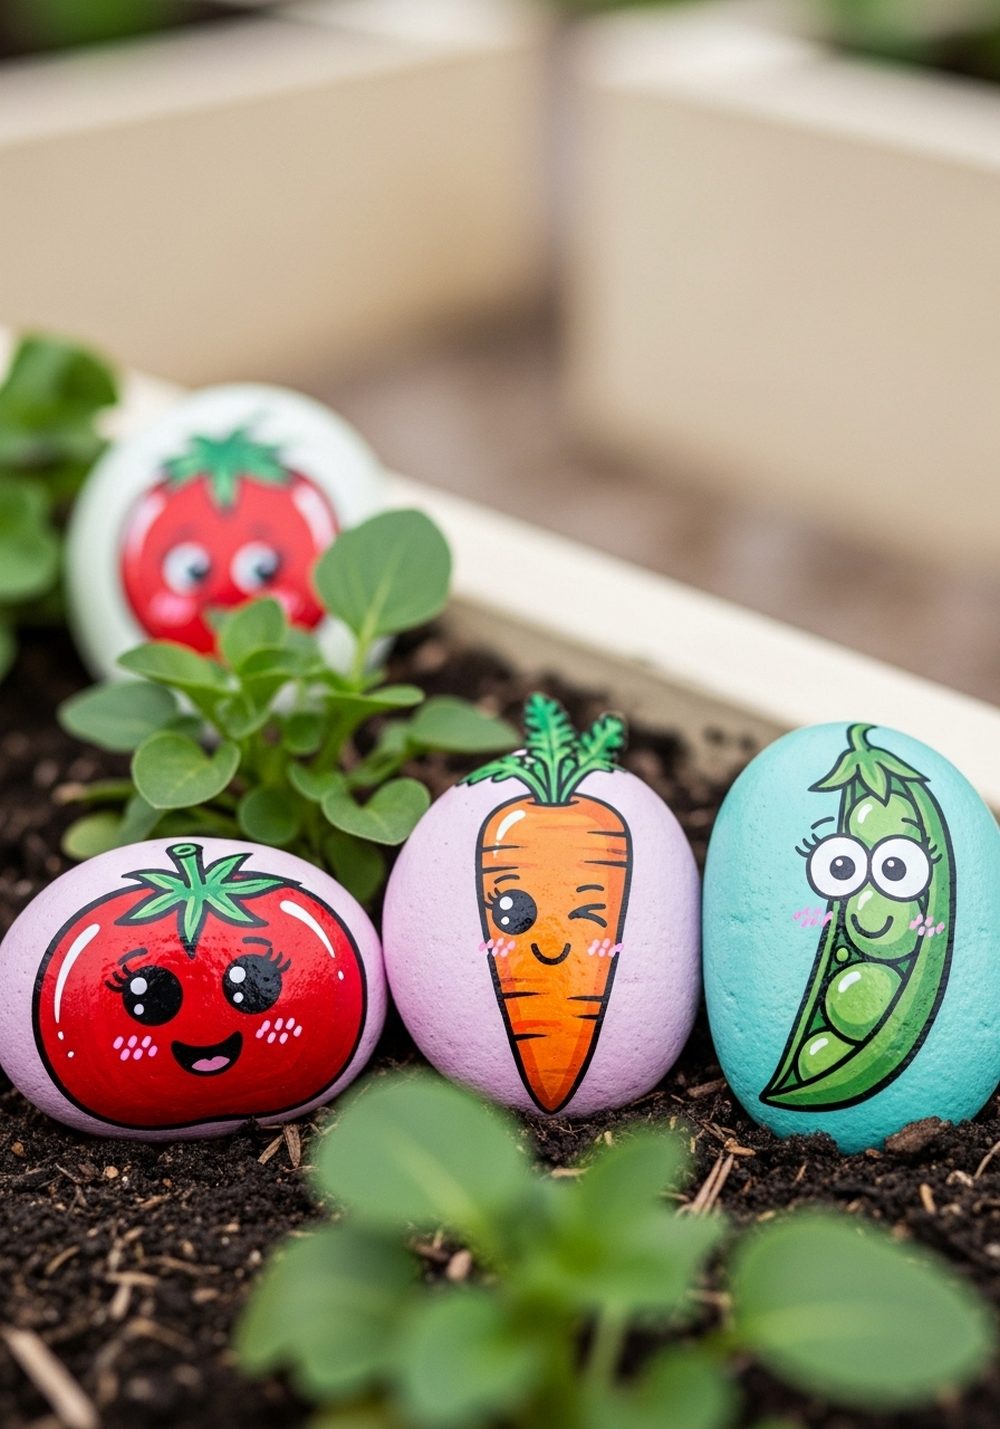
Turn your garden into a storybook with painted rocks featuring smiling vegetables. Start with a plain colored background on each rock, then add simple cartoon faces that match your crops: a grinning red tomato, a winking orange carrot, or a sleepy green lettuce. You can add tiny leaves or stems as little details above the faces. These markers make kids excited to help in the garden and are forgiving if your painting isn’t perfect—wonky lines just add charm.
- Best For: Family gardens, kids’ plots, and playful cottage-style spaces.
- Budget Tip: Share paint with children’s craft projects so you don’t buy separate supplies.
- Styling Idea: Use soft pastel backgrounds with bold black outlines for a fun, illustrated look.
- Extra Idea: Let each child “adopt” a plant and paint its matching character rock.
4. Mini Chalkboard Label Stones
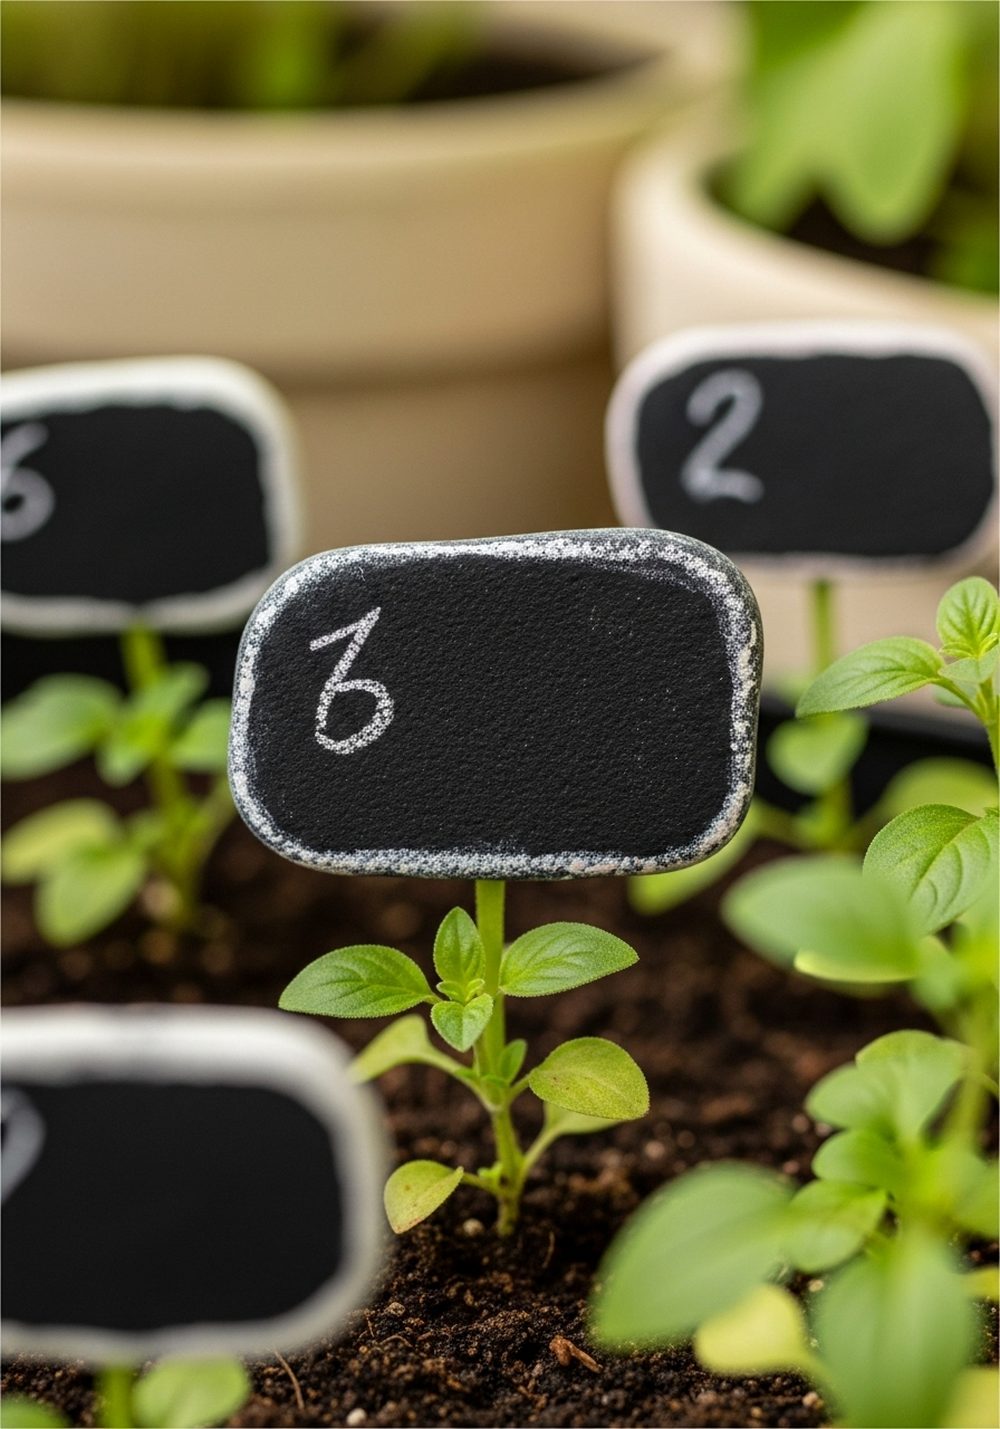
Mini chalkboard stones are ideal if you like to change your planting often. Coat flat rocks with chalkboard paint, let them dry fully, then write plant names using a chalk marker or soft pastel pencil. The matte black surface looks sharp against soil and foliage, and you can erase and relabel as your garden shifts through the season. These markers give a neat, café-style label effect that suits herb gardens and container arrangements especially well.
- Best For: Herb gardens and pots where plantings change regularly.
- Budget Tip: One small tin of chalkboard paint covers many stones, so share with a friend.
- Styling Idea: Pair with galvanized buckets or simple terracotta pots for a rustic-bistro look.
- Practical Note: Use chalk markers rather than standard chalk if you want labels to last through light rain.
5. Stenciled Leaf Silhouette Markers

If freehand drawing feels intimidating, leaf stencils are your friend. Paint your stones in a soft base color, then place a small stencil on top and dab darker paint to create crisp leaf silhouettes—basil, parsley, lettuce, or any leafy shape you like. You can add the plant name in tiny letters underneath or keep it purely pictorial. The layered shapes add texture without being busy, and they look especially nice in well-mulched beds or neat container displays.
- Best For: Gardeners who prefer a more subtle, decorative label style.
- Budget Tip: Make your own reusable stencils from scrap plastic or cardboard.
- Styling Idea: Stick to one color family (all greens or all neutrals) for a calm, cohesive look.
- Care & Maintenance: Seal both the base coat and stencil layer to prevent chipping at the edges.
6. Bright Polka-Dot Plant Name Rocks

Polka-dot rocks are quick to paint and instantly joyful. Start with a pastel or neutral base color on each stone, then use the end of a brush or a cotton swab to dot on bright paint in a contrasting shade. Once dry, you can write the plant name across the center or leave them as simple color markers that you recognize by position. The dotted pattern adds a playful texture along the soil line and looks especially good clustered in groups of three.
- Best For: Flower beds, kids’ gardens, and casual, colorful outdoor spaces.
- Budget Tip: Use whatever leftover paints you already have; mixed colors make great dots.
- Styling Idea: Choose one base color for all rocks and vary the dot colors for a coordinated style.
- Practical Note: Avoid very tiny dots that may disappear from a distance—medium dots are easier to see.
7. Kids’ Handprint Garden Markers

Kids love seeing their own handprints in the garden, and these markers become sweet keepsakes over time. Paint each rock in a light, solid color, then have children press painted hands onto the stones in different shades. Add the plant name around the edges if you wish. Place the handprint markers near the plants the children helped sow or care for. The slightly messy prints and overlapping colors create a lively, personal border along beds and paths.
- Best For: Young families and school or community gardens.
- Budget Tip: Use washable, non-toxic paints that can also be used for other craft days.
- Styling Idea: Choose a consistent base color so the multicolored handprints still look unified.
- Practical Note: Let the rocks dry fully before kids handle them again, and add a clear sealant for weather protection.
8. Minimal Line-Art Icon Stones
For a sleek, modern garden, try minimal line-art icons. Paint your rocks in white, pale gray, or soft beige, then use a fine black paint pen to draw very simple symbols: a basic carrot outline, a few stylized leaves, or a tiny tomato circle with a star top. These markers act almost like little garden logos. They don’t shout for attention, but when you lean in, the clean lines feel thoughtful and deliberate.
- Best For: Contemporary patios, balcony gardens, and neat raised beds.
- Budget Tip: Invest in one good waterproof paint pen that will last through many projects.
- Styling Idea: Keep everything monochrome—black on white or gray—for a Scandinavian-inspired look.
- Care & Maintenance: Redraw any lines that fade over time and reseal to keep edges crisp.
9. Rustic Earth-Tone Rock Labels
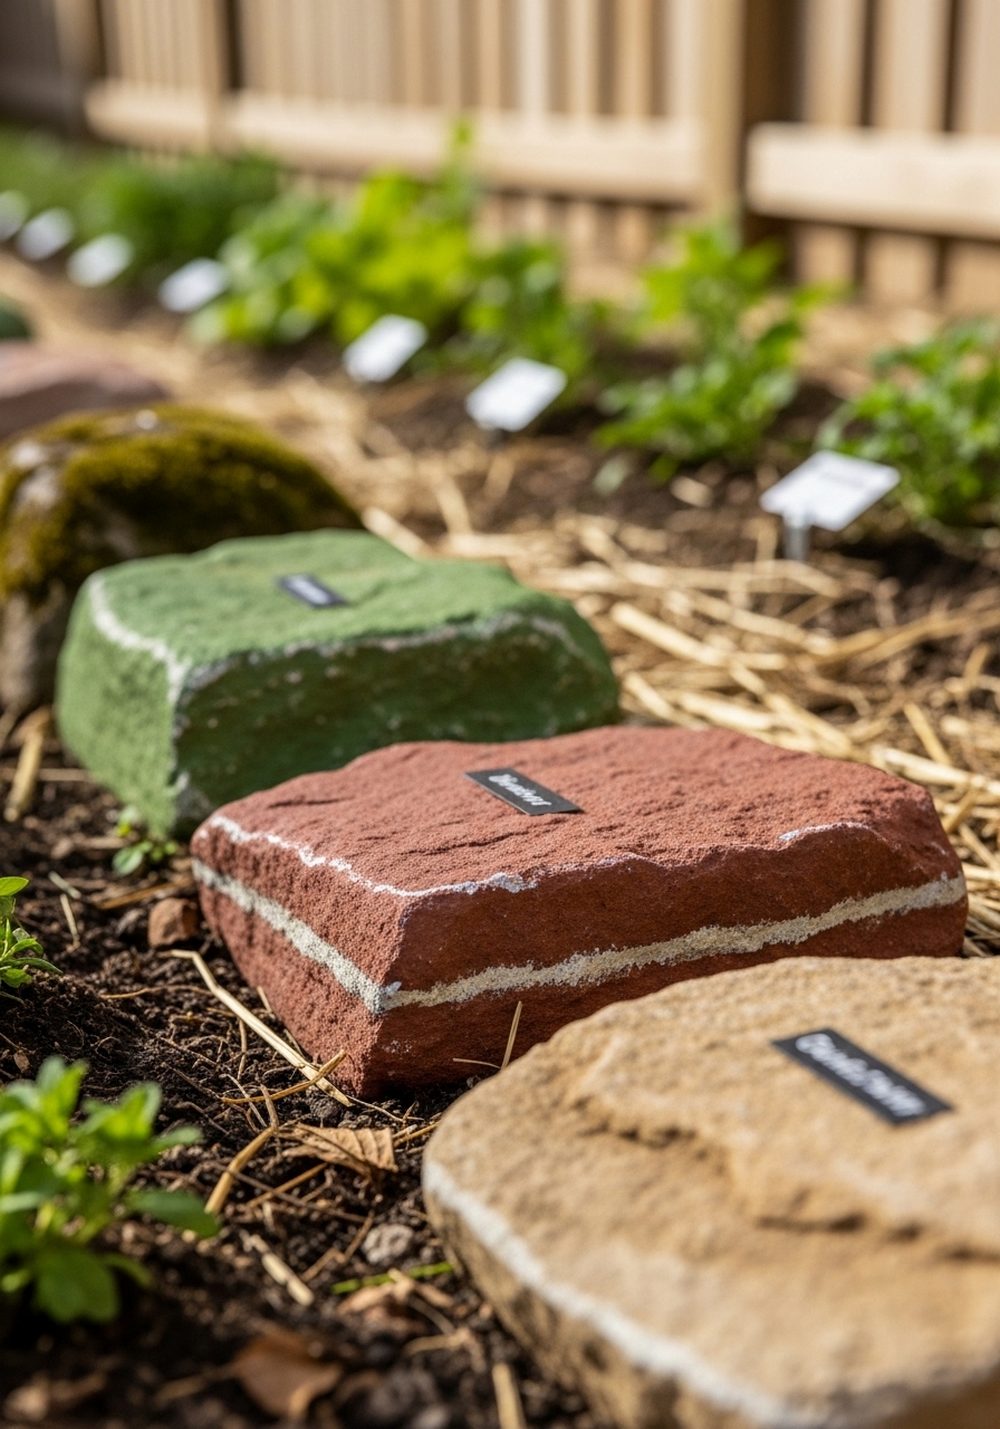
If you prefer a natural look, try lightly washing stones with thin layers of earth-tone paint instead of opaque color. Thin your acrylic paint with a little water and brush it over the rocks so the natural speckles and grain still show through. Once dry, add the plant name in a darker shade or simply rely on the different tones to mark different beds. These markers blend in beautifully with bark mulch, wooden edges, and terracotta containers.
- Best For: Cottage gardens, woodland edges, and naturalistic beds.
- Budget Tip: Use just a tiny amount of paint mixed with water—one tube goes a long way.
- Styling Idea: Choose three tones (moss green, clay red, and stone beige) and repeat them throughout the garden.
- Practical Note: Because the colors are subtle, place rocks where you can see them easily when kneeling or harvesting.
10. Rainbow Border Pathway Markers
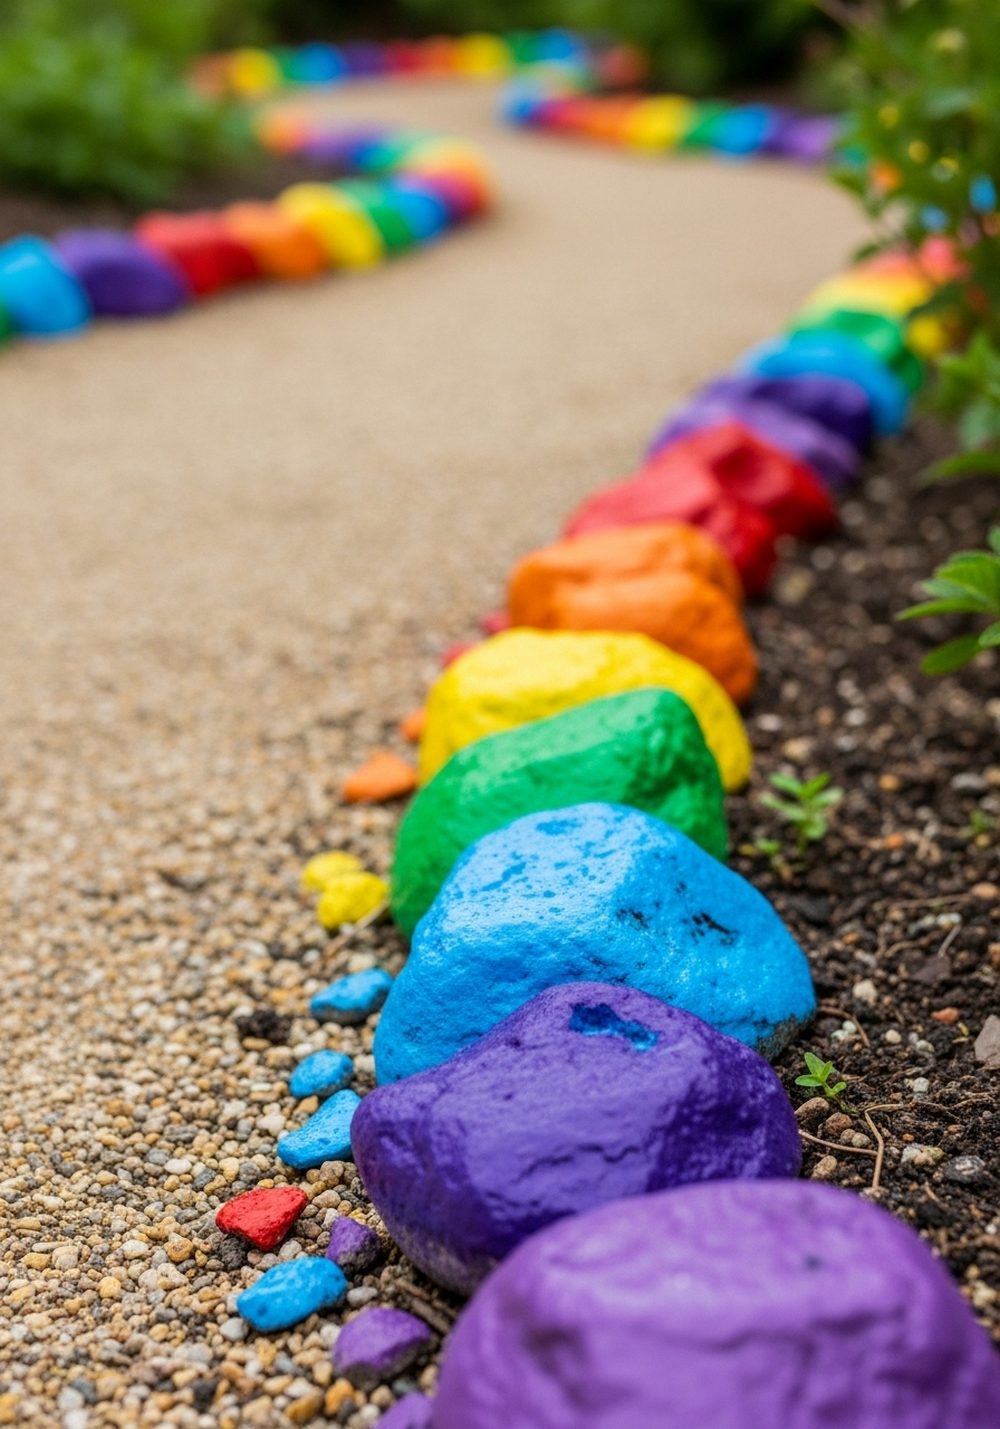
Rainbow border markers do double duty as decor and plant guides. Paint medium-sized rocks in bright rainbow colors and line them along the edge of your path or bed, grouping certain colors near specific plants. You can write names on the top or underside if you prefer to keep things more decorative. The colorful edge instantly makes your garden look more cared-for and is especially striking against gravel or dark soil.
- Best For: Front gardens, shared pathways, or any space you want to feel welcoming.
- Budget Tip: A basic primary-color paint set is enough to mix all the rainbow shades.
- Styling Idea: Arrange the colors in proper rainbow order for a tidy, intentional look.
- Care & Maintenance: Rinse off mud and touch up paint each spring before the growing season kicks in.
Conclusion
Painted rock garden markers are an easy, low-cost way to bring character and clarity to your outdoor space. With just a handful of stones and a few colors of paint, you can create labels that reflect your style, involve the whole family, and make your beds easier to read at a glance. Start with one simple idea—maybe white-lettered herb rocks or a rainbow border—and build from there as your garden (and your confidence) grows.
FAQs
1. How can I make painted rock markers on a very small budget?
Focus on using what you already have. Collect free stones from your yard, a friend, or a local park where it’s allowed. Use leftover acrylic craft paints and a basic brush. Even a single dark color plus a white paint pen can create clear, stylish labels that last.
2. Will painted rock markers survive rain and sun outdoors?
Yes, if you use the right materials. Choose acrylic paints labeled for outdoor or multi-surface use, let each layer dry completely, and finish with a clear outdoor sealant. Place rocks where water doesn’t pool, and touch up any chips once or twice a year to keep them looking fresh.
3. Are these ideas suitable for renters who can’t change the garden permanently?
Definitely. Rock markers are completely non-permanent—nothing is nailed, glued, or dug in. You can simply pick them up and take them with you when you move. They’re perfect for labeling plants in containers, balcony pots, or shared garden spaces without making any lasting changes.
4. What’s the easiest painted rock marker idea for total beginners?
Simple white lettered herb rocks are the most forgiving. You paint one base color, then add straightforward block letters with a paint pen. There’s no need for detailed drawing, and even slightly uneven letters look charming in the garden. Minimal line-art stones are a close second for a clean, simple look.
5. Can I use painted rock markers in very small spaces like balconies or windowsills?
Yes. Choose smaller, flatter stones that can sit comfortably on soil in pots or troughs. One rock per pot is usually enough. Keep designs simple so they don’t overwhelm small containers—plain lettering, tiny icons, or minimal color-coding work well and still add plenty of personality.