10 Simple Painted Rock Garden Markers for Herb Gardens

Painted rock garden markers are one of the easiest ways to give your herb garden more personality without spending much money. With just a few stones, some paint, and basic brushes, you can turn a plain patch of herbs into a cheerful, labeled display that’s useful and beautiful.
Whether you grow herbs in a raised bed, a few pots on the balcony, or a windowsill planter, these simple painted rock ideas will help you keep track of what’s what while adding color and character. Each idea is beginner-friendly, easy to customize, and gentle on the budget—perfect for home gardeners, renters, and small-space growers who want a more charming, organized herb garden.
Quick List
- Classic White Script On Natural Stone
- Bright Color-Dipped Edge Markers
- Mini Illustrated Herb Icons
- Chalkboard-Effect Black Rocks
- Pastel Ombre Pebble Markers
- Mandala Dot Art Herb Stones
- Rustic Stamped-Letter Rocks
- Kid-Friendly Cartoon Herb Faces
- Minimalist Monogrammed Herb Stones
- Weathered Vintage Label Rocks
1. Classic White Script On Natural Stone

Keep things timeless with simple river stones labeled in clean white script. Rinse and dry your stones, then paint just one flat face with your herb name using a small brush and white acrylic paint or paint pen. Let the natural grey or beige stone show around the sides for a soft, organic look that blends with soil and foliage. Arrange the finished markers at the base of each herb, half-burying them in soil so they feel rooted in place and easy to read.
- Best For: Natural, rustic herb beds, cottage-style gardens, and renter-friendly pots.
- Budget Tip: Collect stones from your yard or a walk (where allowed) and use leftover white paint or a paint pen.
- Styling Idea: Choose a loose, handwritten script to keep it relaxed rather than formal.
- Practical Note: Seal with a clear outdoor sealer to stop the white from fading in sun and rain.
2. Bright Color-Dipped Edge Markers
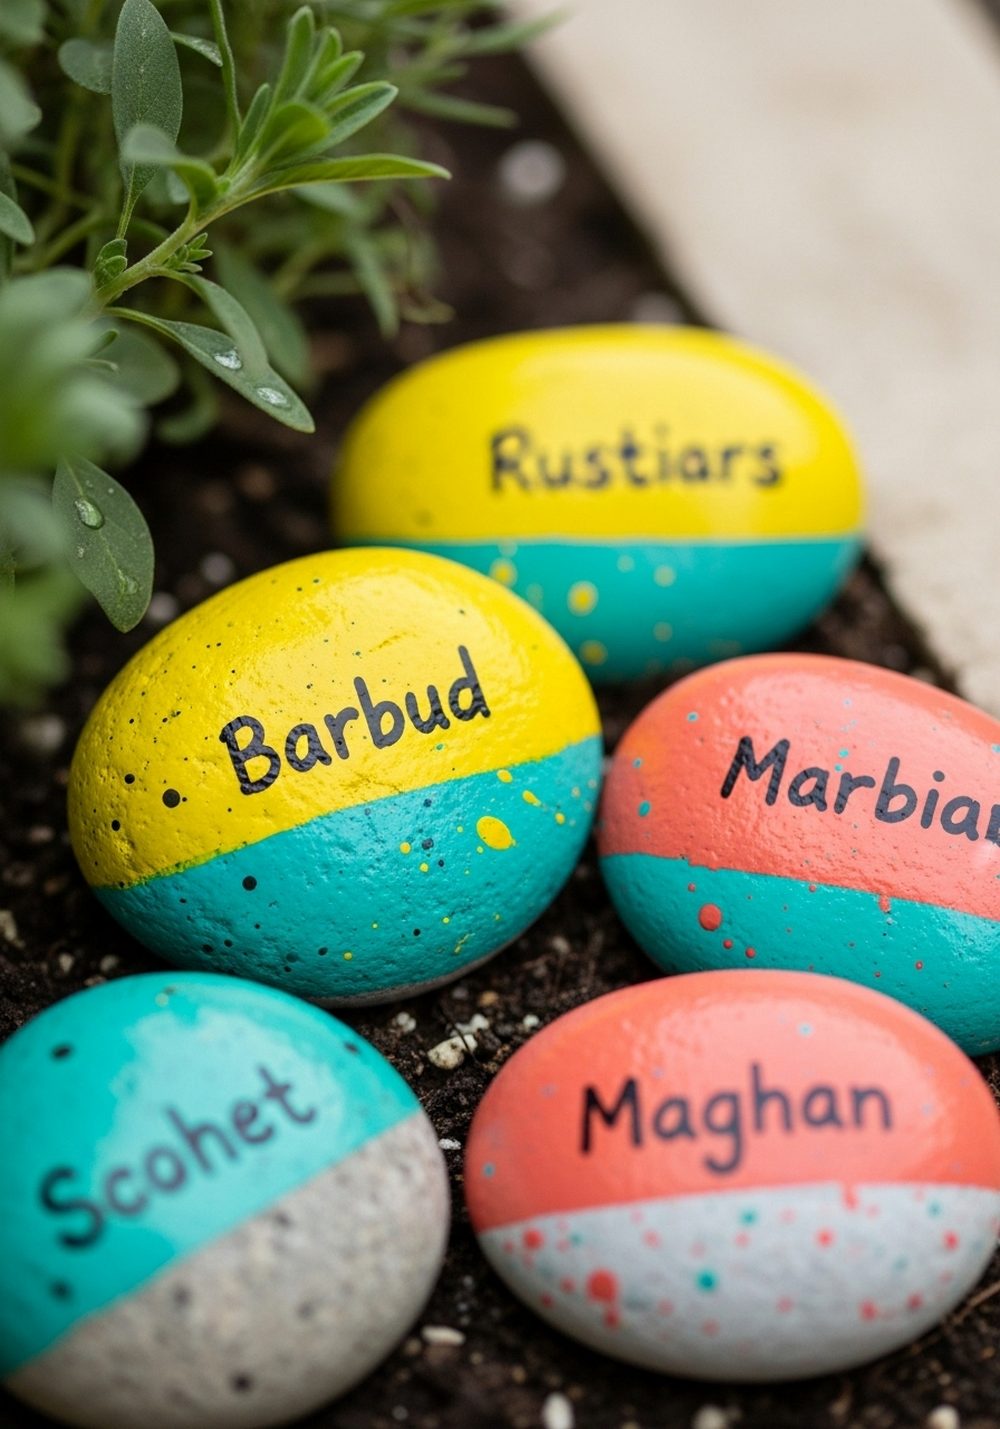
If you love bold color, try “dipping” stones in paint. Mask off the top half of each rock with tape, then brush bright acrylic colors on the bottom half—think teal for mint, sunny yellow for lemon balm, or coral for basil. Once dry, remove the tape for a sharp line and write the herb name across the painted band in black. Nestle the rocks with their colored bases facing outward so they pop against soil and greenery.
- Best For: Modern gardens, balcony planters, and anyone who likes a pop of color.
- Budget Tip: Limit yourself to two or three favorite paint colors and mix lighter or darker shades as needed.
- Styling Idea: Stick to one color family (all blues, all warm tones) for a coordinated look.
- Practical Note: Use outdoor or multi-surface acrylics to keep colors bright in all weather.
3. Mini Illustrated Herb Icons
Add tiny illustrations to your rocks to make identifying herbs extra intuitive. Paint a soft background color first, then sketch a simple leaf or sprig shape for each herb above its name—a couple of rounded leaves for basil, needles for rosemary, or long blades for chives. Keep the drawings very simple, more like icons than detailed art, so they’re easy to repeat. This small decorative touch makes your markers both charming and easy for kids or guests to read.
- Best For: Families, beginner artists, and gardeners who like playful detail.
- Budget Tip: Use just one fine brush and a few basic colors to create all your icons.
- Styling Idea: Stick to a muted palette for the backgrounds so the green herb drawings stand out.
- Care & Maintenance: Touch up the icons each spring if they start to fade or chip.
4. Chalkboard-Effect Black Rocks
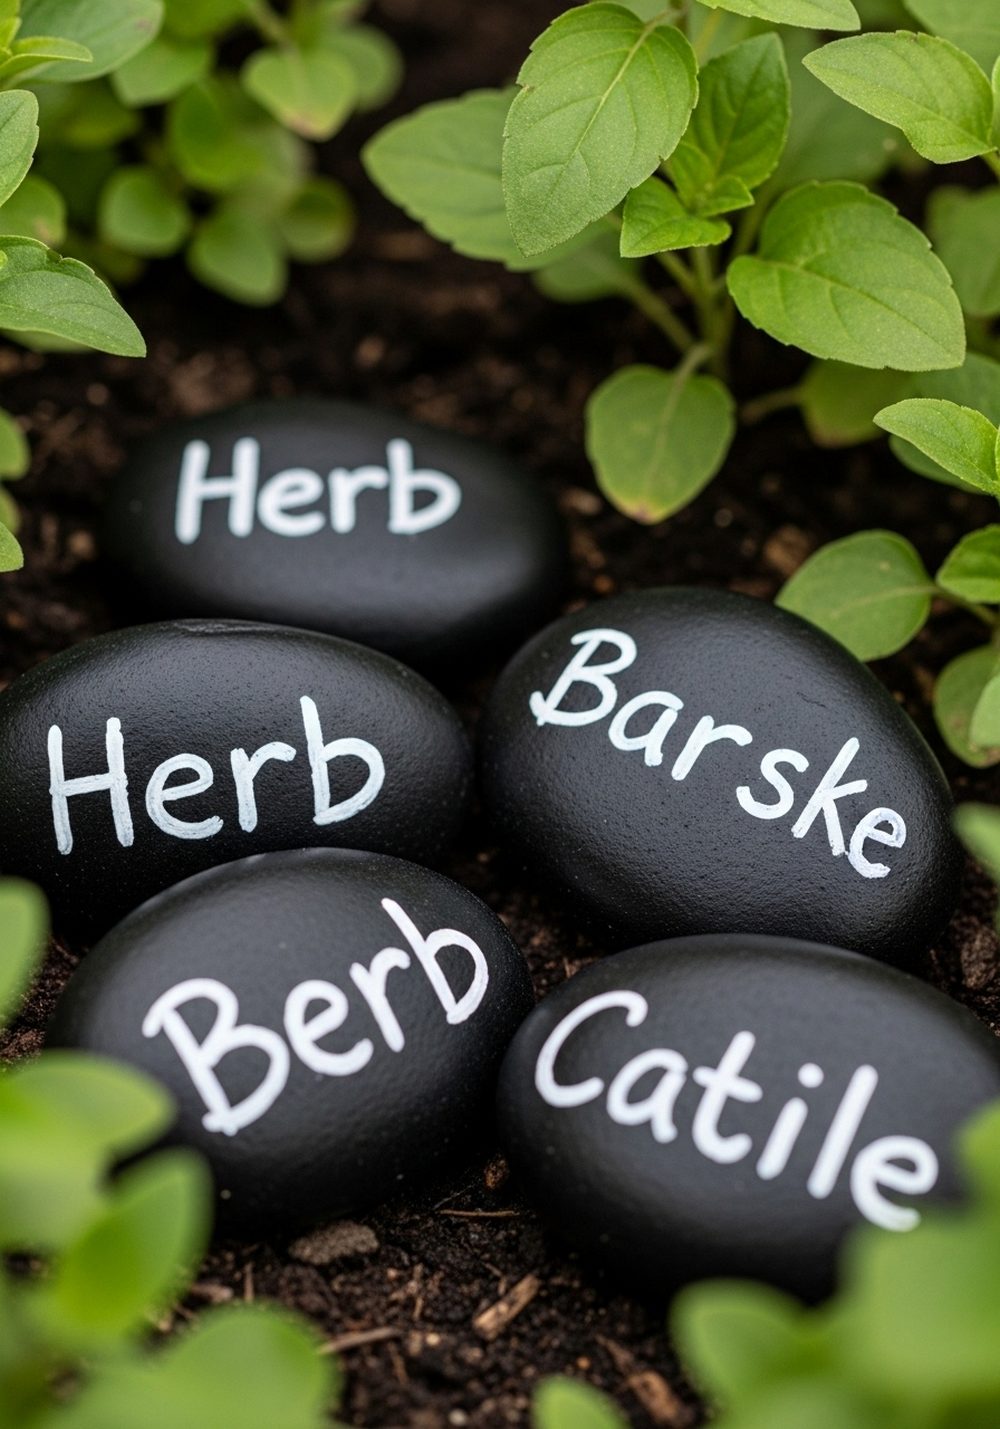
Give your herb garden a modern twist with chalkboard-style rocks. Paint stones with matte black paint and let them dry fully, then write herb names using a white paint pen to mimic chalk. The black background makes the letters crisp and easy to read, even from a distance. These markers look especially striking against lush green herbs, and the simple black-and-white palette fits almost any garden style, from farmhouse to contemporary.
- Best For: Sleek, modern gardens and raised beds where you want strong contrast.
- Budget Tip: One small bottle of black paint and a single white paint pen will cover lots of stones.
- Styling Idea: Use uppercase block letters for a neat, pantry-label look.
- Practical Note: Avoid actual chalk—it washes off too quickly; paint pens are much more weatherproof.
5. Pastel Ombre Pebble Markers

For a softer, dreamy look, try pastel ombre stones. Paint each pebble with a gradient, blending from one light color into another across the surface—mint into white, lilac into pale pink. When dry, write the herb name on the lightest section in thin black lettering so it’s easy to see. Line these pebbles along the front edge of your herb bed or container to create a gentle ribbon of color that feels calm and fresh without overwhelming your plants.
- Best For: Romantic, cottage-style gardens and delicate patio herb displays.
- Budget Tip: Mix white into any color you already have to create soft pastels for free.
- Styling Idea: Choose two or three pastel combos and repeat them for a cohesive set.
- Care & Maintenance: Apply a satin clear coat to enhance the gradient and protect your paintwork.
6. Mandala Dot Art Herb Stones

Dot art looks impressive, but it’s surprisingly simple. Paint a base color on each stone, then use the ends of brushes, skewers, or dotting tools to make evenly spaced dots in circles around the herb name. Start with larger dots in the center and smaller ones toward the edges. Choose colors that echo your herbs—greens, yellows, and whites—to keep things harmonious. The dots catch the light beautifully and turn each rock into a tiny piece of art nestled among leaves.
- Best For: Patient crafters who enjoy relaxing, repetitive designs.
- Budget Tip: Skip fancy tools; use household items like pencil ends and toothpicks for dots.
- Styling Idea: Limit yourself to three dot colors per stone for a tidy, not too busy look.
- Practical Note: Let each dot layer dry before adding the next to avoid smudging.
7. Rustic Stamped-Letter Rocks
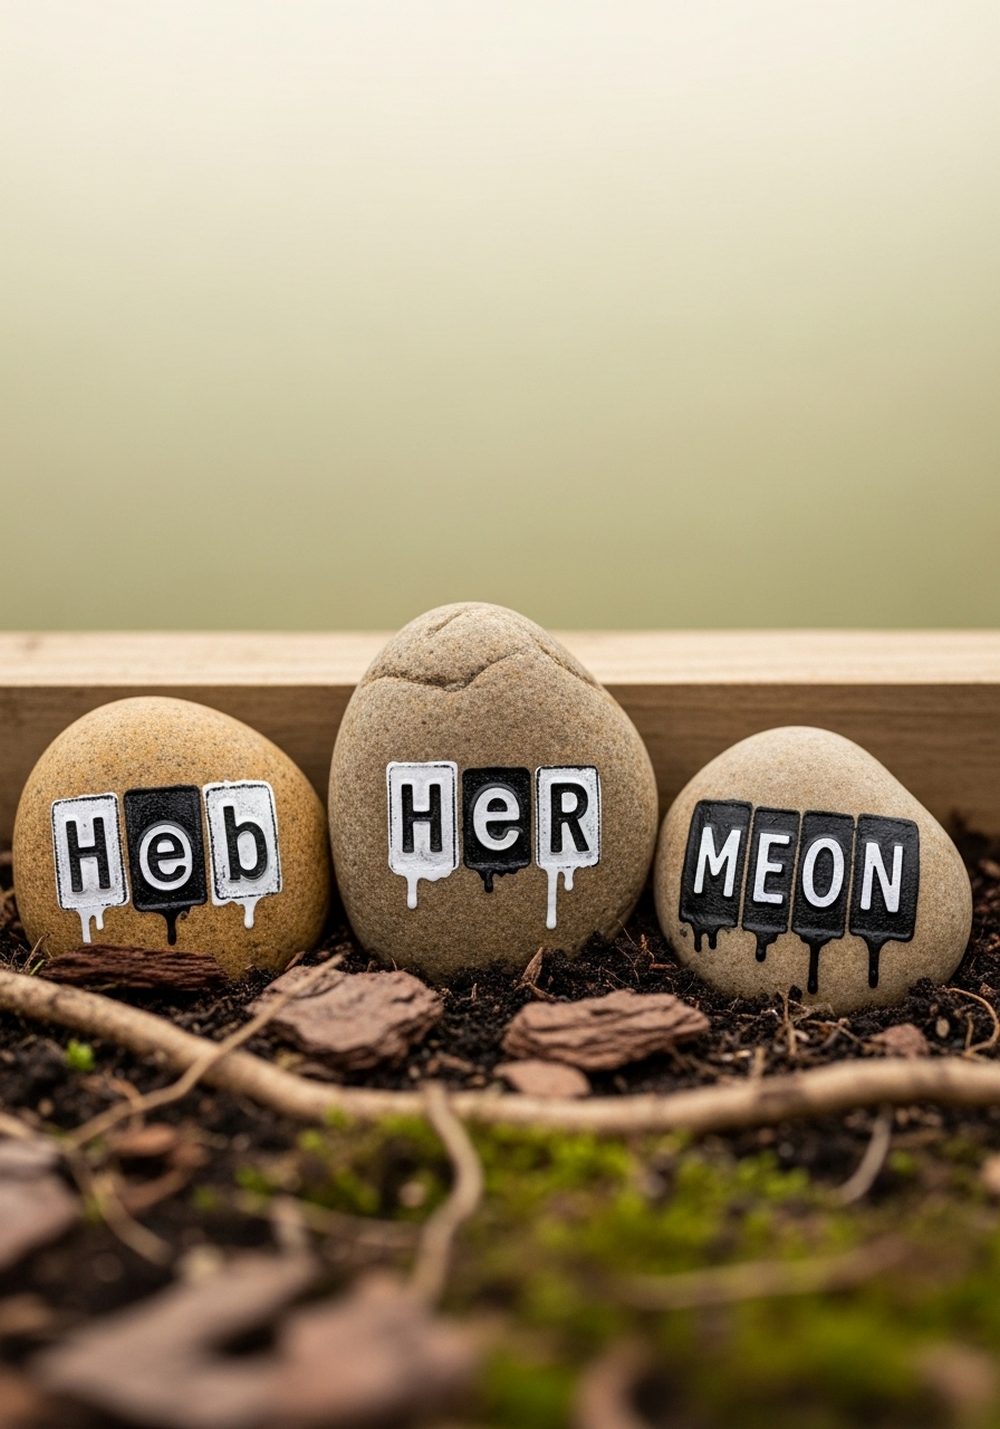
If you prefer a simple, rugged style, rustic “stamped” lettering is ideal. Leave stones mostly natural, then paint herb names using block letters in white or black, keeping the strokes short and straight as if stamped on. You can lightly outline letters first in pencil, or use a ruler edge for the baseline. The contrast between the rough stone texture and neat lettering creates a quiet, understated label that doesn’t compete with your plants but still keeps everything clearly marked.
- Best For: Woodland-style gardens, naturalistic herb beds, and low-key decorators.
- Budget Tip: Use just one paint color and a single small brush for the entire set.
- Styling Idea: Arrange stones in a staggered line so they look casually scattered, not too perfect.
- Care & Maintenance: If letters chip, lightly sand and repaint only the affected parts rather than starting over.
8. Kid-Friendly Cartoon Herb Faces
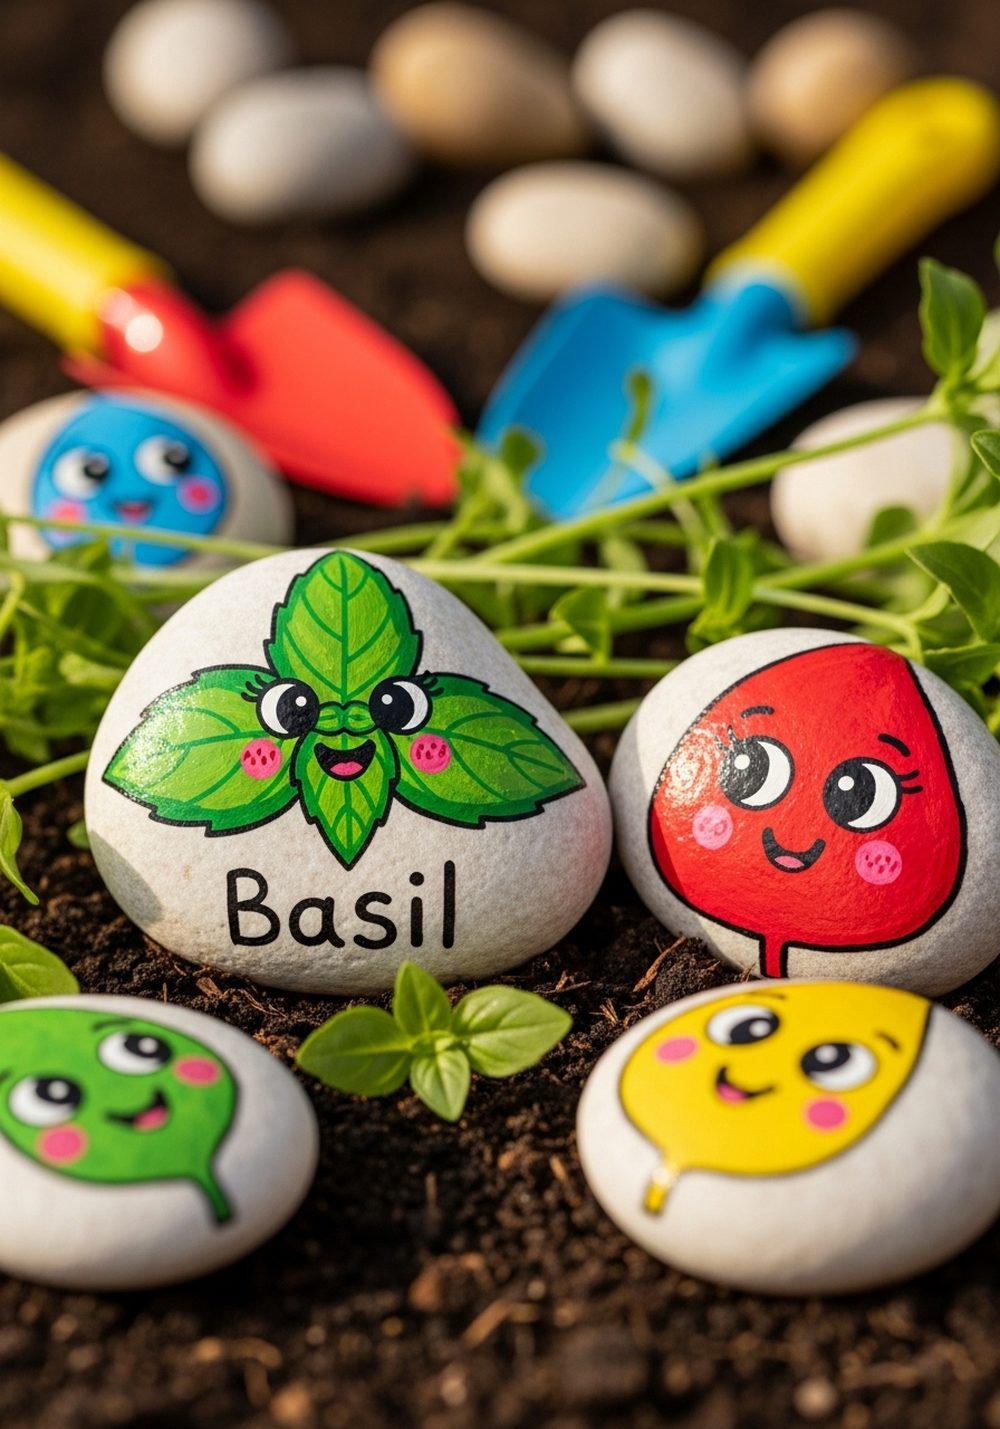
Turn markers into a fun family project by painting cartoon herb characters. Give each stone a bright background color, then add simple smiling faces and a hint of herb shape—like a basil leaf “hairdo” or a chive fringe—plus the herb name. Kids can help choose colors and expressions, making them feel more involved in the garden. These friendly markers make it easy for children to spot “their” herbs and encourage them to water, pick, and cook with them.
- Best For: Families, school gardens, and playful outdoor spaces.
- Budget Tip: Use a basic primary color paint set and mix extra shades as needed.
- Styling Idea: Keep features big and bold so faces are visible from a distance.
- Practical Note: Use non-toxic paints if children will handle the stones often.
9. Minimalist Monogrammed Herb Stones

If you like things clean and simple, monogrammed stones are perfect. Paint a thin circle or oval border on each stone, then add a single large initial for the herb in the center, with the full name small underneath. Stick to a limited palette—black, white, and maybe one accent color like sage green or soft gold. These markers look refined and tidy, especially lined up along a straight planter edge or arranged neatly in a grid-style herb bed.
- Best For: Modern, minimalist gardens and organized raised beds.
- Budget Tip: Keeping your color palette small means fewer supplies to buy.
- Styling Idea: Use the same font style on all stones for a polished, “set” look.
- Practical Note: Place stones so initials face the main viewing angle for quick recognition.
10. Weathered Vintage Label Rocks
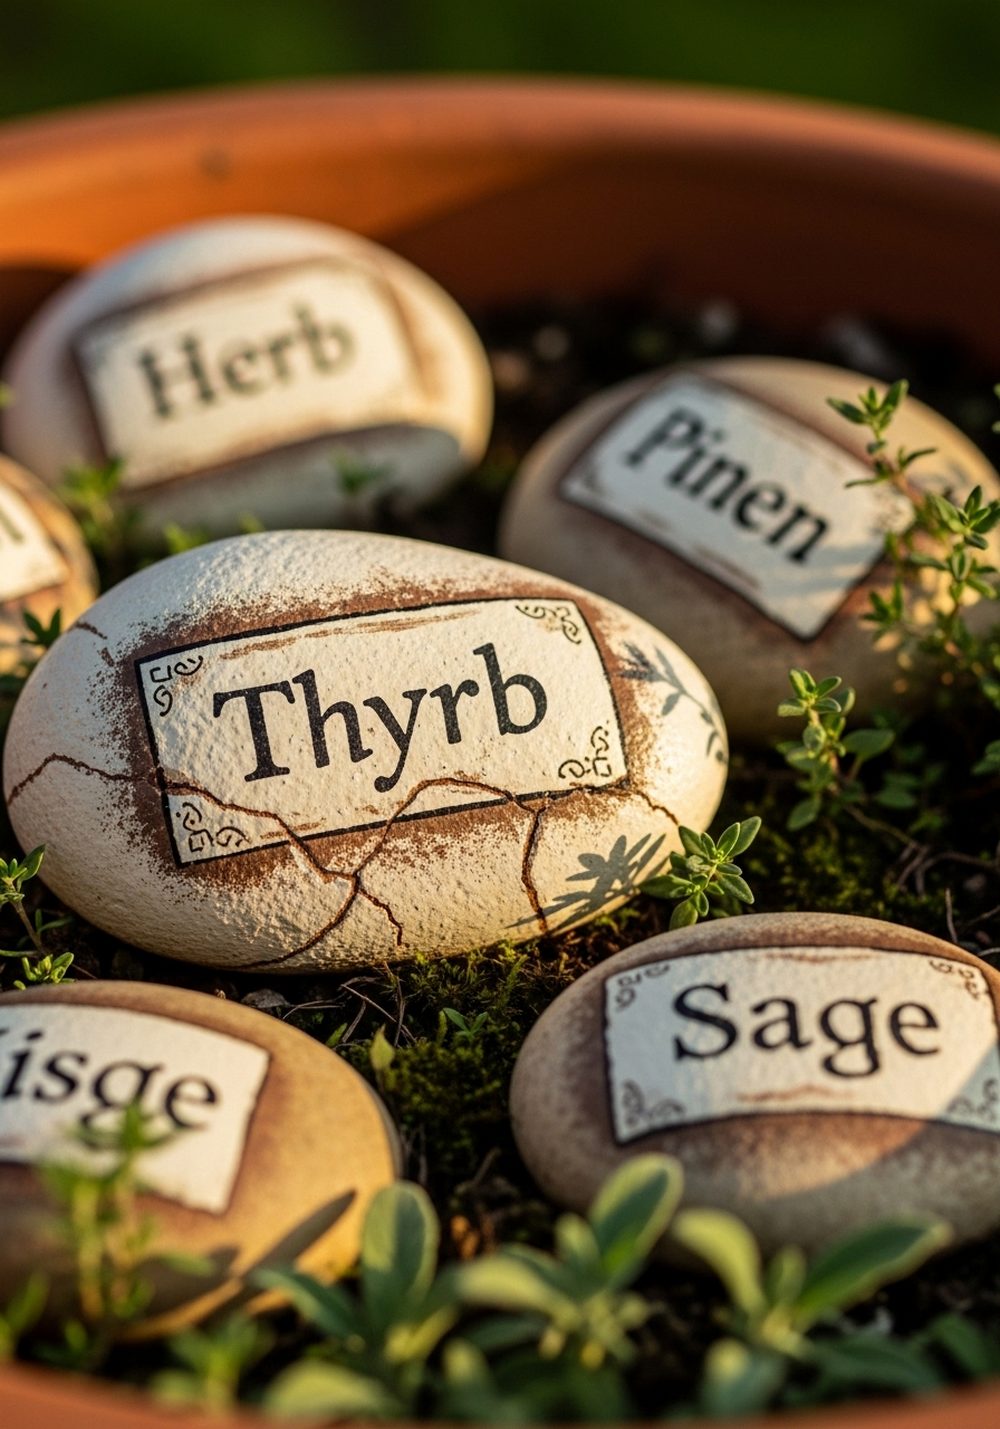
Create nostalgic charm with vintage-style label rocks. Paint stones in cream or pale beige, then lightly sponge on watered-down brown or grey around edges to mimic age. Add herb names in a slightly fancy script and maybe a small border or tiny flourish. Once dry, gently sand a few spots to “wear” the surface and let the natural stone peek through. These markers pair beautifully with terracotta pots, wooden crates, and rustic herb beds.
- Best For: Cottage gardens, old-fashioned potting benches, and vintage-inspired patios.
- Budget Tip: Use a single base color and distress with diluted brown from your existing paint stash.
- Styling Idea: Group vintage-label stones with old jars, wire baskets, or galvanized tubs.
- Care & Maintenance: Seal lightly to protect the design without losing that soft, worn finish.
Conclusion
Painted rock garden markers are a small project that can make a big difference to your herb garden. With a few stones, simple paints, and one quiet afternoon, you can label every plant while adding color, charm, and personality to your space. Start with one style that suits your taste—minimal, playful, or rustic—and see how it transforms the look of your herbs. From there, you can keep adding new designs as your collection of plants (and ideas) grows.
FAQs
1. How can I make painted rock markers on a very small budget?
Choose free or found stones (where it’s allowed), and stick to just one or two paint colors plus black or white for lettering. A single small brush and a paint pen can go a long way. You can also mix white into colors to make more shades without buying extra supplies.
2. Are painted rock markers suitable for renters and balconies?
Yes, they’re perfect for renters because they’re completely non-permanent. You can place them in pots, troughs, and railing planters without changing the structure of your balcony. When you move, simply lift the stones out and take them with you along with your herbs.
3. How do I protect painted rocks from rain and sun?
Use outdoor or multi-surface acrylic paints, then finish with a clear outdoor sealer once everything is dry. Spray sealers are quick and cover evenly. Try to seal in a well-ventilated area, and let the stones cure completely before placing them in the garden.
4. What if I’m not good at drawing or lettering?
Keep designs simple. Use block letters instead of fancy script, or just a single letter monogram plus the herb name. For decorations, try dots, stripes, or color-dipped edges rather than detailed drawings. Stencils and painter’s tape can also help you get neat lines and shapes.
5. Are painted rocks safe to use around edible herbs?
Yes, as long as you use non-toxic paints and sealers labeled for craft use and keep the stones on the soil surface, not directly touching leaves you’ll eat. The rocks are mainly decorative markers; your herbs will still grow happily around them, and you can move or remove the stones any time you like.