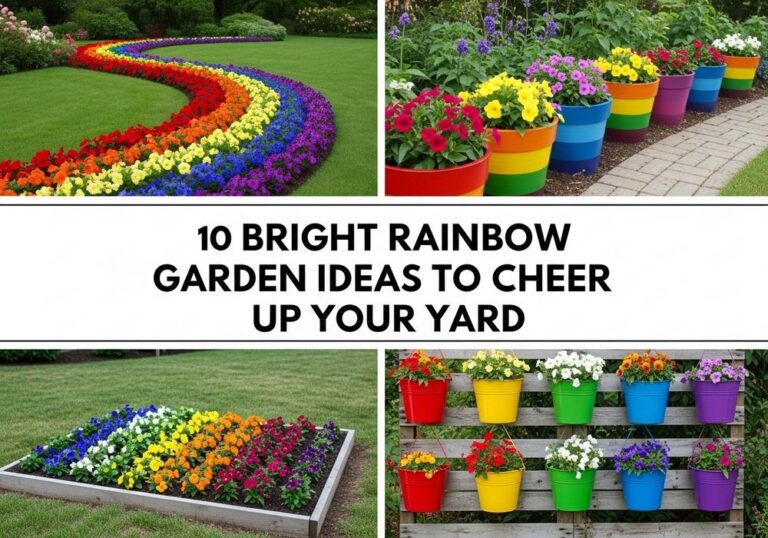
10 Cheap Garden Walkway Ideas That Look Surprisingly High-End
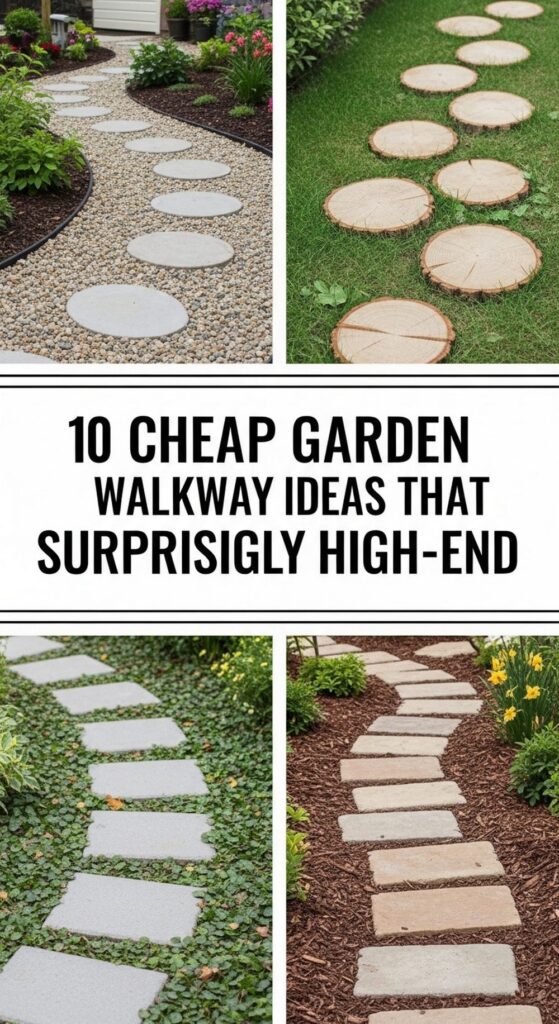
If you’ve ever scrolled past dreamy garden photos and thought, “Beautiful, but I could never afford that,” this post is for you. You don’t need a big budget or a landscape crew to create a walkway that looks polished and intentional. Just a few smart materials and layout tricks can make even the simplest path feel designer.
Below you’ll find ten budget-friendly garden walkway ideas that look far more expensive than they are. From reclaimed brick to clever gravel and stencil makeovers, each one is practical, doable with basic tools, and easy to adapt to your space. Pick one style that suits your garden and start turning that muddy track into a feature you’re proud of.
Quick List
- Classic Gravel And Stepping Stone Path
- Reclaimed Brick Herringbone Walk
- Mulch Path With Rustic Log Edging
- Stepping Stones Floating In Groundcover
- Crushed Gravel Path With Solar Lights
- Simple Pallet-Wood Garden Boardwalk
- Pebble Mosaic Medallion Walkway
- Checkerboard Pavers And Grass Path
- Stenciled Concrete Path Makeover
- Mixed Brick-And-Gravel Cottage Path
1. Classic Gravel And Stepping Stone Path

A classic gravel path with big stepping stones instantly feels more refined than bare dirt, but it’s still one of the cheapest options. Dig a shallow trench, add a weed membrane if you can, then pour in budget-friendly gravel. Bed large pavers or flagstones into the gravel so they sit just slightly proud of the surface, creating comfortable, sure-footed steps. The mix of textures makes the path look high-end, especially when it curves gently through planting rather than running in a straight line.
- Best For: Long, informal routes from patio to shed or down the side of the house.
- Budget Tip: Use inexpensive builders’ gravel and just a few larger stones as accents.
- Styling Idea: Choose pale gravel to bounce light and pair with dark grey or slate steppers for contrast.
- Practical Note: Compact the gravel with your feet or a tamper to reduce sinking and shifting over time.
2. Reclaimed Brick Herringbone Walk

Reclaimed brick has loads of character, and laying it in a herringbone pattern instantly gives a designer feel. You don’t need deep foundations for a simple garden path: just a compacted sand or fine hardcore base and bricks set tightly together. Herringbone, with its zig-zag layout, looks far more expensive than rows, and the uneven tones of old brick make the path feel established and timeless. Brush sand into the gaps and let a little moss settle for that classic, lived-in look.
- Best For: Cottage gardens, front paths, and spaces where you want charm and structure.
- Budget Tip: Look for secondhand bricks from local salvage, marketplace listings, or demolition sites.
- Styling Idea: Edge with a single soldier course (bricks on end) to frame the pattern.
- Care & Maintenance: Top up sand between bricks occasionally and pull out any aggressive weeds.
3. Mulch Path With Rustic Log Edging
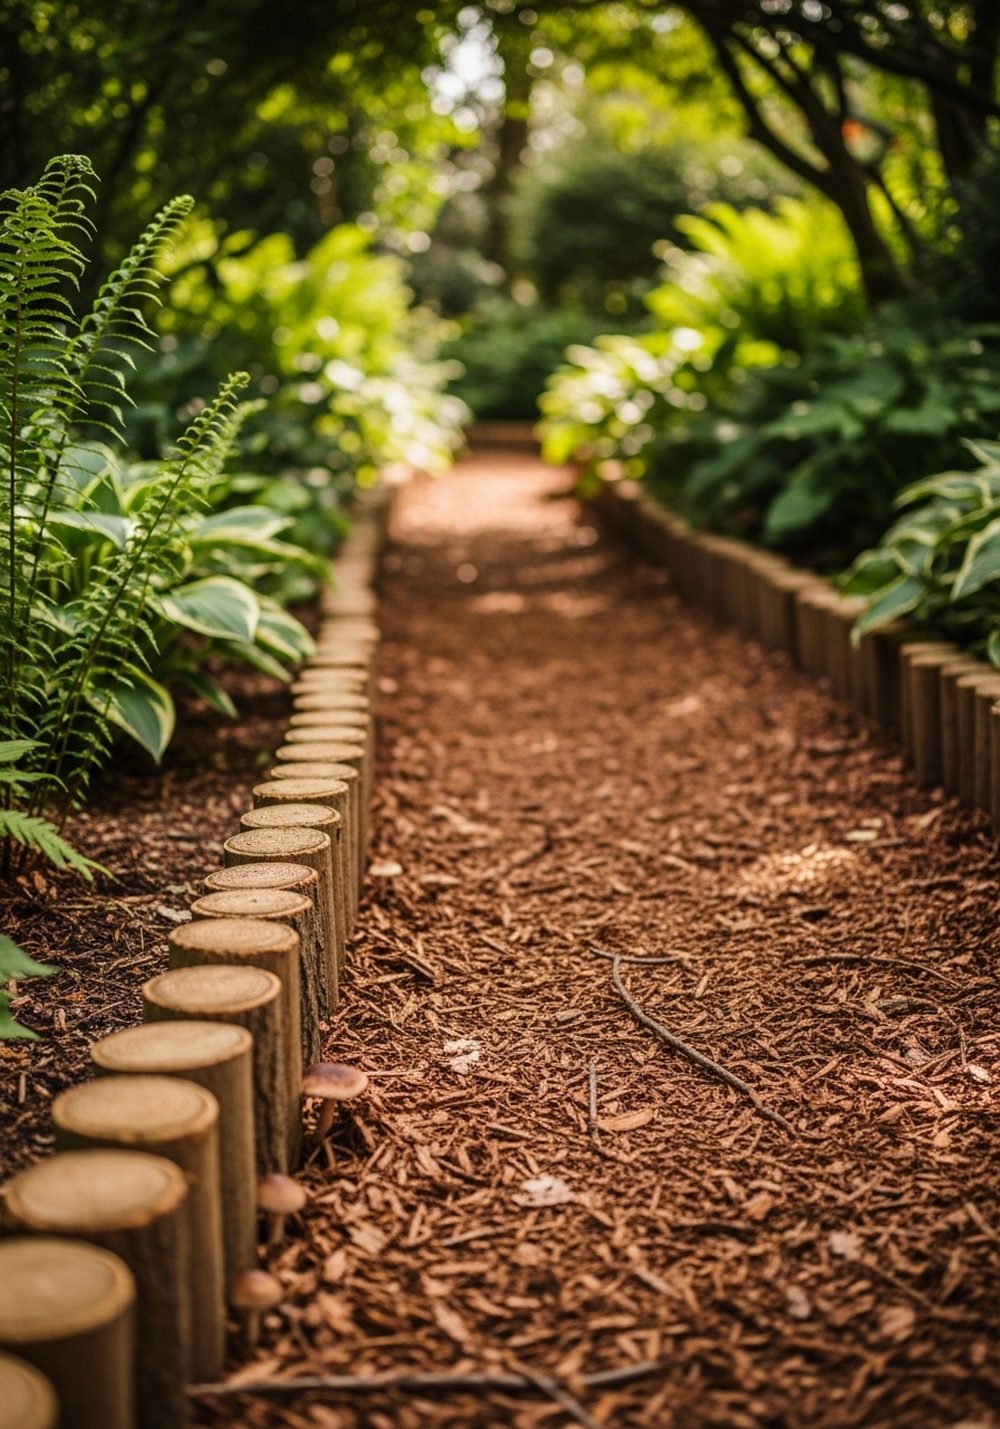
If you’re dealing with a shady or woodland-style area, a mulch path edged with short logs feels natural yet deliberate. Lay down cardboard to smother weeds, then cover it with a thick layer of bark mulch or wood chips. Cut small logs or thick branches into short lengths and stand them upright along the edges for a sweet, storybook border. The result is soft underfoot, looks tailored, and hides uneven soil beautifully while costing very little.
- Best For: Shady gardens, woodland corners, and winding paths through beds.
- Budget Tip: Ask tree surgeons for free or cheap wood chips and offcuts.
- Styling Idea: Mix different log diameters for a relaxed, fairytale edge.
- Practical Note: Mulch decomposes over time, so plan to top it up every year or two.
4. Stepping Stones Floating In Groundcover
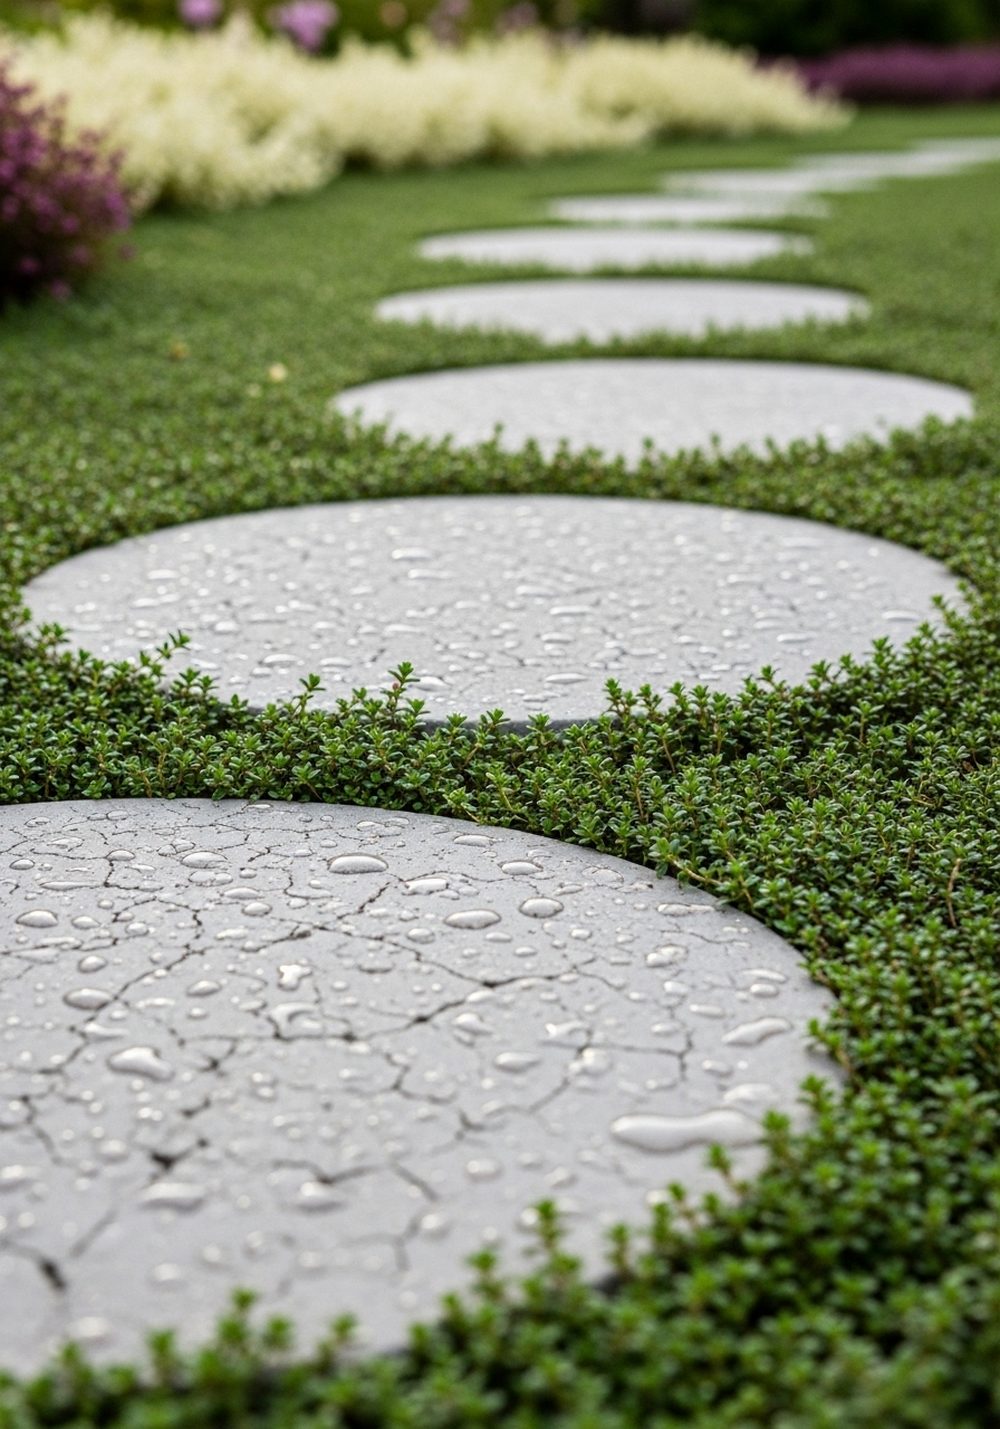
For a lush, designer look on a budget, set simple stepping stones into a sea of low-growing groundcover. Lay your stones first on firm soil, then plant between and around them with creeping thyme, Irish moss, or other tolerant groundcovers. As the plants knit together, the pads of stone appear to “float” in green, which feels far more expensive than it is. It’s also gentle on the eyes and blends hard surfaces into planting effortlessly.
- Best For: Lightly used paths in sunny or part-shade borders.
- Budget Tip: Use basic concrete stepping stones and invest more in a tray of good groundcover plugs.
- Styling Idea: Choose round or irregular stones for a softer, organic feel.
- Care & Maintenance: Trim back plants that creep too far over the stones to keep footing safe.
5. Crushed Gravel Path With Solar Lights
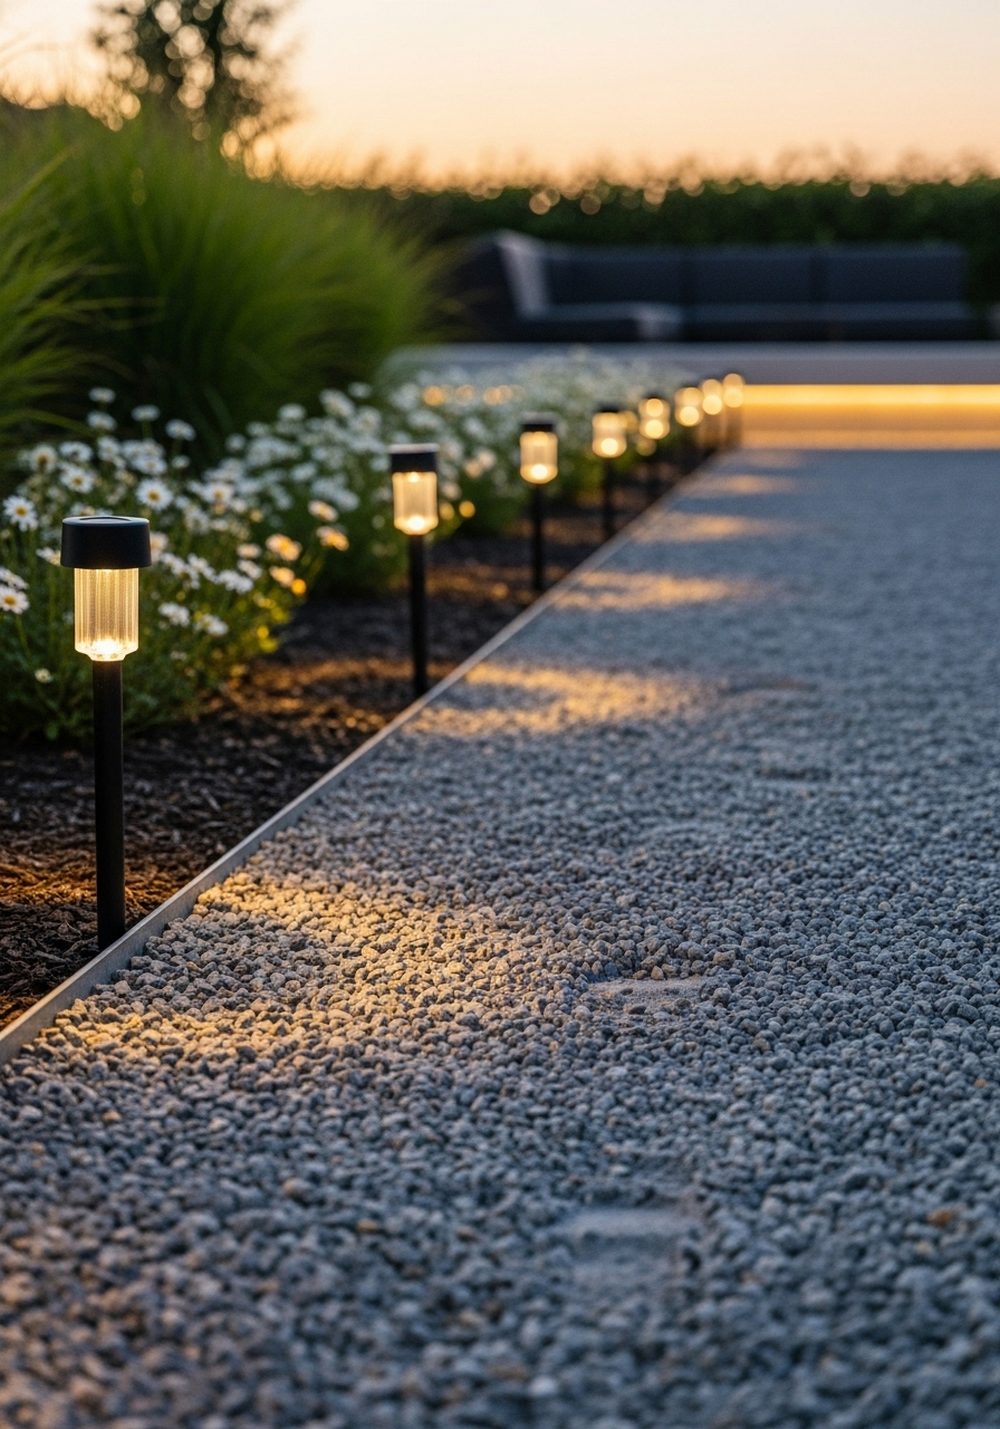
A narrow crushed gravel path becomes instantly more high-end when you add simple metal edging and a row of solar lights. Lay a shallow base, install flexible metal or plastic edging to keep everything crisp, then fill with fine gravel or decomposed granite. Finish by spacing solar stake lights along one or both sides. The lights create a gentle glow at night, making even a very plain path feel intentional, safe, and surprisingly luxurious once the sun goes down.
- Best For: Side returns, routes to bins or sheds, and evening garden access.
- Budget Tip: Start with just a few lights near steps or corners and add more over time.
- Styling Idea: Choose slim, black or dark bronze lights for a clean, modern look.
- Practical Note: Rake the gravel occasionally to smooth footprints and refresh the surface.
6. Simple Pallet-Wood Garden Boardwalk

Old pallets can become a charming little boardwalk over damp or uneven ground. Carefully dismantle pallets, sand the boards, and screw them onto simple timber runners laid on bricks or blocks. The result is a raised, straight path that protects feet from mud and visually guides you through the garden. Once stained or oiled, the wood takes on a warm tone that looks far more pricey than scrap timber, especially with a few pots placed along the edge.
- Best For: Soggy spots, sloped areas, and narrow cut-throughs.
- Budget Tip: Source free pallets, but only use ones marked safe for home use (look for “HT”).
- Styling Idea: Stain the boards in a soft driftwood or rich walnut shade to match your fencing.
- Care & Maintenance: Reseal or oil the wood every year or two to keep it looking fresh.
7. Pebble Mosaic Medallion Walkway

You don’t have to mosaic an entire path to get a high-end look—a single circular pebble “medallion” set into gravel or concrete can be a stunning focal point. Use smooth river pebbles in two or three colors and press them into mortar or wet concrete in a spiral, wave, or sunburst pattern. Surround it with plain gravel or pavers so the medallion stands out like an outdoor rug. It’s a creative weekend project that feels custom and expensive.
- Best For: The start of a path, a seating-area entrance, or a turn in the walkway.
- Budget Tip: Collect pebbles gradually or buy small bags in contrasting colors instead of a full bulk load.
- Styling Idea: Echo the mosaic colors in nearby pots or cushions for a tied-together scheme.
- Practical Note: Ensure the stones sit flush so the surface stays comfortable underfoot.
8. Checkerboard Pavers And Grass Path

Checkerboard pavers and grass have a strong designer look but are surprisingly simple to create. Mark out squares, remove turf where pavers will go, and set them in level with the lawn. Alternating green and stone tiles instantly adds structure and rhythm to the garden, turning a plain stretch of grass into a statement walkway. The pattern pairs beautifully with modern furniture and simple planting, yet still feels soft thanks to all the greenery.
- Best For: Formal lawns, modern gardens, and entertaining areas.
- Budget Tip: Use large, standard concrete slabs and keep the grid modest in size.
- Styling Idea: Keep planting minimal—think box balls, grasses, and one or two accent colors.
- Care & Maintenance: Mow carefully around pavers and trim grass edges for that crisp, high-end look.
9. Stenciled Concrete Path Makeover

Plain concrete might feel dull, but with a stencil and outdoor paint, it can look like expensive patterned tiles. Clean the path thoroughly, then use a large stencil and a foam roller to apply your chosen design, repeating along the length. A simple two-color palette—say soft grey and white—creates a striking effect that lifts the whole space. Seal it for durability and you’ve got a “new” walkway for the price of paint and a bit of patience.
- Best For: Existing concrete paths you can’t replace, especially near the house.
- Budget Tip: Share the stencil with a friend or neighbor to split the cost.
- Styling Idea: Match the stencil colors to your door, planters, or outdoor cushions for cohesion.
- Care & Maintenance: Sweep regularly and touch up chips with leftover paint when needed.
10. Mixed Brick-And-Gravel Cottage Path
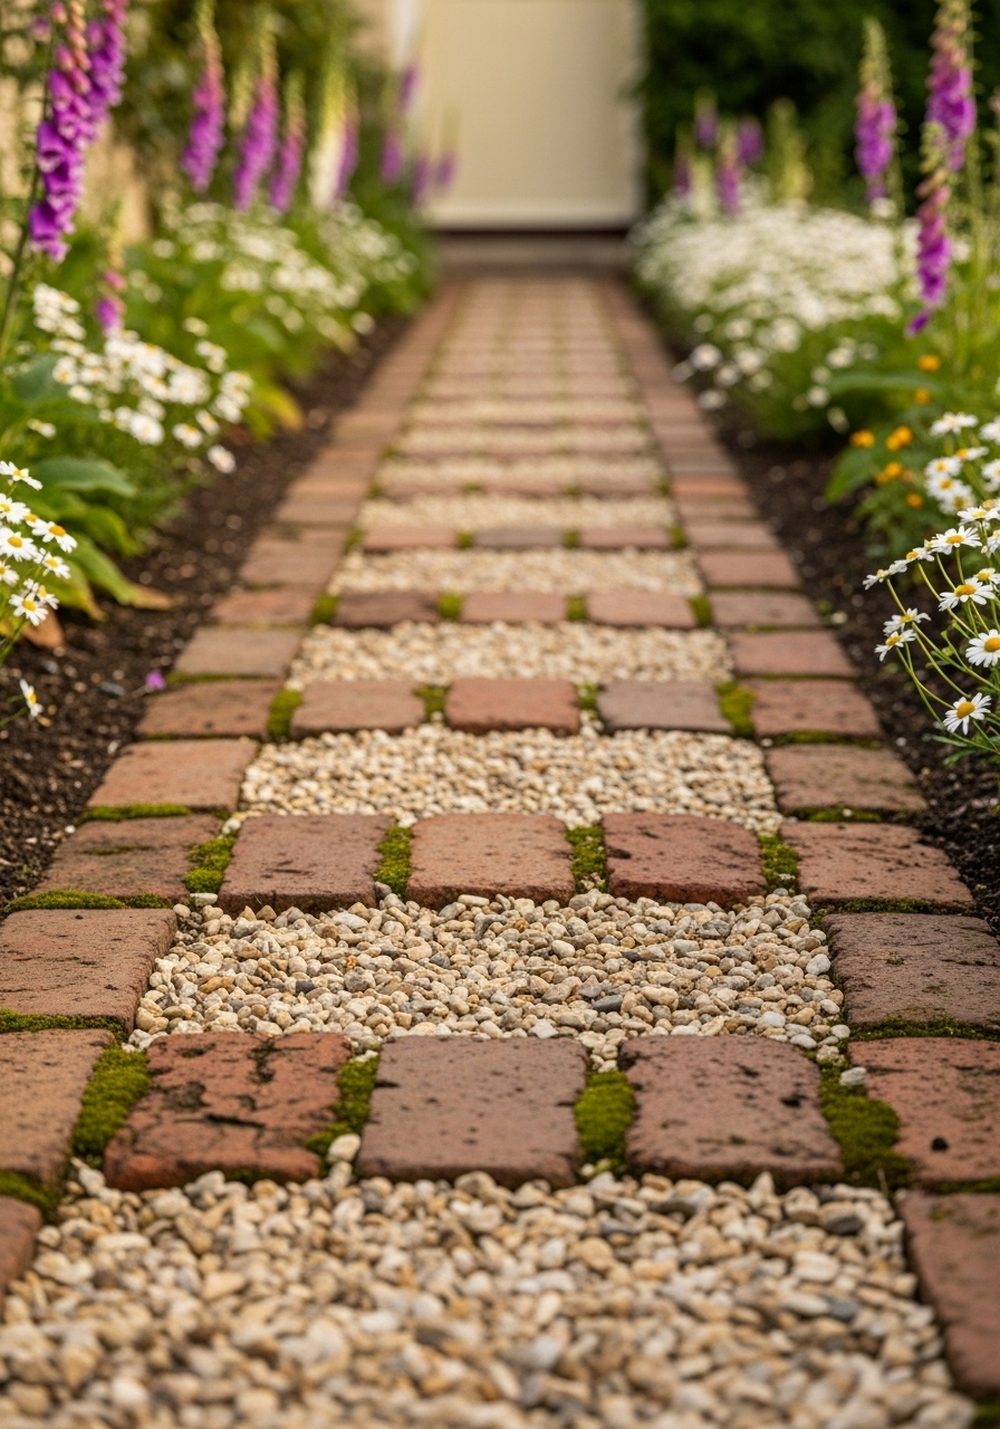
Mixing reclaimed bricks with gravel gives you the charm of a brick path without the cost of fully paving it. Lay bricks in short bands or stepping stretches, then infill between them with compacted gravel. This breaks up the material use while still giving great footing and a very pretty, cottage-style look. Slightly irregular lines and varied brick tones actually add to the character, especially when flanked by soft, overflowing planting.
- Best For: Informal cottage gardens, side yards, and routes to vegetable beds.
- Budget Tip: Use bricks sparingly as accents and let gravel handle most of the surface.
- Styling Idea: Plant frothy flowers like catmint, daisies, and lavender along the edges.
- Practical Note: Keep the gravel level with the brick surface so you don’t trip on the transitions.
Conclusion
A thoughtful walkway can completely change how your garden feels, even if you don’t touch anything else. With simple materials like gravel, reclaimed brick, pallet wood, and a bit of paint, you can create paths that look custom-made instead of cobbled together. Start with one idea that suits your space and budget, then tweak the edges, lighting, and planting as you go. Step by step, you’ll turn that everyday route into one of your favorite views.
FAQs
1. How can I build a garden walkway on a very small budget?
Focus on inexpensive bulk materials like gravel, mulch, or wood chips, and use more costly items like pavers or bricks as accents rather than covering the whole path. Simple tricks such as adding a neat edge, curving the path slightly, and tucking in a few plants along the sides make even the cheapest materials look intentional and high-end.
2. What are good renter-friendly walkway ideas that aren’t permanent?
Loose materials are your friend. Try stepping stones laid directly on leveled soil with gravel or mulch around them, or a small pallet-wood boardwalk that simply sits on top of the ground. These options can usually be lifted and removed later without leaving major scars, especially if you avoid concrete and deep excavation.
3. Which walkway materials are lowest maintenance?
Well-compacted gravel, concrete, and brick are generally low-maintenance, especially if you use a weed membrane underneath and keep edges defined. You’ll still need to sweep, rake, or top up sand occasionally, but they hold up well in most weather. Paths with lots of planting between stones look lovely but will need more trimming and weeding over time.
4. Are gravel paths safe and practical in all gardens?
Gravel works in many gardens, but it can be tricky for wheelchairs, pushchairs, or very wobbly feet. In those cases, combine gravel with solid pavers or bricks to create stable stepping zones. Choosing smaller, compacted gravel and keeping the layer shallow also helps make the surface firmer and easier to walk on.
5. How do I stop my walkway from looking messy over time?
Defined edges make the biggest difference. Use metal, brick, wood, or even tight planting to keep materials in place and the borders crisp. Sweep or rake the surface regularly, trim back plants that sprawl too far, and plan a quick yearly check to top up gravel, mulch, or sand in any thin patches so everything stays tidy and “finished.”