10 DIY Painted Rock Garden Markers That Look Adorable

If you’re tired of forgetting which pot holds basil and which one hides the parsley, painted rock garden markers might be your new favorite project. They’re cheap, beginner-friendly, and a lovely way to add personality to your beds, borders, or balcony planters.
In this post, you’ll find ten adorable DIY ideas for turning ordinary stones into charming plant markers. From critter-themed ladybugs to watercolor ombre pebbles, each idea is easy to customize to your plants and your style. Grab a handful of rocks, a few basic paints, and get ready to label your garden in the cutest way possible.
Quick List
- Watercolor Herb Name Pebble Markers
- Mini Fruit & Veggie Illustration Rock Markers
- Chalkboard-Style Black Rock Markers
- Ladybug & Bee Critter Garden Markers
- Mandala Pattern Rock Labels
- Storybook Gnome & Mushroom Markers
- Pastel Ombre Pebble Name Stones
- Mosaic-Inspired Dot Art Rock Markers
- Rustic Farmhouse Whitewashed Rock Labels
- Kids’ Fingerprint Painted Rock Markers
1. Watercolor Herb Name Pebble Markers

Soft watercolor-style pebbles make your herb patch look like a dreamy illustration. Start with smooth, clean river stones and paint each one with diluted acrylics in gentle washes of color. Once dry, add the plant name in simple lettering with a paint pen or thin brush, then seal with an outdoor-safe clear coat. Cluster them at the base of each herb so you can see at a glance what’s growing where, while the pastel tones keep everything looking calm and coordinated.
- Best For: Herb gardens, window boxes, and pretty kitchen planters.
- Budget Tip: Collect free stones and use sample-sized paints or leftover craft paints.
- Styling Idea: Stick to one soft color palette—think mint, lavender, and blush—for a cohesive look.
- Practical Note: Choose flat stones so they don’t roll away or tip over easily.
2. Mini Fruit & Veggie Illustration Rock Markers
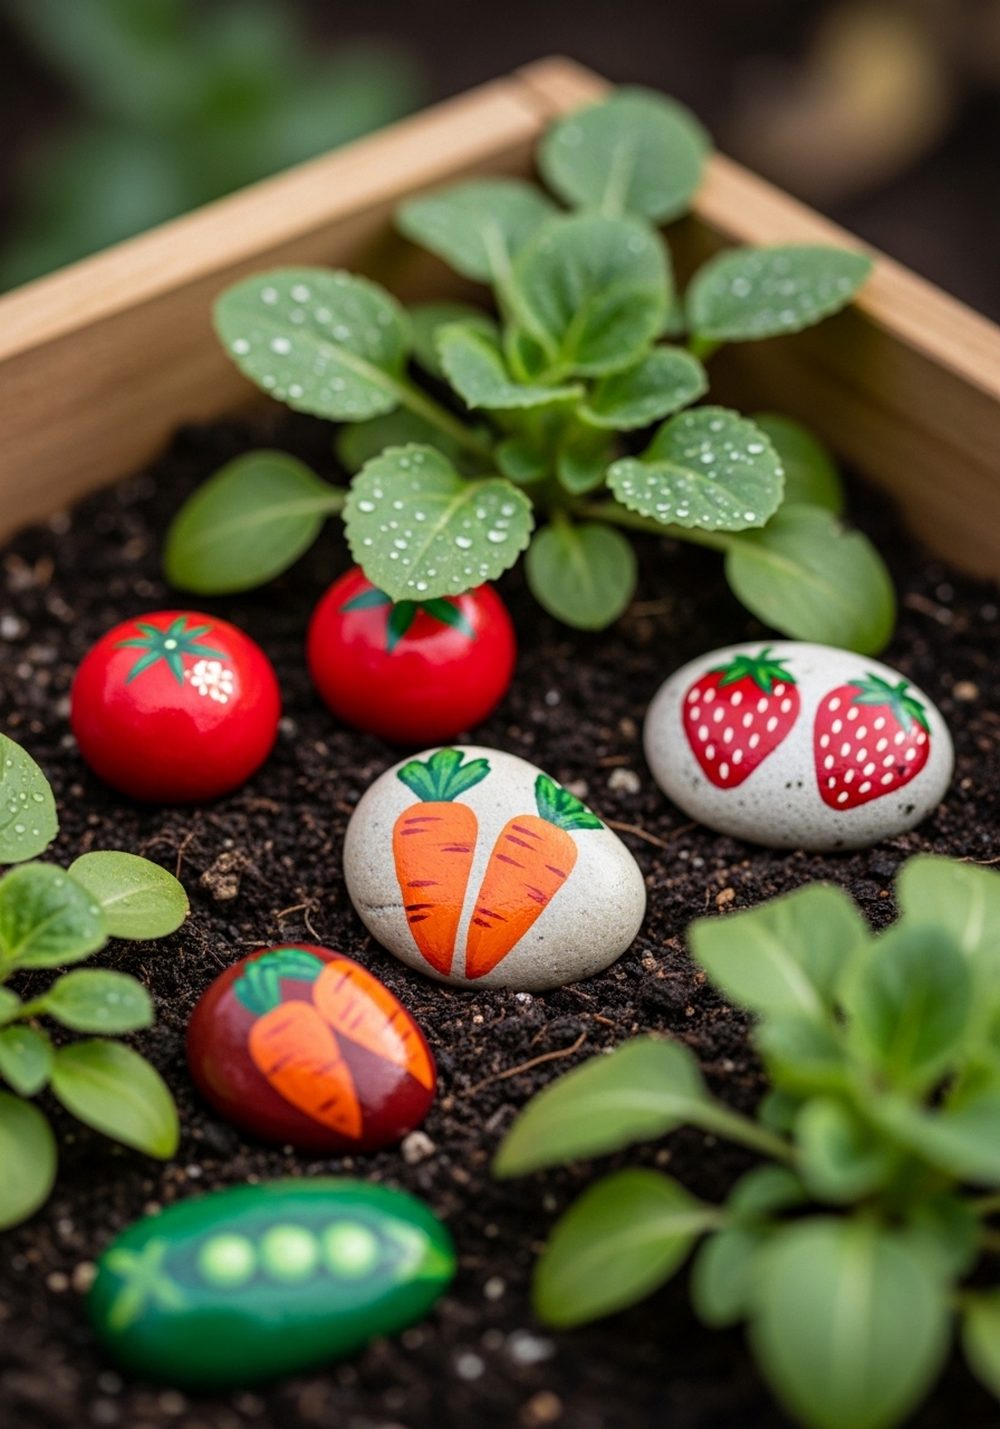
Turn your plant labels into tiny art pieces by painting rocks to match what’s growing. Paint small stones with bright, solid backgrounds, then add simple cartoon-style tomatoes, carrots, strawberries, or peas. Once dry, write the plant name around or under the illustration and finish with a clear sealer. Nestle each rock at the front of its row or container. Kids especially love helping with these, and it becomes instantly obvious which patch is which, even from across the garden.
- Best For: Family gardens, raised vegetable beds, and school plots.
- Budget Tip: Use just a few base colors and mix your own shades to save on paint.
- Styling Idea: Make the illustrations bold and playful, like stickers, so they pop against green foliage.
- Extra Idea: Add a tiny matching fruit or veggie on the back of the stone as a hidden detail.
3. Chalkboard-Style Black Rock Markers
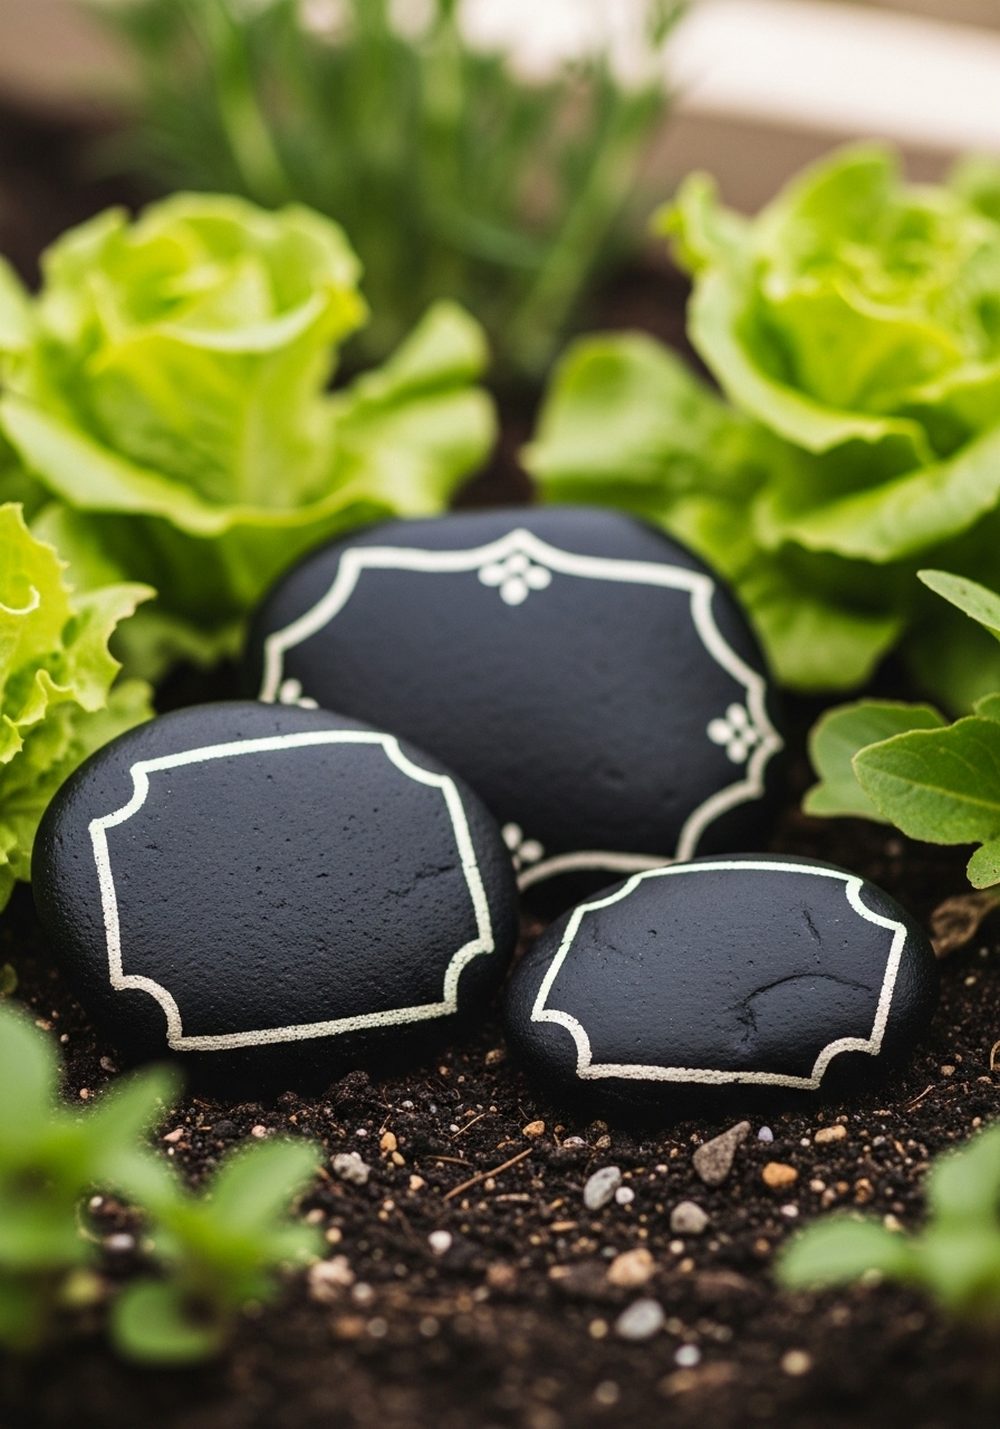
If you like a modern, minimal look, chalkboard-inspired rock markers are perfect. Paint smooth stones with matte black outdoor paint or chalkboard paint, then use a white paint pen for crisp lettering. The contrast makes the names easy to read, and the black stones look sleek against green plants and brown soil. Seal if needed, then line them up at the front of beds, in planters, or along paths for a tidy, graphic finish that suits almost any garden style.
- Best For: Contemporary gardens, monochrome schemes, and renters.
- Budget Tip: One small pot of black paint and a single white paint pen go a long way.
- Styling Idea: Add a simple border or tiny doodle in white to frame each plant name.
- Care & Maintenance: Touch up the paint pen lettering each season if it starts to fade.
4. Ladybug & Bee Critter Garden Markers
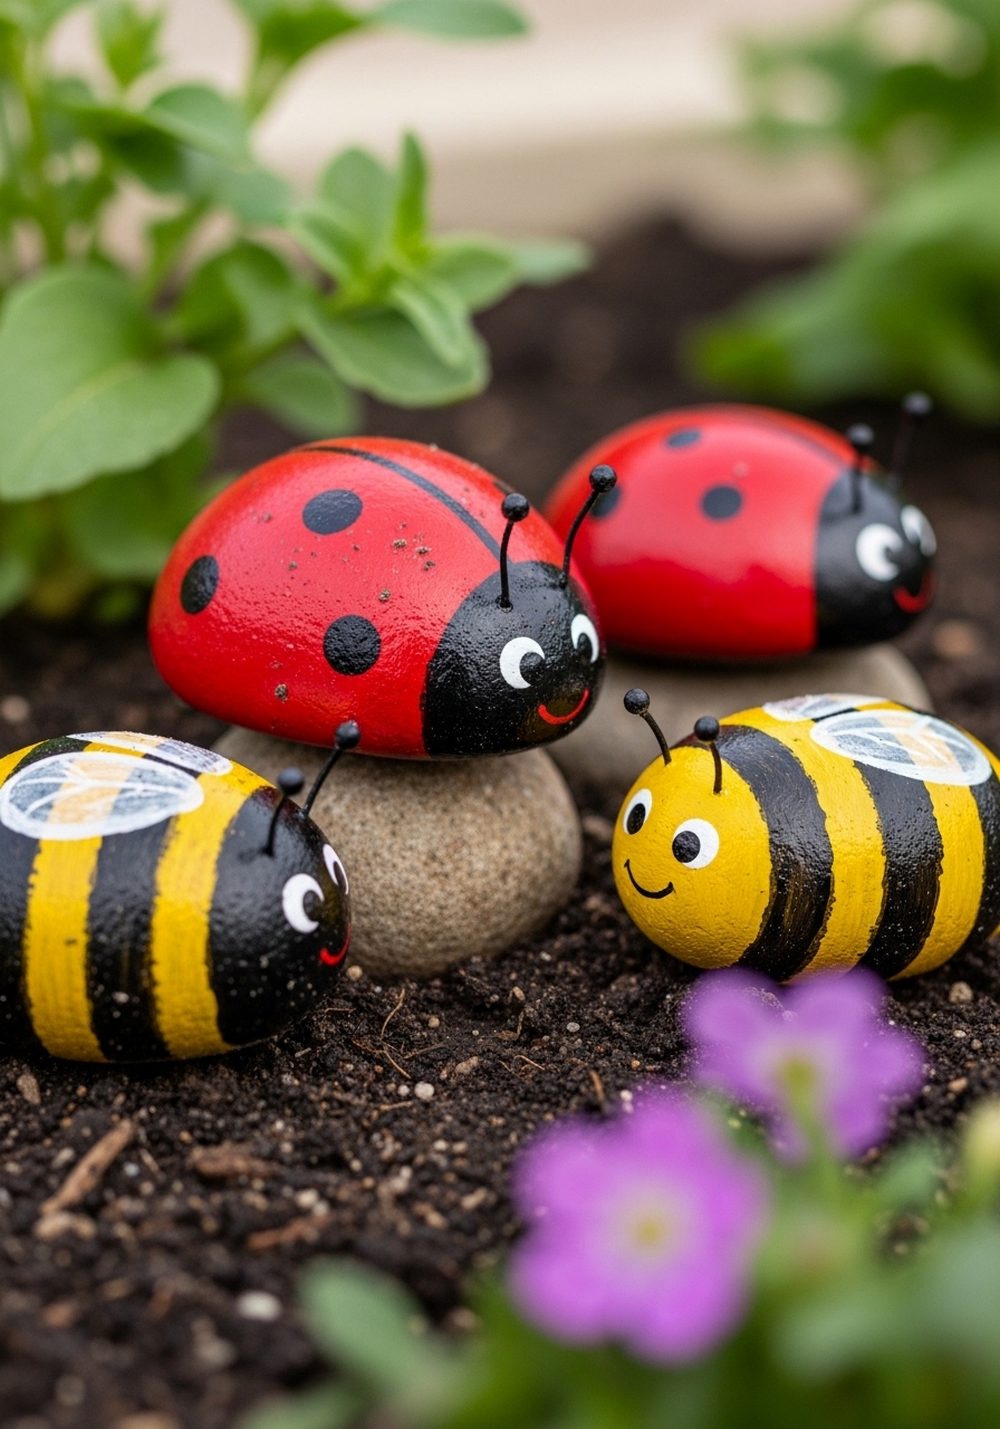
These adorable critters act as both plant markers and cheerful decor. Paint rounded rocks in red, yellow, and black, turning them into ladybugs and bees with simple spots and stripes. On the underside or edge, discreetly note the plant name with a paint pen. Tuck one critter beside each plant or cluster them in small groups. They instantly bring a playful, whimsical feel to your garden and are a fun way to help children learn plant names.
- Best For: Cottage gardens, children’s gardens, and pollinator patches.
- Budget Tip: Reuse old craft paints and small offcuts of sealer instead of buying new.
- Styling Idea: Pair the critter markers with flowering plants in matching colors for extra charm.
- Practical Note: Make the bodies large enough so they’re visible among taller foliage.
5. Mandala Pattern Rock Labels

Mandala rock markers combine art therapy with practical labeling. Paint your stones in dark, rich base colors like navy, emerald, or charcoal. Using dotting tools or the ends of brushes, build circular mandala patterns in white and bright accent shades. Once your design is dry, add the plant name in a neat curve following the pattern, then seal well. These intricate markers look stunning grouped in a row and can turn a simple bed of herbs into a mini gallery.
- Best For: Calm, meditative gardens and decorative herb corners.
- Budget Tip: Use just three or four colors of paint but layer them for detail.
- Styling Idea: Repeat the same mandala color scheme across all your markers for a unified feel.
- Care & Maintenance: Store them indoors over harsh winters to protect the fine designs.
6. Storybook Gnome & Mushroom Markers
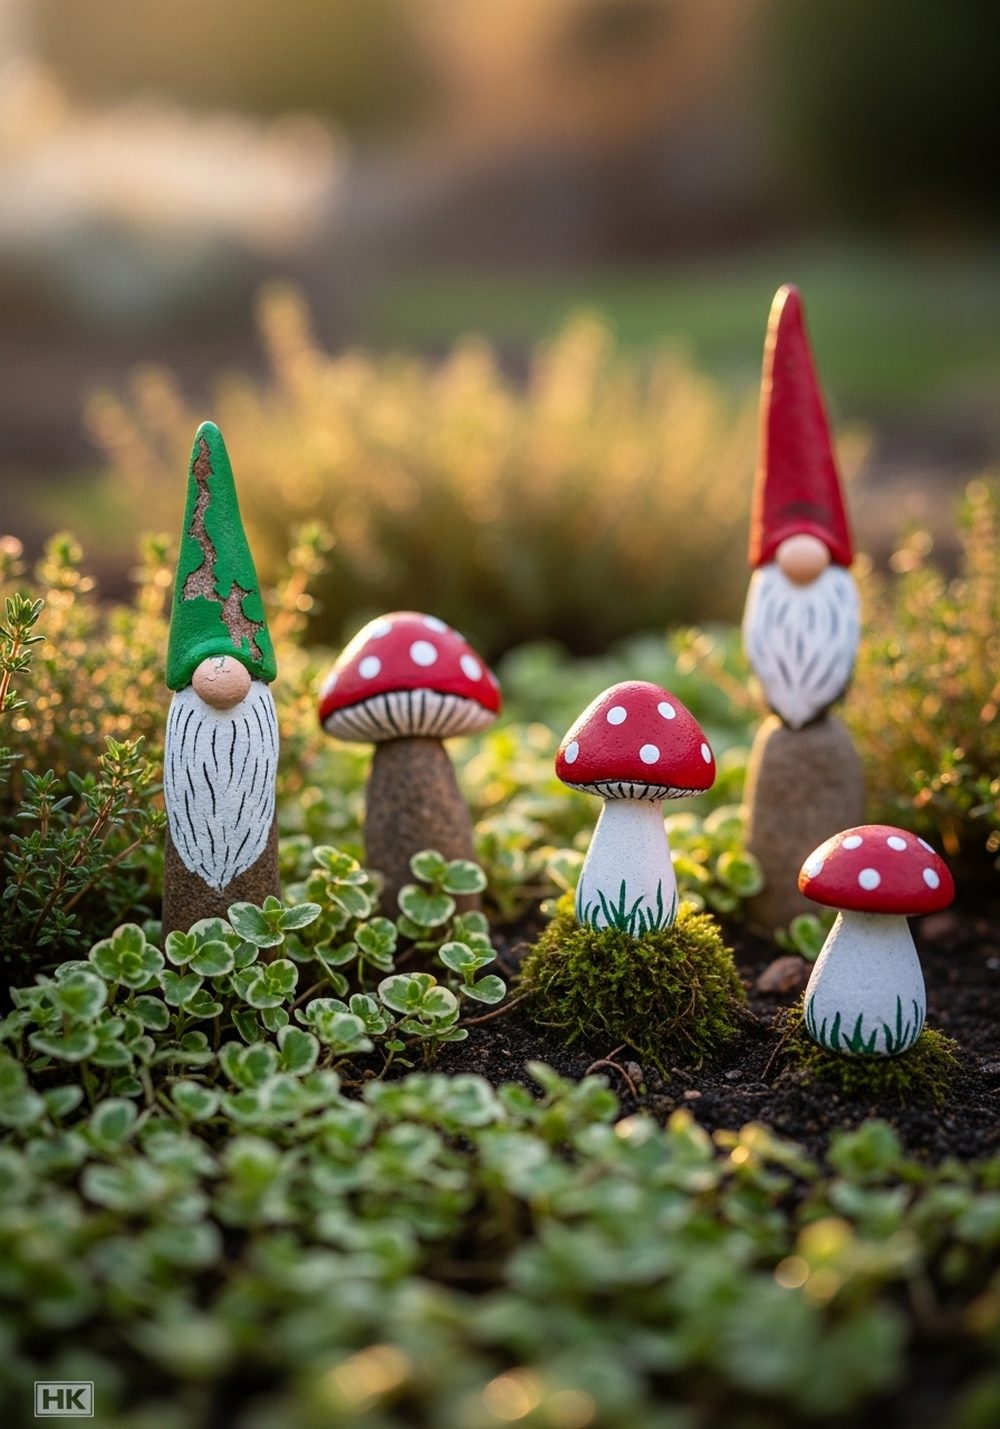
Bring a fairy-tale touch to your beds with gnome and mushroom rock markers. Choose stones that stand upright or can be glued onto small wooden slices. Paint gnome hats, faces, and tiny mushrooms, then add plant names along their bases or on a small “sign” painted beside them. Nestle them into shady corners, among groundcovers, or around a small fairy garden. They add instant character and make your plants feel like part of a storybook scene.
- Best For: Woodland-style beds, shady herb corners, and fairy gardens.
- Budget Tip: Use scrap wood as stands and leftover paints to keep costs low.
- Styling Idea: Stick to a few hat colors—like red, blue, and green—so your markers still look coordinated.
- Practical Note: Push the bases slightly into the soil so they’re stable and don’t topple in wind.
7. Pastel Ombre Pebble Name Stones

For a soft, dreamy look, try pastel ombre rock markers. Paint flat pebbles with gradients that fade from one gentle color to another—think peach to cream or sky blue to white. Once dry, add delicate lettering in a contrasting shade, keeping the writing light and airy. Arrange them at the front of your pots or beds so the color wash is visible. The effect is subtle yet stylish, ideal if you want markers that don’t overpower your plants.
- Best For: Balcony planters, minimal gardens, and soft-color schemes.
- Budget Tip: Mix white into your existing paints to create pastel shades instead of buying new.
- Styling Idea: Match each ombre color to the type of plant—cool tones for herbs, warm tones for flowers.
- Care & Maintenance: Seal with a UV-resistant clear coat to keep the pastel shades from fading.
8. Mosaic-Inspired Dot Art Rock Markers
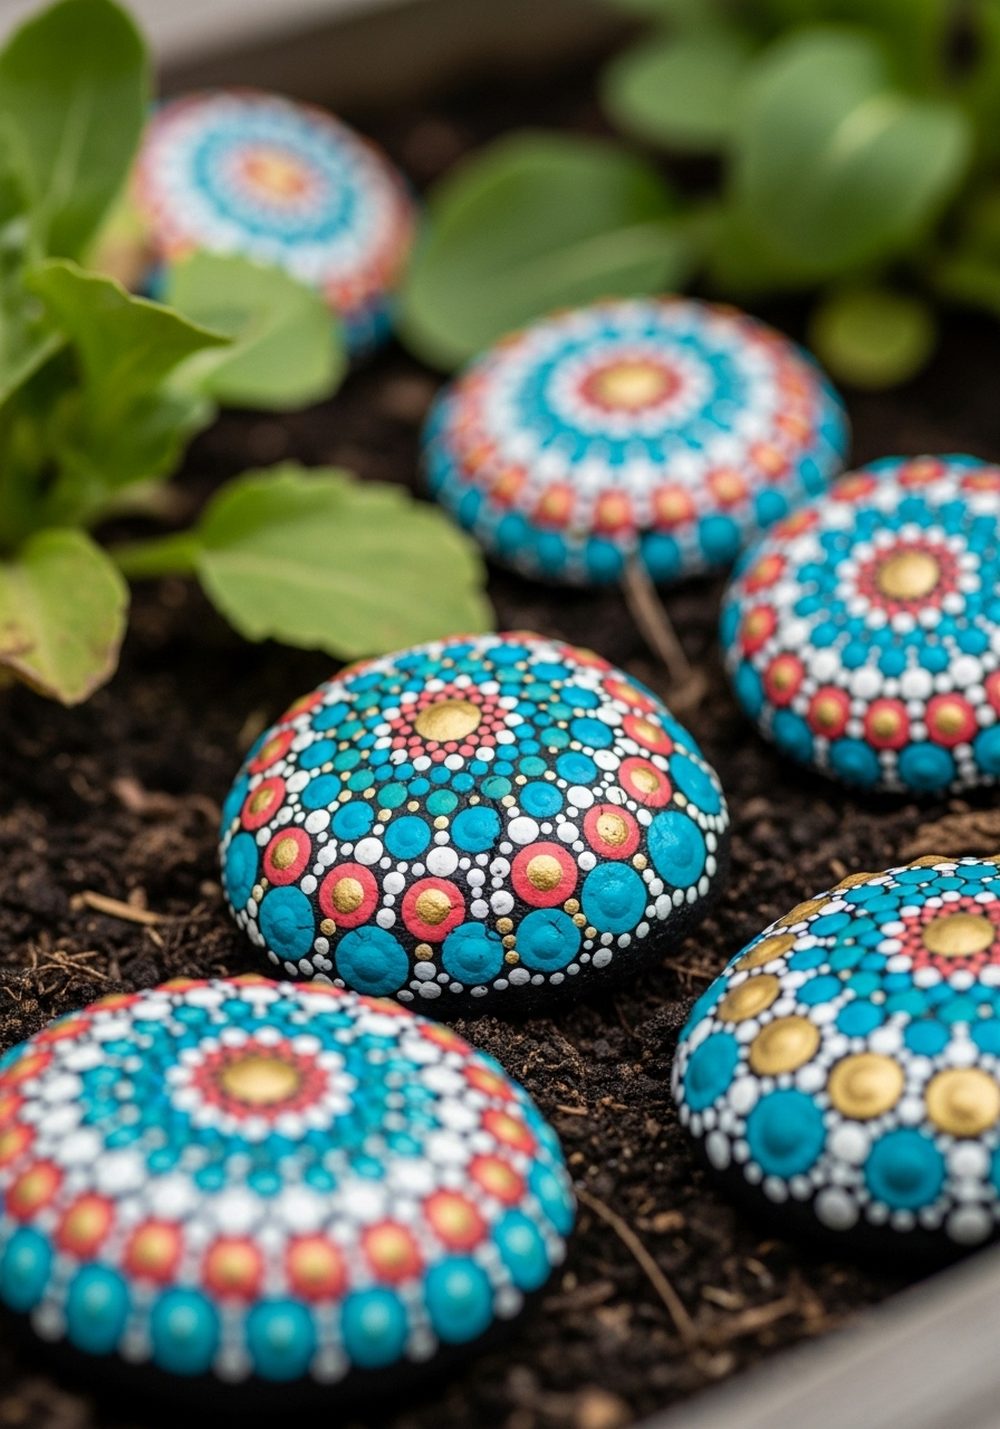
Dot art markers mimic the look of mosaic tiles without the fuss. Start with a dark base coat on your rocks, then build up colorful dots in circular or patterned shapes using a toothpick, skewer, or dotting tool. When the design is finished and dry, write the plant name in a simple band or along the edge of the rock. The dotted patterns catch the light and add a jewel-like accent that looks beautiful against leafy greens and dark soil.
- Best For: Statement herb patches and eye-catching container displays.
- Budget Tip: Use a limited palette of three to five colors and vary the dot sizes for interest.
- Styling Idea: Choose jewel tones like teal, gold, and magenta for a rich, boho feel.
- Practical Note: Let the dots dry fully before sealing so the textured effect stays crisp.
9. Rustic Farmhouse Whitewashed Rock Labels
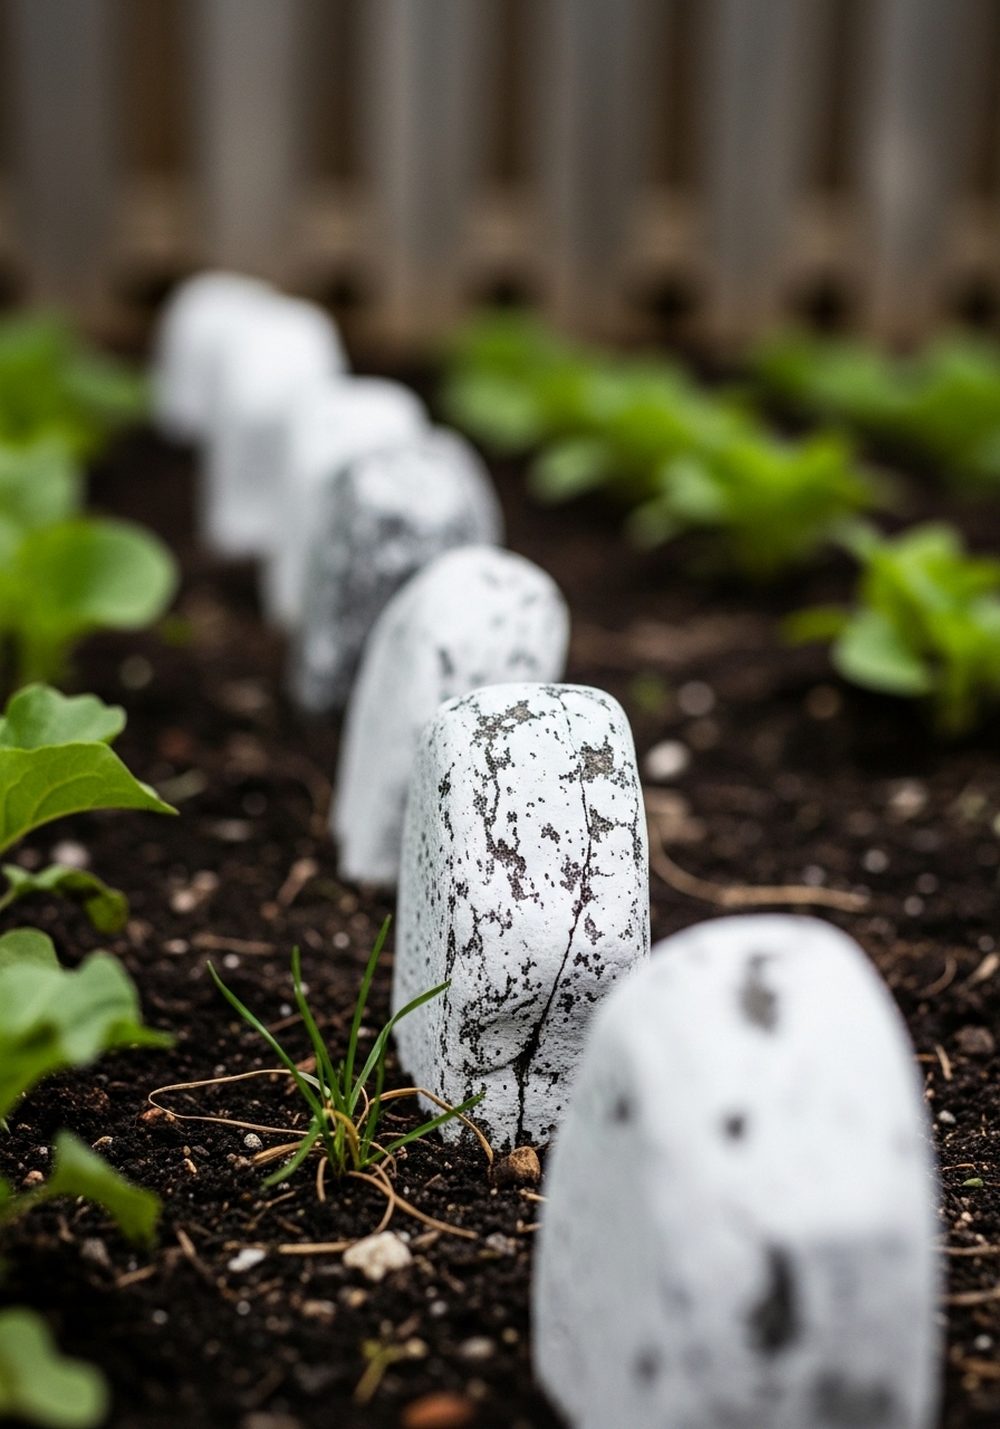
If you love farmhouse style, these whitewashed markers will fit right in. Brush stones with a thin coat of white or off-white paint, then quickly wipe some off so the natural stone shows through. Once dry, add simple black or charcoal lettering and maybe a tiny branch or leaf doodle. The weathered look pairs beautifully with galvanized metal tubs, wooden crates, and terracotta pots, giving your garden a relaxed, timeless feel.
- Best For: Rustic gardens, potting benches, and raised beds.
- Budget Tip: One pot of white paint and a charcoal pencil or pen can mark many stones.
- Styling Idea: Keep the lettering simple and slightly imperfect to emphasize the handmade look.
- Care & Maintenance: Reapply a thin clear sealer each year if your climate is very wet.
10. Kids’ Fingerprint Painted Rock Markers

Let the smallest gardeners help label the plants with fingerprint markers. Paint stones in bright, solid colors and let kids press painted fingertips onto them to create flowers, bugs, or simple patterns. When dry, add tiny details like stems, eyes, or wings, plus the plant names in clear lettering. These sweet, personal markers look especially charming in a family vegetable patch or near a play area, and they become little keepsakes of small hands that helped grow the garden.
- Best For: Family gardens, school plots, and children’s container gardens.
- Budget Tip: Use inexpensive washable paints for the fingerprints, then seal with outdoor varnish.
- Styling Idea: Assign each child a color so you can see who decorated which marker.
- Practical Note: Choose larger stones so there’s room for both the art and readable plant names.
Conclusion
Painted rock garden markers are a simple DIY that adds color, personality, and clarity to any outdoor space. With a few stones and some basic paint, you can turn plain beds and pots into charming, labeled displays that make you smile every time you water. Start with just one idea that fits your style and supplies, then slowly build a whole set. Your plants get proper names, and your garden gets a delightful, hand-crafted touch.
FAQs
Q1. How can I make painted rock garden markers on a very small budget?
Look for free stones in your yard, local riverbeds, or ask friends who have gravel driveways. Use leftover craft paints, tester pots, or even sample wall paint. A single paint pen can letter dozens of rocks. Skipping fancy tools and working with what you already have keeps the project almost cost-free.
Q2. Are painted rock markers suitable for renters who can’t change the garden permanently?
Yes, they’re perfect for renters. The rocks sit on top of soil or gravel and don’t alter any structures. When you move, simply gather them up and take them with you, or use them to decorate indoor pots and balcony planters in your new place.
Q3. How do I make sure my rock markers last outdoors in all weather?
Use outdoor-safe acrylic paints if possible and always finish with a clear sealer rated for exterior use. Let each layer dry fully before adding the next. In extremely wet or freezing climates, consider bringing your markers into a shed or porch over winter and returning them in spring.
Q4. What kind of paint works best on rocks for garden markers?
Acrylic paint is usually the easiest and most accessible option. It adheres well to clean, dry stones and comes in many colors. For lettering, paint pens or permanent markers designed for multiple surfaces work well. Always wash, dry, and, if needed, lightly sand smooth stones before painting.
Q5. Do these ideas work for very small spaces, like balconies or window boxes?
Absolutely. Use smaller pebbles or thin, flat stones for pots and boxes so they don’t crowd the plants. You can still do watercolor washes, chalkboard styles, or tiny fruit illustrations—just scale the designs down. The markers help keep even the tiniest balcony garden organized and charming.
Q6. Is it safe to place painted rocks directly in my vegetable beds?
Yes, as long as you use non-toxic acrylic paints and sealers once the paint is fully dry. Keep the rocks resting on the soil surface rather than buried. If you’re concerned, you can place them slightly away from the main root zone or use them more prominently in paths and pot edges instead.