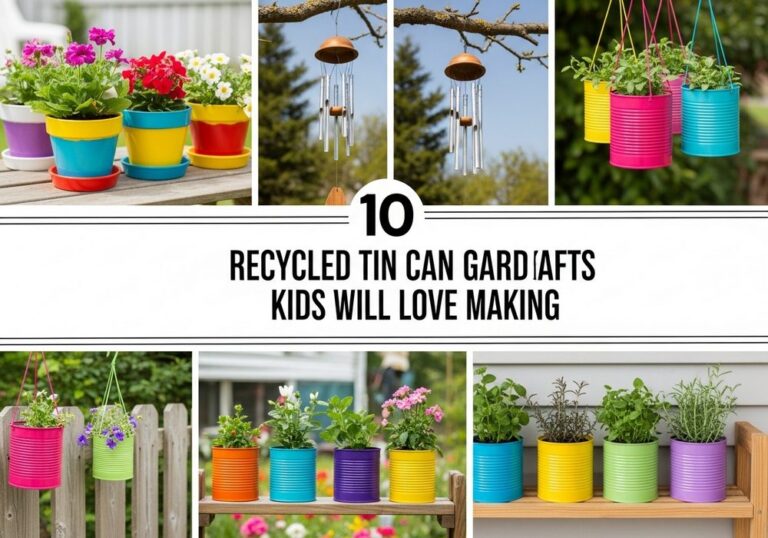
10 Recycled Garden Crafts Kids Can Make (Cute + Easy)
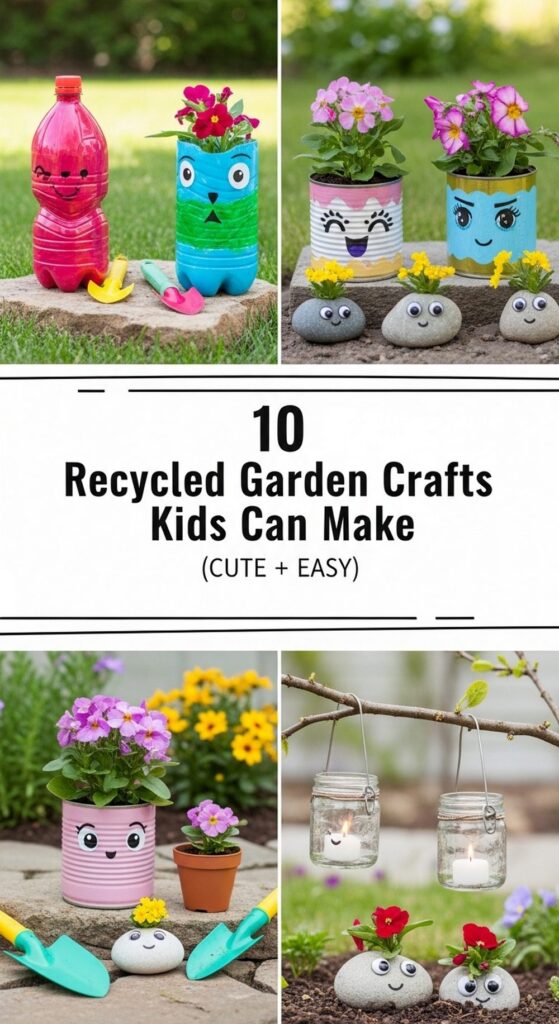
If your kids love being outdoors and you love keeping things out of the bin, recycled garden crafts are a perfect match. With just a few everyday items like bottles, tins, cartons, and jars, children can turn “rubbish” into bright, cheerful decorations for your outdoor space.
In this post, you’ll find ten simple, low-cost projects kids can actually make and be proud of. These ideas add color, character, and a playful touch to any garden, patio, or balcony, while quietly teaching little ones about reusing materials and caring for nature. Most of them only need basic supplies and a bit of supervision, so you can spend more time creating memories and less time stressing over complicated crafts.
Quick List
- Painted Tin Can Flower Pots
- Plastic Bottle Watering Cans
- Rainbow Rock Garden Markers
- Egg Carton Seed Starter Trays
- Silly Sock & Can Garden Creatures
- Sparkly CD Sun Catchers
- Jingly Key & Lid Wind Chimes
- Milk Carton Bird Feeders
- Jam Jar Fairy Lanterns With LED Lights
- Cereal Box Bug Hotels
1. Painted Tin Can Flower Pots
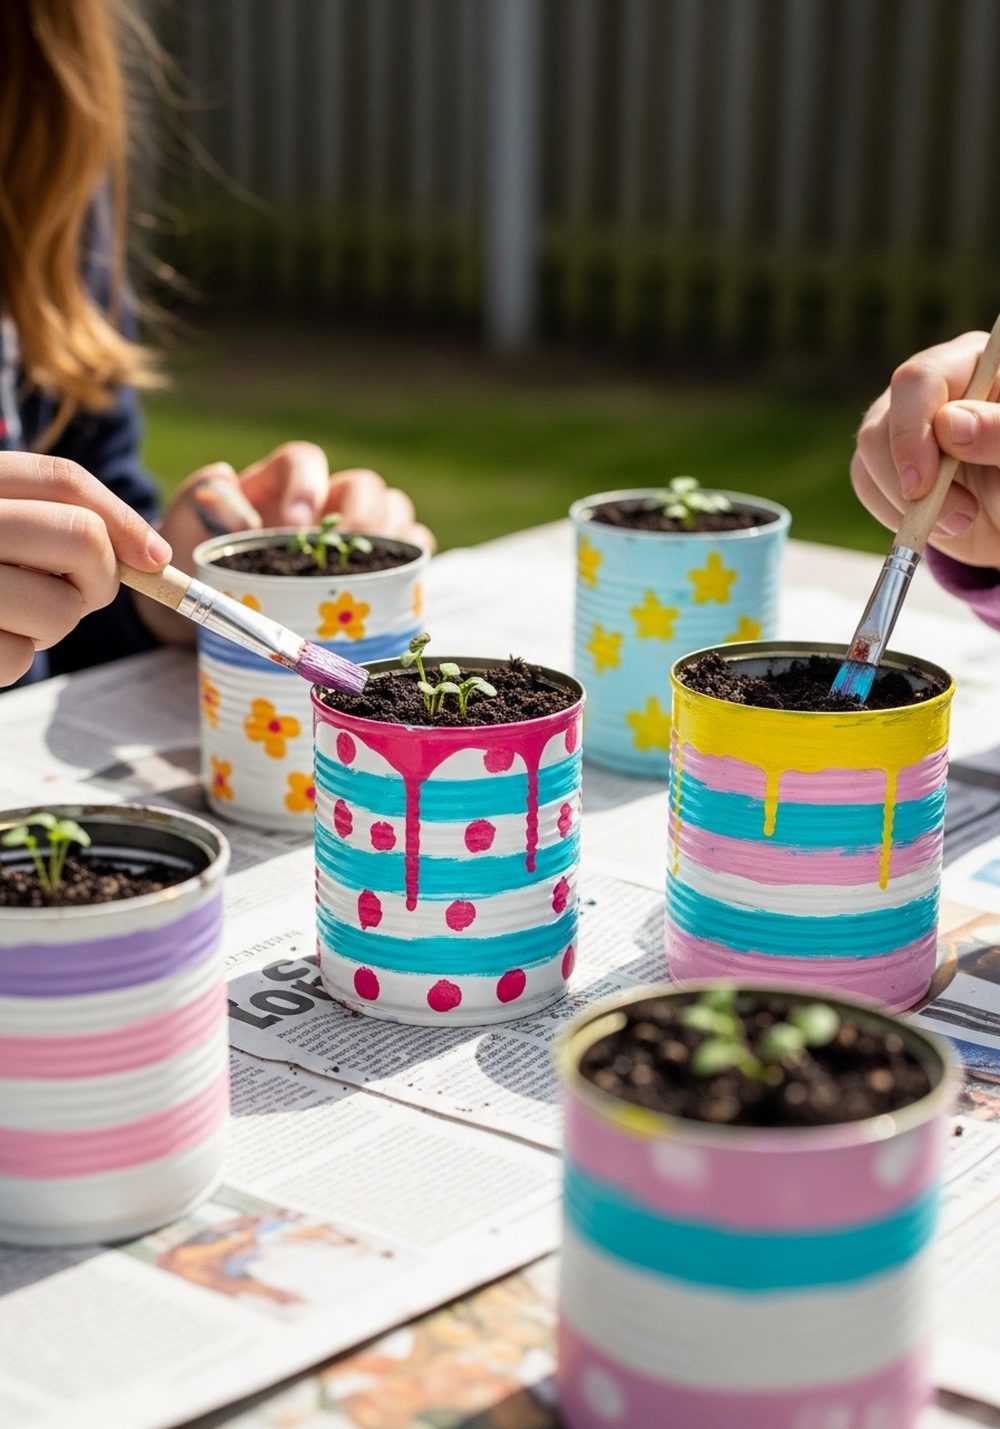
Rinsed food cans make brilliant little planters, and decorating them is a fun, painty project for kids. Once you’ve checked there are no sharp edges, let children cover the cans with acrylic paint in stripes, dots, flowers, or even simple faces. When dry, add a few drainage holes in the bottom, fill them with potting mix, and plant herbs or small flowers. The shiny metal against bright colors and green plants adds instant cheer to steps, shelves, or window sills.
- Best For: Small spaces, windowsills, and balcony railings.
- Budget Tip: Save cans from your normal cooking and use leftover wall or craft paint.
- Styling Idea: Choose two or three main colors for a coordinated look, like pastel blues and yellows.
- Practical Note: Always sand or tape any sharp edges and add drainage holes so plants stay healthy.
- Care & Maintenance: Repaint chipped areas now and then to keep them looking fresh.
2. Plastic Bottle Watering Cans
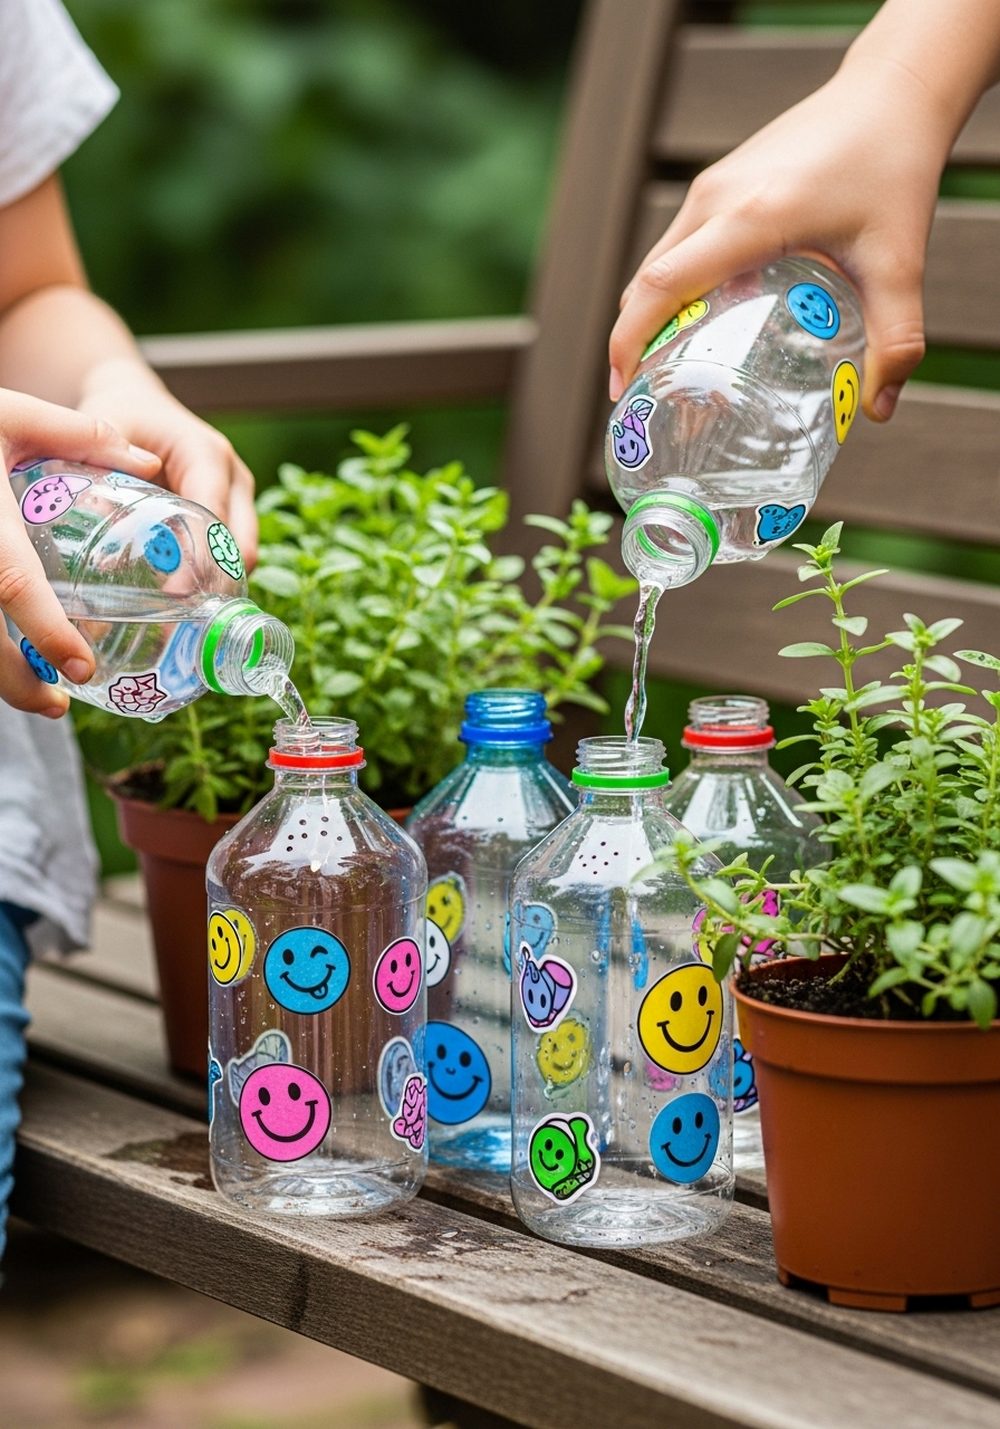
Turn empty plastic drink bottles into kid-sized watering cans they’ll actually want to use. Rinse the bottle, then carefully poke small holes in the lid with a skewer or nail (adults only for this step). Kids can decorate the bottle with stickers, markers, or washi tape. Fill it with water, screw the lid back on, and you have a gentle sprinkler that’s perfect for delicate seedlings and small hands. It’s cute, practical, and gives children ownership of watering jobs.
- Best For: Young children who struggle with heavy watering cans.
- Budget Tip: Reuse any plastic bottle you already have and decorate with scrap materials.
- Styling Idea: Use themed stickers (flowers, bugs, rainbows) so each child has their own design.
- Practical Note: Don’t make the holes too big or the water will gush out too fast.
- Care & Maintenance: Rinse occasionally so algae doesn’t build up inside.
3. Rainbow Rock Garden Markers
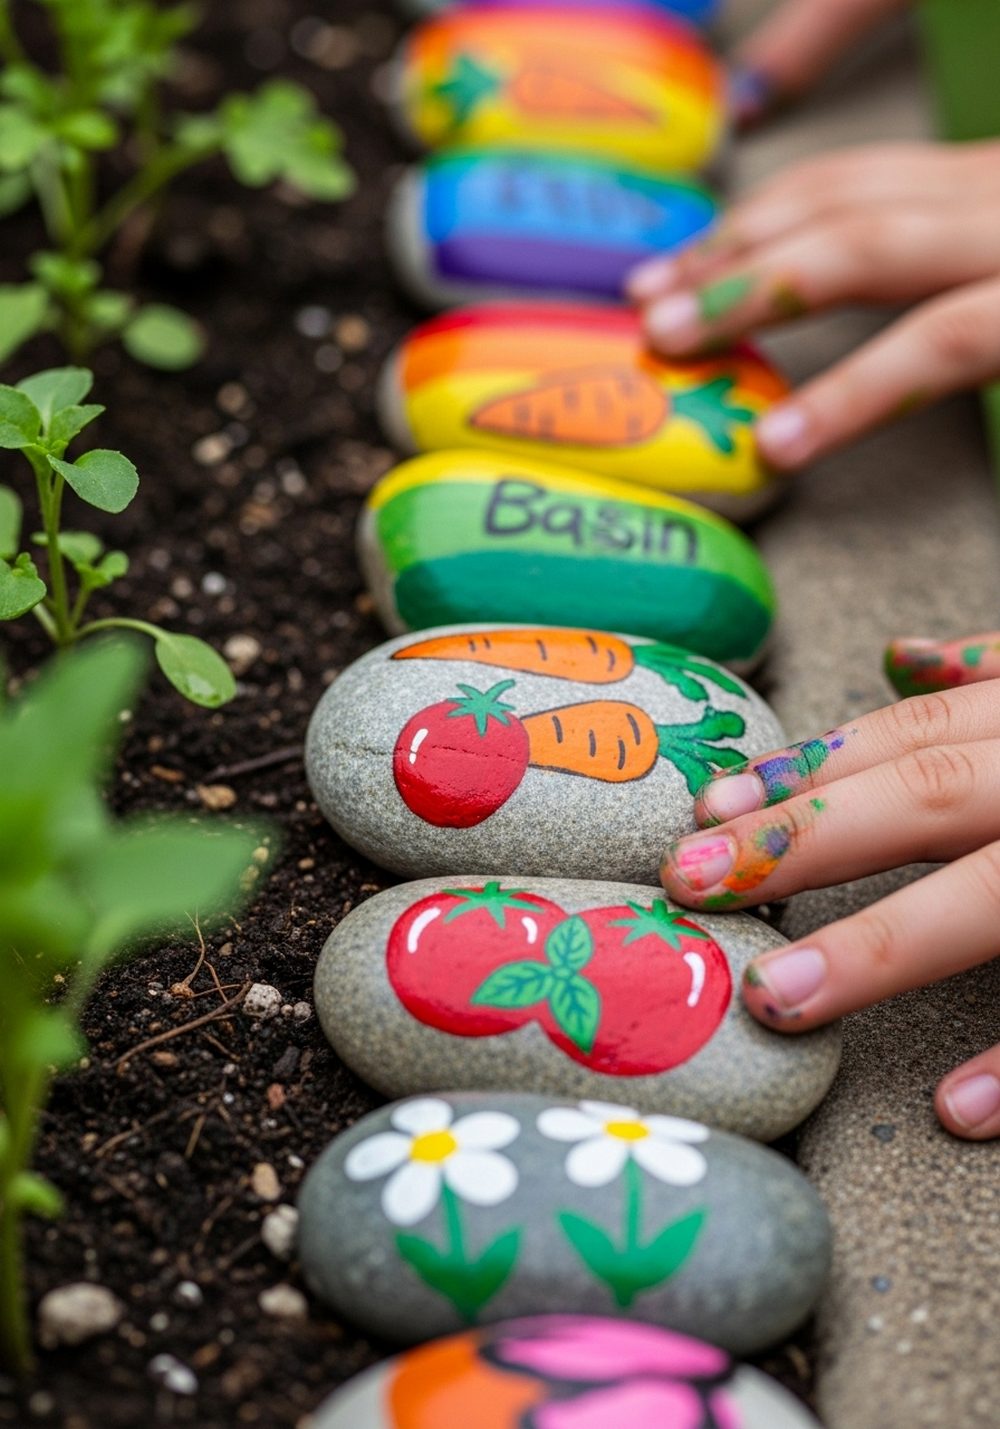
Painted rocks make simple, sturdy markers that add a playful splash of color to vegetable beds and flower pots. Ask kids to collect smooth stones, wash them, and then paint each one a bright background color. Once dry, they can add simple pictures of the plant—like a carrot shape, tomato, or leaf—plus a seal of clear varnish if you have it. Line them along rows or tuck them into pots so kids can proudly “label” the plants they helped sow.
- Best For: Veggie patches and mixed container gardens.
- Budget Tip: Use stones from your own yard or a nature walk and leftover paints.
- Styling Idea: Stick to a rainbow theme or one color family for a more polished look.
- Practical Note: For very young kids, use big simple shapes instead of detailed drawings.
- Care & Maintenance: Refresh the paint every season if the colors fade.
4. Egg Carton Seed Starter Trays
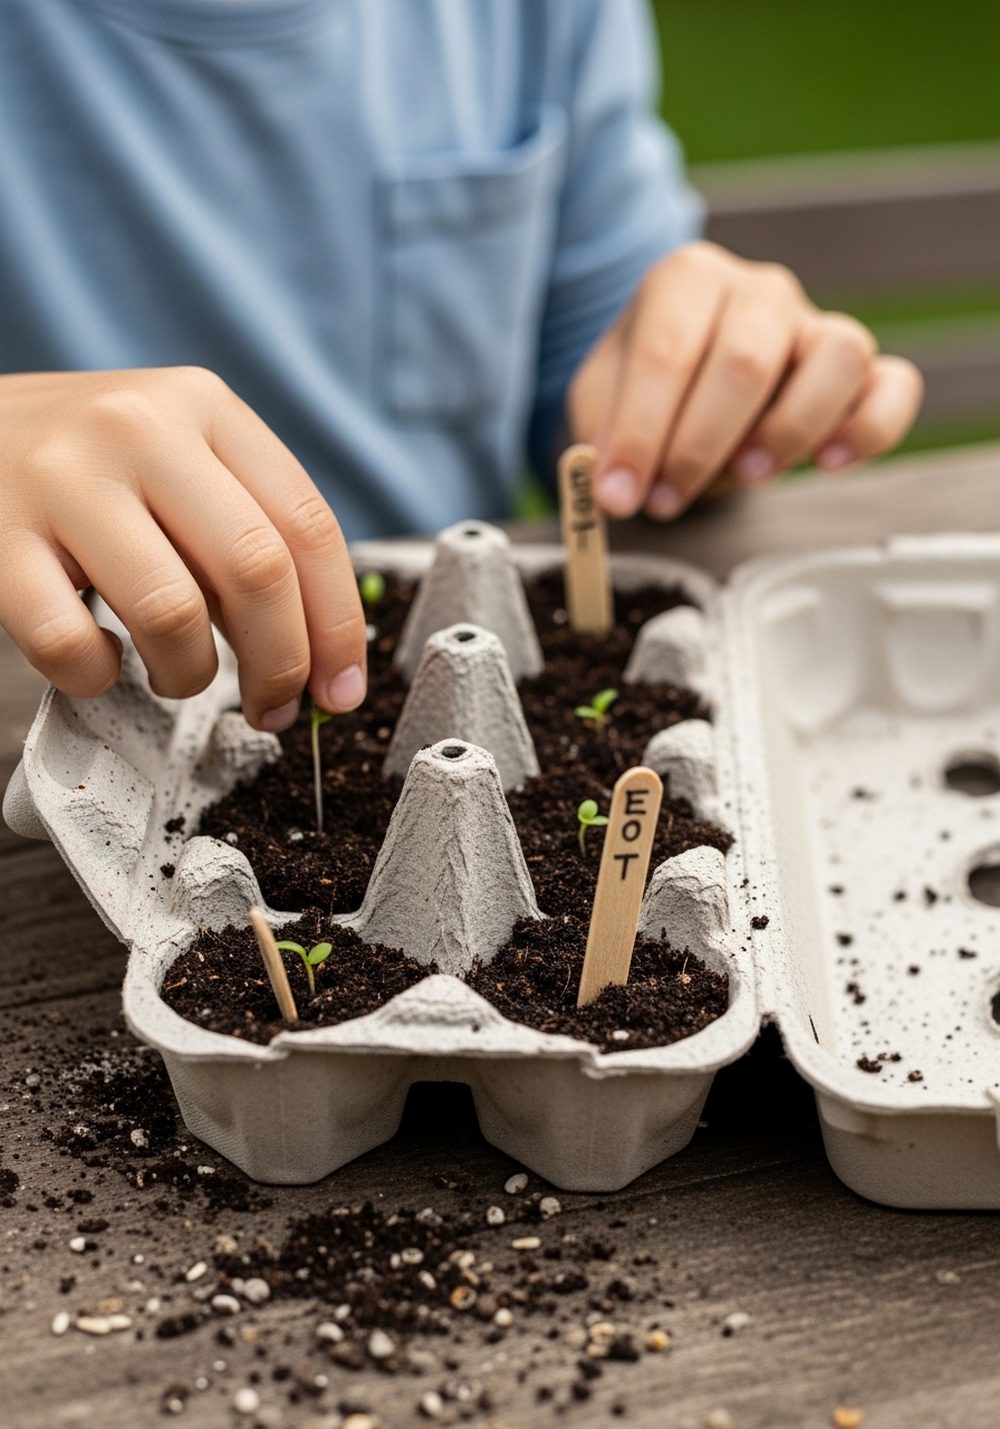
Cardboard egg cartons are perfect for starting seeds on a windowsill or patio table. Cut the lid off, then let kids fill each cup with seed compost using small spoons or their fingers. They can decorate the outside with crayons or markers if they like. Help them press a few seeds into each cup and gently water with a spray bottle. When the seedlings are big enough, you can cut the cups apart and plant them straight into a larger pot, carton and all.
- Best For: Kids who enjoy watching plants grow from seed.
- Budget Tip: Reuse egg cartons and buy one packet of seeds to share between several trays.
- Styling Idea: Pop the decorated trays into a shallow basket or wooden crate for a neat display.
- Practical Note: Place a tray or plate under the carton to catch drips.
- Care & Maintenance: Keep the soil moist but not soggy and turn the trays regularly so plants grow straight.
5. Silly Sock & Can Garden Creatures
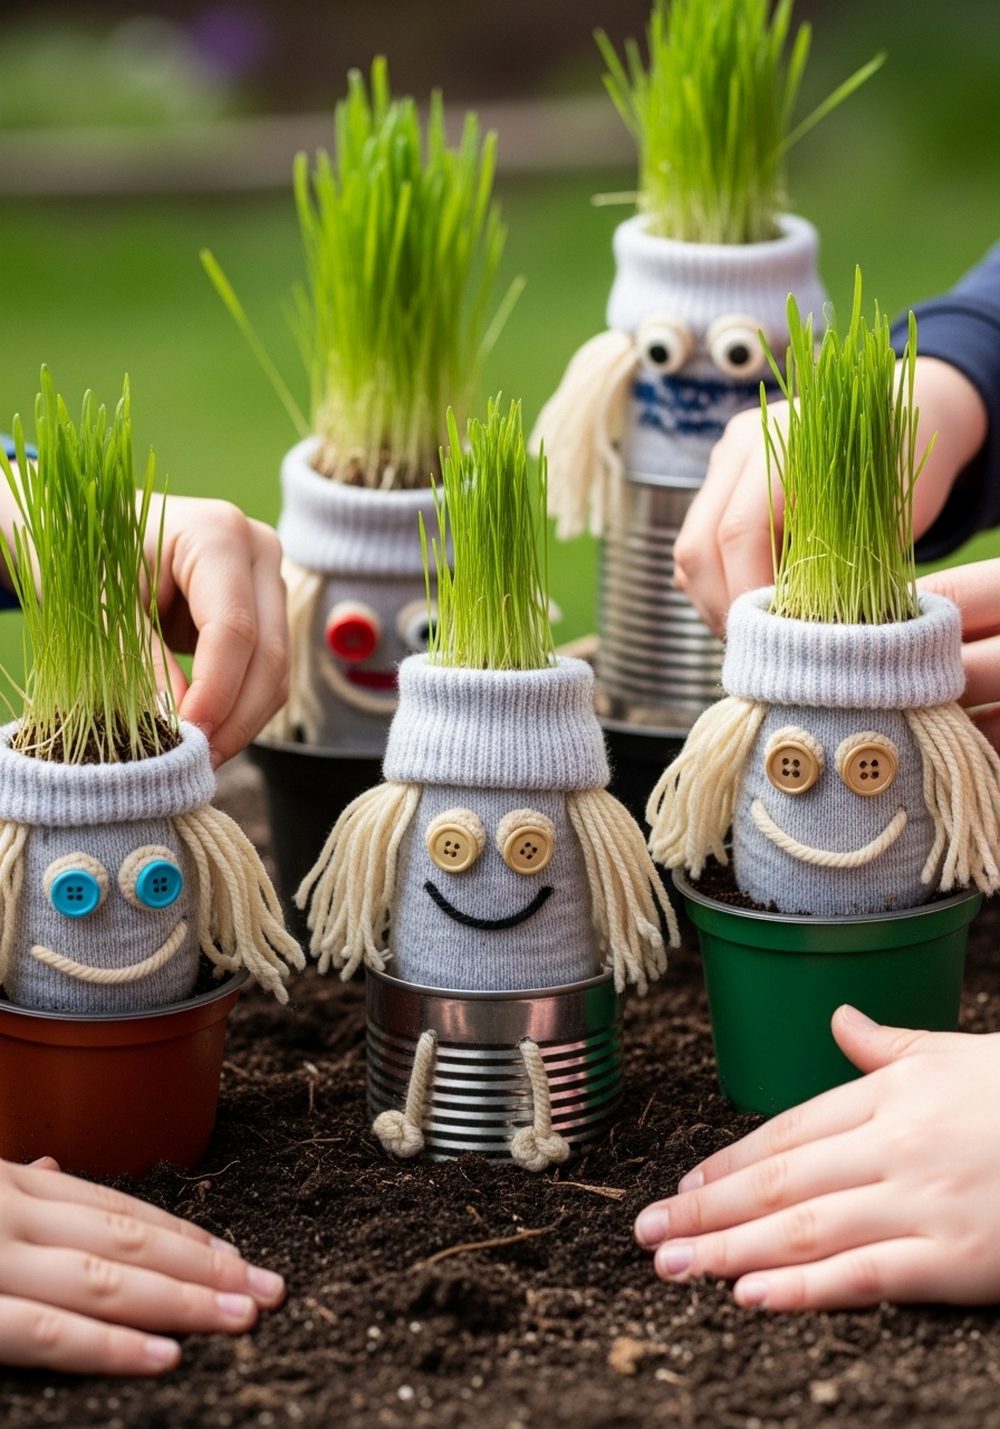
Odd socks and small cans can become hilarious “garden creatures” with wild grass hair. Stretch an old sock over a clean can or pot, tuck the opening inside, and let kids add button or drawn-on eyes and silly mouths. Fill the top with soil and sprinkle grass or quick-growing herb seeds. As the plants sprout, the creatures get fuzzy green hair that can be “styled” or trimmed. These funny faces look adorable lined up on a step or low wall.
- Best For: Kids who love characters and imaginative play.
- Budget Tip: Use mismatched socks and old tins or yogurt pots you already have.
- Styling Idea: Make a whole family with different colors, patterns, and “personalities.”
- Practical Note: Make sure there are drainage holes in the container hidden under the sock.
- Care & Maintenance: Keep hair trimmed and watered so it stays lush instead of straggly.
6. Sparkly CD Sun Catchers

Old, scratched CDs can become magical sun catchers that dance with tiny rainbows. Kids can stick on gems, draw patterns with permanent markers, or glue on small tissue paper shapes. Thread ribbon or string through the center hole and hang them from tree branches, fences, or balcony rails. As the sun hits the shiny surface, light scatters around the garden, delighting children and adding a bit of twinkle to dull corners.
- Best For: Bright, sunny spots that need a little sparkle.
- Budget Tip: Ask friends and family for unwanted CDs instead of buying anything new.
- Styling Idea: Use matching ribbon colors to tie the designs together visually.
- Practical Note: Hang them high enough that they don’t swing into faces on windy days.
- Care & Maintenance: Bring them in during storms to prevent strings from snapping.
7. Jingly Key & Lid Wind Chimes
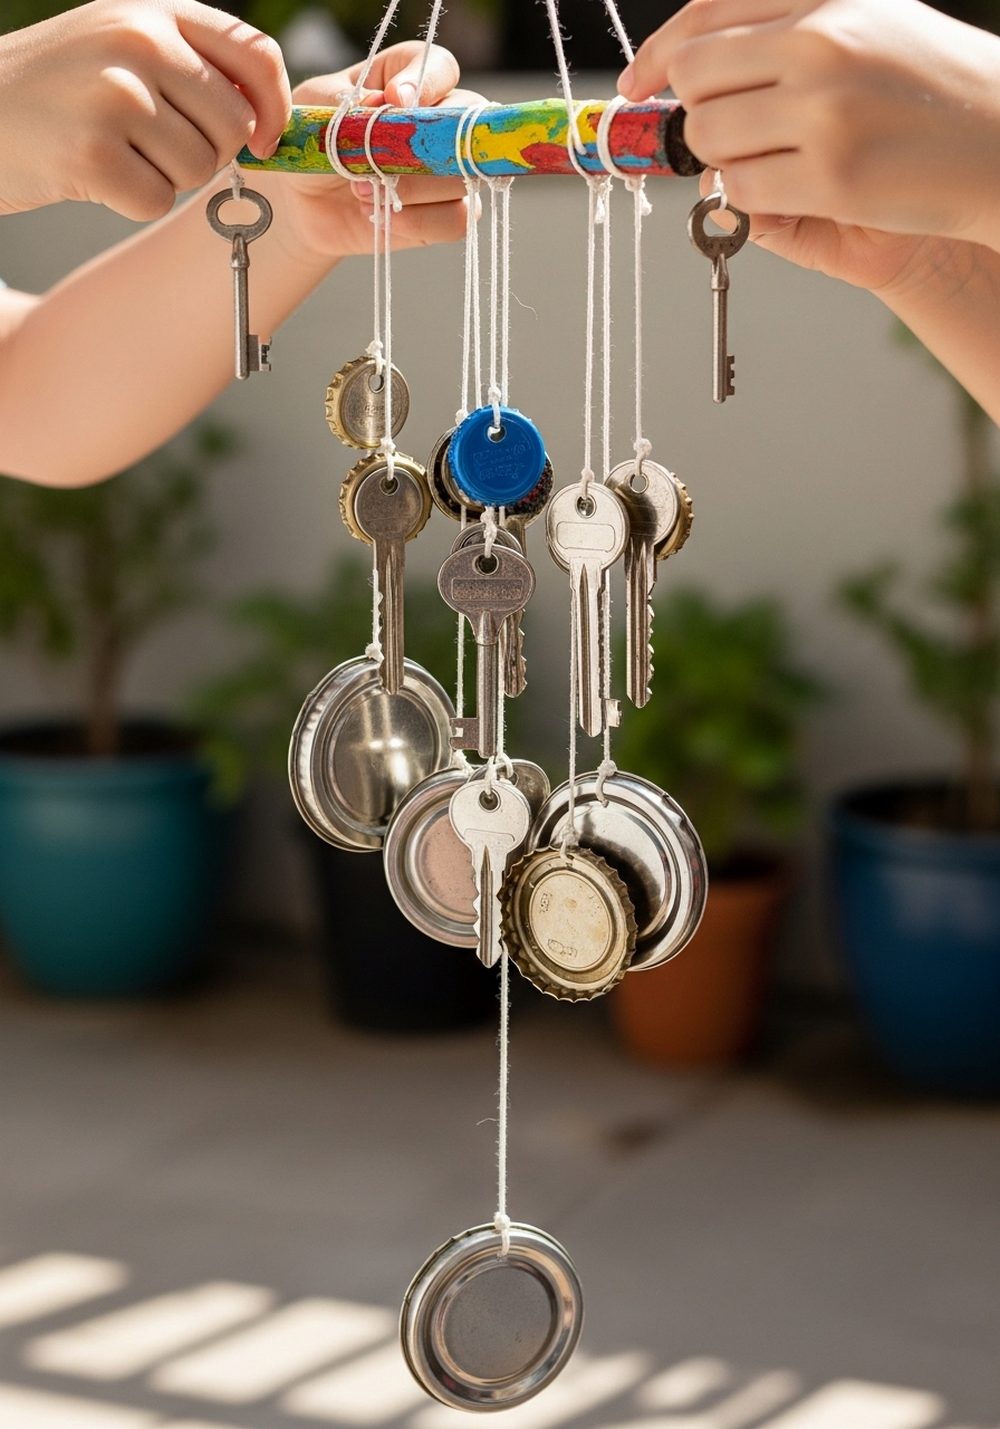
Gather a mix of old keys, metal bottle caps, and jar lids to create charming, jingly wind chimes. Kids can paint the lids, thread them onto string with adult help, and tie everything to a sturdy stick or old wooden spoon. Hang the chime from a hook, tree, or pergola, where the pieces can gently tap together when the wind blows. The soft sound feels cozy rather than loud, and the mix of shapes and colors makes a lovely rustic accent.
- Best For: Covered porches, pergolas, or sheltered balcony corners.
- Budget Tip: Use only found items—keys, caps, lids, and string from around the house.
- Styling Idea: Choose one color palette, like blues and silvers, for a more stylish look.
- Practical Note: Keep small parts and tying work for older children, with close supervision.
- Care & Maintenance: Check knots periodically and retie any loose pieces.
8. Milk Carton Bird Feeders
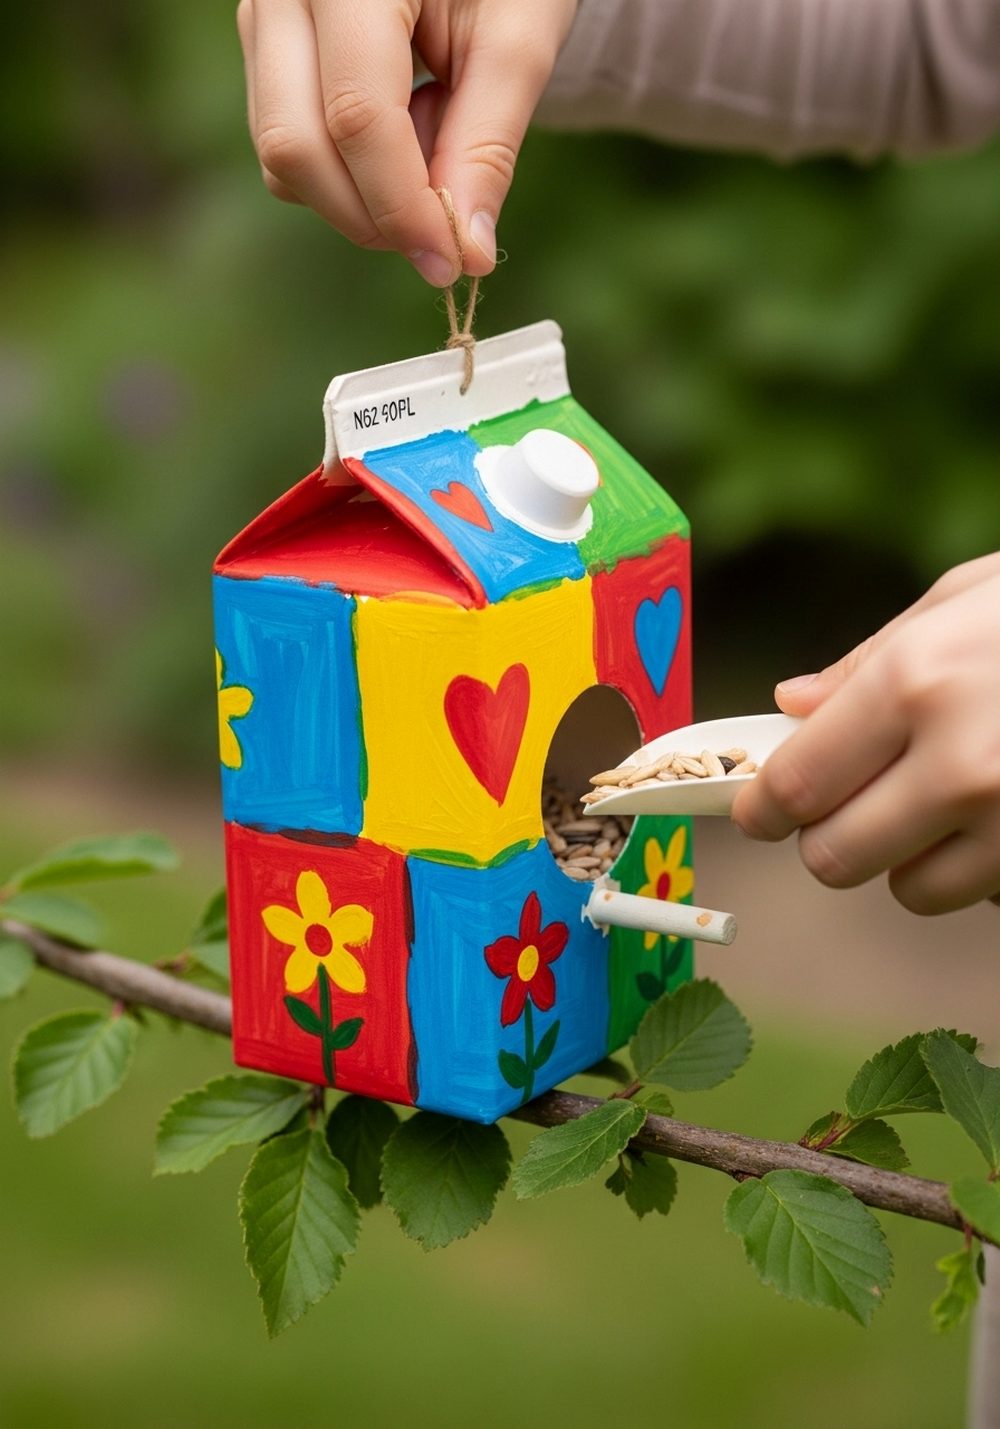
Rinsed, empty milk or juice cartons can easily become colorful bird feeders. Cut a window on each side (adults only), leaving a little ledge at the bottom. Kids can paint or color the outside, then help thread string through the top to hang it from a tree or hook. Add bird seed, and you’ve created a mini wildlife café that children can watch from the garden or window. It’s a great way to decorate and invite more life into the space.
- Best For: Gardens and balconies where birds already visit.
- Budget Tip: Reuse cartons and buy a simple bag of mixed bird seed.
- Styling Idea: Keep designs simple—bold color blocks and dots show up well from a distance.
- Practical Note: Hang it high enough to be safe from pets and easy for birds to access.
- Care & Maintenance: Replace weather-damaged cartons and empty old, damp seed regularly.
9. Jam Jar Fairy Lanterns With LED Lights
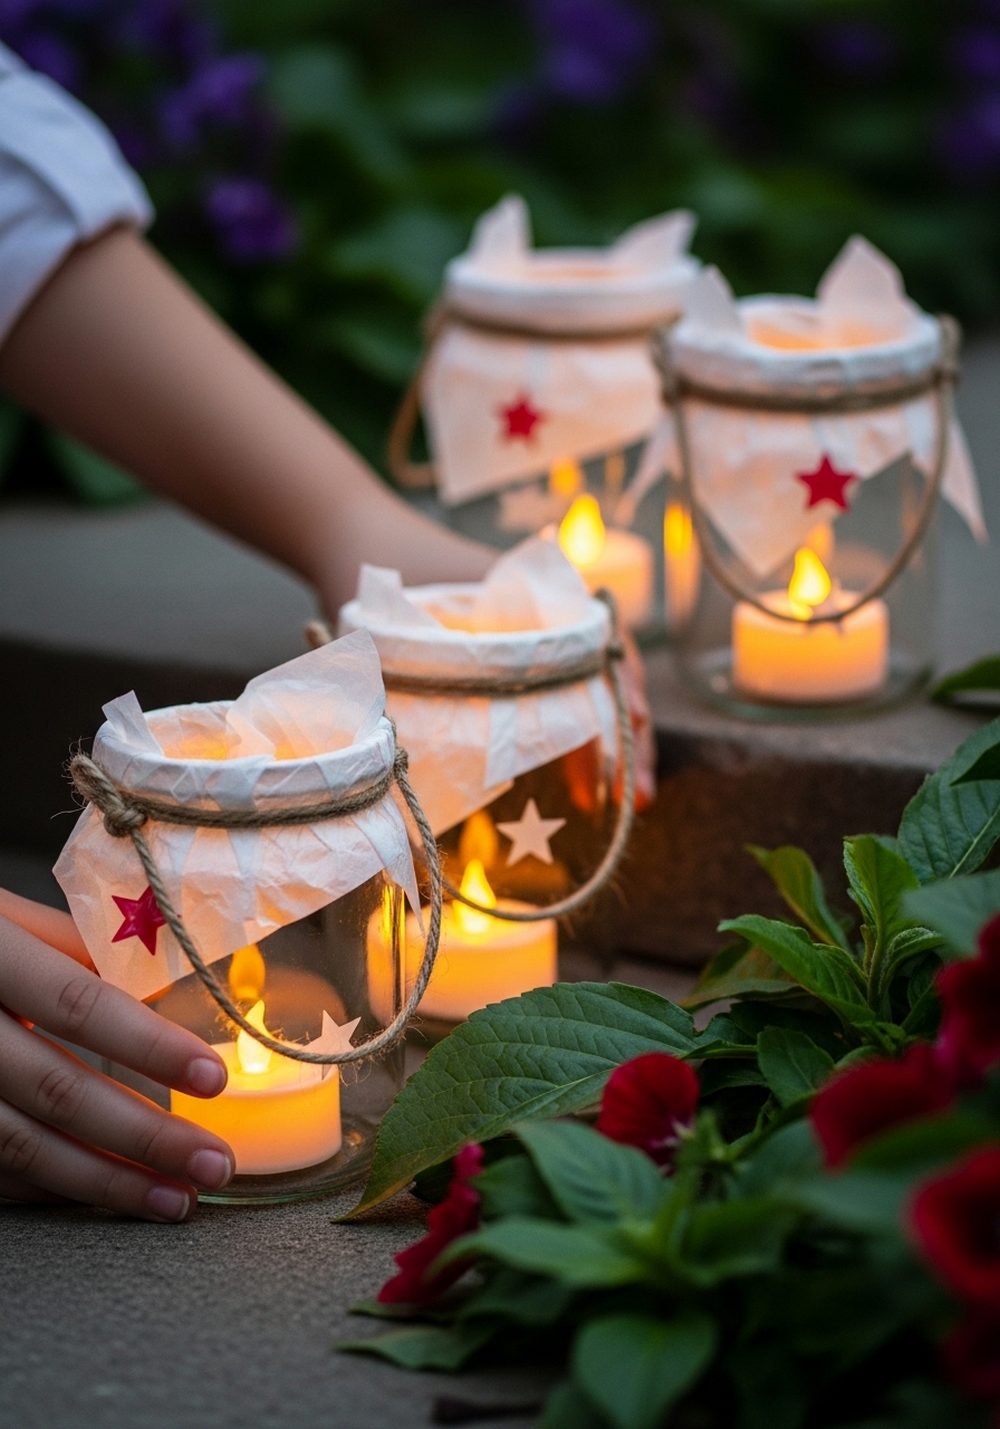
Small jam or yogurt jars can become magical fairy lanterns with just tissue paper and LED tea lights. Kids can brush glue onto the outside of the jar and press on torn pieces of colored tissue, then add stickers or simple star shapes. Wrap twine around the top to make a handle if you like. Pop in a battery-powered candle and line the lanterns along a step or table for a cozy glow on summer evenings, without any flame risk.
- Best For: Evening garden picnics, sleepovers, or family nights outside.
- Budget Tip: Save jars over time and use battery candles that can be reused.
- Styling Idea: Choose soft, warm colors for a gentle fairy-tale look, or bold colors for a party feel.
- Practical Note: Always use LED lights, never real candles, especially with kids.
- Care & Maintenance: Store lanterns indoors when not in use to protect the tissue paper.
10. Cereal Box Bug Hotels
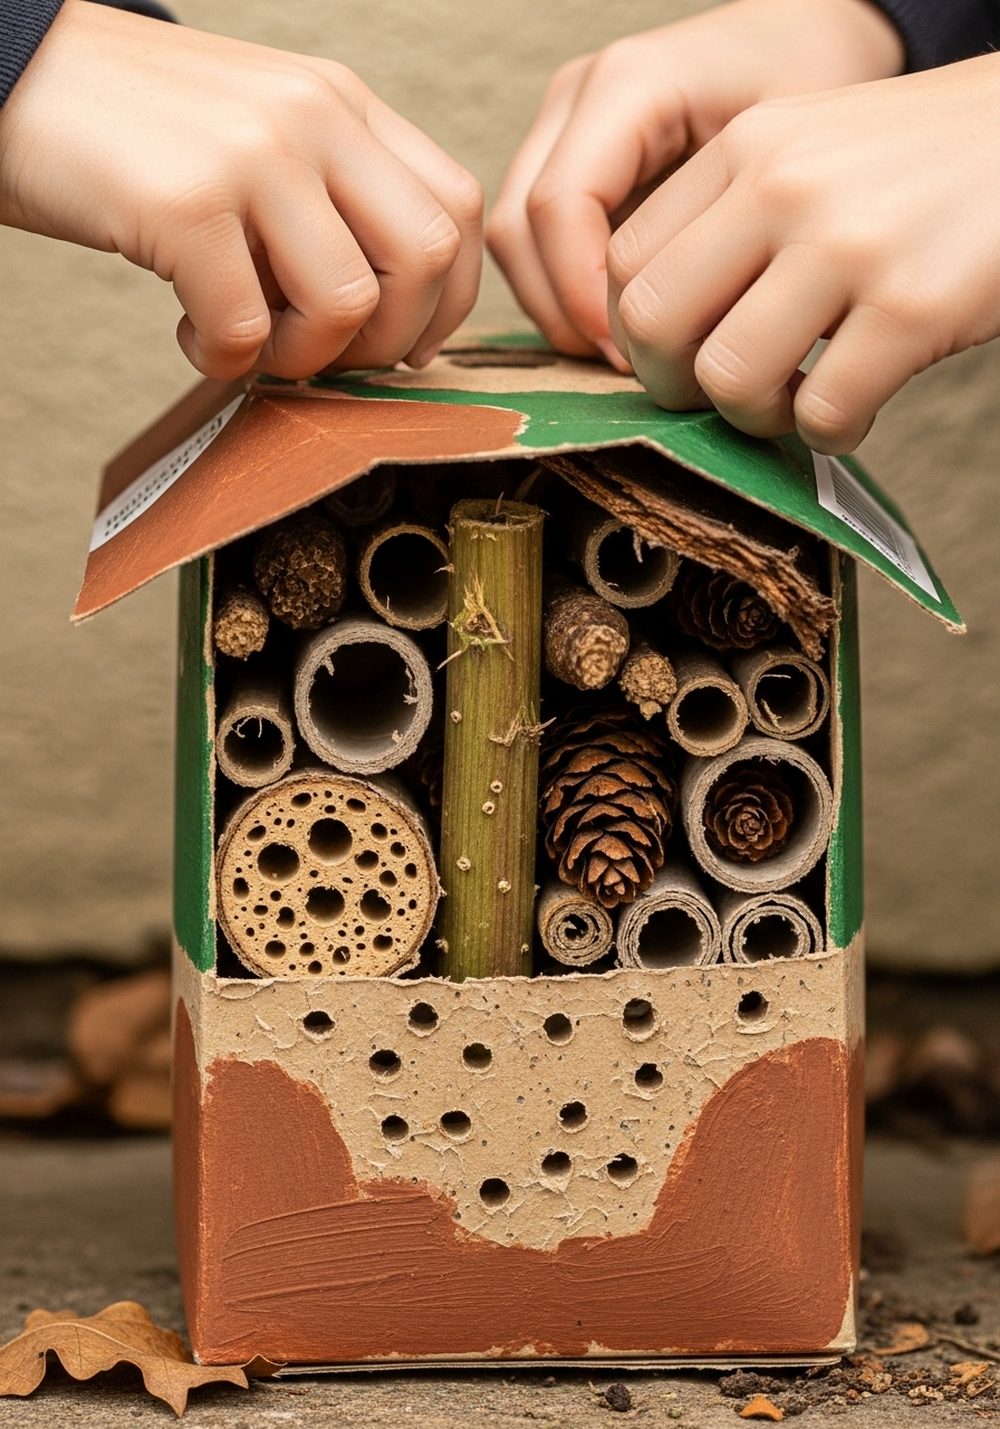
Instead of throwing out cereal boxes, turn them into simple bug hotels that tuck neatly into a garden corner. Cut the box to shape, tape or glue it sturdily, and let kids paint it in earthy colors. Then they can stuff it with rolled cardboard, pinecones, sticks, and hollow stems to create lots of tiny hiding places. Place it near plants and watch as insects slowly move in, adding life to the garden while kids learn how important little creatures are.
- Best For: Wildlife-friendly gardens and curious young nature lovers.
- Budget Tip: Use only recycled materials—boxes, tubes, and garden trimmings.
- Styling Idea: Paint patterns that mimic tree bark, leaves, or stones so it blends with nature.
- Practical Note: Position it off the ground in a sheltered, not-too-damp spot.
- Care & Maintenance: Replace the box and stuffing once or twice a year if it becomes soggy or moldy.
Conclusion
Recycled garden crafts are a gentle way to teach kids that creativity doesn’t need new, expensive supplies. With a few saved containers and simple materials, they can transform your outdoor space into a colorful, personal playground full of character. Start with one or two of these ideas, see what your children enjoy most, and build from there. Before long, your garden will be dotted with handmade treasures and happy memories in every corner.
FAQs
1. How can I do these garden crafts on a very small budget?
Focus on projects that use what you already have at home—cans, bottles, cartons, jars, and scrap paper. Buy just one or two basics like glue and a set of paints or markers that can be used across many crafts. Collect natural items such as stones, sticks, and pinecones to fill and decorate. Reusing materials is part of the fun and the lesson.
2. Are these recycled crafts suitable for renters?
Yes. Most of these ideas are portable and non-permanent, so you can take them with you when you move. Items like painted pots, lanterns, wind chimes, and markers can all be packed up easily. For anything you hang, use removable hooks or tie items to existing railings or trellises instead of making holes in walls.
3. What if I only have a balcony or tiny patio?
Choose smaller crafts that sit neatly on rails, shelves, or a tiny table. Painted tin cans, rock markers in pots, jam jar lanterns, and bottle watering cans are ideal for compact spaces. You can even hang CD sun catchers and bird feeders from balcony rails, making your small space feel playful and full of interest without taking up precious floor area.
4. How can I make sure these crafts are safe for kids to make?
Let adults handle any cutting, piercing, or hot gluing, and check for sharp edges on metal cans or lids. Use child-friendly paints and non-toxic glues whenever possible. Choose LED candles instead of real flames. Very young children can focus on painting, sticking, and filling, while older kids can help with more detailed steps under supervision.
5. Will these recycled decorations survive the weather?
Cardboard and tissue-based crafts will last longer if they’re kept under cover or brought indoors after use, while painted cans, rocks, and CDs are more weather-tolerant. To help decorations last, use outdoor or acrylic paints and add a clear sealer if you have one. Check items after heavy rain or strong sun and touch up or remake them as needed—it’s a great excuse for another craft session.